Contents
1. Product Introduc!on
1.1 Hardware
1.2 So"ware
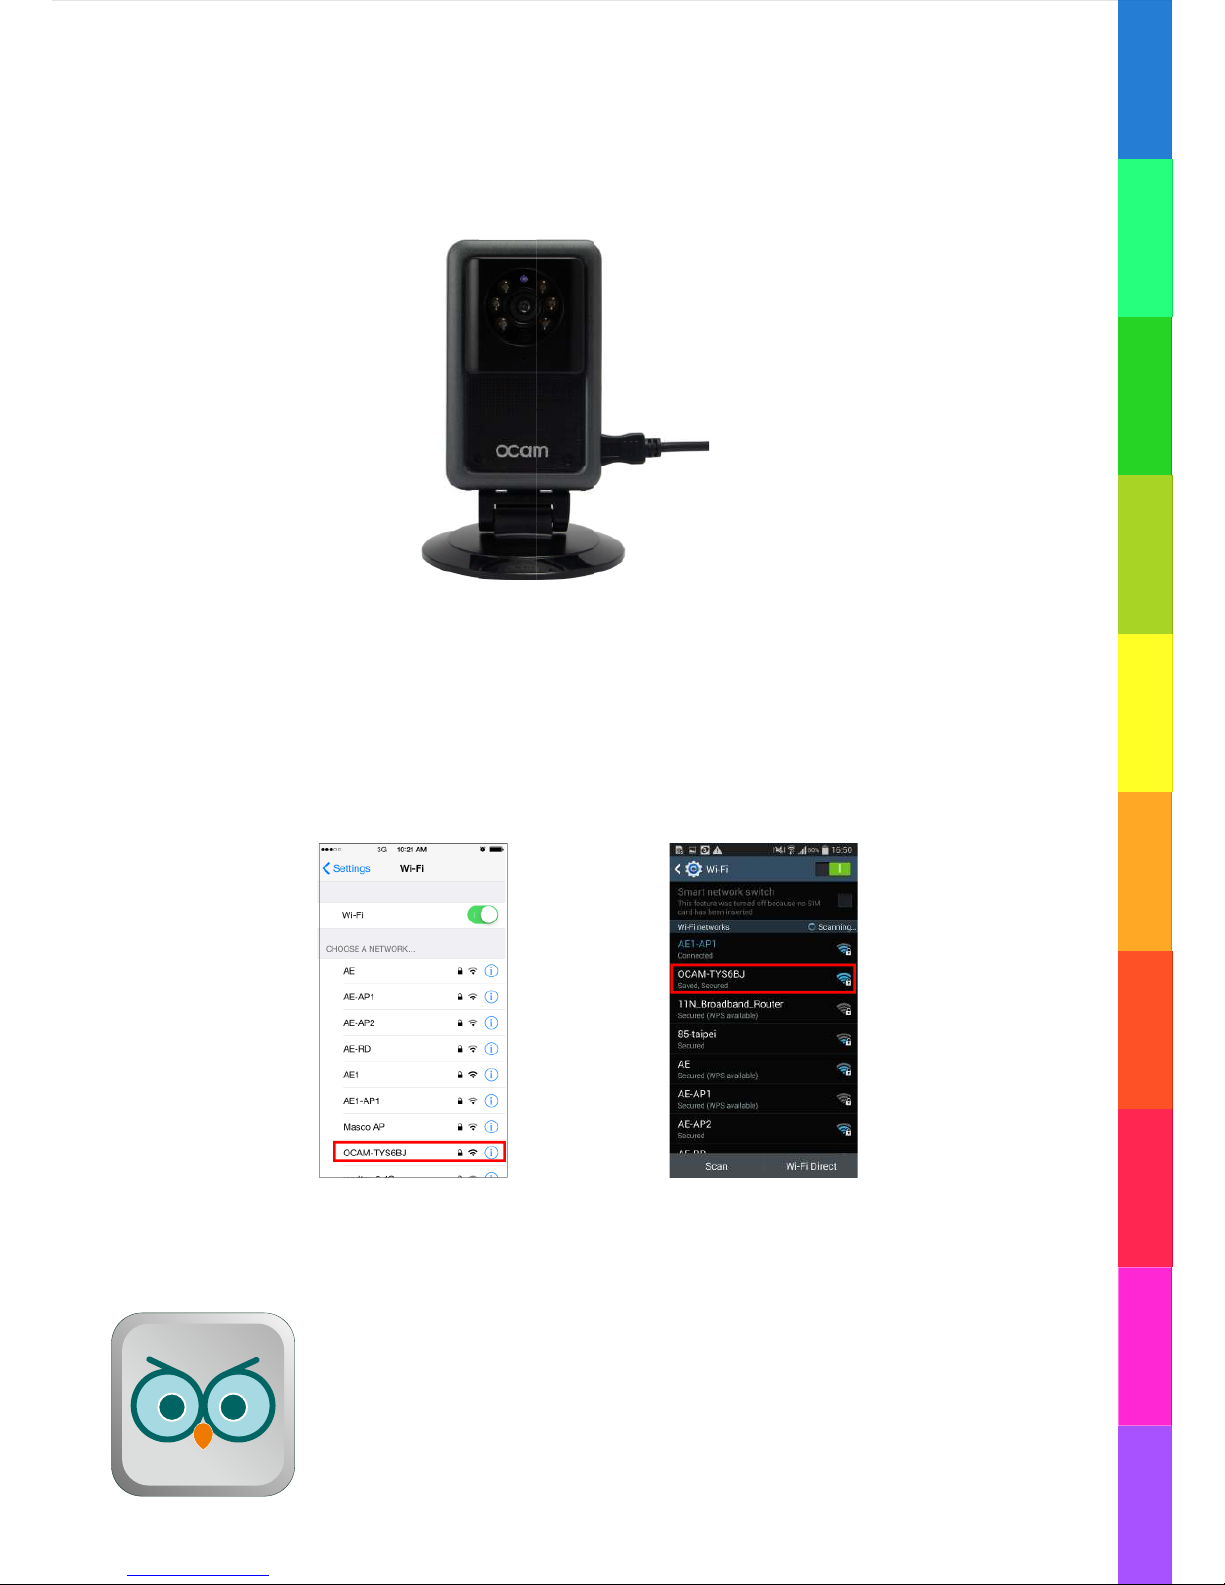
2. Se#ng up Camera
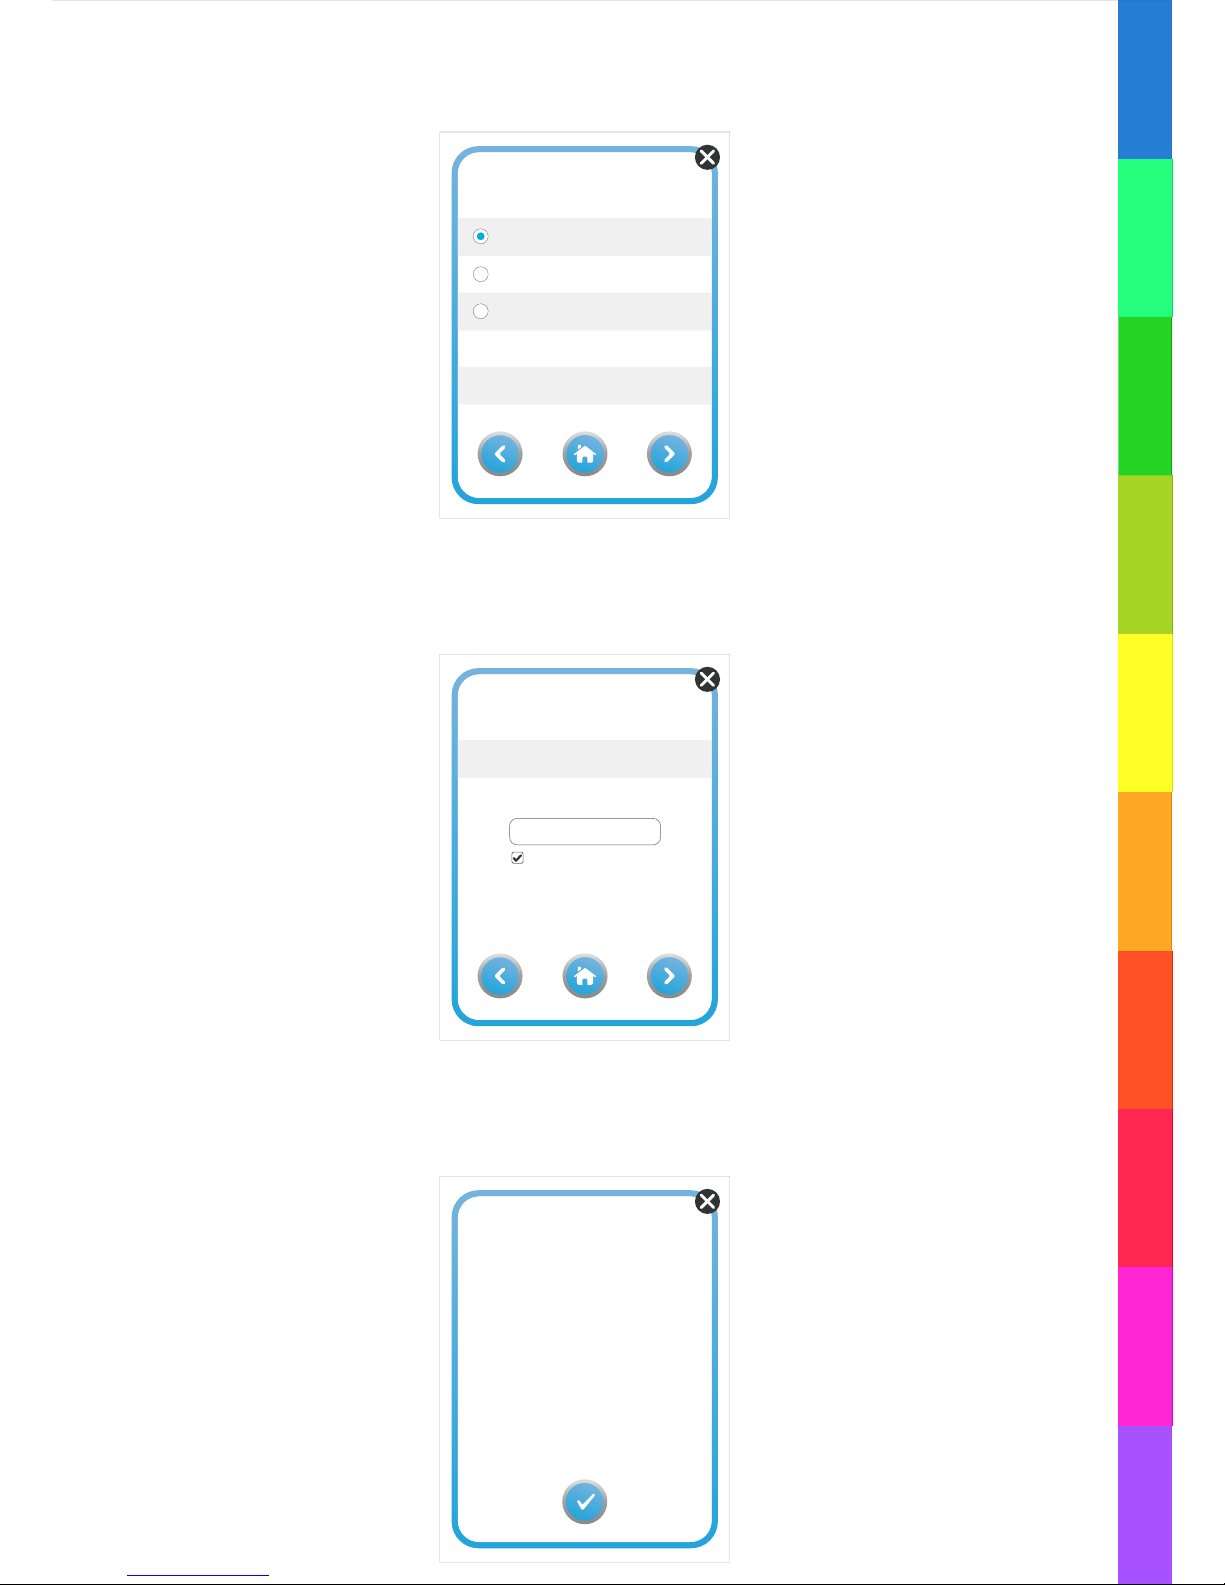
3. Add My Carmera
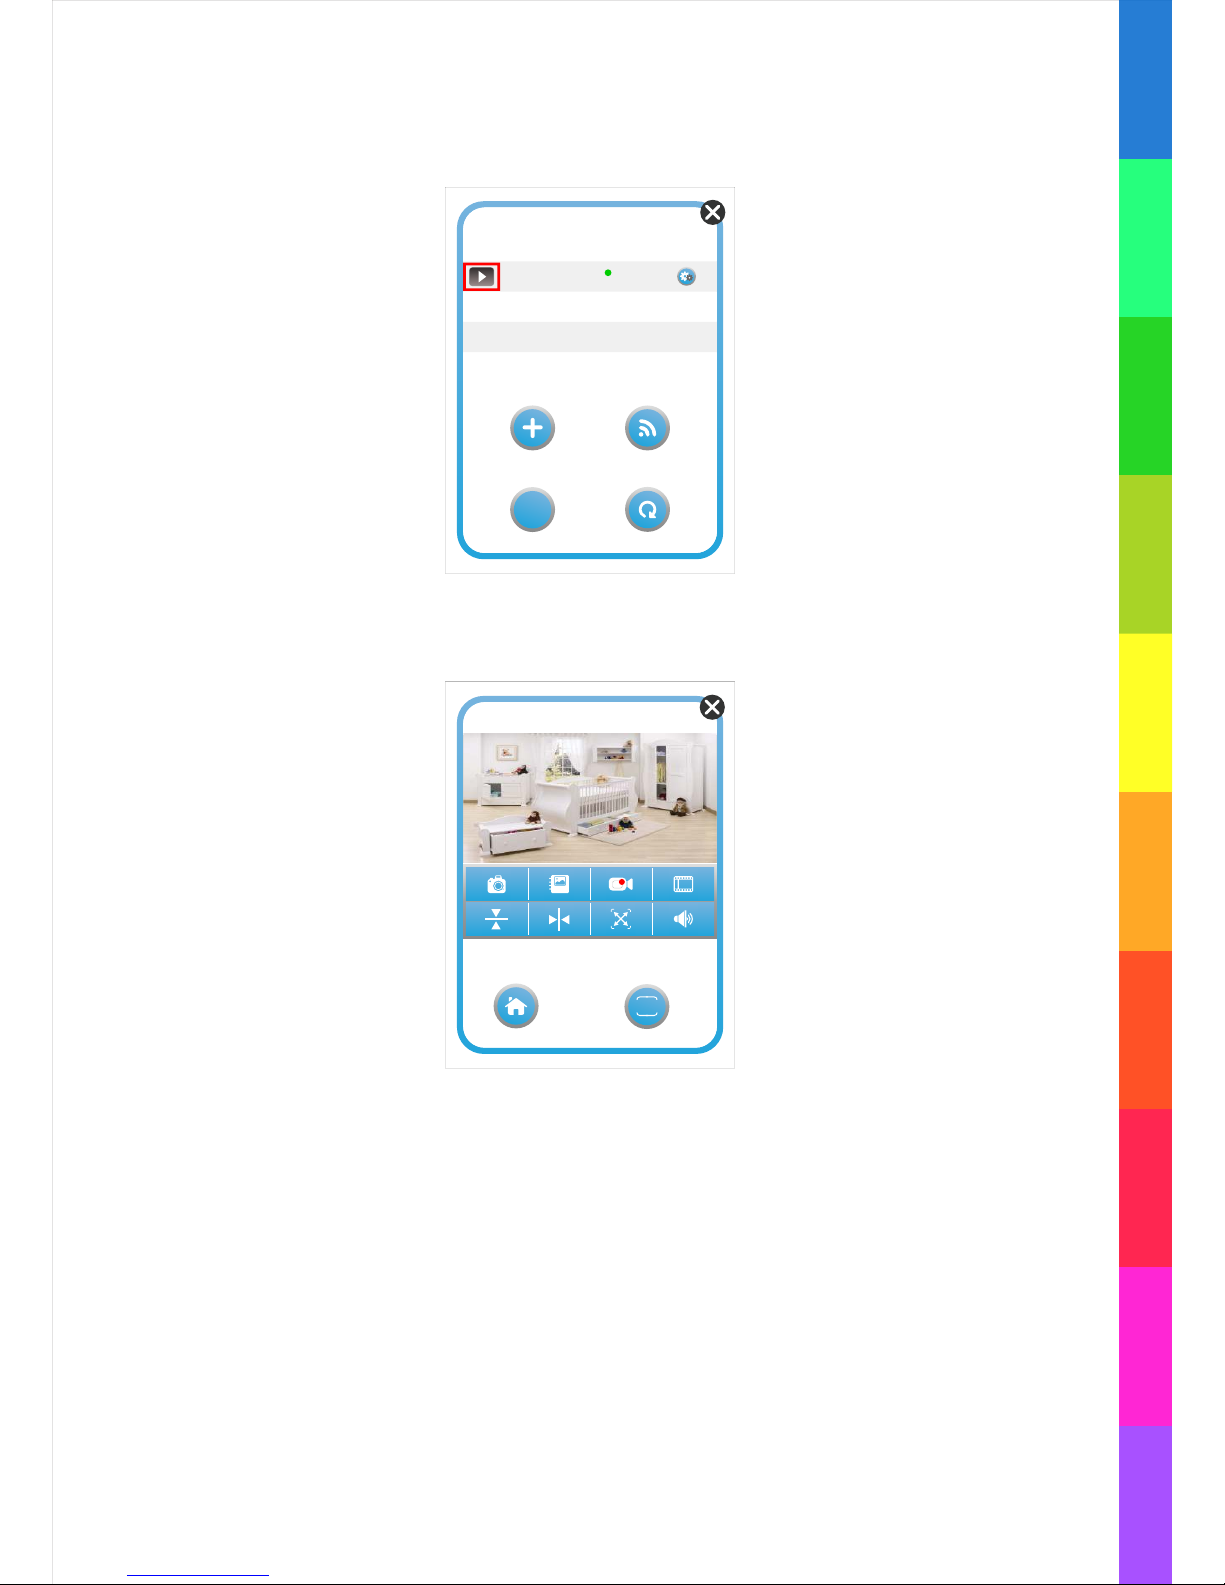
4. Viewing Camera image & screen introduc!on
4.1 Live view
4.2 Introduc!on of live view
4.3 Icon instruc!ons as below
4.3.a Admin privileges
4.3.b Op!ons for sound
4.3.c Recording and Viewing saved images
4.3.d Snap shots and Viewing saved images
4.3.e Full screen and Image Rota!on
5. Connect Other Camera
5.1 To connect to the camera of same network
5.2 To connect to remote camera (not from the same network)
6. Camera Se#ng
6.1 Camera Name
6.2 Delete Carmera
6.3 Video Se#ng
6.4 Advanced Se#ng
6.4.a Mode Se#ng
6.4.b Camera Password Se#ng
6.4.c Se#ng Admin Password
6.4.d Event Viewing
6.4.e Mo!on Detec!on Se#ng
6.4.f Sound Detec!on Se#ng
6.4.g Memory Card Se#ng
6.4.h Recording Se#ng
6.4.i Video Playback
6.4.j System Informa!on
6.5 Mo!on and sound detec!on no!fica!on
6.5.a Mo!on detec!on no!fica!on
6.5.b Sound detec!on no!fica!on
7. Scene Mode Introduc!on
8. Factory Default Recovery
9. Firmware Update
10.Troubleshoo!ng & Support
11. Maintenance
P.1
P.1
P.1
P.2
P.3
P.7
P.7
P.7
P.8
P.8
P.8
P.8
P.8
P.9
P.10
P.10
P.10
P.11
P.11
P.11
P.11
P.12
P.12
P.12
P.13
P.13
P.13
P.14
P.14
P.14
P.15
P.15
P.16
P.16
P.16
P.17
P.19
P.19.
P.20
P.21