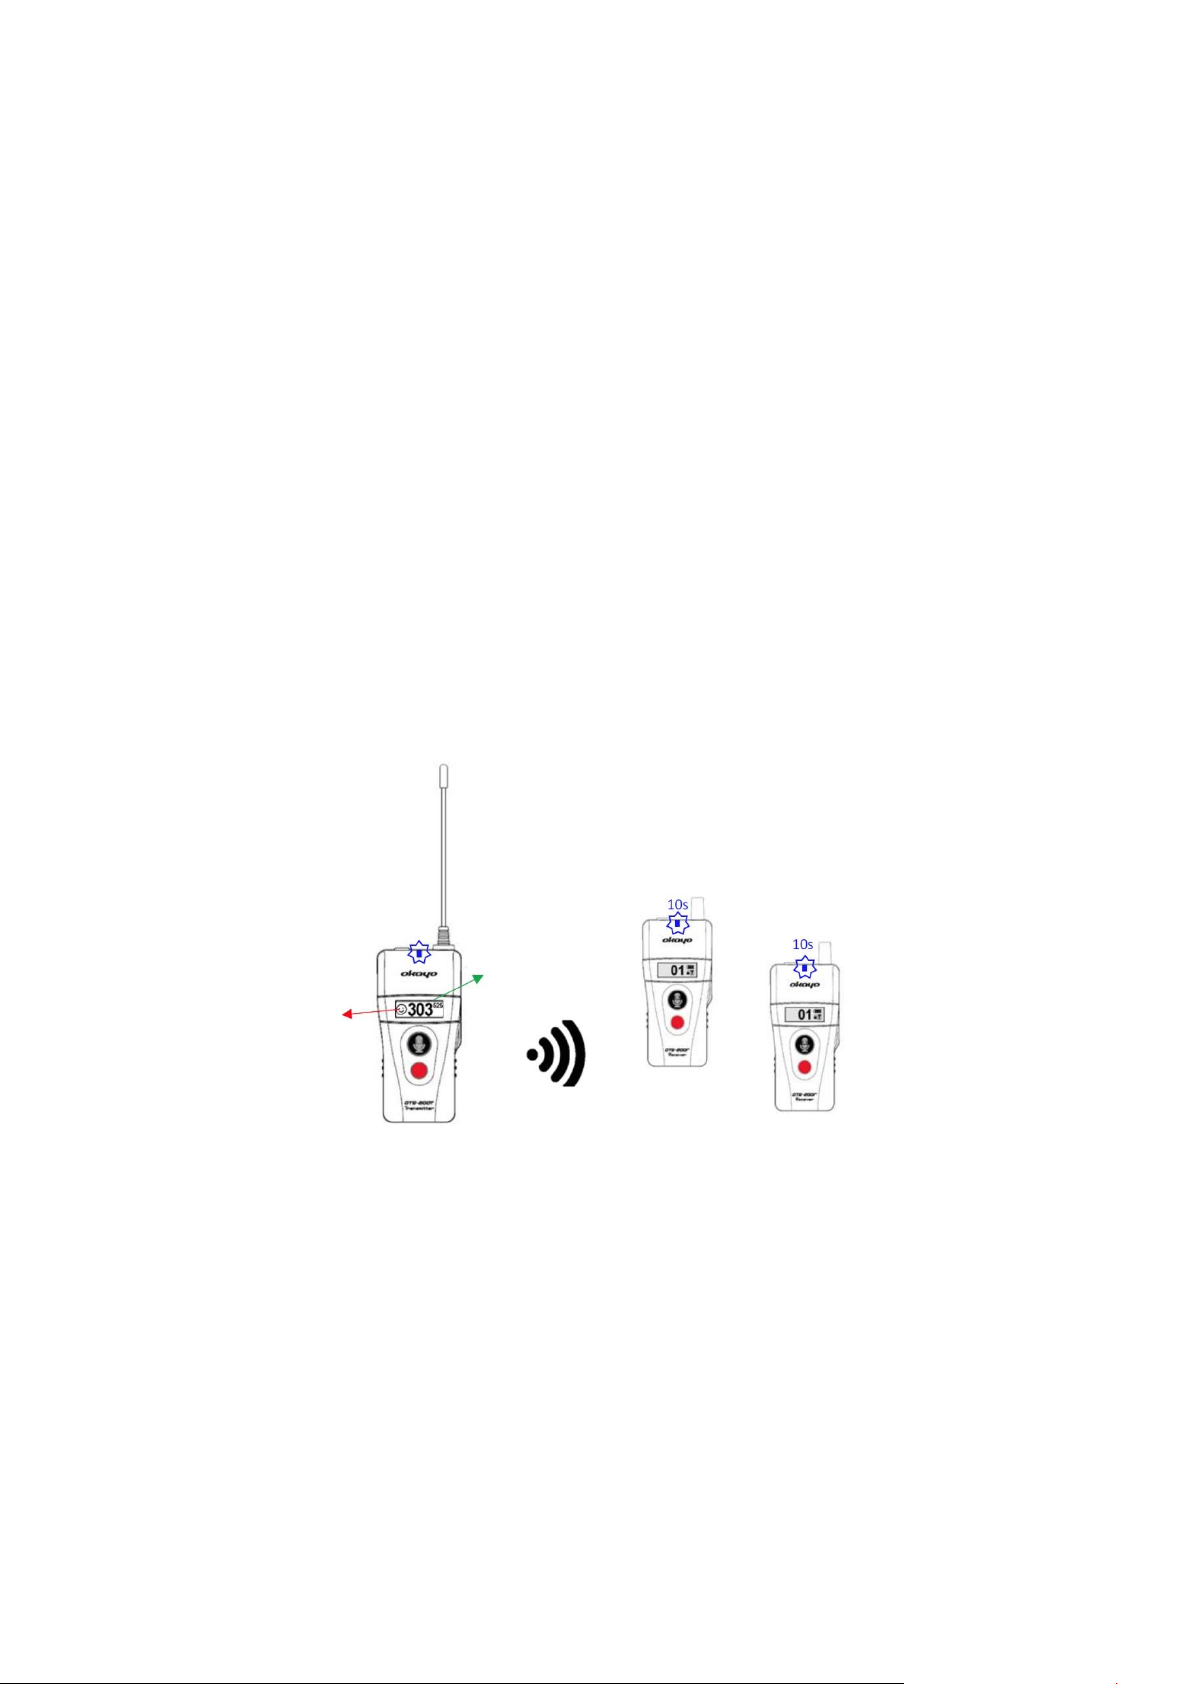
The receivers pair with the transmitter automatically, by adjusting to the same
channel on which the master transmitter is working. The communication mode
will show up on the receiver’s screen after pairing the receivers. The screen of
the transmitter will display the number of paired receivers.
➔After turning on all of the receivers, it is time to pair the second
transmitter.
If a “guiding” communication mode has been selected, the pairing of second
transmitter may be skipped. If the “teaching” communication mode has been
selected, it is important to set the switch of the second transmitter to the “m”
position.
➔Turn the second transmitter on, by pressing and holding down both DOWN
button (8) and power button (9) for 3 seconds.
➔With UP/DOWN buttons (8) scroll through the available communication
modes. Press the power button (9) in order to confirm the desired
communication mode.
Make sure that the selected communication mode is the same as in the first
transmitter (master).
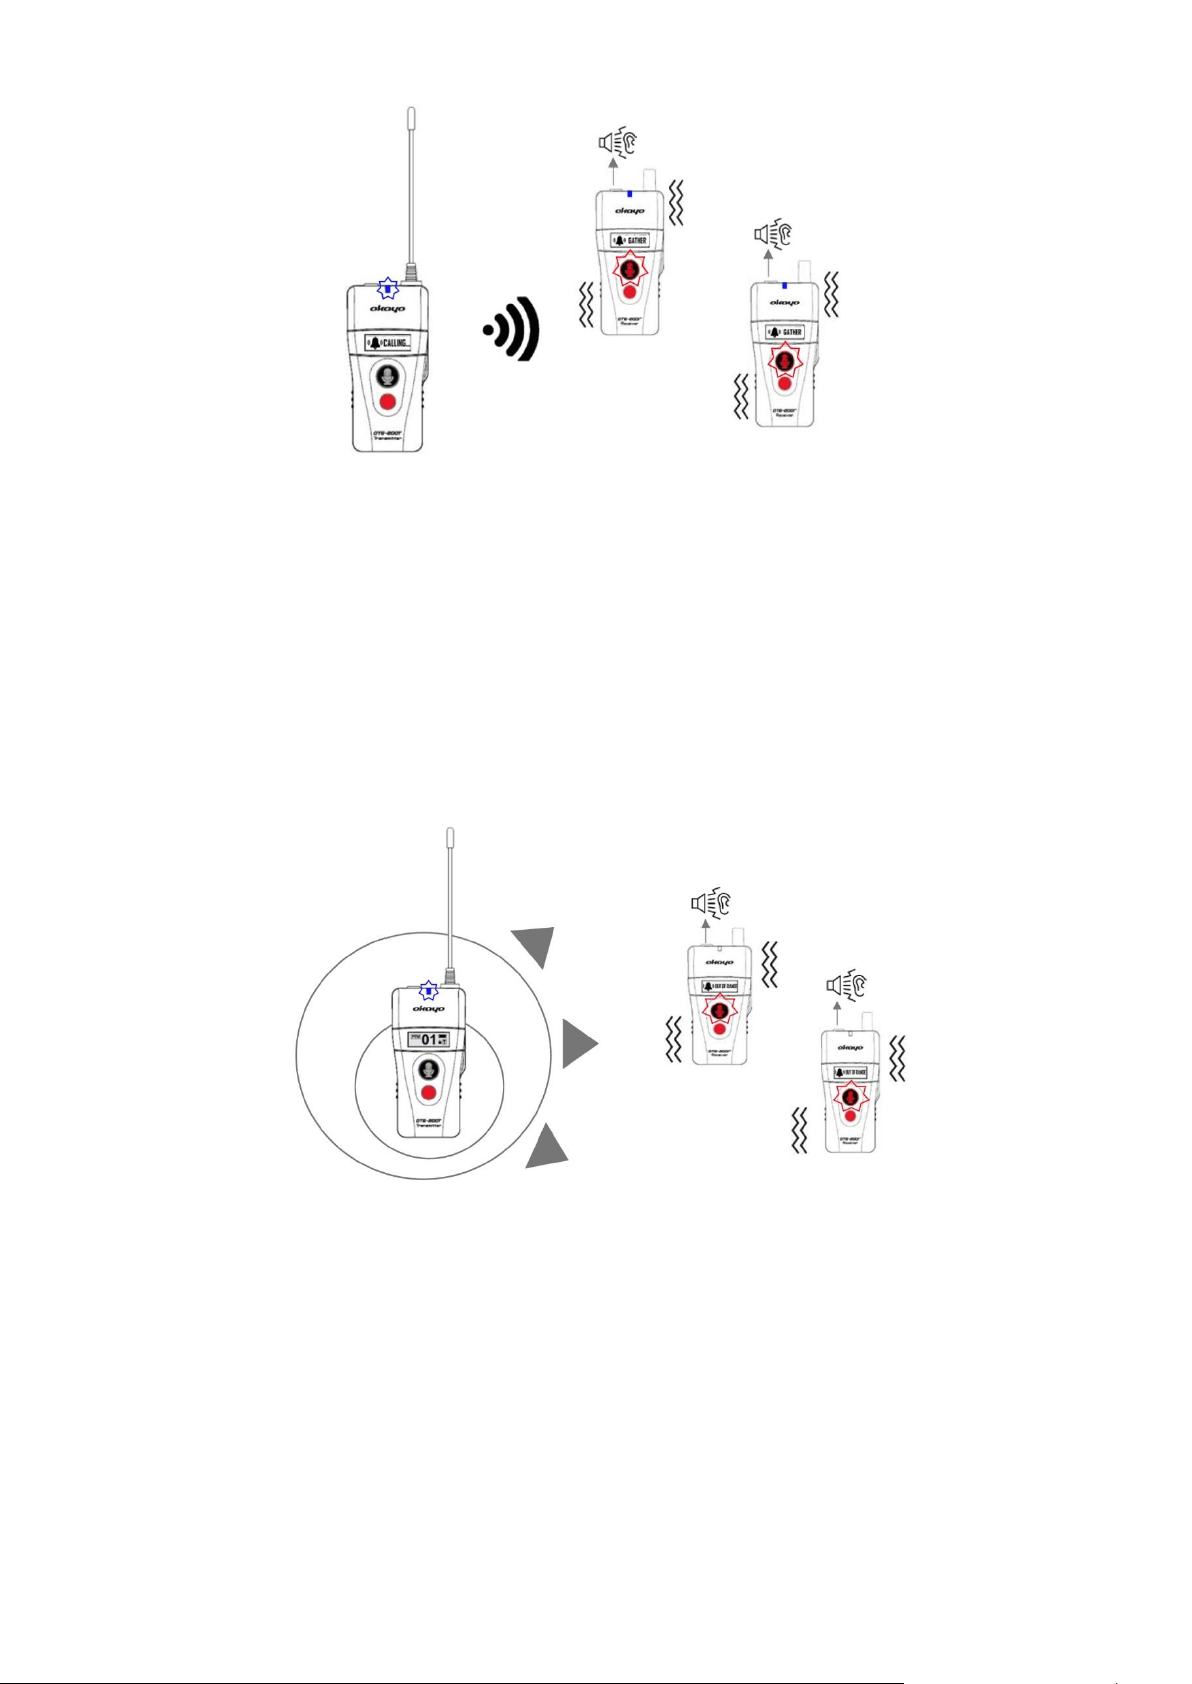
➔Turn the transmitter off by pressing and holding the power button (9).
➔Turn the transmitter on again, by pressing and holding for 3 seconds both
the calling button (6) and the power button (9).
➔Using UP/DOWN (8) set the same channel as in the first transmitter
(master).
After a while, the transmitter’s screen will display a number of paired receivers
(the same as in the first transmitter). This means that the whole operation has
been performed correctly.
➔Now, the pairing mode in transmitters shall be turned off, by pressing the
calling button (6).
After connecting the accessories (headsets, headphones) the transmitters and
receivers are ready for work.
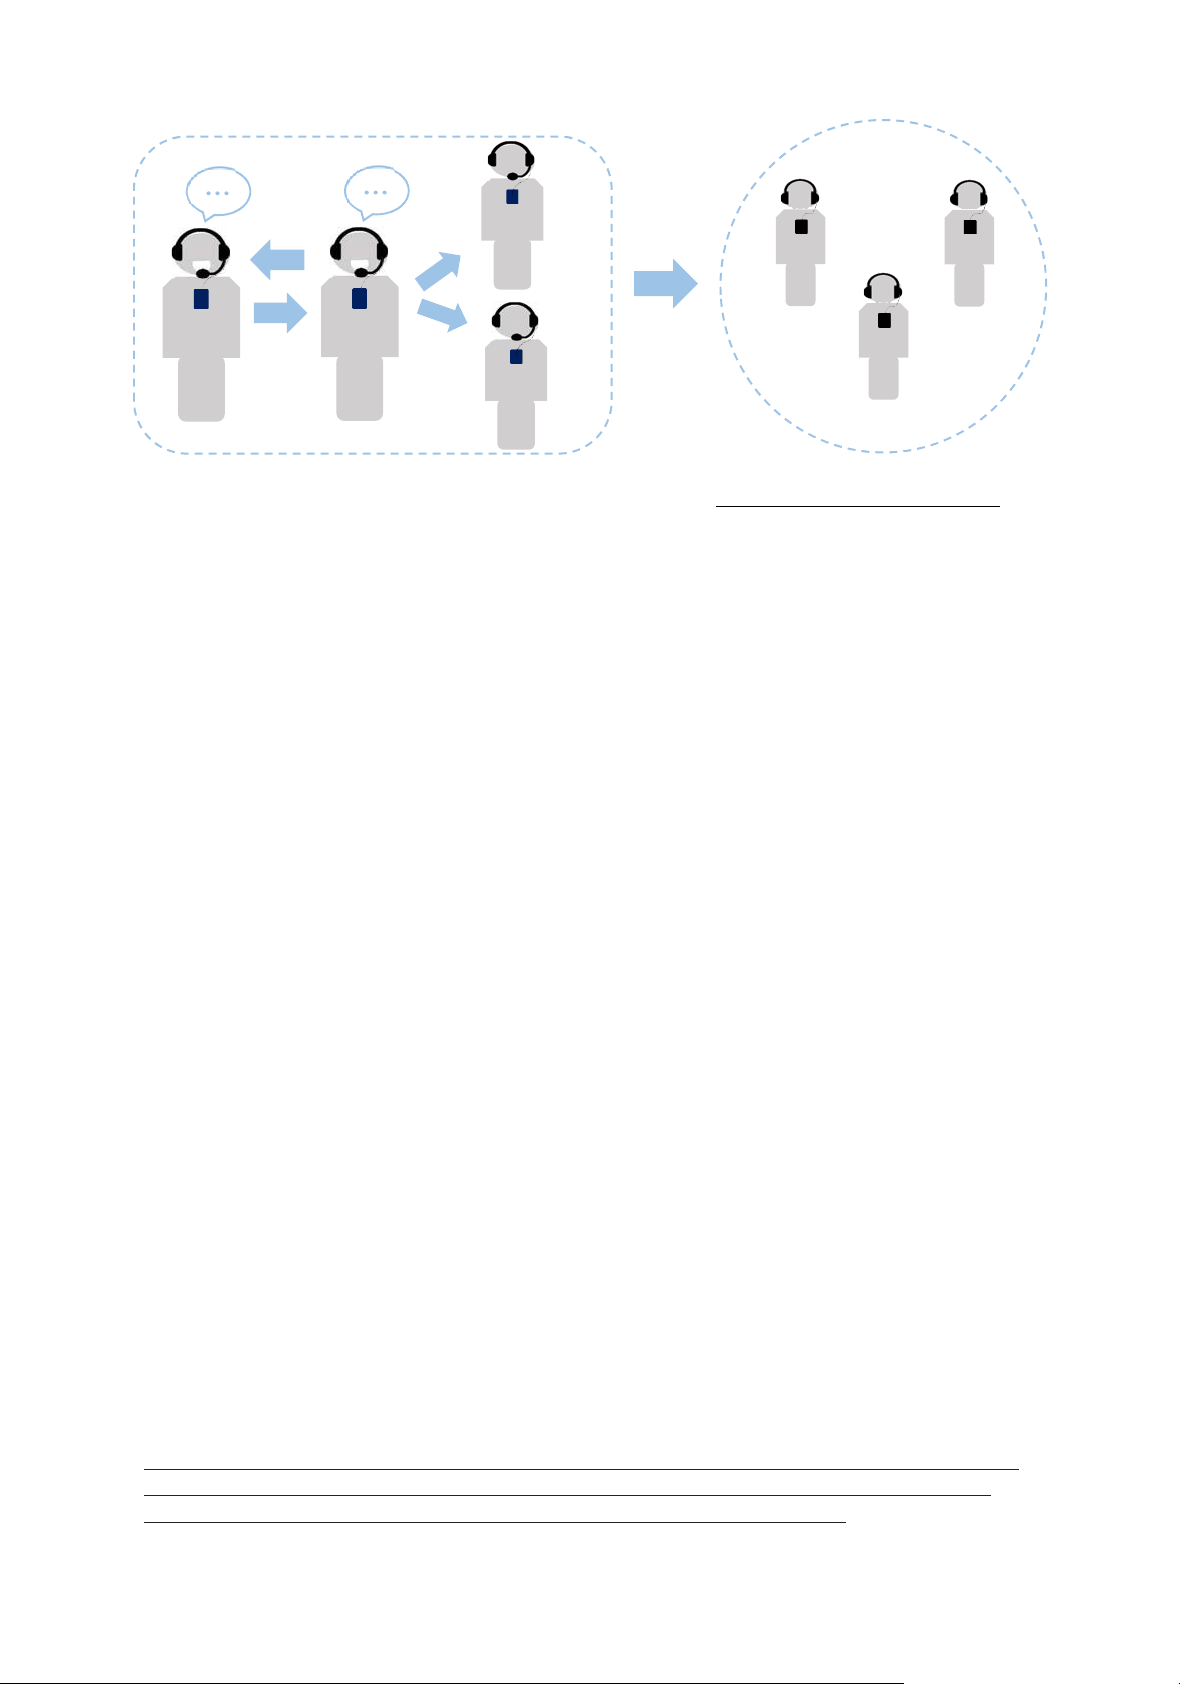
Synchronisation of OTG-200 system.
The OTG-200 system allows synchronisation of the transmitter with receivers
without the necessity to pair the devices. This allows standard communication
between devices, which is offered by the selected communication mode (see
point 2), however the “advanced settings” remain disabled.
➔Turn the transmitter on, by pressing and holding down both DOWN button
(8) and power button (9) for 3 seconds.
➔With buttons UP/DOWN (8) scroll through the available modes. Press the
power button (9) to confirm the selected communication mode.
➔Turn the transmitter off by pressing and holding the power button (9).
➔Turn the transmitter on again (master) by pressing and holding both the
talk/mute button (5) and power button (9) for 3 seconds.
➔Channel selection shall be started within 3 second since powering up the
transmitter, with buttons UP/DOWN (8). The selected channel shall be
confirmed with the power button (9) or by waiting for 3 seconds for