Adjusting the chronograph second hand: (once chronograph corrective
mode has been activated)
1) Push and release button A repeatedly to advance the chronograph second
hand incrementally until it is centered on 12:00.
2) If you have completed resetting the chronograph to zero simply push the
crown back in to the 1st position for normal operation else push button B
once to select the chronograph hour hand adjustment mode.
Adjusting the chronograph 1/10th second hand: (if you have just activated
chronograph corrective mode push button B once)
1) Push and release button A repeatedly to advance the chronograph hour
hand incrementally until it is centered on 12:00.
2) If you have completed resetting the chronograph to zero simply push the
crown back in to the 1st position for normal operation else push button B
once more to select the chronograph minute hand adjustment mode.
Adjusting the chronograph minute hand: (if you have just activated chrono-
graph corrective mode push button B twice)
1) Push and release button A repeatedly to advance the chronograph minute
hand incrementally until it is centered on 12:00.
2) If you have completed resetting the chronograph to zero simply push the
crown back in to the 1st position for normal operation else push button B
once more to return to the chronograph second hand adjustment mode.
NOTES
Button A adjusts the selected chronograph hand.
Button B selects the next chronograph hand to be adjusted.
The 1/10th second chronograph hand becomes an hour hand after an accumulated 30 min-
utes of use. When in chronograph corrective mode button B select function goes in sequence
starting with the chronograph second hand then to the chronograph 1/10th second hand and
then to the chronograph minute hand; pushing button B again will begin the sequence again.
RONDA 5040.D
Features: 10 hour laptimer with 1/10th second, date.
Setting the time:
1) Pull crown out to 3rd position and adjust until the correct time is displayed.
2) Push crown back in to the 1st position for normal operation.
Setting the date:
1) Pull crown out to 2nd position and adjust until the correct date is displayed.
*(Do not adjust the date between 9:00pm and 2:00am – the date wheel
may be damaged-NOT COVERED BY WARRANTY)
2) Push crown back in to the 1st position for normal operation.
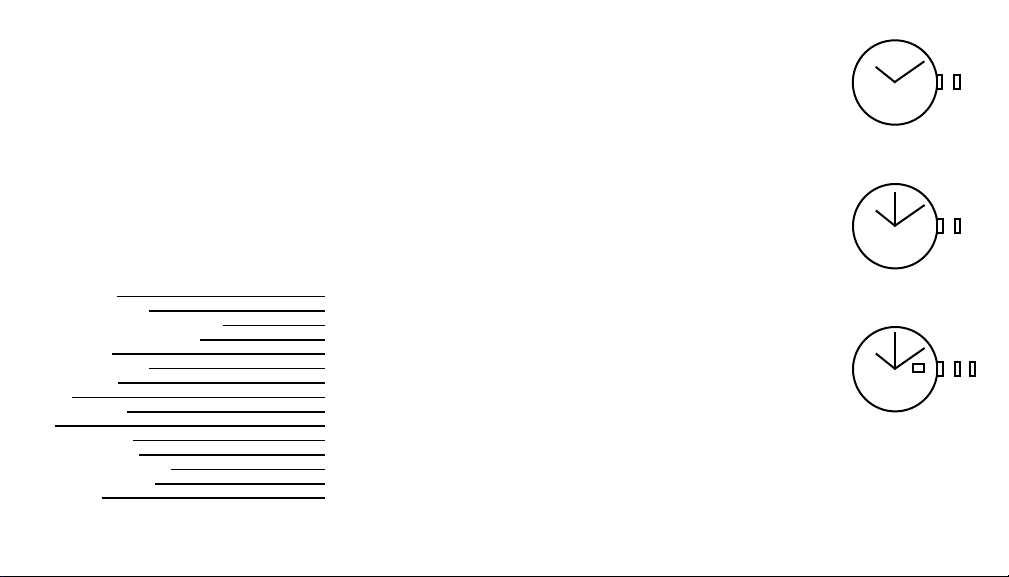
Operating the chronograph:
1) Push button A to start and stop the chronograph.
2) Push button B to reset the chronograph to zero.
Operating the interval chronograph function:
1) Push button A to start timing.
2) Push button B to display split time. This displays the first interval of time,
while timing continues in the background.
3) Push button B to release split time. This displays the current elapsed period
of time. Repeat section 2 for multi-intervals.
4) Push button A to stop the chronograph – Your final time is displayed.
5) Push button B to reset the chronograph to zero.
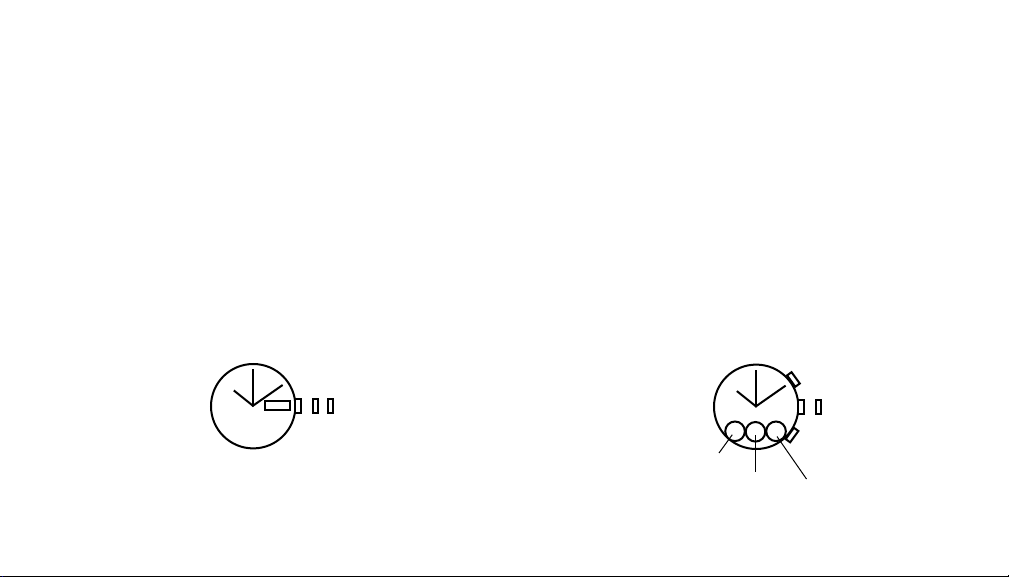
Resetting the chronograph to zero:
1) Pull crown out to 3rd position.
2) Push and hold button A and B simultaneously for at least 3 seconds.
3) The chronograph second hand will rotate 360 degrees (1 full revolution).
If this does not occur push the crown back to the 1st position and repeat
the procedure from step 1.
4) The chronograph corrective mode is now activated.
1 2
Minute
Second
3
31
1/10 Second
Hour
A
B
(14) (15)