Usage Notice...................................................................................................................... 2
Safety Information ........................................................................................................................2
Class B emissions limits................................................................................................................................................................2
Important Safety Instruction........................................................................................................................................................2
Precautions.....................................................................................................................................4
Eye Safety Warnings.....................................................................................................................6
Introduction ....................................................................................................................... 7
Product Features ...........................................................................................................................7
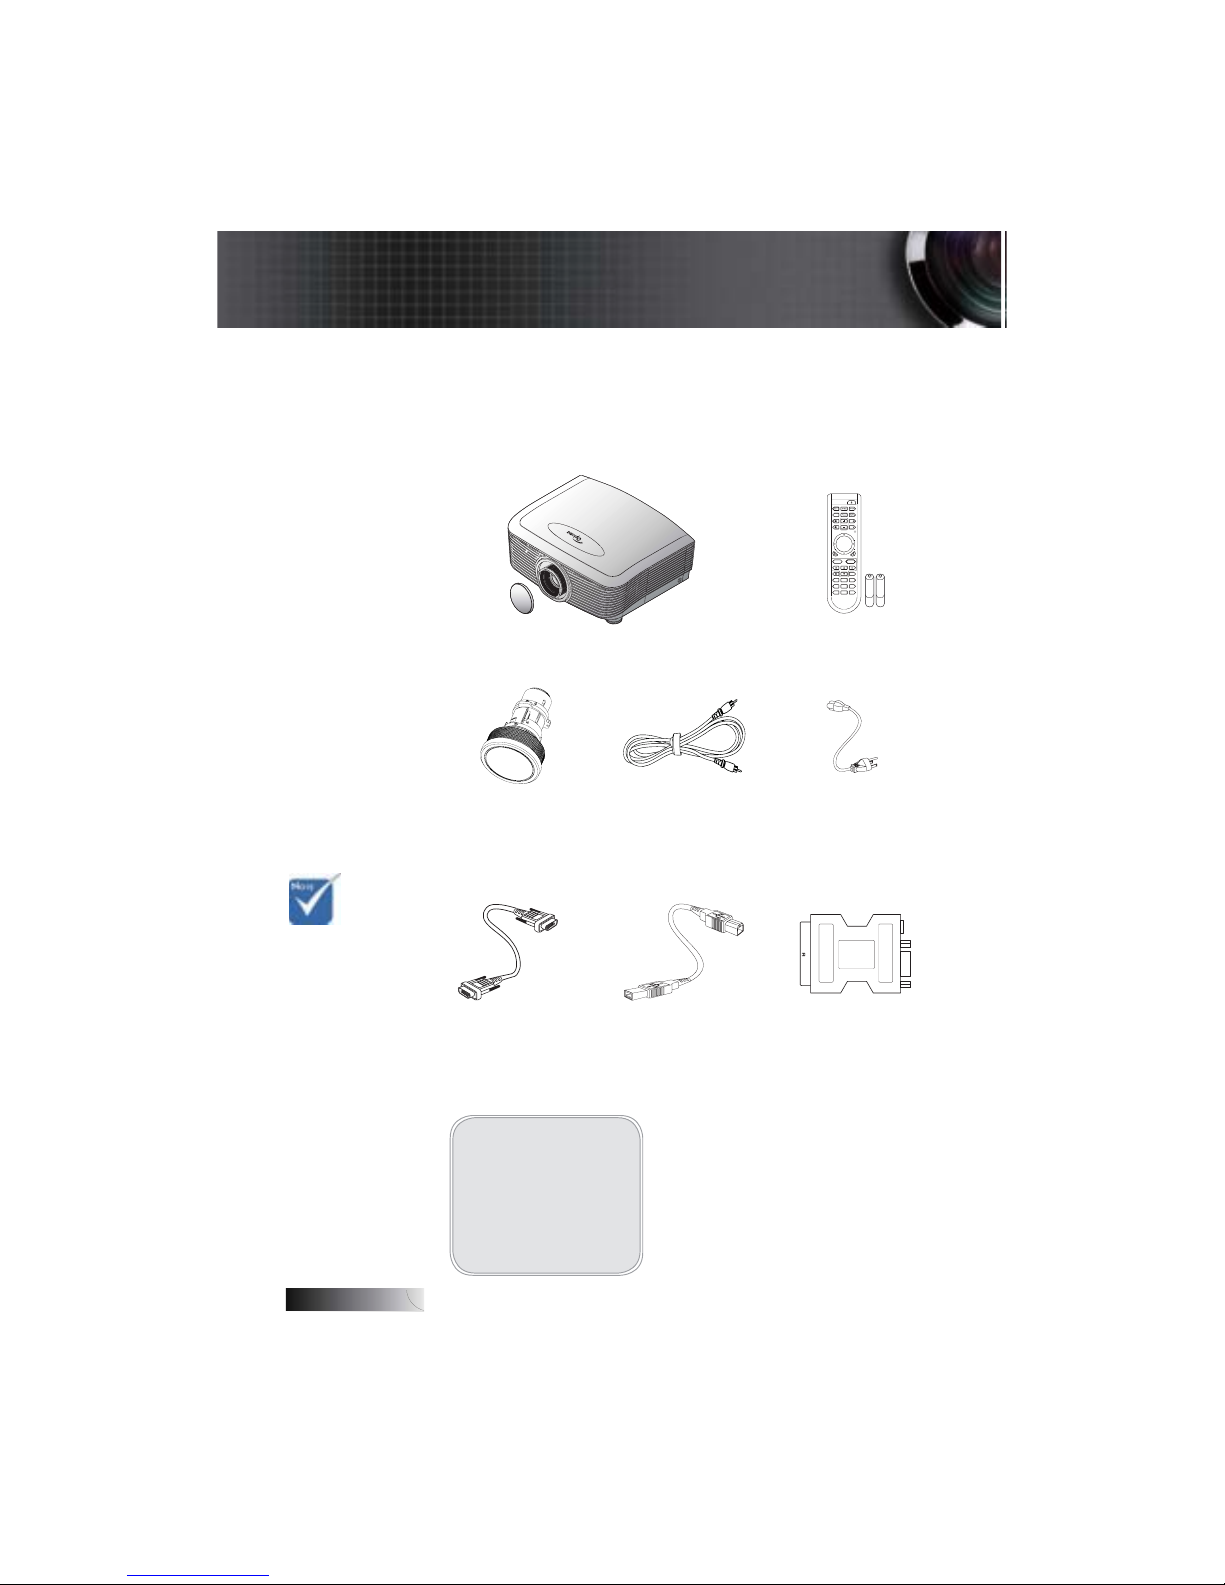
Package Overview ........................................................................................................................8
Product Overview.........................................................................................................................9
Main Unit........................................................................................................................................................................................9
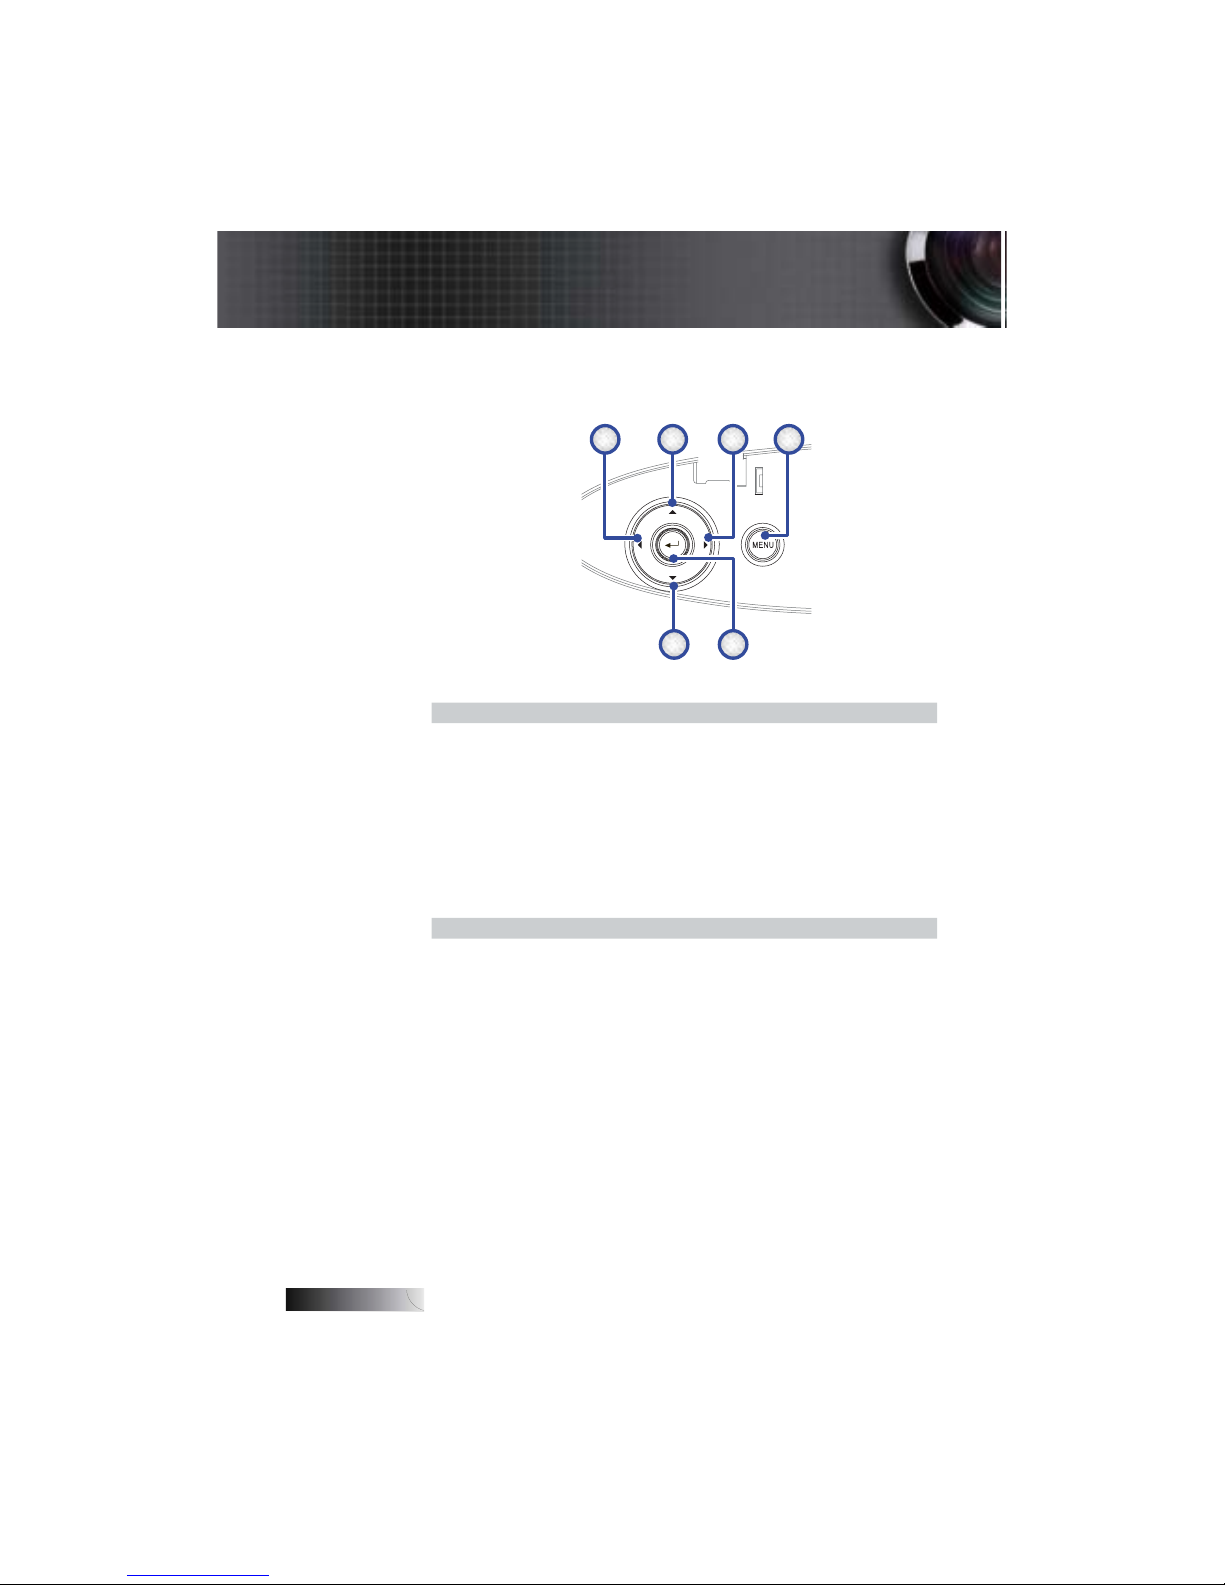
Control Panel................................................................................................................................................................................10
Rear View......................................................................................................................................................................................11
Remote Control ............................................................................................................................................................................12
Installation........................................................................................................................ 13
Connecting the Projector............................................................................................................13
Connect to Computer / Notebook............................................................................................................................................13
Connect to Video Sources...........................................................................................................................................................14
Installing or Removing the Optional Lens..............................................................................15
Removing the Existing Lens From the Projector.....................................................................................................................15
Installing the New Lens..............................................................................................................................................................16
Powering On/Off the Projector ................................................................................................17
Powering On the Projector .........................................................................................................................................................17
See Security Setting on page 43 if security lock is enabled. ..................................................................................................18
Powering Off the Projector.........................................................................................................................................................19
Warning Indicator........................................................................................................................................................................19
Adjusting the Projected Image..................................................................................................20
Adjusting the Projector’s Height ...............................................................................................................................................20
Adjusting Projected Image Position Using PureShift............................................................20
Adjusting the vertical image position.......................................................................................................................................21
Adjusting the horizontal image position..................................................................................................................................22
PureShift Range Diagram...........................................................................................................................................................22
Adjusting the Zoom / Focus......................................................................................................................................................23
Adjusting Projection Image Size (XGA) ...................................................................................................................................24
Adjusting Projection Image Size (WXGA) ...............................................................................................................................25
User Controls................................................................................................................... 26
Control Panel...............................................................................................................................26
Remote Control ...........................................................................................................................27
On-screen Display Menus..........................................................................................................29
How to operate.............................................................................................................................................................................29
Menu Tree.....................................................................................................................................................................................30
Image ............................................................................................................................................31
Display..........................................................................................................................................37
Setup .............................................................................................................................................39
Options .........................................................................................................................................50
LAN_RJ45.....................................................................................................................................55
Appendices ...................................................................................................................... 58
Troubleshooting/Help On-screen Display Menu..................................................................58
Image Problems............................................................................................................................................................................58
Intermission Problems ................................................................................................................................................................63
HDMI Q & A ................................................................................................................................................................................64
Projector Status Indication..........................................................................................................................................................65
LED Error Code Messages..........................................................................................................................................................66
Remote Control Problems ..........................................................................................................................................................67
Audio Problems ...........................................................................................................................................................................68
Replacing the Lamp.....................................................................................................................................................................69
Cleaning the Projector................................................................................................................71
Cleaning the Lens........................................................................................................................71
Cleaning the Case ........................................................................................................................................................................71
Compatibility Modes...................................................................................................................................................................72
RS232 Commands.......................................................................................................................74
RS232 Protocol Function List.....................................................................................................75
Ceiling Installation......................................................................................................................82
Optoma Global Offices...............................................................................................................83
Regulation & Safety notices.......................................................................................................85
Operation conditions..................................................................................................................86
Table of Contents