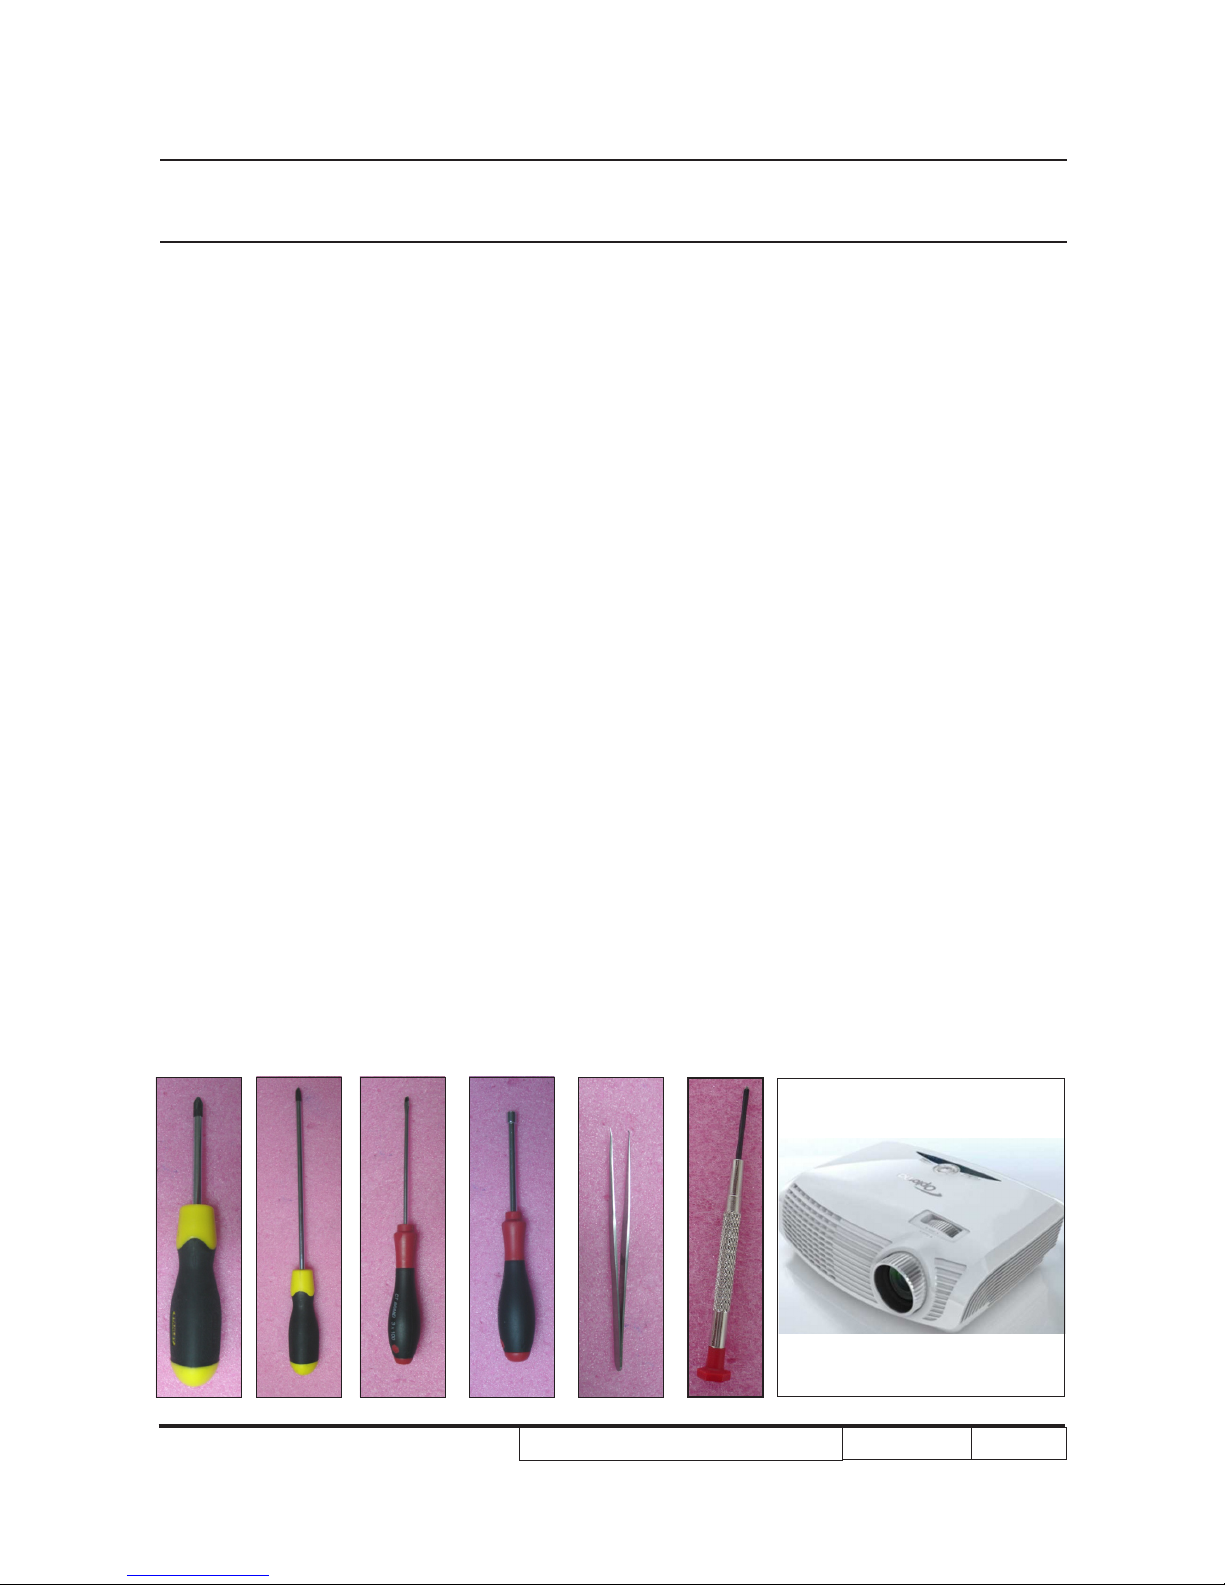
Optoma HD20 User manual
Other Optoma Projector manuals

Optoma
Optoma GT360 User manual

Optoma
Optoma EX762 User manual

Optoma
Optoma EX542 User manual

Optoma
Optoma GT760 User manual

Optoma
Optoma TH1060P Technical manual

Optoma
Optoma DS316L User manual

Optoma
Optoma EP910 SXGA+ User manual

Optoma
Optoma EX615 Operating manual

Optoma
Optoma HD67 User manual

Optoma
Optoma EP709 User manual

Optoma
Optoma W515 User manual

Optoma
Optoma 142X User manual

Optoma
Optoma EP1690 User manual

Optoma
Optoma HD146X User manual

Optoma
Optoma Optoma TX612 Administrator guide

Optoma
Optoma Optoma PRO150S User manual

Optoma
Optoma TW766W User manual

Optoma
Optoma Optoma EX525ST User manual

Optoma
Optoma TX635-3D User manual

Optoma
Optoma Optoma TX612 Installation manual