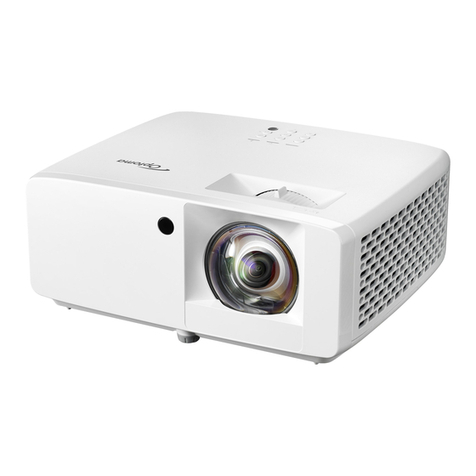
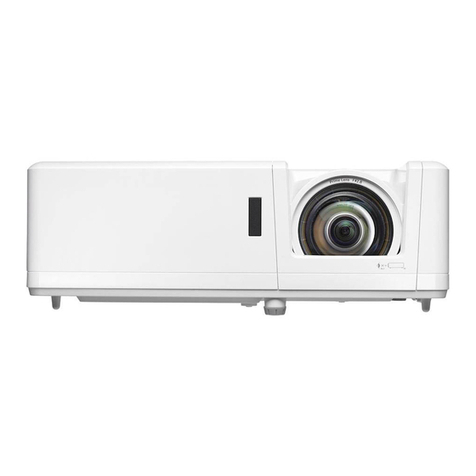
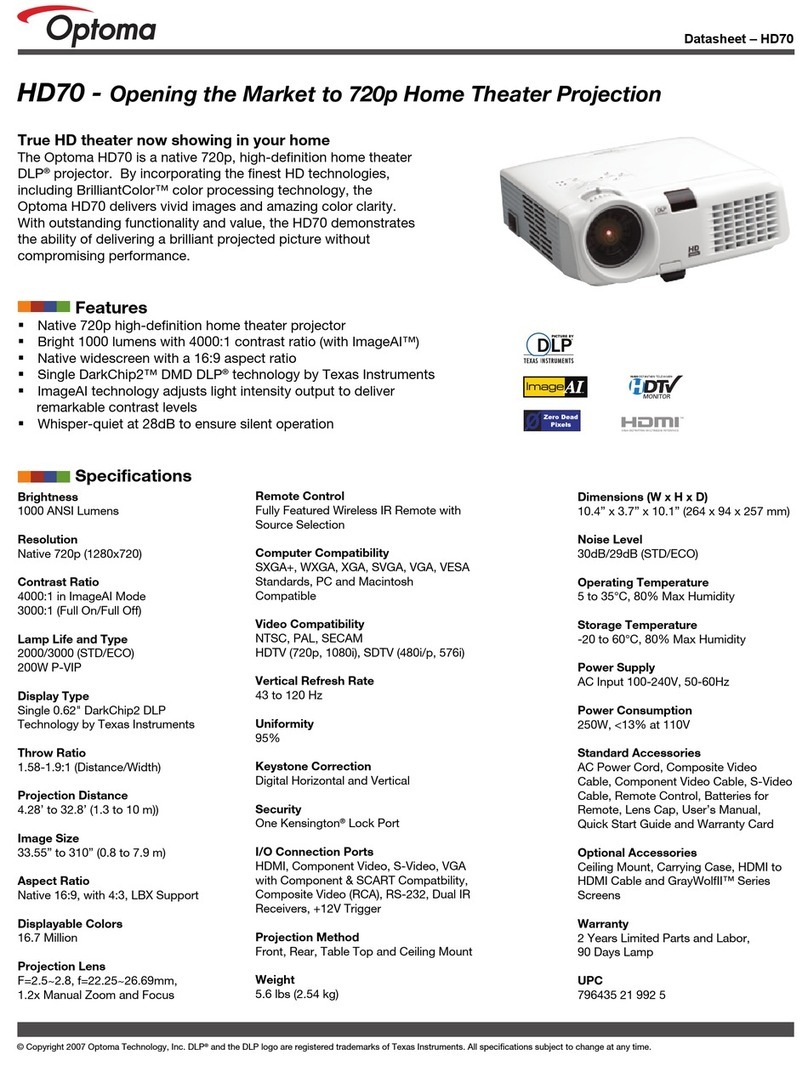
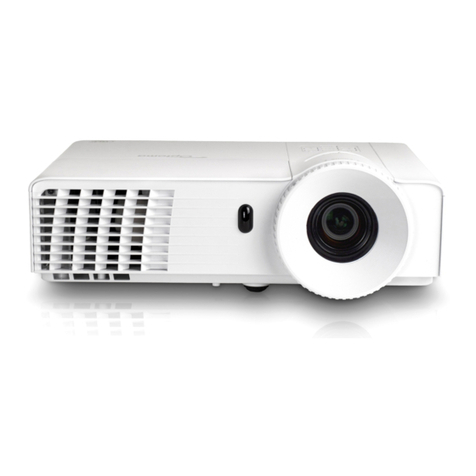
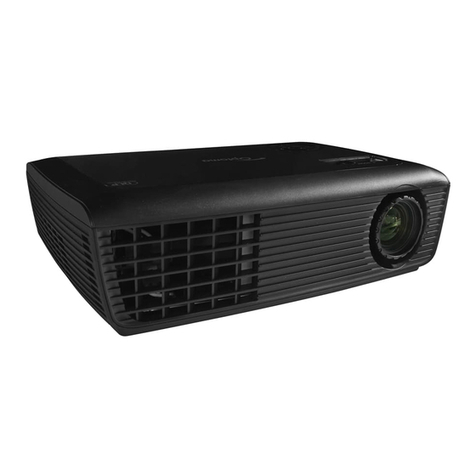
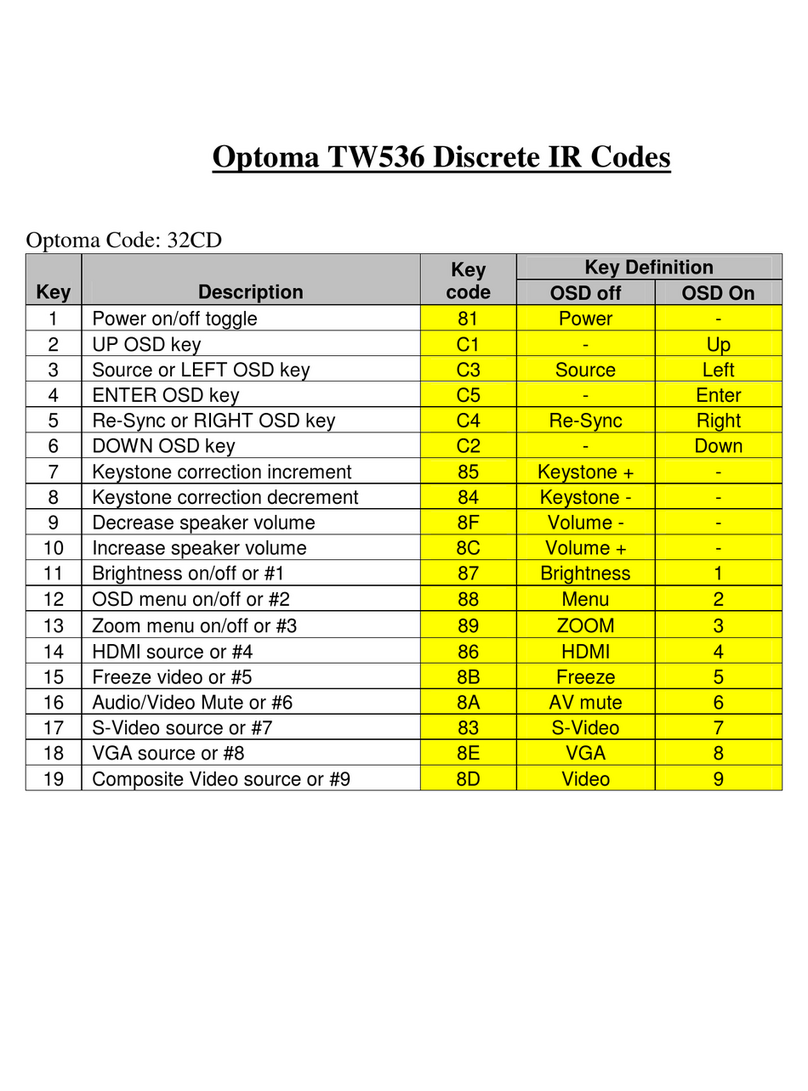
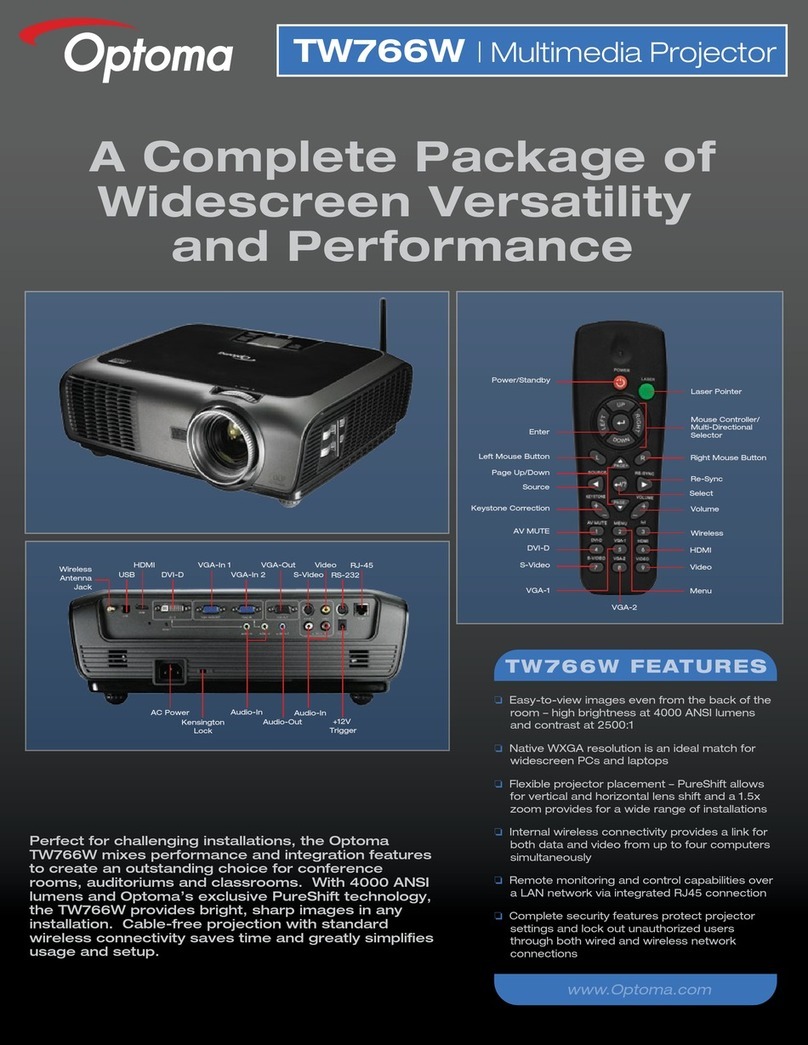
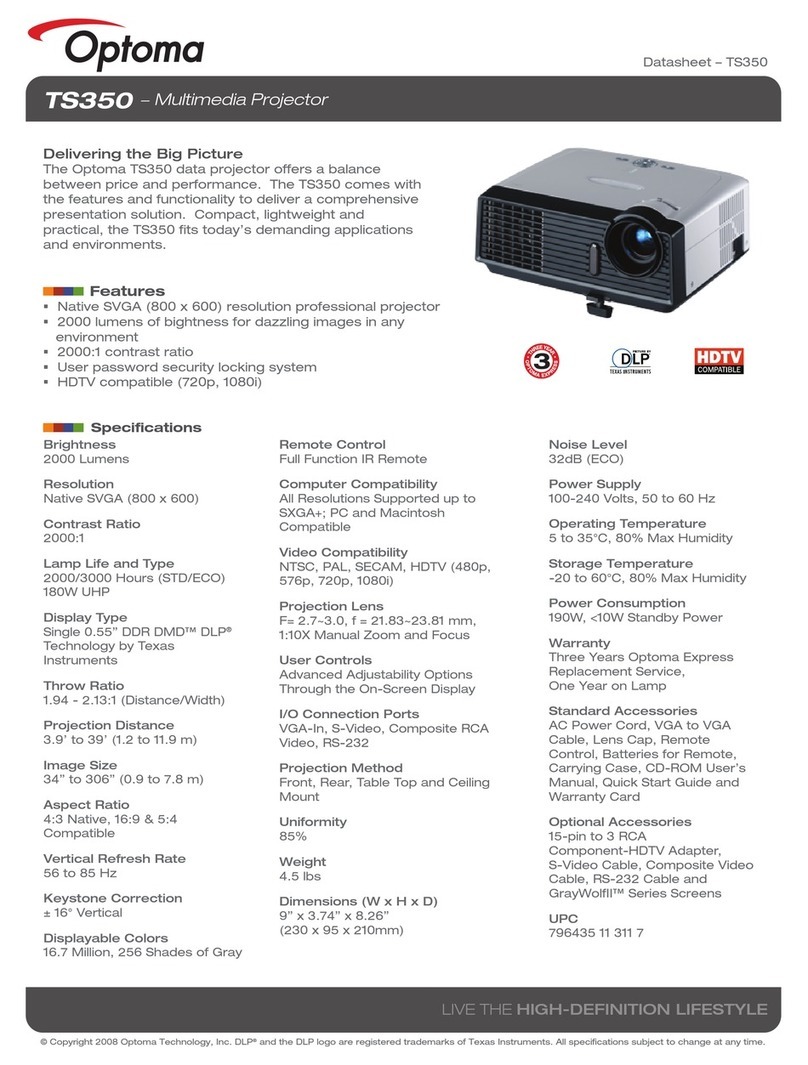
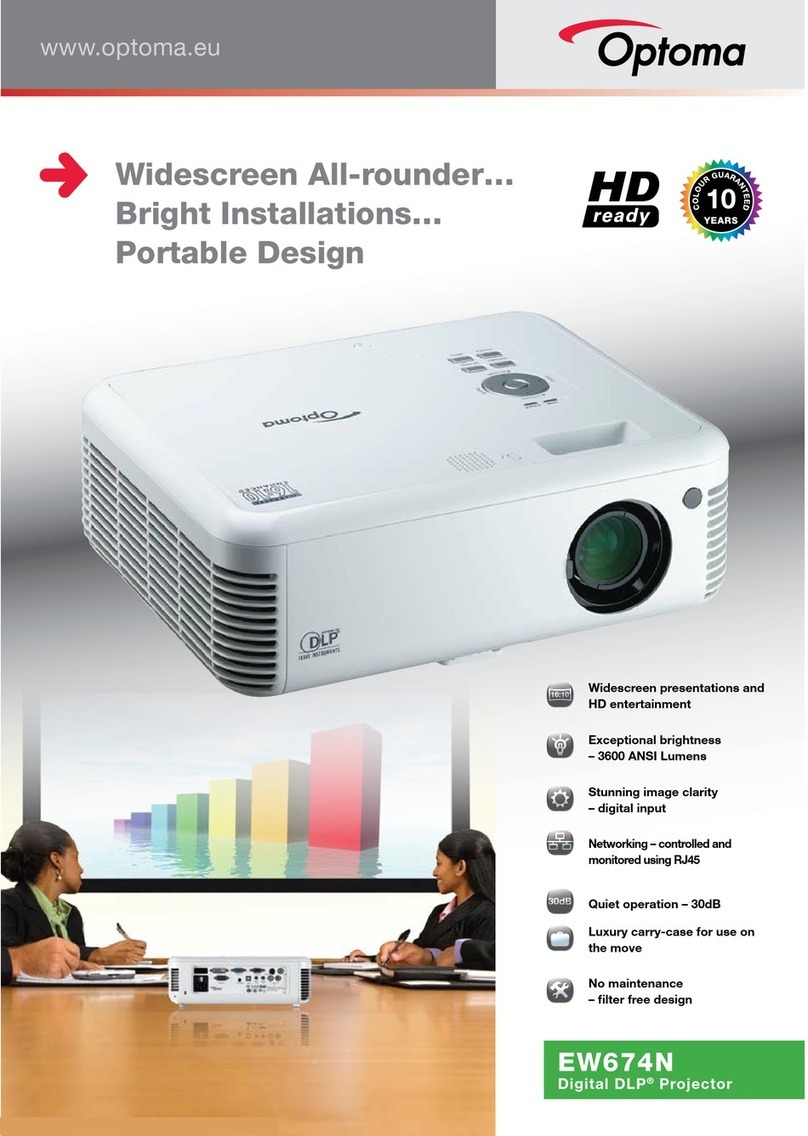
Optoma HD25 User manual

SERVICE MANUAL
TSE: Mina Check: Amy Approved: Alick
Date Revise Version Description
2012.12.17 V1.0 Initial Issue
HD25/HD25LV

Condential
HD25/HD25LV I
Preface
This manual is applied to HD25/HD25LV projection system. The manual gives you a brief
description of basic technical information to help in service and maintain the product.
Your customers will appreciate the quick response time when you immediately
identify problems that occur with our products. We expect your customers will
appreciate the service that you offer them.
This manual is for technicians and people who have an electronic background.
Please send the product back to the distributor for repairing and do not attempt to
do anything that is complex or is not mentioned in the troubleshooting.
Notice: The information found in this manual is subject to change without prior notice.
Any subsequent changes made to the data herein will be incorporated in
future edition.
HD25/HD25LV Service Manual
Copyright Dec. 2012
All Rights Reserved
Manual Version 1.0

Condential
HD25/HD25LV
HD25/HD25LV Comparison ListComparison List
II
Parts HD25 HD25LV
MAIN BOARD 80.8RV01G002 80.8RU01G002
ROD 70.8EG32GR01 70.8RU25GR01
COLOR WHEEL 70.8RV10GR01 70.8RU24GR01

Condential
HD25/HD25LV III
Table of Content
Chapter 1 Introduction
Highlight 1-1
Compatible Mode 1-2
Chapter 2 Disassembly Process
Equipment Needed & Product Overview 2-1
Disassemble Top Cover Module 2-2
Disassemble Main board 2-2
Disassemble Lens 2-5
ROD Adjustment 2-6
Re-write Lamp Hours 2-7
Repair Action 2-8
Chapter 3 Troubleshooting
LED Lighting Message 3-1
Main Procedure 3-2
Pin Assignment 3-3
Chapter 4 Function Test & Alignment Procedure
Test Equipment Needed 4-1
Test Condition 4-1
VGA Port Test 4-2
Audio port Test 4-7
Video port Test 4-7
Component port Test 4-7
HDMI Port Test 4-8
3D Test 4-8

Condential
HD25/HD25LV IV
Run In Test 4-8
Test Inspection procedure 4-9
Auto Waveform and Factory Fan RPM 4-10
Chapter 5 Firmware Upgrade
Section 1: System Firmware Upgrade 5-1
Section 2: 8051 Firmware Upgrade Procedure 5-3
Appendix A
Exploded Image I
Appendix B
SerialNumberSystemDenition I
PCBACodeDenition II

HD25/HD25LV Condential 1-1
Chapter 1
Introduction
1-1 Highlight
No Item Description
1Dimensions (WxDxH) ● 324x234x97mm(WxDxH) (w/o feet)
● 324x234x112mm (WxDxH) (with feet)
2Power Supply ● Auto-ranging: 100V ~ 240V ± 10%, 50-60Hz
3 Power Consumption
● Bright (Normal): TYP 308W MAX 339W @ 110V AC
TYP 297W MAX 327W @ 220V AC
● ECO Mode: TYP 250W MAX 275W @ 110V AC
TYP 241W MAX 265W @ 220V AC
4 Keystone correction ● +/-40 degree is the scaler spec.
● +/-12 degree is for system angle of V-keystone
5Throw ratio ● 1.5~1.8(D/W) @ 60”
6 Projection lens ● YM40Y
7Lamp life
● Bright Mode (Normal Mode)
3500 Hours Standard @240W,50% Survival Rate
● STD Mode (ECO Mode)
5000 Hours Typical @190W,50% Survival Rate
8 Lamp ● 240W Philp E20.9
9DMD Chip&Number of
active dots
● 0.65” S600, Dark Chip 3
● Number of active dots:1920x1080
10 Color wheel
For HD25
● 6S (R63G61B56R63G61B56)&7200rpm
For HD25LV
● 6S (R81Y41G84C31W52B71)&7200rpm
11 System controller ● TI DDP4422
12 Video compatibility
● NTSC: M/J ,3.58MHz, 4.43 MHz
● PAL: B, D, G, H, I, M, N, 4.43MHz
● SECAM: B, D, G, K, K1, L, 4.25/4.4 MHz
● HDTV: 720p(50/60Hz), 1080i(50/60Hz),1080P(24/50/
60Hz)
● SDTV:480i/p, 576i/p

HD25/HD25LV Condential 1-2
Compatibility Resolution Refresh Rate [Hz] Analog Digital
NTSC 720 x 480 60 - -
PAL/SECAM 720 x 576 50 - -
VGA
640 x 480 60 ○ ○
640 x 480 67 ○ -
640 x 480 72 ○ -
640 x 480 85 ○ -
SVGA
800 x 600 56.3 ○ -
800 x 600 60.3 ○ ○
800 x 600 72 ○ ○
800 x 600 85 ○ ○
800 x 600 120 ○ ○
No Item Description
13 Input signal spec
● VGA-in x2
● Composite Video x1
● HDMI v1.4
● Audio input (3.5mm jack)x 2
● RS232 control (9 pin)
● �SB type B(remote mouse simulation)�SB type B(remote mouse simulation)
14 Altitude&Temperature
● Non-operation: Sea Level to 40,000 feet
Operating: Sea Level to 10,000 feet (@23°C);
manual switch to high altitude mode @5000 feet &
above
● Operating: 0 to 10,000 feet (5 to 40ºC)
Opefating Testing:5°C~40°C @ 0~2,500 feet
1-2 Compatible Mode
Computer Compatibility

HD25/HD25LV Condential 1-3
Compatibility Resolution Refresh Rate [Hz] Analog Digital
XGA
1024 x 768 60 ○ ○
1024 x 768 70.1 ○ ○
1024 x 768 75 ○ ○
1024 x 768 85 ○ ○
1024 x 768 120 ○ ○
HD720
1280 x 720 50 ○ ○
1280 x 720 60 ○ ○
1280 x 720 120 ○ ○
WXGA
1280 x 768 60 ○ ○
1280 x 768 75 ○ ○
1280 x 768 85 ○ ○
1280 x 768 60 ○ ○
1366 x 768 60 ○ ○
WXGA+ 1440 X 900 60 ○ -
SXGA
1280 x 1024 60 ○ ○
1280 x 1024 75 ○ ○
1280 x 1024 85 ○ ○
SXGA+ 1400 x 1050 60 ○ ○
�XGA 1600 x1200 60 ○ ○
HDTV
1920 x 1080p 24 ○ ○
1920 x 1080p 30 - ○
1920 x 1080p 50 ○ ○
1920 x 1080p 60 ○ ○
HDTV 1920 x 1080i 50 - ○
1920 x 1080i 60 - ○
SDTV 720 x 576i 50 - ○
SDTV 720 x 576p 50 - ○
SDTV 720 x 480i 60 - ○
SDTV 720 x 480p 60 - ○
Note: If the Computer Compatibility supportive signal is different from User’s Manual,
please refer to User’s Manual.

HD25/HD25LV Condential 2-1
Chapter 2
Disassembly Process
2-1 Equipment Needed & Product Overview
1. Screw Bit (+): 105
2. Screw Bit (+): 107
3. Screw Bit (-): 107
4. Hex Sleeves: 5 mm
5. Tweezers
6. Projector
* Before you start: This process is protective level II. Operators should wear electrostatic chains.
* Note: - If you need to replace the main board, you have to record the lamp usage hour.
- Some related contents please refer to common SM chapter 2.

HD25/HD25LV Condential 2-2
2-1 Repair notice
2-1-1 Disassemble Top Cover
Module
2-1-2 Disassemble Main
Board
1. Unplug 1 connector (as green square) to
remove the FPC cable.
2. Unplug 8 connectors (as yellow square).
3. Unscrew 6 screws (as red circle) from
the Main Board Module.
1. Unscrew 3 screws (as red circle) from
the Bottom Cover.
2. Press two sides of the projector and push
them as the blue arrow.
3. Remove the Top Cover Module.
FPC cable

HD25/HD25LV Condential 2-3
4. Unscrew 2 screw (as blue circle) from
the IO Cover.
5. Unscrew 8 hex screws (as green circle)
from the IO Cover.
6. Unplug 1 connector (as orange square).
7. Disassemble the Main Board.
Note: - Make sure cables plug into the
correct ports when assembling the
unit.
Main Board

HD25/HD25LV Condential 2-4
Note: - Make sure cables plug into the correct
ports when assembling the unit.
Please refer to the below table details of
each connector on Main Board.
Item Male Connector
on Main Board The key feature Figure
A & G Speaker Compose of Red/Black Wire and
Black wire tube (2 pin)
B Lamp Driver Black wire tube (5 pin)
CSystem Fan Compose of Red/Yellow/Black
Wire (3 pin)
DPhoto Sensor Compose of Red/Black/White
Wire and White wire tube (3 pin)
EBlower Compose of Red/White/Black
Wire and White wire tube (3 pin)
F IR Compose of Black/Yellow/Red
Wire and Gray wire tube (3 pin)
A
GFEDCB

HD25/HD25LV Condential 2-5
Note:Please assemble the main board
follow the steps as gure.
1
23
4
9
5
8
10 11
7
6

HD25/HD25LV Condential 2-6
2-1-3 Disassemble Lens
1.Unscrew 3 screws (as yellow circles)
2. Unscrew 3 screws (as yellow circles) to
disassemble lens .
Note:1.Before assemble the new
engine,please clean the dusty from
engine base by air gun rstly .
2.Locking 3 screws into the lens after
assemble the new engine.(as refer to
step1)
Lens Engine Base

HD25/HD25LV Condential 2-7
2-2 Rod Adjustment
1. Environment Adjustment
- The distance between the engine and
the screen is 1.8M.
- This process should be done at a dark
environment (under 2 Lux).
2. Procedure Adjustment
- Change the screen to "white screen".
- Adjust the screws by using the rod
on the engine module to readjust the
image.
("screw 1" should be adjusted rst, and
then "screw 2". Adjust until the yellowish
or bluish parts disappeared.)
3. Abnormal image inspection
- It should not have any abnormal color
at the rim of the image by estimating
through the eyes.
Note: - To avoid over adjusting the rod.
- After the operation, please use the glue
to x the screws.
1
2

HD25/HD25LV Condential 2-8
2-3 Re-write Lamp �ours�ours
Usage
1. Get into service mode
- Press (power→left→left→Menu) to get
into service mode.
2. Re-write Projection Hours
-Select Projection Hours and use “left” or “
right” buttons to re-write the projection
hours.
3. Re-write Lamp Hours(Normal)
-Select Lamp Hours(Normal) and use
“left” or “right” buttons to re-write the lamp
hours(Normal).
4. Re-write Lamp Hours(ECO)
-Select Lamp Hours(ECO) and use “left”
or “right” buttons to re-write the lamp
hours(ECO).
5. Choose “Exit”, press “Enter” to exit
Note: left key = decrease lamp hour
right key =increase lamp hour

HD25/HD25LV Condential 2-9
Repair action
Change parts Software Description
page
Main
Board
Lamp
Module
Engine
Module
Lamp
Driver Blower Color
Wheel Firmware EDID
Firmware Update vvvChapter 5
Color Wheel Index v v Chapter
4-3-1.7
OSD Reset v v v Chapter
4-5.2
EDID v Chapter 6
Re-write Lamp
Hours Usage vChapter
2-3
Video port test v chapter
4-3-3
Auto Waveform and
Factory Fan
RPM
v v v v v Chapter
4-6
Optical
Performance
Measure
vChapter
4-3-8
2-4 Repair Action

HD25/HD25LV Condential 3-1
Chapter 3
Troubleshooting
3-1 LED Lighting Message For Projector
Message Power LED
(Red)
Power LED
(Green)
Temp LED
(Red)
Lamp Led
(Red)
Standby State
(input power cord)
Power on (Warming) Flashing
Power on and Lamp
lighting
Power off (Cooling) Flashing
Error
(Lamp failed)
Error
(Fan failed) Flashing Flashing
Error
(Over Temp.) Flashing
Note: Steady light No light

HD25/HD25LV Condential 3-2
3-2 Main Procedure
The other troubleshooting procedures please refer to common service manual
3-1(Main Procedure).
No Symptom Procedure
1Auto Shut Down
- Check LED Status
a. Power LED and Lamp LED light on red
- Check Lamp
- Check Lamp Driver
- Check Main Board
b.Power LED ashes red, and Temp LED ashes red
- Check Fan
- Check Main Board
- Check Photo Sensor Board
- Check whether have execute auto Waveform and Factory Fan
RPM
c. Power LED ashes red, Temp LED light on red
- Check Main Board
- Check Color Wheel
23D Image
Abnormal
- Ensure the using 3D glasses is good and you must face the
projection.
- Ensure the CD in DVD is 3D format
- Ensure your standing distance is less than 6m from screen.
- Ensure the 3D function is on and execute “3D sync invert” in OSD
menu.
- Check main board

HD25/HD25LV Condential 3-3
3-3 Pin Assignment
Power on the projector and measure the pins as below:
J23:16 PIN POWER From LVPS J23 J9:Blower
PIN Description Voltage(V) PIN Description Voltage(V)
1 12V 12 1 FAN-V2 8.42
2 12V 12 2 FAN-2 0(operation)/3.3(fan lock)
3 12V 12 3 GND 0
4 GND 0
5GND 0
6 GND 0J4:System FAN
7GND 0PIN Description Voltage(V)
8GND 0 1 FAN-V1 6.18
9PFC ON1 3.97V 2FAN1 0(operation)/3.3(fan lock)
10 GND 0 3 GND 0
11 GND 0
12 GND 0J3:IR
13 5V 5 PIN Description Voltage(V)
14 12V 12 1IR-P1 5.08
15 12V 12 2 GND 0
16 12V 12 3 IR-P2 5.05
J11:Lamp driver
PIN Description Voltage(V) J5:Photo sensor
1LAMPLIT_IN 4.38 PIN Description Voltage(V)
2GND 0 1 J15-1 1.14
3 P5V 5 2 PHOTO-IN 0.52
4 LAMPEN_OUT 5 3 GND 0
5D-MODE6 4.8
J5
J11 J3 J9
J4
PIN 1
PIN 8
PIN 9
PIN 16
PIN 1 PIN 5 PIN 1
PIN 3 PIN 3 PIN 1 PIN 1PIN 3 PIN 1
PIN 3
Other manuals for HD25
3
This manual suits for next models
1
Table of contents
Other Optoma Projector manuals

Optoma
Optoma EX542 User manual

Optoma
Optoma TX7155 User manual

Optoma
Optoma DLP User manual

Optoma
Optoma ProScene EH504 User manual

Optoma
Optoma TX775 User manual

Optoma
Optoma TS526 User manual

Optoma
Optoma PK100 User manual

Optoma
Optoma EP720 Family User manual

Optoma
Optoma EW695UTis User manual

Optoma
Optoma EP759 User manual

Optoma
Optoma WU630 User manual

Optoma
Optoma EX774N User manual

Optoma
Optoma EP745 User manual

Optoma
Optoma EX550 User manual

Optoma
Optoma EP747A User manual

Optoma
Optoma Optoma EP721 User manual

Optoma
Optoma Optoma EP1691 Technical manual

Optoma
Optoma S331 User manual

Optoma
Optoma Projector User manual

Optoma
Optoma DS216 User manual