Setting T1 (local time):
Press the + or – pusher once for
each hour’s difference from T2
(home time).
The date can be corrected forwards
or backwards (Oris patent filed)
if setting the time with the + or –
pusher and passing midnight.
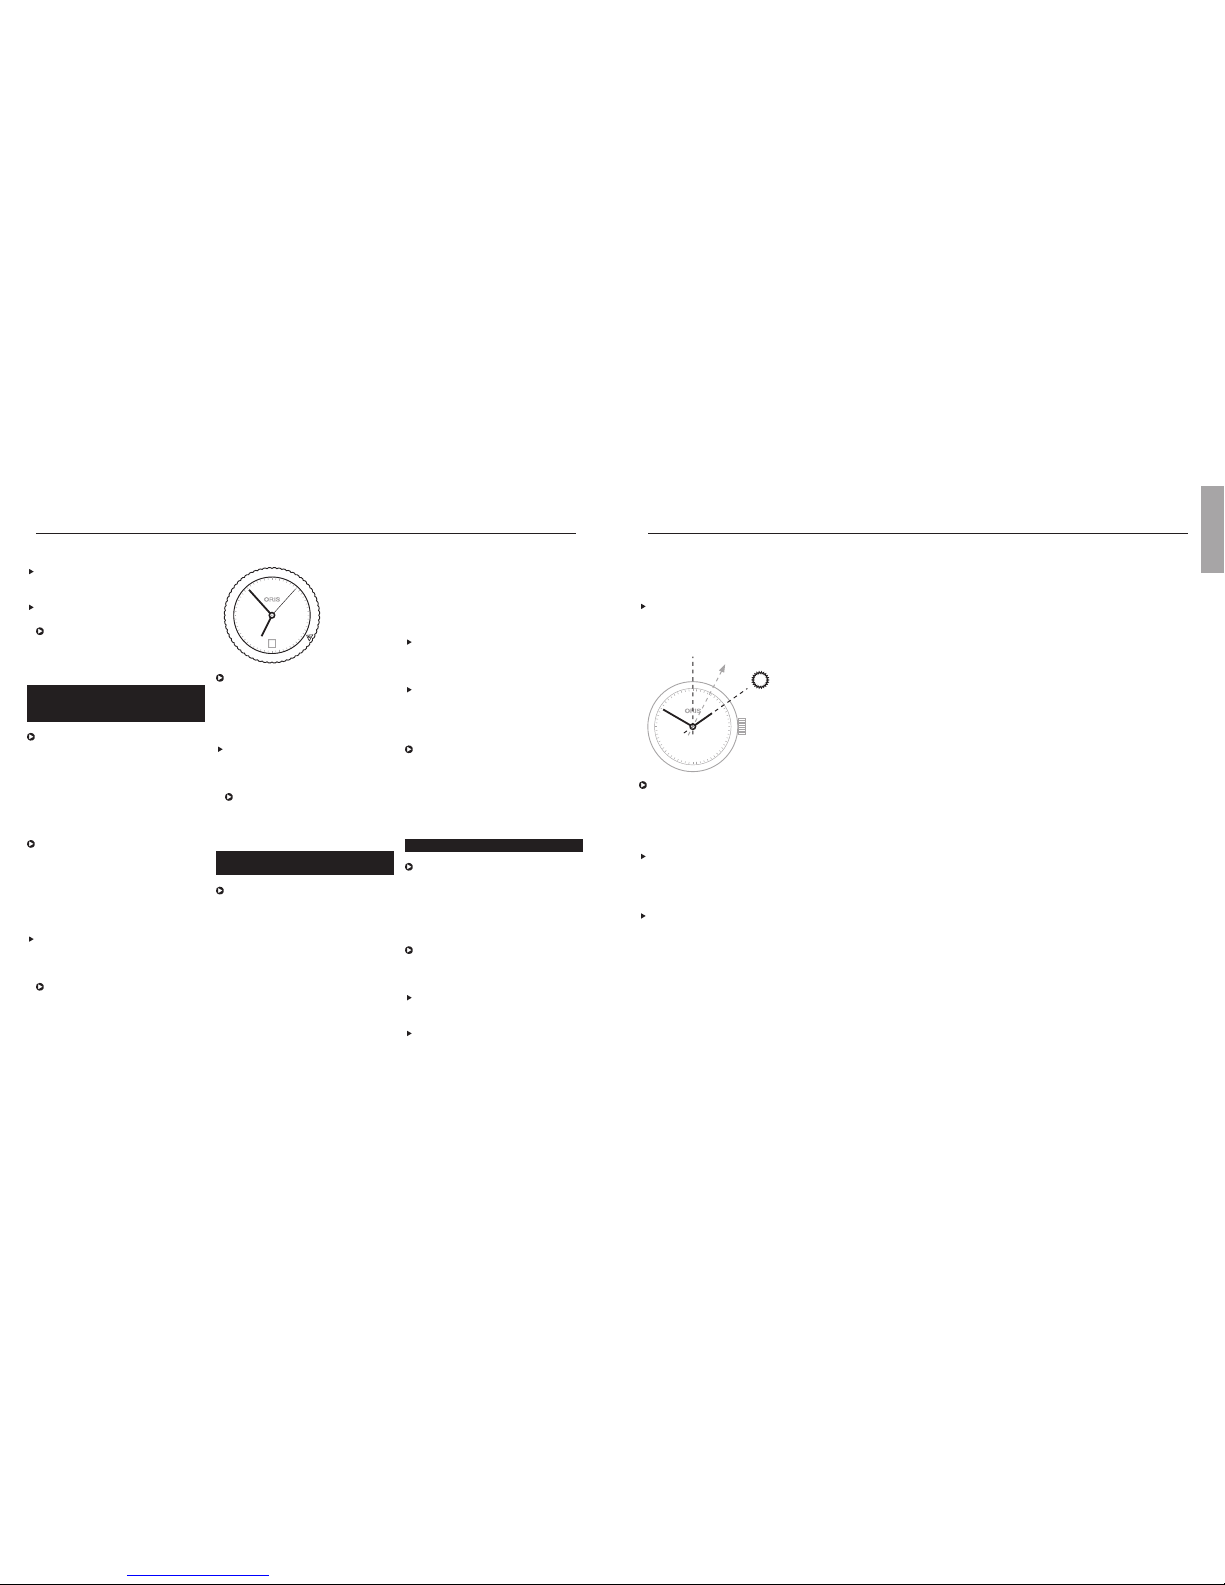
Worldtimer with 3rd time
zone and compass. C
As well as the functions described
in the previous ‘Oris Worldtimer’
chapter, this watch has a
separately adjustable inner rota-
ting bezel for an additional time
zone, and the cardinal points of
a compass. This watch is ideal
for people who need a constant
display of 3 time zones, e.g.
pilots, frequent flyers, international
business people, etc.
T1 Time at starting location
T2 Home time or GMT
T3 Time at destination location
4Compass graduation
5Small second
6Day/night display
7Date
8– pusher T1
9+ pusher T1
10 Vertical crown for setting of T3
and compass
On the figure above
T1 indicates 06:53 or 18:53
T2 02:53
T3 09:53 or 21:53
Synchronising T1 and T2,
setting the time and date:
Proceed as described in
‘Worldtimer’ chapter.
Setting T3:
Determine T3 i.e. the time at
destination and/or time difference
from departure location.
Pull the vertical crown (10)
upwards.
Turn the vertical crown (10) clock-
wise or anti-clockwise and set
the corresponding + or – time
difference, i.e. that between
12:00 in T3 (time at destination)
and 12:00 in T1 (time at starting
point).
Press the vertical crown down-
wards to the neutral position.
Setting the compass:
Remove watch from wrist.
Pull the vertical crown upwards
and set south on the compass
rotating bezel on the bisector (i.e.
mid-point) between the hour hand
and 12 o’clock. (Between 18.00
Synchronising times, setting the
time and date:
Release the screw-down crown
or QLC crown (if fitted) as per the
instructions in chapter 1.
Pull out the crown to position 3,
turn it anti-clockwise and set T2 to
05:00. The day/night display
appears dark.
Using the + pusher, set T1 to
05:00 too, i.e. the date must
change between 01:00 and
03:00.
Press the crown into position 2,
turn it anti-clockwise and set the
date. Turn the desired date
slightly further than the window
aperture (see fig. 1) until a slight
click is heard. Then turn the crown
slightly clockwise to centre the
date in the window.
(fig. 1)
Pull out the crown again to posi-
tion 3 and set the current time,
completing another full turn of the
dial for an afternoon time.
The watch is stopped in this
position and can be restarted at
any time, by pressing the crown
into position 1.
Press the crown into position 1.
Lock the screw-down crown or QLC
crown (if fitted) as per the instruc-
tions in chapter 1.
It takes about 10 minutes until T1
and T2 start running simultaneously.
The tolerance can be up to one
minute.
13
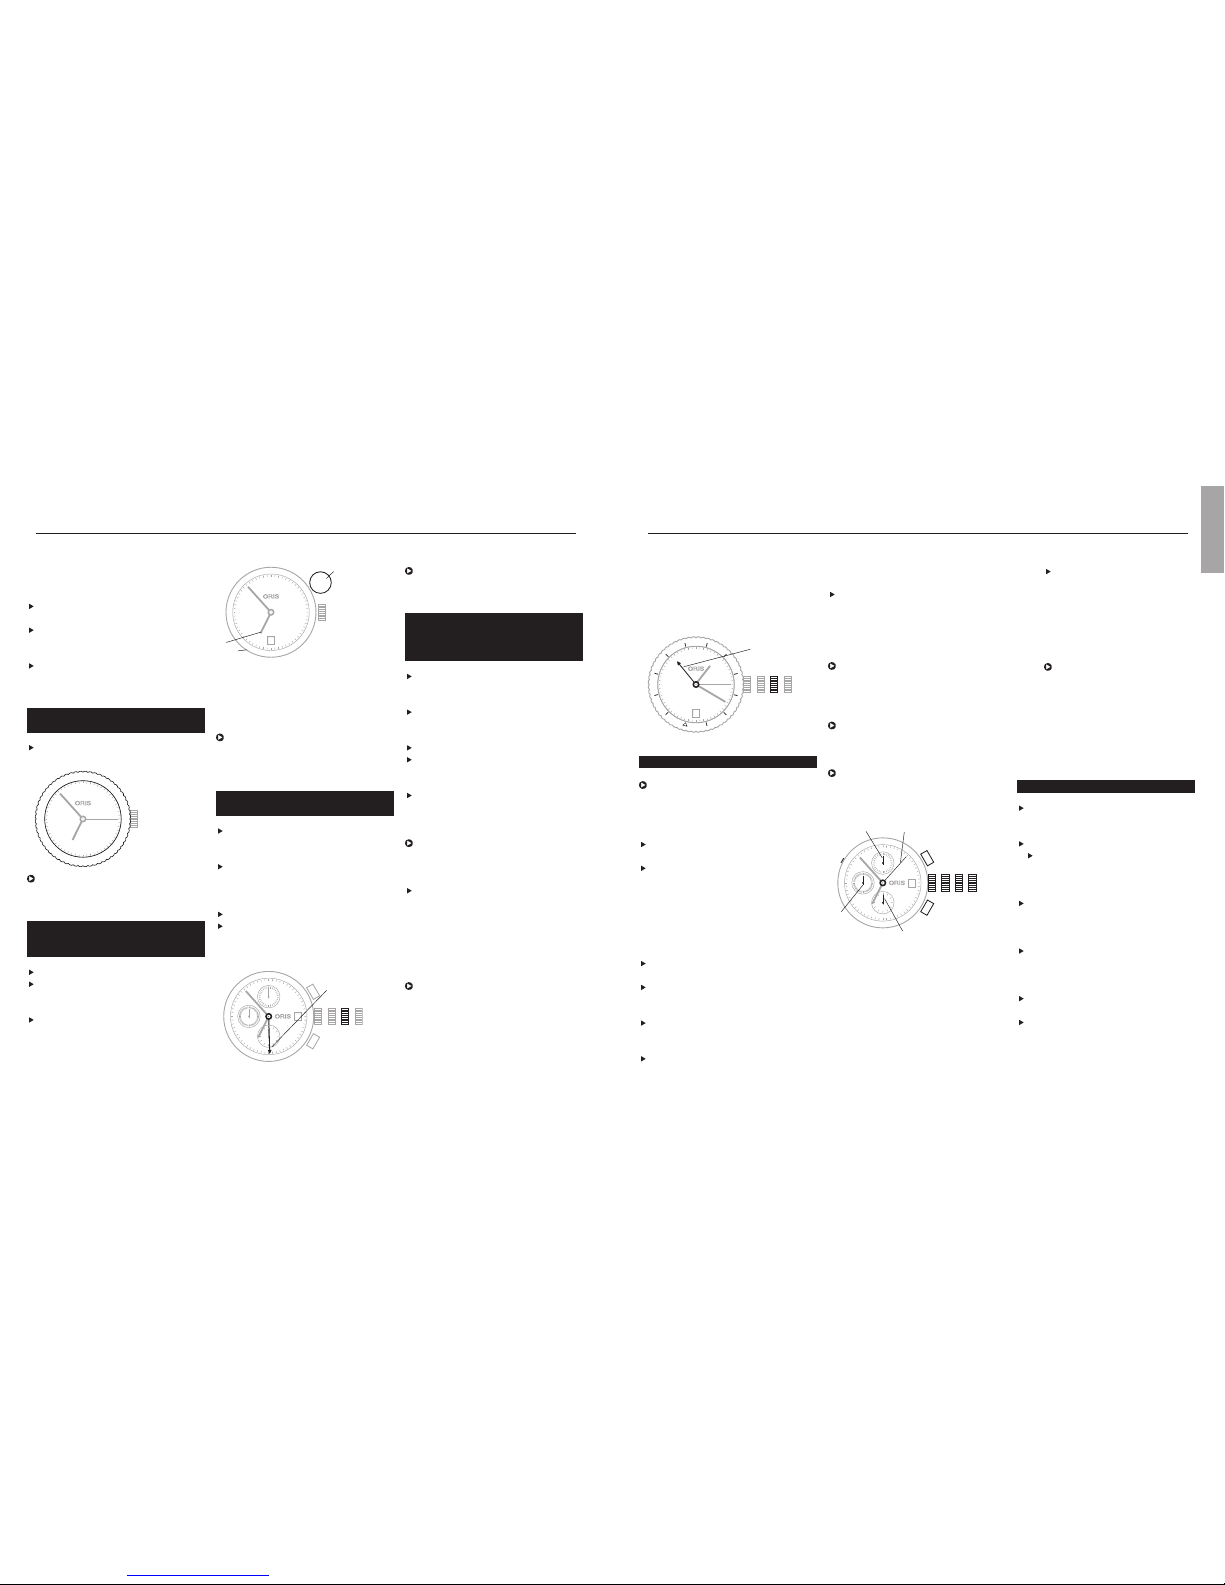
Worldtimer. C
The Oris Worldtimer has two
separate time zone displays: T1
local time and T2 home time. Both
displays have their own hour and
minute hands. The minute hands
of T1 and T2 run simultaneously.
The hour hand on T1 can be
adjusted forward or backward an
hour at a time or very rapidly by
pressing the two pushers. In rapid
adjustment, the date can be
moved forward or backward
between 23:00 and 03:00 (Oris
patent filed). T2 also has a
day/night indicator.
Pos. 0 Crown locked with screw-down
crown or crown with Oris
Quick Lock system (QLC)
Pos. 1 Winding position
Pos. 2 Setting the date
Pos. 3 Setting the time
4T1 (local time)
5T2 (home time)
6Small second
7Day/night indicator
8Date
9– pusher for T1
10 + pusher for T1
Date, day of the week and time.
This instruction applies to most
movements produced for Oris
watches, with date and day of the
week window display or date and
day of the week hand indicators.
Exceptions such as the Oris
Complication or Oris Chronograph
(movement 676) are described in
the sections for the corresponding
types of movement.
Pos. 0 Crown locked, for screw-down
crowns and for crowns with
Oris Quick Lock system
Pos. 1 Winding position
Pos. 2 Date and day of the week
setting
Pos. 3 Setting the time
Release the screw-down crown
or QLC crown (if fitted) as per the
instructions in chapter 1.
Pull out the crown to position 3.
Turn the hands forward until the
date changes, and 05:00 the
next day is indicated.
The rapid date and day correc-
tions cannot be performed
between 21:00 and 03:00
because the mechanism is
meshed for the change and
damage may occur.
Setting and operating Oris watches.
Push the crown back into position 2.
Depending on the movement
type, turn the crown clockwise or
anti-clockwise and then set the
current date.
If a day of the week display
is provided, turn the crown
anti-clockwise and set the day.
Pull out the crown to position 3.
Set the time – completing
another full turn of the dial for
an afternoon time.
The watch is stopped in this
position and can for example
be restarted at a time signal,
by pressing the crown into
position 1.
Press the crown into position 1.
Lock the screw-down crown or
QLC crown (if fitted) as per the
instructions in chapter 1.
Setting the date.
After months with fewer than
31 days, the date must be set
forward manually to the first day
of the following month via rapid
correction (crown in position 2).
Release the screw-down crown
or QLC crown (if fitted) as per the
instructions in chapter 1.
Pull out the crown to position 2.
Depending on the movement type,
turn the crown clockwise or anti-
clockwise and then set to the
desired date.
Press the crown into position 1.
Lock the screw-down crown or QLC
crown (if fitted) as per the instruc-
tions in chapter 1.
English
1023