3. AC voltage detection
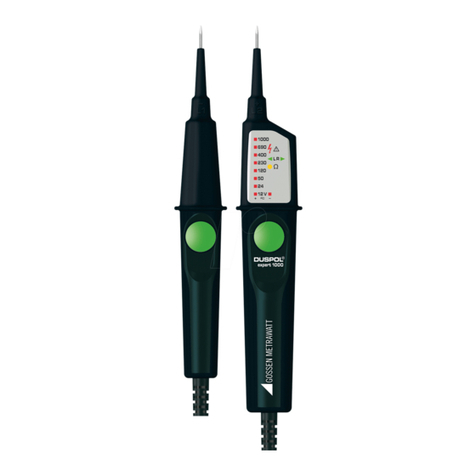
The probe tester inserted into the power socket or close to the live wire,When the tester detects the AC
voltage signal, the induction voltage signal lamp flashes,According to the detected signal strength, the
tester can illuminate the corresponding signal intensity indicator (high, middle, low),At the same time,
the buzzer sends out different alarm sounds。When the AC voltage signal is sensed, Low signal intensity
indicator is lit;When sensing a higher AC voltage signal,Light up the signal intensity indicator (middle,
low) at the same time;When the highest AC voltage signal is sensed, the signal intensity indicator (high,
middle, low) is also lit。
4. Zero/live wire judgment。
Try to separate the two wires to be detected as far as possible,Then close the wire with the probe of the
tester,If it is a socket, insert the probe into the socket,One of the strong signals detected by a tester is
live wire,a weak or no inductive signal is zero wire。
5. Auto Power Off
When the tester does not operate for about 5 minutes and the voltage signal is not detected, the tester
will turn off automatically。
6. Low battery indication
When the battery voltage is lower than about 2.6V, the power indicator flashes 3 times, and the buzzer
beeps and shuts off automatically. Please replace the battery in time。
Specifications
AC voltage range About 12 ~1000V
Frequency 50 Hz /60Hz
Alarm mode Sound and light alarm
Torch White LED illumination lamp
Auto power off √
Low battery indication √
Zero/live wire judgment According to the signal strength, strong signal is live wire
NCV intensity Selecting 3 types of sensitivity automatically (low, mid, high)
NCV intensity indication The instrument uses the alarm sound of different frequency and LED lamp of different
color to indicate low, moderate or high sensitivity
Service temperature 0~40℃
Storage temperature -10~50℃
Altitude <2000m
Security level CE CAT.III 1000V /CAT.IV 600V
Power 2×1.5V AAA batteries
Size 156mm×20mm×20mm
Weight About 45g
Battery replacement:
As per the diagram below:
1. Rotate the battery cover
2. Take out the used battery
3. Put new battery in as per battery anode and
cathode indication。
Warning: To avoid electric shock, do not use this
instrument before the battery cover is replaced.。
Battery rotation direction
as indicated
