Perche Vmax Large, Xlarge User manual

○○○○○○○○○○○○○○○○○○○○○○○○○○○○○○○○○○○○○○○○○○○○○○○○○○
1
!"#$"%&'!(#()*+,+-)
Owner´s manual
Vmax Large, Xlarge
Fly market GmbH & Co. KG
Pröbstener Str. 15
87637 Eisenberg
Tel.: +49-8364-9833
Fax: +49-8364-9833-33

○○○○○○○○○○○○○○○○○○○○○○○○○○○○○○○○○○○○○○○○○○○○○○○○○○
2!"#%./
Table of Contents
1. Important Remarks
2. Construction
3. Dimensions
4. Technical Datas
5. Preparations before Take Off
6. Take Off
7. Behaviour during the Flight - Adjusting Speed
8. Curving
9. Decreasing Altitude by B-lines Stall
10. Landing
11. Towing
12. Extreme Flying Maneuvers
13. Folding
14. Maintenance
15. Repairing
16. Lengths of Suspension Lines

○○○○○○○○○○○○○○○○○○○○○○○○○○○○○○○○○○○○○○○○○○○○○○○○○○
3
!"#$"%&'!(#()*+,+-)
1. Important Remarks
Read by all means before using the paraglider.
Paragliding is an extremely demanding sport requiring exceptional lev-
els of attention, judgement, maturity, and self discipline. It is unlikely
that you will conscious and continual commitment to your own safety.
Due to the inherent risks in flying this or any paraglider, no warrenty of
any kind can be made against accidents, bodily injury, equipment fail-
ure, and/or death.
This glider is not covered by product liability insurance. Do not fly it
unless you are willing to assume personally all risks inherent of the
sport of paragliding and all responsibility for any property damage, in-
jury, or death which may result from use of this paraglider.
1. Fly market GmbH & Co. KG stresses that it is absolutely necessary to
read these instructions before using the paraglider in order to avoid
mistakes in manipulation.
2. The paraglider can be used only with a licensed rescue system. The
pilot must check his equipment before every flight.
3. Fly market GmbH & Co. KG stresses that the paraglider can be used
only with a valid flying license and according to the instruction of this
manual.
4. Fly market GmbH & Co. KG declines any kind of responsibility for any
directorindirectdamage,includingconsequentdamage,whichtheuser
might suffer because of negligence of these instructions.
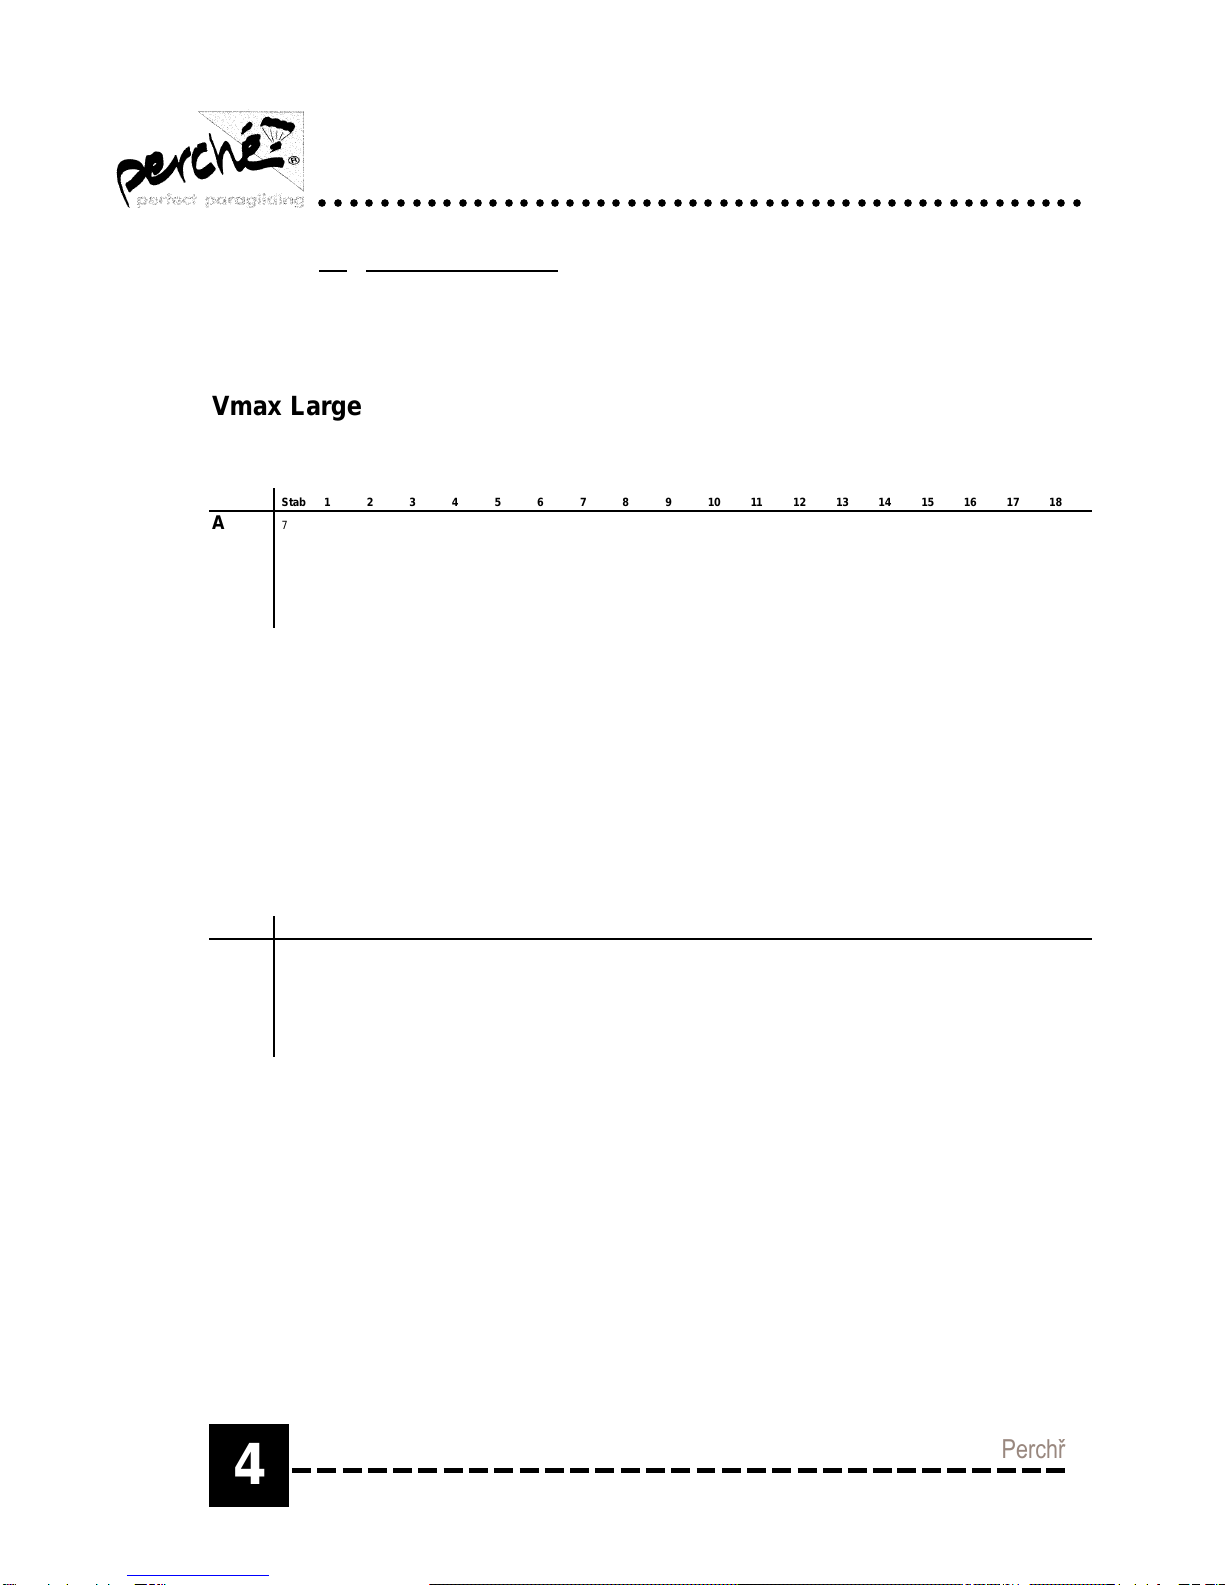
2. Construction
The Vmax series has a profile with extremely high accuracy because of
many suspension lines connections. The existing performance poten-
tial can be utilised to the maximum by optimising the basic form.
The Vmax series is especially robustly constructed: various reinforce-
ments, inner seams on the canopy, high quality fabric. This results in
duration of the paraglider.
The aerodynamic concept equipped for active and passive safety. The
paragliders are generally supplied with already stretched HMA-Aramide
lines and test protocol about all suspension lines lengths.

○○○○○○○○○○○○○○○○○○○○○○○○○○○○○○○○○○○○○○○○○○○○○○○○○○
4!"#%./
Vmax Large
Stab123456789101112131415161718
A7130 7380 7480 7485 7545 7600 7635 7610 7630 7690 7700 7680 7700 7760 7790 7770 7785 7850
B7160 7330 7440 7440 7480 7545 7580 7560 7565 7630 7630 7610 7630 7690 7695 7680 7680 7745
C7335 7470 7475 7525 7580 7610 7590 7600 7660 7670 7650 7670 7730 7740 7725 7725 7790
D7460 7570 7575 7640 7700 7710 7690 7710 7770 7795 7780 7790 7850 7860 7845 7870 7930
Brakes 7780 7880 8040 8050 8110 8175 8160 8095 8060 8060 8130 8210 8250 8250 8320 8400 8555 8710
Vmax XLarge
Stab12345678910111213141516171819
A7615 7890 8010 8025 8065 8110 8125 8110 8130 8190 8205 8190 8210 8265 8290 8265 8290 8340 8390
B7615 7840 7950 7960 7980 8040 8055 8040 8050 8110 8125 8105 8120 8165 8185 8170 8180 8235 8285
C7835 7965 7965 8010 8080 8100 8080 8095 8155 8155 8140 8155 8215 8240 8220 8230 8290 8340
D7940 8055 8065 8125 8180 8195 8170 8195 8250 8280 8265 8275 8335 8350 8330 8350 8410 8445
Brakes 8280 8370 8485 8490 8615 8670 8650 8580 8540 8540 8610 8685 8735 8735 8800 8870 9030 9195 9430
3. Dimensions
(stretched length of suspension lines to the lower surface, incl. Riser
(unit: mm))

○○○○○○○○○○○○○○○○○○○○○○○○○○○○○○○○○○○○○○○○○○○○○○○○○○
5
!"#$"%&'!(#()*+,+-)
4. Technical Data
Vmax L Vmax XL
Wingspan (m) 12,3 13,05
Number of cells 64 64
Surface (m²) 28,7 30,5
Glide angle 8+ 8+
Rate of descent <1,1 <1,1
Recommended
Take Off weight (kg) 85 - 110 95 - 125
Glider weight (kg) 7,20 8,50
5. Preparations before Take Off
1. After you have chosen a starting place with as little obstacles as possi-
ble, spread the paraglider in a crescent and collect the trailing edge as
it is described below. This is necessary to achieve an optimal behaviour
at take off.
2. Untie risers from velcro on the trailing edge of the paraglider. Close the
velcro again. Disentangle the suspension lines and check whether the
groups intersect (first A-lines, then B-lines, etc.). At the end put the
steering line in a crescent on the outer side and check whether it is free.
It is important that the risers and steering lines are not twisted and that
no suspension line lays under the canopy.
3. Put the harness on and check whether the rescue system is functioning
and whether all the fastenings of the harness are closed.
Put the helmet on!
Hang the right and left riser in the karabiner so that they do not become
interwoven. Don’t forget to close the screwgate!
4. Take the A-risers and controll lines in one hand put the back risers over
the shoulder.
5. Is the direction and strength of the wind right? Is the air clear?

○○○○○○○○○○○○○○○○○○○○○○○○○○○○○○○○○○○○○○○○○○○○○○○○○○
6!"#%./
6. Take Off
Pull both front A-risers strongly but feelingly - the paraglider is raised.
Cautiously looking up to both sides while running the pilot controls whether
the canopy is standing symmetrically and whether it is fully filled. The glider
can be still adjusted, i.e. the start can be interrupted.
Do not start without a control look upwards!!
You can start to run when the glider is standing over the pilot correctly filled.
If the glider threatens to overtake the pilot, it is helpful to lightly brake it by
pulling both steering lines.
The last look upwards - are all cells opened? Only now, the pilot decides to
take off and runs with increasing speed and large steps down the slope.
When he reaches the maximum speed he pulls both steering lines to 25%
downwards, thus increasing the lift, and takes off. As soon as the pilot does
not touch the land any more he loosens the steering lines slowly in order to
increase the speed.
Take Off Corrections:
Side corrections - When the glider slides to one side and stands over the
pilot obliquely, the pilot corrects it by diagonally running under it.
Principle: The pilot should follow the glider and not the other way around.
Opening Corrections:
If the outside cells are not completely filled, the pilot “pumps” strongly with
the steering lines. While doing so, he must let the risers temporarily go.
Pumping increases the inside pressure and fills the collapsed canopy.
Direction Corrections:
If the glider abandoned the intended direction, it is possible to bring it back to
the right direction by pulling the steering lines lightly to one side.
Don’t ever try to take off if the glider is not completely opened.
Great danger of accident!!!
The most frequent cause of a unsuccessful start is wrongly a spread glider.

○○○○○○○○○○○○○○○○○○○○○○○○○○○○○○○○○○○○○○○○○○○○○○○○○○
7
!"#$"%&'!(#()*+,+-)
7. Behaviour during the Flight
7.1 Combination of True Air Speed and Ground Speed
Normally, the glider flies at the speed of 25-40 km/h. This true air speed is
the speed which the glider needs to create its lift. No matter whether you fly
with head wind or tail wind it remains the same. It is the ground speed that
changes.
As a general rule it can be said that the true air speed decreases quickly
when you apply more than 70% of the brake. In this case even the best
glider does not fly any more.
Forces which act during the flight:
lift
drag
pressure air flow
gravity

○○○○○○○○○○○○○○○○○○○○○○○○○○○○○○○○○○○○○○○○○○○○○○○○○○
8!"#%./
The speed or rather the thermic flight of the Vmax series can be controlled
in different ways:
7.2 Controlling the Speed with the Steering Lines
0% Brake: The glider flies with full speed when the steering lines are
completely loose (hands completely up). The maximum speed amounts to
app. 40 km/h depending on the load.
25% Brake: The hands are approximately on a level with the face. This
position of the brake improves the glide angle and stability of the canopy,
decreasing at the same time the speed a little.
50% Brake: The hands are approximately on a level with the chest. This
position decreases speed of sinking and improves stability. The speed
amounts to approximately 50% of the maximum speed.
100% Brake The hands are on a level of the seat. The glider flies at the
minimum speed. Sounds of wind can hardly be heard any more. Big sinking.
Apply 100% brake only when landing, because otherwise you face danger
of parachutage.
7.3 Controlling the Speed with the Accelerating System:
The Vmax series has an accelerating system as a standard. The system is
very efficient through a block and tackle. The risers are shortened either
over the leg stand or by hand control.
Attention: When you apply the accelerating system, the starting angle of
the canopy decreases. This can lead to frontal dropping despite the great
stability of the canopy. In this case, the accelerating system must be imme-
diately inactivated in order to bring the glider quickly in normal gliding.
The accelerating system must not be activated at small heights and it can
be activated only a little bit in turbulent conditions in order to avoid such
dropping.
position normal flight front accelerating system active

○○○○○○○○○○○○○○○○○○○○○○○○○○○○○○○○○○○○○○○○○○○○○○○○○○
9
!"#$"%&'!(#()*+,+-)
8. Curving
There are various techniques of curving which are applied for particular fly-
ing manoeuvres.
8.1 Curves with Maximum Speed - Spiral
You should apply only one steering line for reducing altitude. The outer side
of the curve is not braked. At first, the glider flies a wide curve with a big
radius and a relatively steep incline because of the high speed, which is why
it looses height. The more you pull the steering line, which causes trans-
verse incline and decreasing of height, the smaller the curve radius.
When turning a steep spiral you must control the ground clearance continu-
ously in order to bring it back to 150m in time for the safety reasons. You
should bring it back softly and avoid strong swinging and dynamic interrup-
tion of the flow.
8.2 Curves with 50% Brake
If you pull one of the steering lines, which you have already been pulling
approximately 50%, even deeper, the glider will make a narrower and flater
curve than from the full speed. This curving technique is especially appropri-
ate for thermic flying.
8.3 Curves with 75% Brake
If you pull one of the steering lines, which you have already been pulling
approximately 75%, even deeper, the glider reacts very fast, spirals flatly
and remains almost level due to the low speed. The steering feeling is soft.
The flow can be interrupted in gusts, so that it is safer to loosen the outside
steering line while pulling the steering line which is on the inside of the curve.
Warning: Continuous extrem braking my cause a negative turn!
See 12.6.
8.4 Steering without controll lines
The controll lines fail to fulfil its function always when a defective knot unties
itself or when the steering line gets entangled because of the insufficient
preflight checking. In such a case you can steer well enough with the back
D-riser. Since this steering method can sooner bring to a interruption of the
flow, you should carry out no strong manoeuvres.

○○○○○○○○○○○○○○○○○○○○○○○○○○○○○○○○○○○○○○○○○○○○○○○○○○
10 !"#%./
9.1. Decreasing Altitude by B-lines Stall
The Vmax Series has a 4-point riser. With this riser system you can decrease height
vertically without any danger. You should pull the B-risers symmetrically.
After a starting effort (first 5 cm) pull the B-risers app. 30 - 40 cm downward. The air
stream at the upper and lower side ceases gradually and the glider begins to descend
vertically.
In order to bring the glider back into the previous position, you should only let both B-
risers go. It would be best that returning is smooth and quick, so that the glider comes
to the normal gliding again as fast as possible.
According to the intensity of pulling you can descend at the rate of 5-10m/s. This de-
scending should be preferred to the steep spiral flying or full stall because this style of
flying can be performed for a long time.
Attention:
The B-lines stall is a descending help, in case of which the glider must be brought
to the previous position on time!!! You must not descend deeper than the safety
height of 150m over ground.
9.2. Big Ears
The one or two outer A-lines are pulled on both sides for about 50 cm, causing the tips
to collapse, allowing the glider to achieve a 3-6m/sec sink rate. The glider remains
controllable through braking and weight shift.
Releasing the A-lines opens the collapsed cells. If this doesn´t happen, then reinflation
can be induced with the brakes.
Never use big ears and a steep spiral together. You will overload the glider and
brake it.
Full stall and spins should be avoided, as incorrect recovery with any
paraglider can be dangerous.
Decent manoeuvres should be practised in a safe manner so that
proper technique can be applied in extreme situations.
Caution:

○○○○○○○○○○○○○○○○○○○○○○○○○○○○○○○○○○○○○○○○○○○○○○○○○○
11
!"#$"%&'!(#()*+,+-)
10.1 Landing Approach
A wind sock, a column of smoke, flags or your own moving over the ground
are indicators, which show the direction and force of wind. During the entire
division of landing (counter-approach, transverse approach and final ap-
proach) the pilot controls the wind.
You should always carry out final approach into the wind, which is critical
because of the closeness to the ground and ground turbulence. You should
turn into final approach at the height of 20-30 m at the latest. In order to
adjust the height finely, you can pull brakes very carefully or fly S-curves,
when you are still too high up. It is possible to fly the last 10m height at full
speed or only lightly braking, in order to have enough speed reserves to flare
out.
10.2 Landing
Youshouldlandattheheight of approximately 2-3 moverground.You should
regulate the movements in such a way that 100% braking coincides with
touching the ground. If you carry it out properly, the horizontal and vertical
speed should be neutralised at the same time.
Attention:
In order not to damage the canopy while landing, it should tip over to the side
or backwards, so that the air can escape from it without hindrance.
If the canopy rushes to the ground with the edge, a high pressure can be
createdinsideitinunfavourable situations. They are created when the edges
are closed for a while and the canopy still has a relatively high speed, which
is braked extremely quickly. The cells walls can be damaged as a result.
11. Towing
The Vmax series is suitable for towing because of its simple starting per-
formance. You must pay attention to the prescribed flying conventions. An
appropriate training is in any case a precondition for safe flying. You should
consult a specialist concerning particularities of different winds.
We stress that the necessary equipment for towing must also be licensed.

○○○○○○○○○○○○○○○○○○○○○○○○○○○○○○○○○○○○○○○○○○○○○○○○○○
12 !"#%./
12. Extreme Flying Maneuvers
12.1 Symetrical Collapse
Frontal collapsing can be caused in turbulences or by not braked flying out
from a strong thermic. As a rule, the canopy opens again by itself. The open-
ing can be accelerated by a cautious pulling of brakes from both sides.
12.2 Asymetrical Collapse
Asymetrical collapsing is surely the most frequent trouble in flying. The first
reaction must be counter-braking on the still opened side, in order to prevent
turning. By counter-braking you can still maintain the direction even with
very much collapsed glider. As a rule, the collapsed side opens by itself
again. On the contrary, it is enough to pull the steering line deeply. In ex-
treme situations you must repeat the procedure. Control the distance from
the ground all the time!!!
The most frequent mistakes in case of asymetrical collapse:
- No, insufficient or to late counter-steering. Because of this, the glider flies
away from the direction depending on the level of collapsing. The conse-
quence is that the decreasing in height until the glider opens again is bigger
than in case of proper actions. It lasts also longer until the glider is stabile
again.This canbeverydangerous especiallywhenyoufly closetotheground
or slopes.
- Pumping or counter-braking increase turning away from the direction.
- Hectic pumping with the brake is by far not so effective as a calm, deep
pulling (once or twice).
- By “active flying” you can widely avoid asymetrical or frontal collapsing.
12.3 Full Stall
If you hold the steering lines in interruption of flow for a longer time (3-5 sec),
the canopy deflates fully. The complete loss of lift and extremely strong sink-
ing are the consequences.
When you carry out a full stall the canopy fills suddenly again and speeds up
forward. The slowlier you loosen the brakes, the smaller the acceleration of
the canopy forward and the calmer the transition in normal flying. The opti-
mal time of switching is app. 3 sec.
If you carry out full stall to quickly, it can sometimes happen that the canopy
drops, which you regulate as described in para 12.2.

○○○○○○○○○○○○○○○○○○○○○○○○○○○○○○○○○○○○○○○○○○○○○○○○○○
13
!"#$"%&'!(#()*+,+-)
12.4 Dynamic Interruption of Flow - Special Case of Full Stall
Cause: Sudden pulling of both steering lines from full speed to inter-
ruption of flow.
Outcome: The flying speed decreases abruptly to zero. The pilot swings
forward due to inertia. A strong angle increasing follows on the profile, which
leads to stall. If the pilot suddenly lets both steering lines go shortly after
interruption of flow (e.g. out of fear), his entire weight increases the swinging
even further. The canopy can then rush far forward, even until it comes
under the pilot (the most unfavorable case).
Measures: Under no circumstances let the controll lines go shortly after
interruption of the flow. Stall the glide until the canopy is stabilized over the
pilot. Returning to the position as described in para 12.3.
12.5 Parachutage
The biggest danger of parachutage exists when the glider flies too slowly in
turbulence. The consequence of the low speed the air stream disappears on
the upper side of the canopy. The glider has no forward speed, you cannot
hear any flying sounds. As the canopy remains completely open, it is rela-
tively hard to establish this form of flying . In order to bring the glider back
into position it is enough to release the brakes again.
In case the parachutage is not completed, brake shortly both steering lines
in order to achieve a slight tipping over of the canopy. Release both steering
lines again and the canopy resumes flight.
If the tendency of parachutage becomes more frequent as the paraglider
becomes older it is necessary to check trimming and permeability to air of
the fabric.
12.6 One-Sided Interruption of Flow - Negative Spiral
A negative spiral emerges mostly during too slow thermic circling. If you
increasingly apply brakes during the thermic circling in order to achieve bet-
ter curve sinking, the flow comes to an abrupt end on the inner side of the
curve at app. 80% / 100% of the controll lines position (e.g. left / right).
The result is a fast spiral almost without a radius, with very small transverse
incline. This flying style must under no circumstances be carried out on pur-
pose! It is not possible to control it and it is very dangerous: it can cause
screwing in of the pilot or piercing of the glider parts by the lines.
In order to bring the glider back in position, you must definitely firstly stop the
rotation, which is achieved by bringing the controll lines to 70-80% on both
sides.Lightcounter-steeringstopsitmore quickly.Onlyafteryouhave stopped

○○○○○○○○○○○○○○○○○○○○○○○○○○○○○○○○○○○○○○○○○○○○○○○○○○
14 !"#%./
the rotation, loosen the brakes fully again.
If you instead of this let the brakes abruptly go during the rotation, you can
cause strong closing of the canopy from one side and piercing of parts of
the glider by the lines.
13. Folding
1. Spread the paraglider on the back side,checkiftherisersarecrossed
and fix them on the trailing edge with velcro.
2. Roll the surface from both sides one cell after another to the middle.
3. Sleek the air out the canopy from the back, roll it narrowly and fold it.
4. Put the bundle in the pack.
14. Maintenance
Duration of the fabric can depend on proper care and correct maintenance.
It is in your interest to prevent it from premature aging.
TheparaglidershouldnotbeexposedtounnecessaryUV-radiationbecause
it weakens the molecular structure of the cloth and lines and leads to fading
and losing of firmness.
Do not pull the paraglider unnecessarily over the ground, especially if it is
rocky or covered with snow, because it damages the coating.
Do not step on the suspension lines because the heart of the rope can be
damaged invisibly.
Storing: Keep the paraglider, harness and rescue parachute in dry
rooms. Dry moist canopies before storing because otherwise they will be-
come stained. Continuous high temperature (e.g. car trunk) can cause dam-
age.
Cleaning: Wash dirty canopies with clear water and sponge. Do not use
chemical cleansers under any circumstances! Do not wash in a washing
machine because it damages the coating so that the permeability to the air
increases.
Avoid contact with salty water as much as possible! If it happens anyway,
rinse with fresh water.
Apart from checking the paraglider before starting a flight, you should also
check it in regular periods of time. The checking should include:

○○○○○○○○○○○○○○○○○○○○○○○○○○○○○○○○○○○○○○○○○○○○○○○○○○
15
!"#$"%&'!(#()*+,+-)
- Control the upper and lower canopy and profile - see if suspension lines
connections are damaged.
- Control suspension lines - see if they are damaged especially on seams.
- Control risers - see if steering lines are tied properly.
15. Repairs
If the paraglider needs repair, have it done by the manufacturer of a special
licensedworkshop.Onlythere youcan obtainthenecessaryoriginalmaterials.
Exceptions: Close the small cracks in the canopy, if they do not run
transversely, with the self-adhesive fabric (available as a spare part). Do not
treat with high temperature.
Let the manufacturer check the paraglider in detail every two years or at
latest after every 100 flying hours. They will replace all possibly damaged
parts. The control serves the security of the pilot.
16. Lengths of Suspension Lines
Vmax Large:

○○○○○○○○○○○○○○○○○○○○○○○○○○○○○○○○○○○○○○○○○○○○○○○○○○
16 !"#%./
Vmax XLarge:
Table of contents