Assembly Instructions –Big Kahuna Pergola Kit –877-563-0002 –www.pergoladepot.com
If installing a pressure treated pine kit using post bases, we recommend you install one Tapcon
screw for each base through one of the holes in the post base that surround the first anchor. Using
a 5/32" concrete bit, drill the Tapcon screw hole to at least 2”deep. Once the hole is drilled, clear
excess debris from the hole, and slowly screw the Tapcon through the post base using a #2 Philips
head screw bit or screw driver until snug to the base. Repeat for each base.
Step 9 - Pour in gravel to fill the first 4” of each post hole. Continue with the rest of this step if you
are installing on top of new concrete footings and have not already poured your footings. Check
out the information we have available on our website under Resources>Tips>Post Information, and
consider using concrete footing form tubes, which you can purchase at your local hardware store.
Mix the concrete according to the directions for the concrete you purchased and fill the hole to
about 2/3 of the way to ground level. Use a shovel or piece of rebar to eliminate air bubbles. Insert
one piece of 18” rebar supplied with your kit into the concrete so that it sits diagonally from the
bottom of one side of the hole toward the top of the other side. Pour in more concrete to cover the
rebar and until the concrete is level with the ground, or to the desired height to ensure that the top
of each footing will be level with each other. If the ground surface is not level, you can use footing
form tubes to create a level surface across the top of each footing using a line level. Work the top
portion of concrete to eliminate bubbles and smooth the top with a trowel or shovel. Repeat for
each footing. Allow to dry completely, which will depend upon the concrete used and weather
conditions. Once dry, go back to the previous step for instructions on installing the post bases.
Step 10 - For posts that are being installed into concrete footings, we recommend you install a
piece of 10” rebar, supplied with the kit, into the bottom of each post. Locate and mark a spot that
is approximately 10” below ground level. Using a 5/8" drill bit, drill a hole through the post at the
desired mark on each post. Note that the rebar will be inserted in a later step.
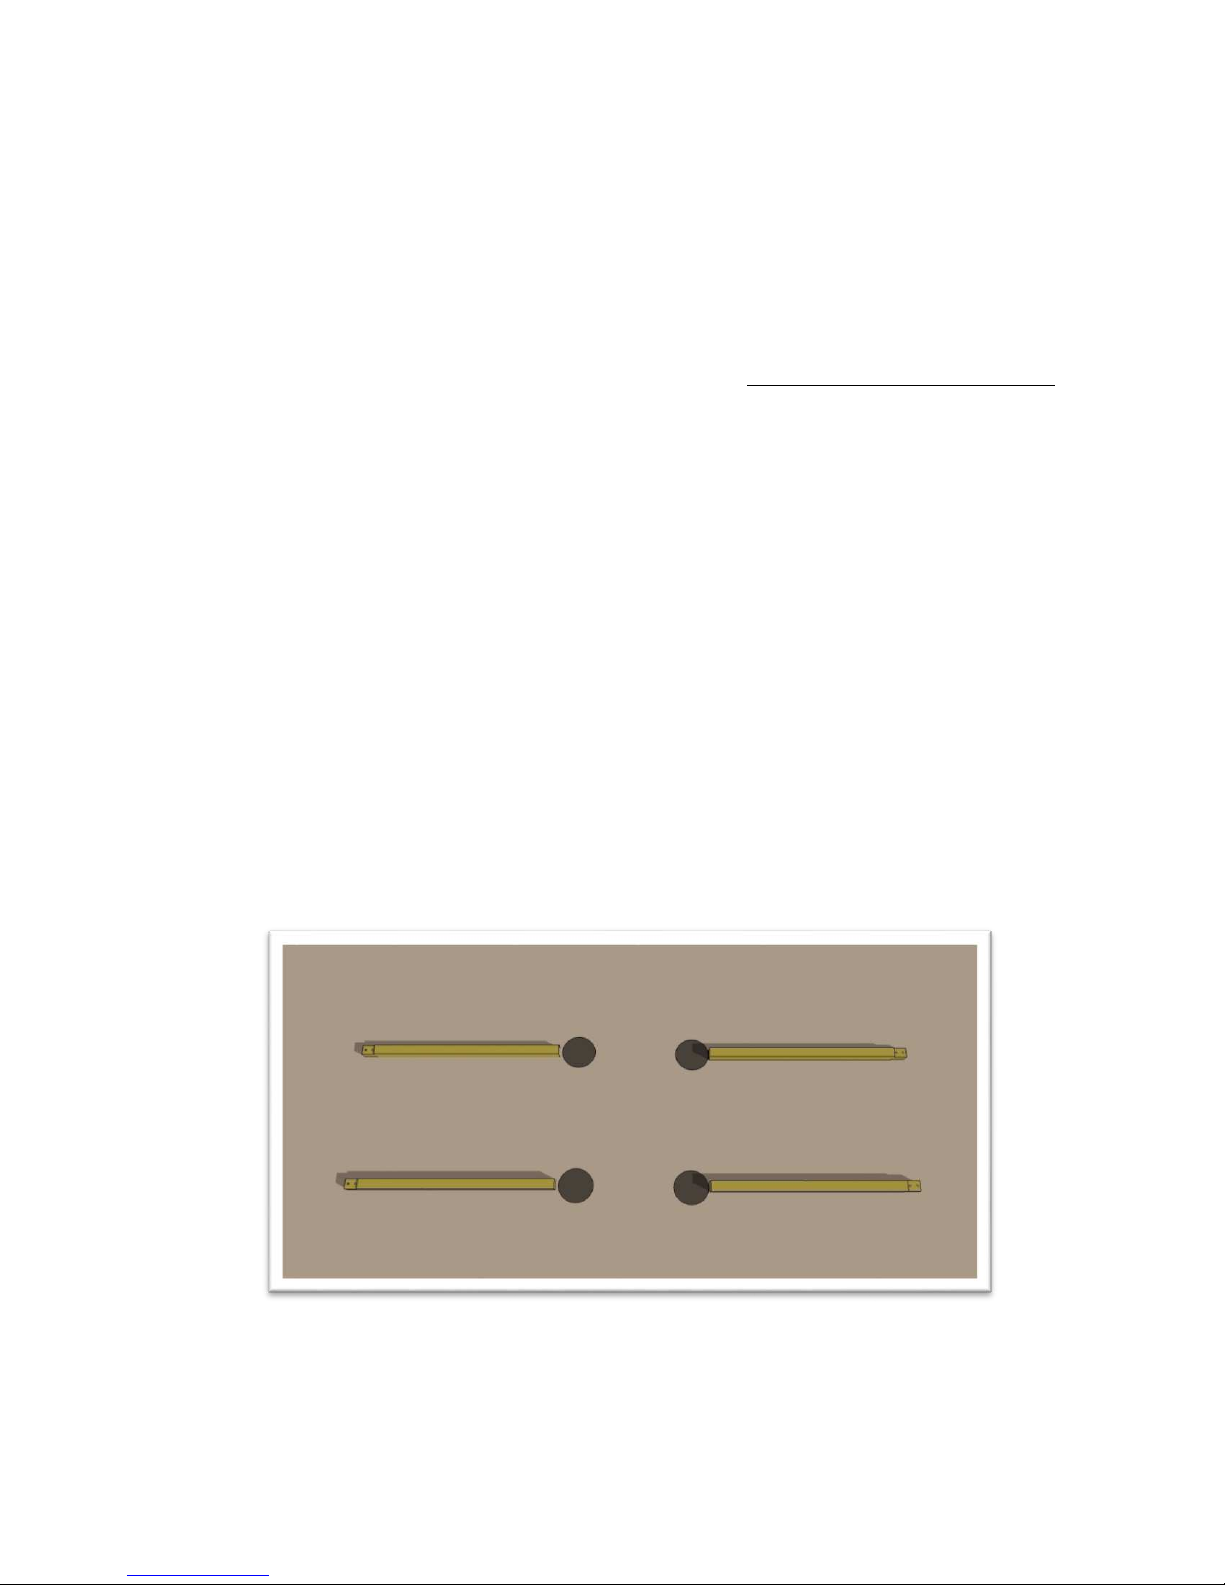
Step 11 - Lay the four posts on the ground with the bottoms at the edge of each hole, with the tops
facing away from each other, like this:
Step 12 - If installing post base trim, slide trim over the bottom of each post and up the post so it will
be out of the way for the next couple steps. Then insert the rebar through the hole at the bottom of
each post. Use a hammer to move the rebar into place through the post until you have approximately
equal lengths of rebar on either side of the post.