Petite Friture Vertigo Nova User manual

- NOTICE DE MONTAGE -
VERTIGO NOVA
Lampadaire VERTIGO NOVA de CONSTANCE GUISSET
- ASSEMBLY INSTRUCTION -
VERTIGO NOVA
Floor lamp VERTIGO NOVA by CONSTANCE GUISSET

VERTIGO NOVA
Lampadaire de CONSTANCE GUISSET
Floor lamp by CONSTANCE GUISSET
INFORMATIONS TECHNIQUE
•Environnement : intérieur.
•Fabriqué en Europe (France).
•10W - 1350 lm.
•2700K - Dimmable.
•Câble, blanc ou noir, de 2m.
•Support en acier blanc ou noir.
•Ruban posé à la main.
•Montage / Dépliage / pliage à 2 conseillé.
•Si le câble extérieur souple ou le cordon
de ce luminaire est endommagé, il doit être
remplacé exclusivement par le fabricant, son
service de maintenance ou toute personne
de qualification équivalente, cela afin d’éviter
tout risque.
•Clés allen fournies.
Nappe : Fibre de verre, acier peint,
polyuréthane
Verre : Verre triplex
Système lumineux : LED intégré.
Support : Tube acier peint, pied acier
TECHNICAL DETAILS
•Environment : indoor.
•Made in Europe (France).
•10W - 1350 lm.
•2700K - Dimmable.
•Black or white plastic cable 2m.
•Support steel, black or white.
•Ribbon laid by hand.
•Two persons advised for the Assembly /
folding /unfolding.
•If the external flexible cable or the cord of
this lamp is damaged, it may only be replaced
by the manufacturer’s maintenance service or
any person with equi-valent qualifications, in
order to avoid any risk.
•Allen keys provided.
Lampshade : Fiberglass, painted steel,
polyurethane ;
Glass : Glass triplex
Lighting system : LED integrated
Support : Steel tube painted, steel base.
Nappe : Ø110cm x H11,5cm
Structure : H230cm x P167cm x
L50cm
Poids : 20Kg
Lampshade: Ø110cm x H11,5cm
Structure : H230cm x P167cm x L50cm
Weight : 20Kg
2400
2300
2000
2300
1000
1000
1600.00
2100
2400
2300
2000
2300
1000
1000
1600.00
2100

VERTIGO NOVA
Lampadaire de CONSTANCE GUISSET
Floor lamp by CONSTANCE GUISSET
VIDÉO D'ASSEMBLAGE NAPPE /
VIDEO OF LAMPSHADE ASSEMBLY
INSTRUCTIONS
https://vimeo.com/166036367
LA MANIPULATION DE LA VERTIGO SE FAIT À DEUX POUR EVITER
TOUTE TENSION SUR LES RUBANS.
DÉPLIAGE /
UNFOLDING
1) Détacher l’abat jour de la cale, au centre. / Remove the lampshade from the central hold.
2) Dérouler progressivement la tige en partant du haut. /
Unfold progressively the rod starting from the top.
3) Une fois integralement deroulée, fermer le cercle à l’aide du raccord.
LE RACCORD SE TROUVE DANS LE SACHET BULLE AVEC LE CÂBLE ELECTRIQUE.
Once entirely unfolded, close the circle with the link tube.
THE LINK TUBE IS ENCLOSED IN THE PLASTIC BAG WITH THE CABLE.
DÉPLIAGE / UNFOLDING
VIDÉO D'ASSEMBLAGE /
VIDEO OF ASSEMBLY INSTRUCTIONS
https://vimeo.com/166036367
This luminaire
contains built-in
LED lamps :
The lamps cannot be changed
in the luminaire
L
E
D
Vertigo Nova
suspension 110
Avant tout branchement
veiller à couper le courant
au niveau de l’alimentation
générale
Before connection warning
turn off the general
electricity
•Nettoyez avec un chiffon doux non
pelucheux (légèrement humide) •Clean with a soft, lint-free cloth (slightly wet)
CONSEIL D’ENTRETIEN
MAINTENANCE

LA MANIPULATION DE LA VERTIGO SE FAIT À DEUX POUR EVITER
TOUTE TENSION SUR LES RUBANS.
DÉPLIAGE /
UNFOLDING
1) Détacher l’abat jour de la cale, au centre. / Remove the lampshade from the central hold.
2) Dérouler progressivement la tige en partant du haut. /
Unfold progressively the rod starting from the top.
3) Une fois integralement deroulée, fermer le cercle à l’aide du raccord.
LE RACCORD SE TROUVE DANS LE SACHET BULLE AVEC LE CÂBLE ELECTRIQUE.
Once entirely unfolded, close the circle with the link tube.
THE LINK TUBE IS ENCLOSED IN THE PLASTIC BAG WITH THE CABLE.
DÉPLIAGE / UNFOLDING
VIDÉO D'ASSEMBLAGE /
VIDEO OF ASSEMBLY INSTRUCTIONS
https://vimeo.com/166036367
DÉPLIAGE
UNFOLDING
LA MANIPULATION DE LA VERTIGO SE FAIT À DEUX POUR EVITER
TOUTE TENSION SUR LES RUBANS / Handling the Vertigo must be done by
two people to prevent strain on the ribbons
1) Détacher l’abat-jour de la cale, au centre.
2) Dérouler progressivement la tige en
partant du haut.
3) Une fois intégralement déroulée, fermer
le cercle à l’aide du raccord déjà mis en
place sur la tige.
1) Remove the lampshade from the central
hold.
2) Unfold progressively the rod starting from
the top.
3) Once entirely unfolded, close the circle
with the link already placed on the rod.

PLIAGE /
FOLDING
A) Ouvrir le cercle au niveau du raccord. / Open the circle at the link tube.
B) Caler une extremite dans le bas du carton, et enrouler progressivement la tige en escargot.
Inserer la tige dans les cales au fur et a mesure, jusqu’a atteindre le haut du carton. /
Settle an end in a bottom slot of the box, and progressively curl the rod up.
Insert the rod in the slots as you go along until you reach the top of the box.
C) Fixer l’abat jour sur la cale, au centre. /
Settle the lampshade in the central hold.
HANDLING THE VERTIGO MUST BE DONE BY TWO PEOPLE TO
PREVENT STRAIN ON THE RIBBONS.
PLIAGE / FOLDING
PLIAGE
FOLDING
LA MANIPULATION DE LA VERTIGO SE FAIT À DEUX POUR EVITER TOUTE
TENSION SUR LES RUBANS
Handling the Vertigo must be done by two people to prevent strain on the ribbons
1) Ouvrir le cercle au niveau du raccord.
2) Caler une extrémité dans le bas du
carton, et enrouler progressivement la tige
en escargot. Insérer la tige dans les cales
au fur et à mesure, jusqu’a atteindre le haut
du carton.
3) Fixer l’abat-jour sur la cale, au centre.
1) Open the circle at the link tube.
2) Settle an end in a bottom slot of the box,
and progressively curl the rod up.
Insert the rod in the slots as you go along
until you reach the top of the box.
3) Settle the lampshade in the central hold.
Table of contents
Popular Home Lighting manuals by other brands

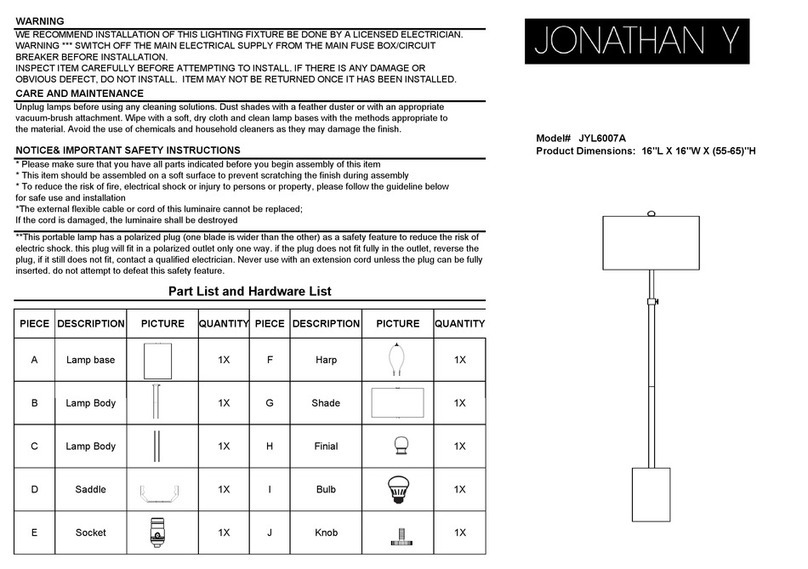
JONATHAN Y
JONATHAN Y JYL6007A quick start guide

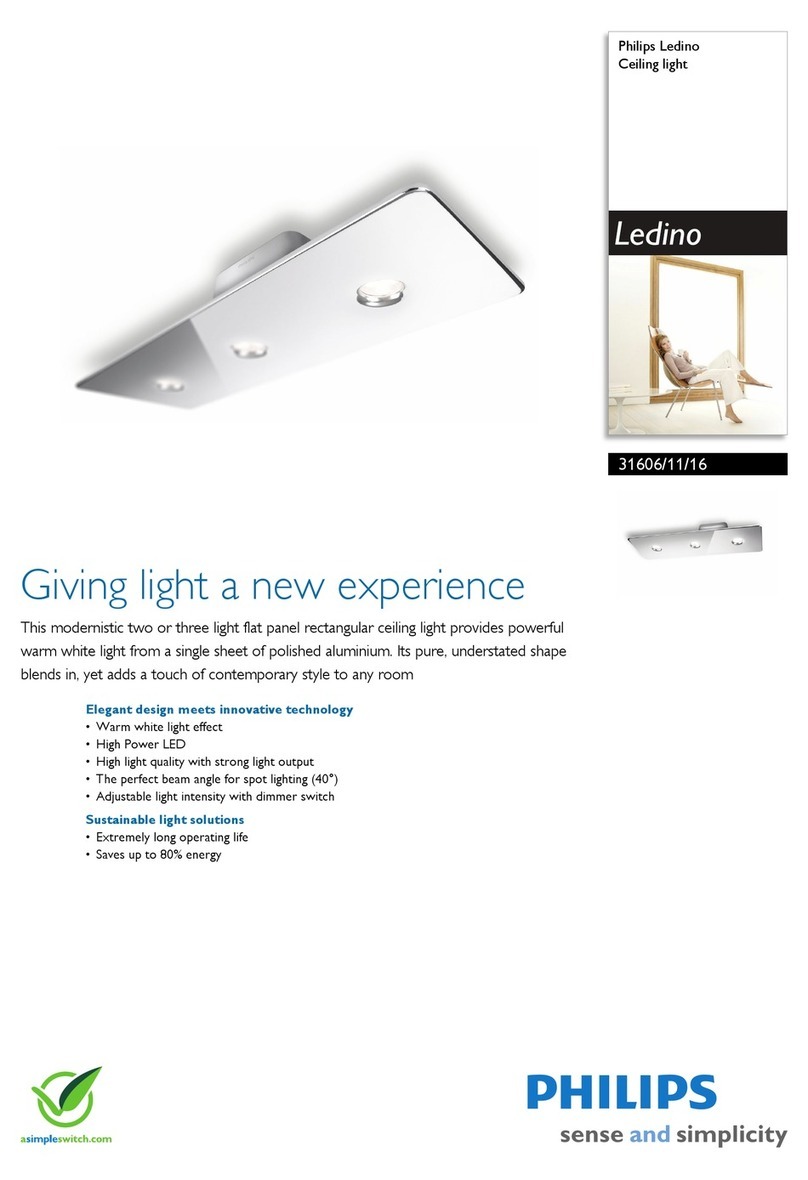
Philips
Philips Ledino 31606/11/16 Specifications

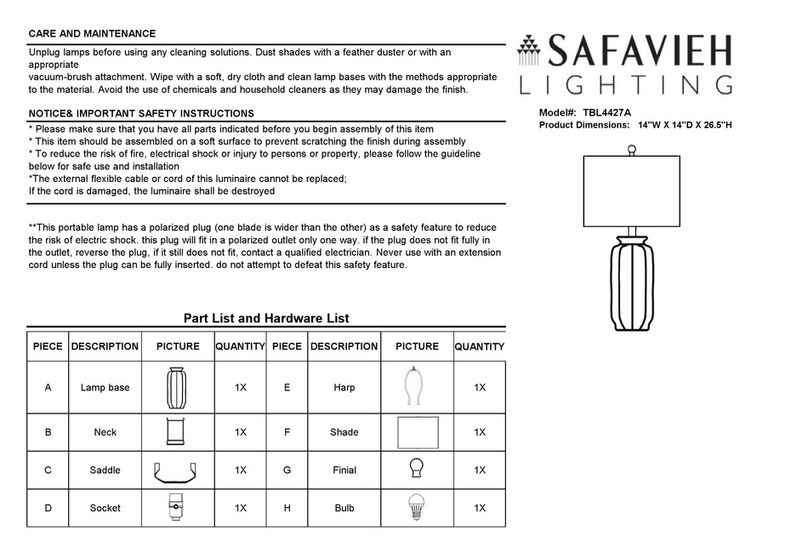
Safavieh Lighting
Safavieh Lighting CANDRI TBL4427A manual

Hunter
Hunter Bullet Spotlight Kit Owner's guide and installation manual

Philips
Philips 405441213 user manual

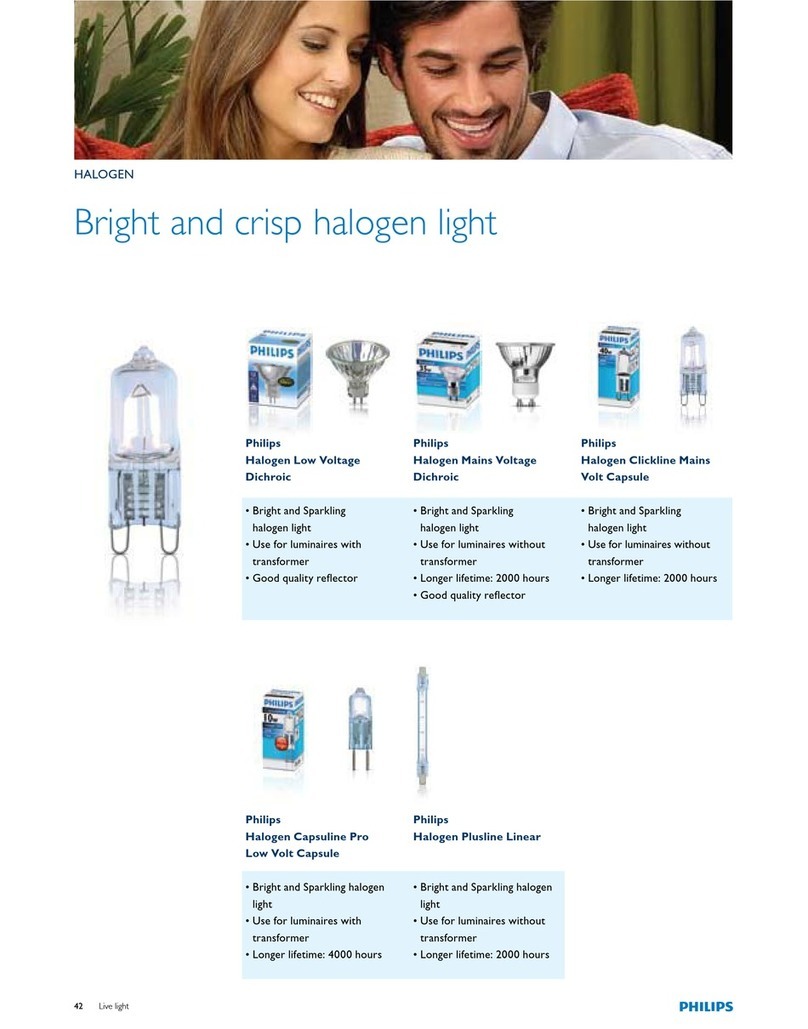
Philips
Philips Halogen Light Brochure & specs