manuals.online logo
Brands
  1. Home
  2. •
  3. Brands
  4. •
  5. Philips
  6. •
  7. Projection TV
  8. •
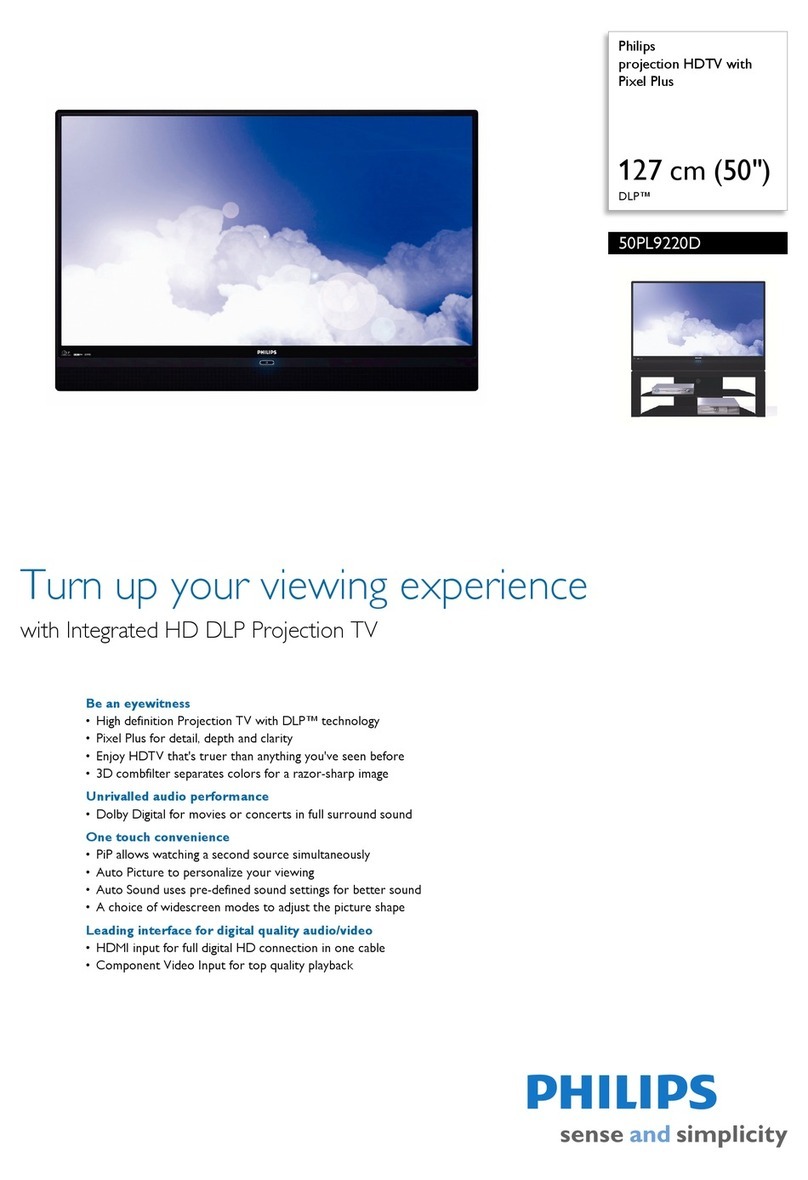
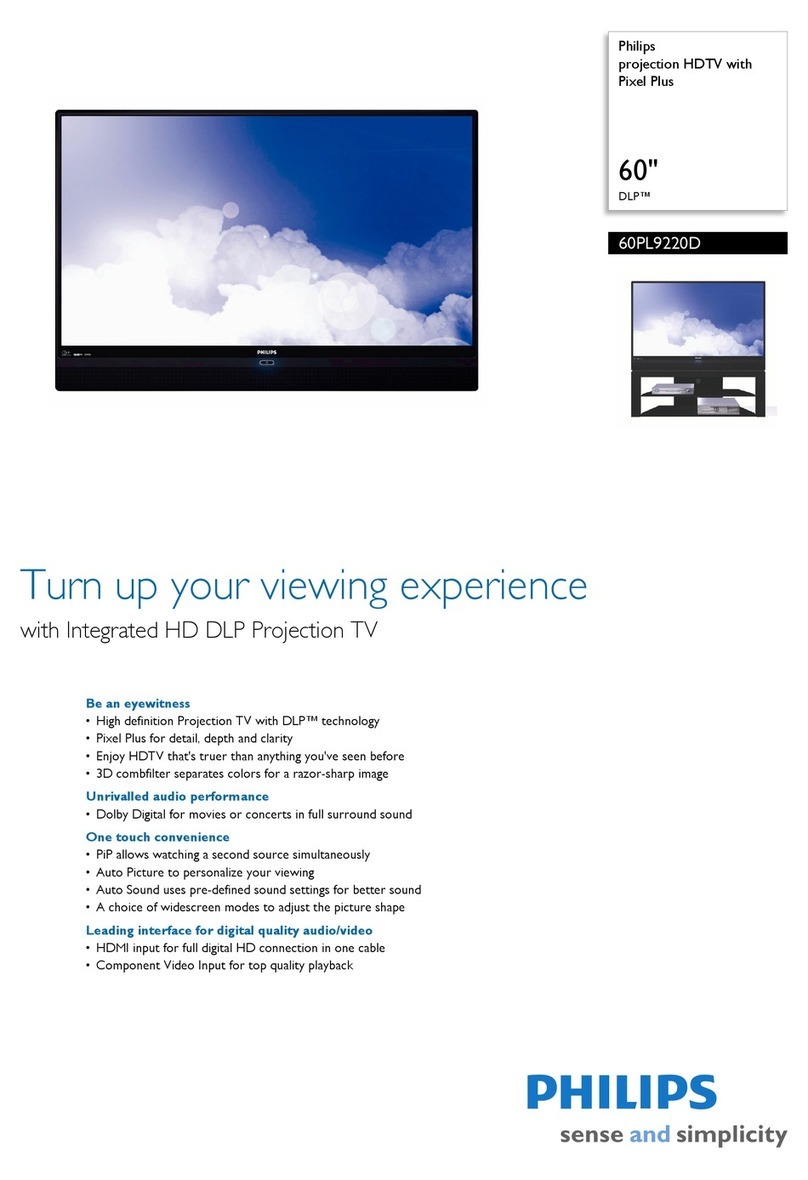
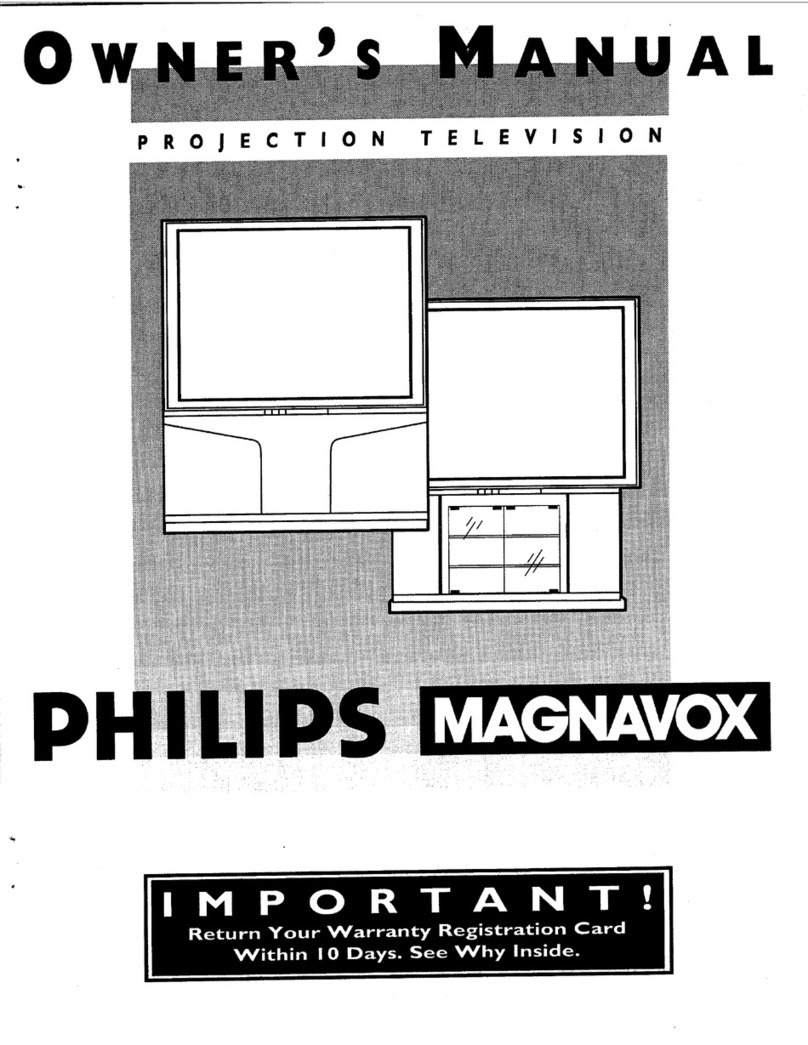
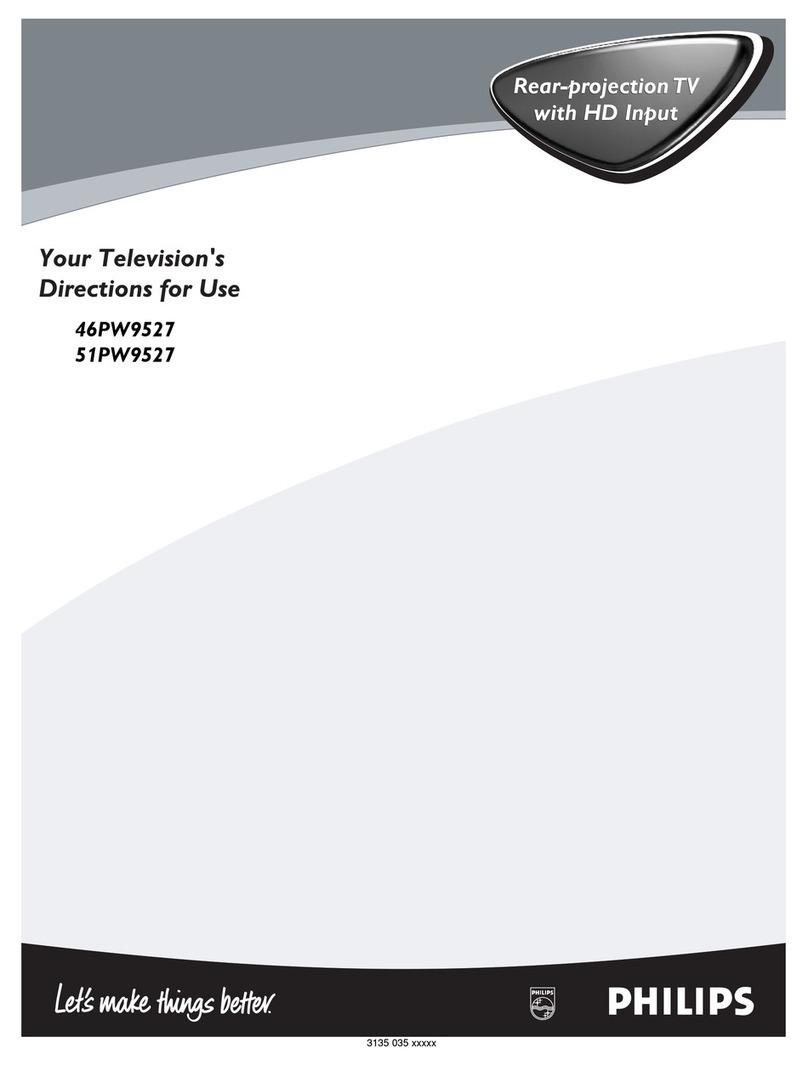
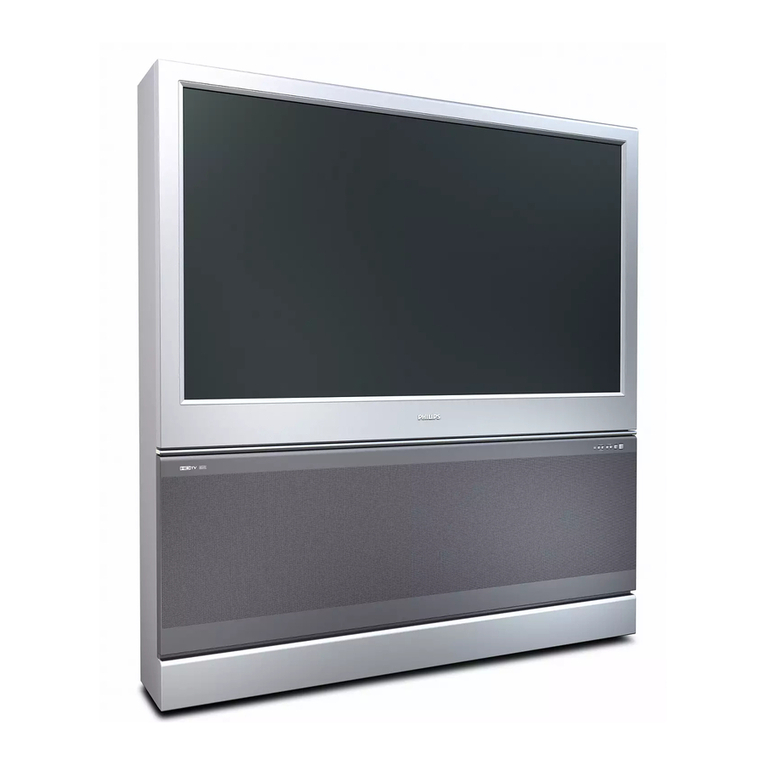
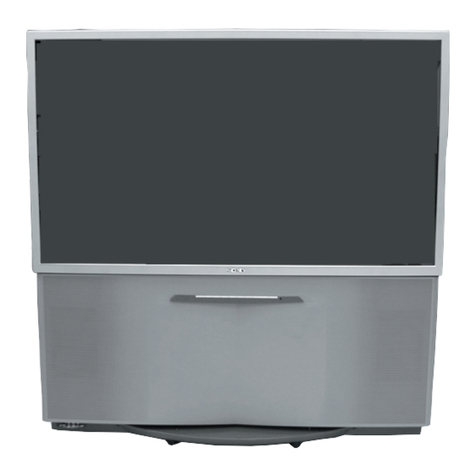
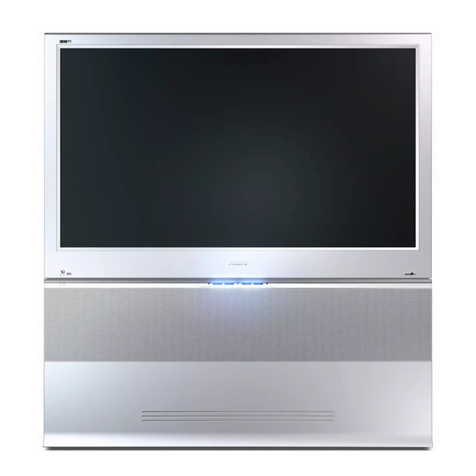
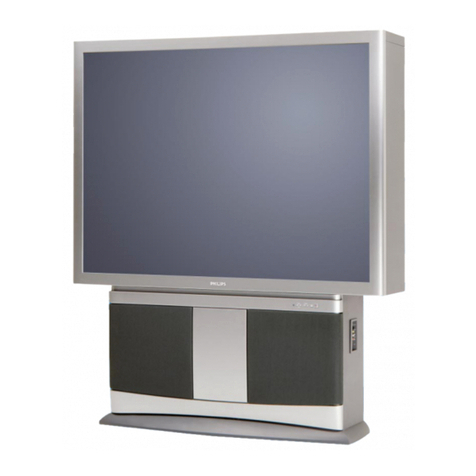
  9. Philips 60PP9701 User manual

Philips 60PP9701 User manual

Instructions for use:
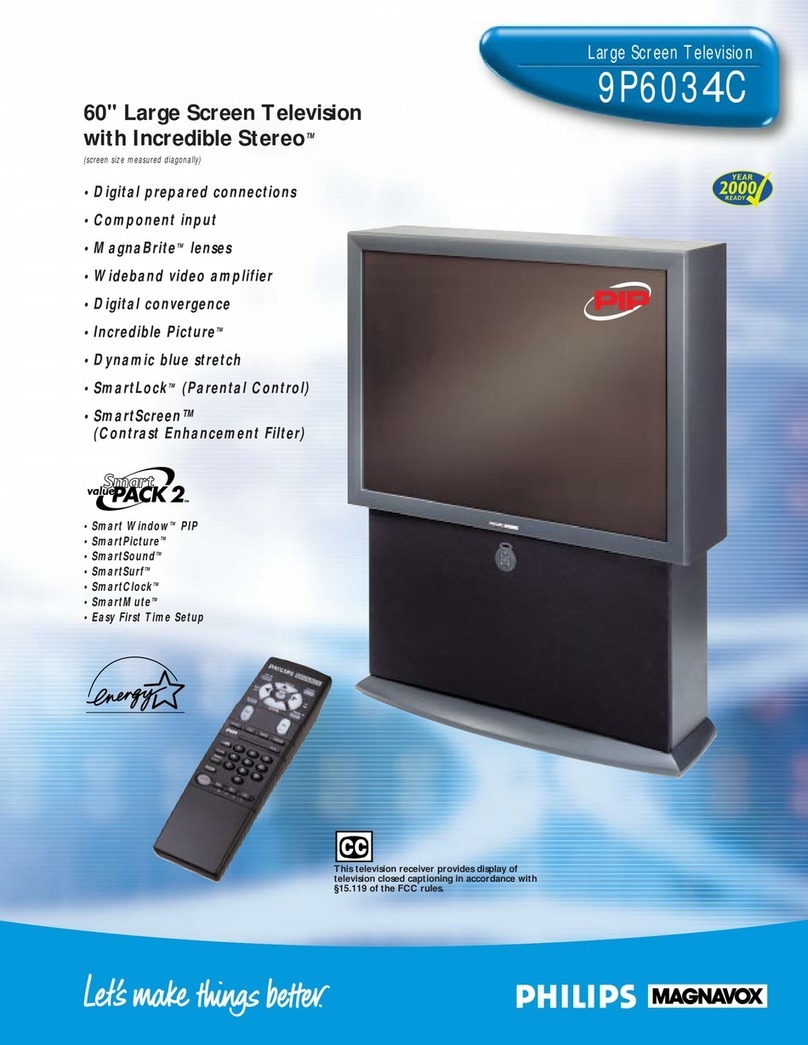
• Digital High Definition (maximum display resolution 1500x1080i)
•Dual Tuner PIP
• APAC (automatic phosphor aging compensation)
•Display Format Conversion Modes
•Universal Remote Control
•GUIDE Plus+ ®(electronic program guide)
REAL
3135-015-21401
Once your PHILIPS purchase is registered, you're eligible to receive all the privileges of owning a
PHILIPS product. So complete and return the Warranty Registration Card enclosed with your
purchase at once. And take advantage of these important benefits.
Congratulations on your purchase,
and welcome to the "family!" PHILIPS
Dear PHILIPS product owner:
Thank you for your confidence in PHILIPS. You've selected one of the best-built, best-backed
products available today. And we'll do everything in our power to keep you happy with your purchase
for many years to come.
As a member of the PHILIPS "family," you're entitled to protection by one of the most comprehensive
warranties and outstanding service networks in the industry.
What's more, your purchase guarantees you'll receive all the information and special offers for which
you qualify, plus easy access to accessories from our convenient home shopping network.
And most importantly you can count on our uncompromising commitment to your total satisfaction.
All of this is our way of saying welcome-and thanks for investing in a PHILIPS product.
Sincerely,
Robert Minkhorst
President and Chief Executive Officer
P.S. Remember, to get the most from your PHILIPS
product, you must return your
Warranty Registration Card within 10 days. So
please mail it to us rightnow!
Know these
safetysymbo/s
,_ This "bolt of lightning" indicates uninsulated material within your unit which may cause an
electrical shock. For the safety of everyone in your household, please do not remove product
covering.
_kThe "exclamation point" calls attention to features for which you should read the enclosed
literature closely to prevent operating and maintenance problems.
WARNING: TO PREVENT FIRE OR SHOCK HAZARD, DO NOT EXPOSE THIS EQUIPMENT
TO RAIN OR MOISTURE.
CAUTION: To prevent electric shock, match wide blade of plug to wide slot, and fully insert.
ATFENTION: Pour _viter les chocs _lectriques, introduire la lame la plus large de la fiche dans la
borne correspondante de la prise at pousser juaqu'au fond.
SAFETYINSTRUCTIONS- Read before operating equipment
Thisproductwasdesignedand manufacturedto meetstrict qualityand 11. Power-CordProtection- Powersupplycordsshouldberoutedso
safetystandards.Thereare,however,someinstallationand operation thattheyarenotlikelytobe walkedonorpinchedbyitemsplaced
precautionswhichyoushouldbeparticularlyawareof. upon or against them,payingparticularattentionto cordsand
plugs,conveniencereceptacles,andthepointwheretheyexitfrom
1. ReadInstructions- Allthesafetyandoperatinginstructionsshould
bereadbeforetheapplianceisoperated•
2. RetainInstructions- Thesafetyandoperatinginstructionsshould
beretainedforfuturereference•
3. HeedWarnings- All warningsontheapplianceandintheoperating
instructionsshouldbeadheredto.
4. FollowInstructions- All operatinganduseinstructionsshouldbe
followed.
5. WaterandMoisture- Theapplianceshouldnot beusednearwater
- forexample,neara bathtub,washbowl,kitchensink,laundrytub,
inawetbasementornearaswimmingpool,etc.
6. CartsandStands- Theapplianceshouldbeusedonlywithacartor
standthatisrecommendedbythemanufacturer•
6A. _ An applianceand cartcombinationshouldbe moved
withcare•Ouickstops,excessiveforce, anduneven
surfacesmaycausetheapplianceandcartcombination
tooverturn.
6B. Tilt/Stability - Alltelevisionsmustcomplywith recommended
internationalglobalsafetystandardsfor tiltandstabilityproperties
ofitscabinetdesign.
Donotcompromisethesedesignstandardsbyapplyingexces-
sivepullforcetothefront,ortop,ofthecabinetwhichcould
ultimatelyoverturntheproduct.
Also,donotendangeryoerself,orchildren,byplacingelec-
tronicequipment/toysonthetopofthecabinet.Suchitems
couldunsuspectinglyfallfromthetopofthesetandcause
productdamageand/orpersonalinjury.
7. WallorCeilingMounting- Theapplianceshouldbemountedtoa
wallorceilingonlyasrecommendedbythemanufacturer•
8. Ventilation- Theapplianceshouldbesituatedsothatitslocationor
positiondoesnotinterferewithitsproperventilation.Forexample,
theapplianceshouldnotbesituatedona bed,sofa,rug,orsimilar
surfacethat may blocktheventilationopenings;or, placedin a
built-ininstallation,suchasa bookcaseorcabinetthatmayimpede
theflow ofairthroughtheventilationopenings•
9. Heal - Theapplianceshouldbesituatedawayfromheatsources
suchas radiators,heat registers,stoves,or other appliances
(includingamplifiers)thatproduceheat•
10. PowerSources- Theapplianceshouldbe connectedto a power
supplyonlyofthetypedescribedintheoperatinginstructionsoras
markedontheappliance.
theappliance.
12. Cleaning- Theapplianceshouldbecleanedonlyasrecommended
bythemanufacturer.
13. PowerLines - An outdoorantennashouldbe locatedawayfrom
powerbnes.
14. OutdoorAntennaGrounding-Ifan outsideantennaisconnectedto
thereceiver,be surethe antennasystemisgrounded soas to
providesomeprotectionagainstvoltagesurgesandbuilt upstatic
charges.
Section810ofthe NationalElectricCode,ANSI/NFPANo.70-1984,
providesinformationwith respectto propergroundingof themats
and supporting structure grounding of the lead-in wire to an
antennadischargeunit, size of groundingconnectors,locationof
antenna-dischargeunit, connectionto grounding electrodesand
requirementsforthegroundingelectrode.SeeFig.below.
15. Non-use Periods - The powercord of the applianceshould be
unpluggedfrom the outlet whenleft unusedfor a long period of
time.
18. ObjectandLiquid Entry- Careshouldbetakensothatobjectsdo
notfall and liquidsare notspilled intotheenclosurethrough
openings.
17. DamageRequiringService- Theapplianceshouldbeservicedby
qualifiedservicepersonnelwhen:
A. Thepowersupplycordortheplughasbeendamaged;or
B. Objectshave fallen, or liquid hasbeen spilledinto the
appliance;or
C. Theappliancehasbeenexposedtorain;or
D. Theappliancedoesnotappeartooperatenormallyorexhibits
a markedchangeinperformance;or
E. Theappliancehasbeendropped,ortheenclosuredamaged.
18. Servicing- Theusershould notattemptto servicetheappliance
beyondthat described in the operating instructions. All other
servicingshouldbereferredto qualifiedservicepersonnel.
Noteto the CATVsysteminstaller: This reminderis provided to callthe
CATV system instager's attention to Article 820-40 of the NEC that
providesguidelines for propergroundingand,in particular,specifiesthat
the cable ground shall be connected to the groundingsystem of the
building, ascloseto the pointofcableentry aspractical.
ExampleofAntennaGrounding
as perNEC- NationalElectricCode
GROUNDCLAMP ANTENNALEADINWIRE _"
ANTENNADISCHARGEUNIT{HECSECT]OH0t0"2101
GROUNDINGCONDUCTORS(NecsecrmNelO-21)
GROUNDCLAMPS
POWERSERVICEGROUNOINGELECTRODESYSTEMINeC_r ne PMTH)
,* ELECT_ICSERVICEEQUIPMENT ' "
_Getting Started
Welcome/Product Registration ................... 2
Safety/Precautions ..................................................... 3
Table of Contents ....................................................... 4
Features, Model and Cabinet Information ................. 5
[_ On-Screen Features
PICTURE MENU
+Adjusting Color, Brightness, Sharpness,
Tint, Picture, and Color Temperature Controls ..6
+Using Clearview and Video Enhance Controls...7
+Adjusting the TV's Convergence Control ........... 8
+Using the Flesh Correction Control .................... 9
FEATURES MENU
+Using the Analog Format Screen Control ......... 10
+Setting the TV for Closed Captioning ............... 11
+Setting the TV for Cable_r Antenna Signals....12
+Adding Channels in Memory (Automatically). 13
+Adding Channels in Memory (Manually) ......... 14
+Setting the TV Clock ......................................... 15
+Using the Sleep Timer Control ......................... 16
+Adjusting the Channel Display Control ............ 17
+Using the Time/Channel Reminder Control...... 18
+Using Parental Control/Content Advisory:
•Code Setup/Blocking Channels ............... 19-20
• Content Advisory - Movie Ratings ......... 21-22
• Parental Guidelines ....................................... 23
• Blocking Options/Review Seuings ............... 24
+Using the Channel Label Control ...................... 25
+Using the Language Selection Control .............. 26
SOUND MENU
+Adjusting Bass, Treble, and Balance Sound
Controls ............................................................. 27
+ Setting the Bass Boost Control ........................ 27
+Setting the TV for Stereo and SAP Programs ..28
+ Using the Incredible Surround Control ............. 29
+Using the Volume Display Control ................... 29
+Using the TV Speaker On/Off Control with
the Audio Output jacks ..................................... 30
+Surround Sound Speaker Connections and
Variable Audio Output Control ........................ 31
+Optional Surround Sound Connections ............ 32
+Using the TV's Audio/Video Input and
Output Jacks ............................................... 33-37
_ Monitor (HD) Control Oneration
Connection of VGA and High Definition (HD)
Component Video Equipment ................................. 38
Adjusting of Monitor Display Controls ................... 39
jRemote Control Overation
Setting the Auto Picture Control............. 40-41
Using the Auto Sound Control................................. 42
Using the Auto Surf Control .................................... 43
Setting the TV Remote to Work Optional Accessory
Devices:
Direct Entry/Code Number Method .............. 44-45
Search and Identify Method ................................ 46
Remote Control Direct Entry Code Lists ......47-48
Using the Remote's VCR buttons ............................ 49
[-_ Picture-ln-Picture (PIP)
How to Use PIP (Connections) ........................... 50-51
How to Use PIP with the TV Remote ...................... 52
Selecting the Picture Source for PIP ........................ 53
Adjusting PIP Color, Tint, and Size ........................ 54
More PIP Connections (Cable Converter) ............... 55
MGeneral Information
Tips if Something Isn't Working ............................. 56
Glossary of TV Terms ............................................. 57
Index ........................................................................ 57
Factory Service Locations .................................. 58-59
Warranty .................................................................. 60
Use the simple Set-Up Guide (supplied
your TV information packet) for details on:
• Antenna Hook-ups
• First Time Set_-Up
(Automatic Settings)
• Basic TV and Remote
Control Operation
• On-Screen Menu Use
Copyright ©2000 PhilipsConsumer Electronics Company.All rights reserve_l.
4 . .
First Time Set Up - automatically sets the TV for
local channels, the correct picture signal (antenna or
cable), and assists in the setting of TV's Guide Plus+
feature.
Infrared Remote Control - operates your TV set and
a variety of wireless remote control VCRs, Cable TV
Converters, and other accessory equipment.
Standard TV broadcast (VHF/UHF) or Cable TV
(CATV) channel capability as well as advanced
connectivity for high definition video and VGA.
Closed Captioning - allows the viewer to read TV
program dialogue or voice conversations as on-screen
text.
Automatic Programming of channels - for quick and
easy selection of favorite stations available in your
area.
Picture-In-Picture (PIP) -can show a TV program
and the direct video output from an accessory (VCR,
etc.) onto the TV screen atthe same time.
Parental Control for "Censoring" - this feature can
block out channels to keep children from watching
undesirable programming. Parental Guideline and
Movie Rating settings can also be used as part of the
new Content Advisory Data system available with TV
programming.
Stereo-TV - with abuilt-in audio amplifier and a twin
speaker system, reception of TV programs in both
woadcast stereo sound or (SAP) bilingual broadcast
are available.
Twin Antenna (A/B) Inputs - for easy displaying of
two separate signal sources on the TV. An A/B button
on the remote control switches the TV's Main screen
between the two Antenna (A & B) Input options.
Audio/Video Jacks - for direct connections with
VCRs (and other accessories) for quality TV picture
and sound playback.Component Video Input
connectors are also available for high fidelity color
and picture resolution when using digital video source
material, such as DVD.
Surround Sound -this TV set contains external;
audio speaker connections for a more dynamic sound
effect capable within the today's Home Cinema
environment.
Sleep-Timer -automatically turns the TV OFF at
preset time intervals.
Auto Button - for the control of TV Sound and
Picture levels. Use the Auto Button on the remote to
quickly select various audio modes matched to
specific types of "IVprogramming; to select video
level adjustments for a variety of program sources;
and to make quick one button channel selection of up
to 10 of your favorite channels.
I
High Definition Digital - Projection Television
capable of 1500x 1080i interlaced imaging for superior
resolution and performance. Line doubling circuitry
and video processing technology able to output
3rogressive scan material with clean, stable
widescreen images. PixelMax optimum triple lens
system matched to first surface mirror and fine
pitched lenticular screen methods which amounts to
an incredible 1,620,000 pixels of display capability.
High Definition Component and RGB Inputs are
available as well for Y, Pb, Pr; horizontal/vertical
sync, and RGB/VGA monitor input operation modes.
Automatic Phosphor Aging Compensation (APAC)
Automatic incremental shifting of TV screen
elements to prevent any onscreen image outline
retention or "screen burn" problems.
GUIDE Plus+ ®-Electronic TV Program guide which
_rovides for daily television channel listings,
descriptions of program content, sorting of shows by
subject themes, and a variety of other VCR
programming options. (See your separate GUIDE
Plus+ ® Owner's Manual for further details.)
Because of continuous product improvements, the
information mentioned in the documents
accompanying your product are subject to change
w thout not ce.
As you unpack your TV please note that the
following items have been included with your set:
•Owner's Manual
Safety Tip Information
Factory Service Center Locations
• Warranty Registration Card
• Remote Control Transmitter
• Batteries for Remote Control Use
Refer to the back of this manual for instructions
on the cleaning and care of the TV.
End-of-Life lisposal
Your new projection television and its packaging
contain materials that can be recycled and reused.
Specialized companies can recycle your product
to increase the amount of reusable materials and
minimize the amounts which need to be properly
disposed.
Your product also uses batteries which should not
be thrown away when depleted, but should be
handed in and disposed of as small chemical
waste.
Please find out about the local regulations on how
to dispose of your old television, batteries, and
packaging materials whenever you replace
:existing equipment.
TpO adjust your TV color and
ieture controls, select a TV
channel arM follow the steps shown
below:
j Select BRIGHTNESS,
PICTURE, COLOR, TINT, or
SHARPNESS piclure control.
With the PICTURE MENU on
screen, move the RED highlight
with the outer MENU ring( :
buttons. Then press the center
MENU button Io select the l_ature.
Press the outer MENU ring_i_i'
buttons to adjust the selected
control.
Press the STATUS button to
clear the screen. 0
Remember. When the bar
g scale is centered, control
settings are at normal mid-range
levels.
BRIGHTNESS Press (-) or (+) until
dark pans of the picture show good
detail.
Press (-) or (+) until
whitest parts of the picture are as
bright as you prefer.
Press (-) or (+) to add or
eliminate color.
TINT Press (-) or (+) to obtain
natural skin tones. (Also see Flesh
Correction on page 9 for more
information).
SHARPNE.__ Press (-) or (+) to
improve detail in the picture.
%
(M) button to _iew additional
controls grouped under same
leature heading• For
Example: Tint. Bnghmess,
Picture, etc
-- II --
Note: A Color
Temperature control is
also available to set the
level or degree of color
intensity (especially on
white picture screen
element), For e_ample, &W'L
6
L_J
Cleata,iew is a slmrpness fi, ature
which ._lllool]l_ S OItI
bt "kgro o d ' _lt' (or picture' m_ise)
witho.t Io_i_ ,_ picttu'e imag_" detail
Select CLEARVIEW control.
With tile PICTUI_,E MI':NU _m
screen, move the RED highli._hl
\_ilh the outer MENU nng
butlons. Then press Ihc center
MENU button Io sclecl the ft,uturc.
Press the outer MENU ring
bultons to move the I_,EI) highlight.
Press thc center MENU button to
select (u.') the ENHANCED mode.
Press the STATUS button to
I clear the screen. O
Mt_IN MENU _
II pICTURE
[:: _EATURES _!
!l_st t,_E sE'-u_ _ _,_
Note: An additional
Picture Menu
"VIDEO
ENHANCEMENT"
control (similar in
function and use as
the Sharpness control)
is also available to
otlveggetlce i_ the correct
lining up of the red and blue
light paths on the TV _creen.
NOTE. •I/ no colur tfin_ing (we
Smart Help)dlmls. then no
CO]IV_'Q_TIICd dd, jttqltlldllt_ drd
ii#('e._ _gtr_.](_r .\'Ollr TV.
Select CONVER(;ENCE
clmtro].
With PIUI'UP, E MENU (2 of 3)url
screen, move the RED highlight
with the outer MENU ring
buttons. Then prcss the ccntcr
MENU button to select the [cattlrc.
Ifthereis RED or BLUE odor
flinging (see note below) on your
TV, press the outer MENU ring
buttons to move the highlight.
Press the center MENU button to
select the Align Red or Align Blue
Convergence control.
Press the MENU ring
buttons to move the red or bluc
cross directly over the white cross
on the TV screen•
The red or blue cross is properly
adjusted when it is completely
merged with the white cross. (No
color appears around the edge of
the white cross).
_Press the STATUS button to
clear the screen when convergence
adjustments are complete.
Remember. Convergence
_has been set at the factory for
best viewing, but if one or more of
the (red or blue) colors appear
around the edges of objects (color
fringing) lollow the steps given in
this section.
MAPN MENU
t[! SOUND J:
o,oro.q .................a
._ ..w.^..... o.
_qSr riME SEtUp_ _""""'"
==<÷x_==oxox:.x_? __._ :_a.
®®®
®®®
® @ @
PlC_bPE MENU t
20F3
l•
CONVERGENCEMENU
A eq BL.tJE
.....C')N\,'ER(_[- _O_Nr
_ACK MtJi TI
÷
PRESS 4_" TOALIGNRED
pRESS MENUTO RETURN
.F
8
k_3
Use the Flesh Correction
ontrol to keep skin tone hues
(or facial tint)from varying from
TV channel to TV channel.
qSelect FLESH
CORRECTION control.
With PICTURE MENU (2 of 3) on
screen, move the RED highlight
with the outer MENU ring
v
buttons. Then press the center
MENU button to select the feature.
z2_ Press the MENU ring (_
buttons to move the RED _
highlight. Press the center MENU
button to turn (_J) the FLESH
CORRECTION control ON,
_Press the STATUS button to
I clear the screen.
0
®®®
®®®
®®®
@ @ @
pICTURE MENU
FLESH I
[]
[]
[zl
g" .... •
L3
ymr TV is able to deliver
ifelike, widescreen picture (or
"home cinema" expelJence) that is
promised with High Definition TV
viewing. The Analog Fotvuat
('ont/ol ('till be ItS_'d Io e _p(llld
('onvetltion(d 4:3 aspect ratio
(width to-height) broatk'asts lit
order to fit your TV's widescreett
((11711(1t; or to !(,set the _(reell lo
best match the current
t_rogr_lmmitlg.
l_ Select ANALOG FORMAT
control.
With the FEATUH.ES MENU on
screen, move the RED highlight
with the outer MENU ring
buttons. Then press the centcr
MENU button to select the feature.
qPress the MENU ring tM:
buttons to move the RLI_D
highlight. Press the center MENU
button to select (u,") the desired
screen aspect ratio or s,._,een
display control.
_Press the STATUS button to
clear the screen.
Note: In the past the
1relationship between a TV
screen's width to height, or aspect
ratio, has historically been 33%
wider than the picture screen
height (or a 4:3 aspect ratio). The
widescreen format of your TV
screen is nearly 80% greater than
its measure height (which
accounts for a 16:9 aspect ratio).
The reason for the 16:9 aspect
ratio screen is that it allows for the
dramatic and lifelike viewing of
original version movies and
cinemas (similar to the type found
in your local theaters). And the
16:9 aspect ratio widesereen is
also a good visual match for how
our eyes work in a horizontally
oriented field of view and action
plane.
%
MAIN MENU i....
4 X 3 (Standard)-
Conventional TV picture
Ion'nat shows onscre_'n
4X3
ZOOM I/2
Zoom 1/2 - Full widescreen I ._. ^,1
°antic with hrlear expan._lon to _
view program broadcasts.
Onscr_,_._ imag e material
remains h_d_nm!ty and ,,
verli_aii7 l_rop_r tional as the _ ,
tBulq'di_iT_a_deNews [
t__ _ 'I
................................._1 _ ' ' -
i
10
Clvosed Captioning (CC) allows
ou to read the voice content of
television programs on the TV
screen• Designed to help the hearing
impaired this feature uses on-screen
"text boxes" to show dialogue and
conversations while the TV program
is in progress.
<_ Select CLOSED
CAPTIONING control.
With the FEATURES MENU on
screen, move the RED highlight
with the outer MENU ring
buttons. Then press the center
MENU button to select the feature.
>Press the MENU ring ._.
buttons to move the RED highlight.
Press the center MENU button to
select (t!) the desired Closed
Caption mode - For Example.
"ALWAYS ON" and "CAPTION
I n"
CAPTION 1, 2, 3, 4:
dialogue (and descriptions)
for the action on the captioned
TV program shows on-screen.
(See Important Note on this
page.)
TEXT 1, 2, 3, 4:
often used for channel guide,
schedules, or bulletin board
information for CC programs.
<_ After making your Caption mode
selection, press the STATUS button
to clear the 'IV screen. The selected
Closed Caption mode will be active.
To cancel, set the Closed Captioned
feature to OFF when finished.
O
NOTE: Not all TV programs and product commercials are made for broadcast
with Closed Caption (CC) information included. Neither are all Closed Caption
modes (CAPTION I-4; or TEXT 1-4) necessarily being used by a broadcast station
during the transmission of a closed caption program. Usually "CAPTION I"is the
most used mode to view captioned material. Refer to your area'sTV program
listings for the stations and times of Closed Caption shows.
-- FEA_JRE MENU
NOTE: The ON DURING
MUTE ONLY control can be
u,_d to Setthe TV to turn the
Closed Caption mode "ON"
whenever the MUTE button
on the remote is pressed.
0
®®®
®®®
®®®
e®e
CAPTION I mode
Example Screen Display
Remember. Broadcast
[stations will often use
spelling abbreviations, symbols,
dropouts and other grammatical
shortcuts in order to keep pace
with the on-screen action. These
type factors vary upon the source
of the captioned text material and
do not indicate a need for service
on the part of the TV. .
I
Closed Caption information will usually appear
in black and white (although some broadcasters
or networks may occasionally use color to
highlight or draw attention to certain areas.
FULL SCREEN TEXT
will block TV screen from viewing
11
[22
_Press the MENU rillg @
buttons to move the RED
highlight. Press the center MENU
button to select (t,,") the desired
mode - For Example: CABLE.
you need to make sure the TV is
et to pick up either Cable TV
or Antenna signals, h_ other words,
the TV needs to know if you
connected a Cable TV signal or a
normal antenna to its ANTENNA
plug.
NOTE: lf you went through First
Time Setup (ht your Quick Use
Guide), this task has already been
completed for you.
Select CABLE CHANNEL
TUNING control.
With the FEATURES MENU on
screen, move the RED highli_ght
with the outer MENU ring _
buttons. Then press the center
MENU button to select the feature.
CABLE- If you DO have
Cable TV connected
to the TV. Channels
1- 125 available.
NORMAL- If you have an
Antenna connected
to the TV. Channels
2-69 available.
<_ Press the STATUS button to
clear the screen.
O
MAIN MENU
®®®
®®®
®®®
®@@ Note: Both ANT(enna) A and ANT B inputs
TV°nthesource)rearof the TV can be set for the correct
connected signal (either an Antenna or Cable
12
mr TV can automatically set itsel
or local area (or Cable 73/)
channels. This makes it easy for you
to select oltl\' the TV stations in your
area when the CHANNEL • •
bllltOtIS alz" pressed.
NOTE: If you went through First
Time Setup (in your Quick Use
Guide), this task has alreac(\' been
completed for you.
_Select CHANNEL MEMORY
(START AUTO-PROGRAMMING
control.
With the FEATURES MENU on
screen, move the RED h_ghlight with
the outer MENU ring (iN:)buttons.
Then press the center M_NU button
to select the feature.
Press the center MENU button to
urn AUTO-PROGRAMMING ON
e TV shows which channel
numbers are SAVED (v a) as they
are added into memory•
I Auto-programming CHANNEL
I MEMORY is finished' shows when
the TV is through adding channels•
_ Press the STATUS or Menu
I button to clear the screen•
O
%
-- MAIN MENU
(9@@
®@®
®®®
@ @ e
1! Channel Numbers ar_
Saved in Memory
/
_-- FEATURE MENU
AUT0-PROGRAMMING CHANNEL
MEMORY FOR ANT A
1 2'#' 3"/" 4'_,t"
5"/" 6 _" 7'/" 8*,,_
9 '*" 10 _1 12
13 14 15 16
17 18 19 20
21 22 23 24
Try it out. Press the
CHANNELA• buttons
and see which channels you can
select.
Remember, an Antenna or Cable
TV signal must first be connected
to your TV so that channels can be
saved.
If you want to delete any
unwanted channels from the TV's
memory, see "ADD/DELETE
CHANNELS" on the next page.
.•.. •
• .• .•
13
uto-Programming (see
page) adds all the
channels it can find (on your
Antenna or Cable TV system) into
the TV's mentor?,'. Add/Delete
Channels makes it easy for you to
add other channels, or drop
unwanted channels, from the list o
channels in the TV's memory.
_ Select CHANNEL MEMORY
(ADD/DELETE CHANNELS)
control.
With the FEATURES MENU on
screen, move the RED highlight
with the outer MENU ring_(_))
buttons. Then press the center
MENU button to select the feature.
<_ Press the CHANNEL &Y or
number buttons to select the
channel you want to a_d or delete.
_Press the outer MENU
ring button (on the Right) to
ADD the channel into the TV's
memory.
Press the outer MENU ring button
(on the Left) to DELETE the
channel from memory.
Repeat steps 2 and 3 for each
channel you wish to add or delete•
<_ Press the STATUS or MENU
button to clear the screen when
through.
Remember. A separate
ADD/DELETE CHANNEL
memory may also be created for
the ANT(enna) B Input on the rear
of the set (if an Antenna or Cable
TV signal has been connected).
Press the "SOURCE" button on
the remote, while in the
ADD/DELETE CHANNEL
mode, to switch between the ANT
Aand ANT B channel memory
lists. Then follow steps 2 and 3 as
shown to the left to add or delete
the desired channels.
-- MAIN MENU
®®
®®
®
e @ @
FEATURE MENU --
CHANNEL MEMORY
Channel lg Added
,_LEb_r CHANNEL
(_0 to DELETE CHANNEL
for" ANT B
when FINISHED
w
your TV comes with an on-
creen clock. During normal
operation the clock appears on the
screen with every channel change
(and when the STATUS button is
9ressed).
<_ Select SET CLOCK control.
With the FEATURES MENU (2 of
5) on screen, move the RED
with the outer MENU _._)
highlight
ring buttons. Then press the cente?
MENU button to se eet the feature.
<_ Press the remote's number
Ibuttons to set the time clock.
Press t button to
_peration and clear
the screen.
Remember, be sure to
press "0" first and then the
hour number for single digit
entries.
The remote's MENU ring
buttons can also be used to set the
, hours, minutes and AM/PM
Iportions of the clock.
TV Clock settings may be lost
when the TV is unplugged (or AC
power to the set is interrupted).
@®
®®
®®
®@e
_FEATUREMENU
-- FEATURE MENU
20F5--
l
15
HfrVe you ever fallen asleep in
ont of the TV only to have it
wake you up at two in the morning
with a test patteru screeching in
your ears? Well, your TVcan save
you all that ttvuble by
automatically turning itself off
Press the SLEEP button on the
remote control•
_ Press the SLEEP button
repeatedly to pick the amount of
time (15 minutes to 2 hours ahead)
before the TV will turn itself off.
<_ Press the STATUS button to
clear the screen after you have set
the time for the TV to turn off.
0
I
1:15 ,
_: :ii!iiPRESS"SLEEP" TO CHANGE _i:[;
Remember, to see how
many minutes are left before
the TV shuts itself off, reselect the
SLEEP TIMER control screen.
To stop a SLEEP TIMER setting,
reset the timer back to OFF.
(Turning the TV off and on, or
pressing a button during the last
minute of a timer setting, will also
cancel a setting•)
A few seconds before the TV is to
shut off a message will come on the
screen telling you GOOD NIGHT.
" • "16 • "
Wcth the Channel Display
ontrol you can change the
size and location of the on screen
chamwl and clock information.
Select CHANNEL DISPLAY
control•
With the FEATURES MENU (2
of 5) on screen, move the RED
highlight with the outer MENU_
ring buttons. Then press the cent_
MENU button to select the
feature.
Press the MENU ring and
center MENU buttons to
highlight and select (t,,') the
LARGE or SMALL display
control.
3(_ Press the STATUS button to
Iclear the screen
Try it out. Press the
CHANNEL AkV buttons and
you should see the Display Size
you selected.
Remember. The SMALL SIZE
display shows only the channel
number, not the time (or clock).
®®®
®®®
®®® ............
®®e
F_ATURE MENU
FEATURE MENU
20F5_
17
7-3
iII ILlilil H1DI]I6_I_]P_I I_[J)M_I
Wcth the Half Hour Reminder
ontrol the TV automatically
shows you the current time and
channel every thirty minutes.
<_ Select HALF HOUR
REMINDER control.
With the FEATURES MENU (2
of 5) on screen, move the RED
highlight with the outer MENU@
ring buttons. Then press the center
MENU button to select the
feature.
<_ Press the MENU ring and
center MENU buttons to
highlight and select (_,,")the
EVERY HALF HOUR item.
<_ Press the STATUS button to
rclear the screeo_
-- MAIN MENU
-- FEATURE MENU
2OF5--
• '" 18 " " " ""
P_torental Control allows parents
block out, or censor , any
channels they think children should
not watch. A channel placed under
Parental Control cannot be viewed
until a correct access code is used to
unlock the channel for viewing.
First let's set your Parental Code:
Select the PARENTAL
CONTROL.
With the FEATURES MENU (3 of
5) on screen, move the RED
highlight with the outer MENU
ring buttons. Then press the center
MENU button to select the feature.
"CHANNEL BLOCKING" and
"SETUP CODE" show on screen.
_'_ Press the MENU ring and center
MENU buttons to highlight_nd
select the SETUP CODE item.
_Press 0, 7, 1, 1 on the remote.
"XXXX" shows on the ACCESS
CODE SETUP screen as you press
the number buttons.
"INCORRECT ACCESS CODE -
TRY AGAIN" will also show on the
screen.
_) Press 0, 7, 1, 1 on remote
the
again.
"Next Enter Your New Access
I Code" shows on the screen.
<_ Enter a new digit
four number
code using the remote.
"Access Code Changed" shows on
the screen to let you know the new
code has been set.
Continue to the next page to find
out how to "BLOCK" channels from
viewing.
Parents - it isn't possible
to unlock or defeat your
Censor Code without changing to
a new code number. So if your
Code number changes, and you
didn't change it yourself, then you
will know that someone has
altered the code and the blanked
:out channel has been viewed.
NOTE:Your TV left the factory with the Parental Code set t,o"00(X)". If you are using
your TV and the Parental Control for !he first time, and don t want to SETUP a new
Access code number, you can use the 0000' number to block channels - see next page.
The "0711" Parental Code (shown on this page) is given as a default or way to reset the
Code when the current Access number s not known.
I:EA'_IRE MENU
=_ FEATURE MENU
NEI
2_5--
_pARENTAL CON TF_L _. --
Press outer MENU ring button (on
the Right) to go on and start to
"block" channels.
Press outer MENU ring button (on
the Left) to go to "Content Advisory"
(or TV and Movie Rafngs system of
channel blocking).
• Press the center MENU button to
return to the Parental Control Menu
screen.
•Press STATUS to clear the screen.
i
19
[2
<
tier your personal Parental
LCodenumber has been set (see
previous page), you are now ready
to select the channels you want to
block out or censor.
._C Select the BLOCK
HANNELS control•
With the FEATURES MENU (3 of
5) on screen, move the RED
highlight with the outer MENU(_ "
ring buttons. Then press the center
MENU button to select the feature.
<_ Press the MENU and
ring
center MENU buttons to highlight
and select the CHANNEL
BLOCKING item.
_Enter the correct Parental
ICode number.
_Press Channel AV or Channel
Number buttons to select the
channel you want to block,
<_ Press the outer MENU ring
button (on the right) to "BLOCK
VIEWING" on the selected
channel,
Press the outer MENU ring
button (on the left) to "ALLOW
VIEWING" on ablocked channel.
Repeat steps 3 and 4 for any other
channels you wish to block out.
OIXXXX
Remember, once set
'arental Control blocks out
the selected channel number on
both the ANT A and ANT B
channel rings. Also, to make TV
viewing easier all channels (for
both ANT A/B) will be
unblocked, once the correct
Parental Code number has been
entered.
When the TV is turned OFF and
then back ON again, is when
Parental Control is back in place
for all blocked out channels.
:iiiii_....
@@
®®@
F_ATUR£ MENU
i'_'51 ,_ '
+
_EATU_E MENU , _, I,_,
..... 2095 ...... II
I
TO B_ck or Ur_Bk_Ck _J_00_ CHANNEl
_P _cce_ _da I_ _ tO ALLOW VIEWING
PARENTAL CONTROL
CHANN[L 19
CHANNEL BLOCKING _CTME
pleeSe en+er Accels Code
_)la.
SeleCt anmher Chonn_l
foe we_ng
BLOCKED CHANNEL SCREEN_'dESSAGE
(Appears when an attempt to select a blocked
channel is made and Parental Control is ON.)
• ".• , . . •
20

Other manuals for 60PP9701

1

This manual suits for next models

1

Other Philips Projection TV manuals

Philips 64P 9161 User manual

Philips

Philips 64P 9161 User manual

Philips 60P834299 Manual

Philips

Philips 60P834299 Manual

Philips 55P8341 User manual

Philips

Philips 55P8341 User manual

Philips 60PP9910/17B User guide

Philips

Philips 60PP9910/17B User guide

Philips Magnavox 9P5031C User manual

Philips

Philips Magnavox 9P5031C User manual

Philips MAGNAVOX MX6472C101 User manual

Philips

Philips MAGNAVOX MX6472C101 User manual

Philips 50YP43 User manual

Philips

Philips 50YP43 User manual

Philips 54XP43C/37 User manual

Philips

Philips 54XP43C/37 User manual

Philips MATCHLINE 55PP9545/69 Manual

Philips

Philips MATCHLINE 55PP9545/69 Manual

Philips 64PH9905 User manual

Philips

Philips 64PH9905 User manual

Philips 60PP9910 User manual

Philips

Philips 60PP9910 User manual

Philips 55PP9352 User manual

Philips

Philips 55PP9352 User manual

Philips 8P4841C User manual

Philips

Philips 8P4841C User manual

Philips MatchLine 46PP9527 Manual

Philips

Philips MatchLine 46PP9527 Manual

Philips 51 IN DIGITAL WIDESCREEN HDTV MONITOR... Manual

Philips

Philips 51 IN DIGITAL WIDESCREEN HDTV MONITOR... Manual

Philips 60PP960199 Operating manual

Philips

Philips 60PP960199 Operating manual

Philips 55PL9774 - 55" Rear Projection TV User manual

Philips

Philips 55PL9774 - 55" Rear Projection TV User manual

Philips 60PW9363/17 User manual

Philips

Philips 60PW9363/17 User manual

Philips 60PP960199 User manual

Philips

Philips 60PP960199 User manual

Philips 55PP9501/79 User manual

Philips

Philips 55PP9501/79 User manual

Philips Projection Television User manual

Philips

Philips Projection Television User manual

Philips Magnavox 7P5451C User manual

Philips

Philips Magnavox 7P5451C User manual

Philips Magnavox 9P5544C User manual

Philips

Philips Magnavox 9P5544C User manual

Philips Magnavox 8P5444C199 User manual

Philips

Philips Magnavox 8P5444C199 User manual

Popular Projection TV manuals by other brands

Sony KP-FW46M91 Service manual

Sony

Sony KP-FW46M91 Service manual

Toshiba TheaterWide 50HM66 installation guide

Toshiba

Toshiba TheaterWide 50HM66 installation guide

JVC I Art PRO AV-65WP84/HA user guide

JVC

JVC I Art PRO AV-65WP84/HA user guide

Samsung SP403JHPX/UMG Service manual

Samsung

Samsung SP403JHPX/UMG Service manual

Mitsubishi Electric WS-48515 owner's guide

Mitsubishi Electric

Mitsubishi Electric WS-48515 owner's guide

Toshiba 53AX62 owner's manual

Toshiba

Toshiba 53AX62 owner's manual

Sony KP-46WT500 - 46" Hi-scan 1080i 16:9 Projection... operating instructions

Sony

Sony KP-46WT500 - 46" Hi-scan 1080i 16:9 Projection... operating instructions

Panasonic PT52LCX66 - MULTI MEDIA DISPLAY Service manual

Panasonic

Panasonic PT52LCX66 - MULTI MEDIA DISPLAY Service manual

Toshiba 46WM48 Series owner's manual

Toshiba

Toshiba 46WM48 Series owner's manual

Pioneer SD-T50W1 Service manual

Pioneer

Pioneer SD-T50W1 Service manual

JVC HD-56FH97 - 56" Rear Projection TV Service manual

JVC

JVC HD-56FH97 - 56" Rear Projection TV Service manual

Mitsubishi Electric WD-52327 Service manual

Mitsubishi Electric

Mitsubishi Electric WD-52327 Service manual

Toshiba ColorStream TP50H95 owner's manual

Toshiba

Toshiba ColorStream TP50H95 owner's manual

Sony KP-48PS1 instruction manual

Sony

Sony KP-48PS1 instruction manual

Hitachi 61SWX10B operating guide

Hitachi

Hitachi 61SWX10B operating guide

Panasonic TX-47P950A operating instructions

Panasonic

Panasonic TX-47P950A operating instructions

LG RU-44SZ80L -  - 44" Rear Projection TV owner's manual

LG

LG RU-44SZ80L - - 44" Rear Projection TV owner's manual

Toshiba 50A60A owner's manual

Toshiba

Toshiba 50A60A owner's manual

manuals.online logo
manuals.online logoBrands
  • About & Mission
  • Contact us
  • Privacy Policy
  • Terms and Conditions

Copyright 2025 Manuals.Online. All Rights Reserved.