manuals.online logo
Brands
  1. Home
  2. •
  3. Brands
  4. •
  5. Philips
  6. •
  7. TV
  8. •
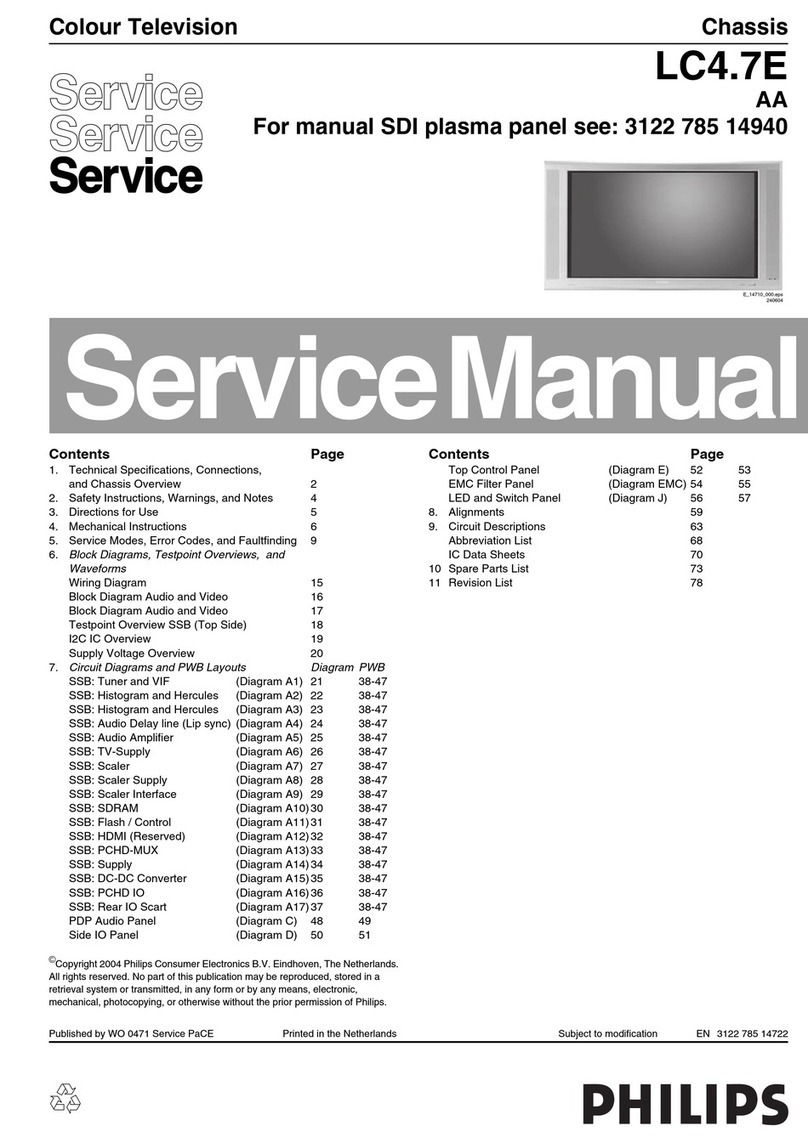
  9. Philips A10PTV2.0 User manual

Philips A10PTV2.0 User manual

Published by TA 0167 Service PaCE Printed in the Netherlands Subject to modification

3122 785 11241
©
Copyright 2001 Philips Consumer Electronics B.V. Eindhoven, The Netherlands.
All rights reserved. No part of this publication may be reproduced, stored in a
retrieval system or transmitted, in any form or by any means, electronic, mechanical,
photocopying, or otherwise without the prior permission of Philips.
Colour Television Chassis
A10PTV2.0
NTSC AA
Contents Page Contents Page
1. Technical Specifications, Connection Facilities
and Chassis Overview 2
2. Safety Instructions, Warnings and Notes 4
3. Directions For Use (Not Applicable) 5
4. Mechanical Instructions 5
5. Faultfinding and Repair Tips 7
6. Block Diagram, Wiring Diagram and Testpoints
Block Diagram 13
Testpoint Overview LSB Panel 14-15
Waveform Overviews 16
Testpoint Overview SSM Panel 17-18
Wiring Diagram 19
Supply Distribution Diagram 20
7. Electrical Diagram’s en PWB’s Diagram PWB
Large Signal Panel (Section 1) 21 24-29
Large Signal Panel (Section 2) 22 24-29
Large Signal Panel (Section 3) 23 24-29
CRT Red 30 33
CRT Blue 31 33
CRT Green 32 33
Small Signal Board (Section 1) 34 45-50
Small Signal Board (Section 2) 35 45-50
Small Signal Board (Section 3) 36 45-50
Small Signal Board (Section 4) 37 45-50
Small Signal Board (Section 5) 38 45-50
Small Signal Board (Section 6) 39 45-50
Small Signal Board (Section 7) 40 45-50
Small Signal Board (Section 8) 41 45-50
Small Signal Board (Section 9) 42 45-50
Small Signal Board (Section 10) 43 45-50
Small Signal Board (Section 11) 44 45-50
Side jack panel 51 52
Analog SSB:IF-Video-Sync-Chroma (Diagr. C1) 53 59-60
Analog SSB: Video Features (Diagram C2) 54 59-60
Analog SSB: Micro Controller (Diagram C3) 55 59-60
Analog SSB: Memory (Diagram C4) 56 59-60
Analog SSB: Audio Processing (Diagram C5) 57 59-60
Analog SSB: Audio Processing (Diagram C6) 58 59-60
Analog SSB: SSB Connector (Diagram C7) 59 59-60
Double Window: PIP (Diagram F1) 61 66-67
Double Window: Tuner (Diagram F2) 62 66-67
Double Window: I/O Processing (Diagram F3) 63 66-67
Double Window: IF-Video-Sync (Diagram F4) 64 66-67
Double Window: V-Chip Processor(Diagram F5) 65 66-67
Double Window: NV-ROM (Diagram F6) 65 66-67
PFC Filter Panel 68 69
SVM Panel 70 71
Center Channel Switch (Diagram K) 72 72
AC Power Switch (Diagram L) 73 73
Local Control 74 75
IR-LED (Keyboard) 76 77
8. Alignments 79
9. Circuit Description and 83
List of Abbreviations 99
10 Spare Parts List 101
Technical Specifications, Connections, and Chassis Overview
GB 2 A10PTV2.0 NTSC1.
1. Technical Specifications, Connections, and Chassis Overview
1.1 Technical Specifications
Mains Voltage : 90 V - 276 V
(+/- 10%)
Power Consumption : 260 W max
Standby consumption : < 3 W
Mains Frequency : 50 / 60 Hz (+/- 5%)
Tuning System : PLL
Reception : NTSC M,
(3.58 - 4.5)
Sound System : BTSC DBX - / 97
:FM/FM
(4.5 - 4.72) - / 61
Sound Output : 2 x 15W
1.2 Connection Diagram
Figure 1-1
1.2.1 Side Connections
SVHS
1 - gnd

2 - gnd

3 - Y 1 Vpp / 75 ohm

4 - C 0.3 Vpp / 75 ohm

Audio / Video
1 - Video 1 Vpp / 75 ohm

2 - Audio Left (0.2 Vrms / 10 k ohm)

3 - Audio Right (0.2 Vrms / 10 k ohm)

4 - Headphone 32 - 2000 ohm / 10 mW

1.2.2 Rear Connections
AV1 In
1 - Video 1 Vpp / 75 ohm

2 - Audio L (0.5 Vrms / 10 k ohm)

3 - Audio R (0.5 Vrms / 10 k ohm)

4 - Y 0.7 Vpp / 75 ohm

5 - Pb 0.7 Vpp / 75 ohm

6 - Pr 0.7 Vpp / 75 ohm

AV2 In
1 - Video 1 Vpp / 75 ohm

2 - Audio L (0.5 Vrms / 10 k ohm)

3 - Audio R (0.5 Vrms / 10 k ohm)

AV2 In (SVHS)
1 - gnd

2 - gnd

3 - Y 1 Vpp / 75 ohm

4 - C 0.3 Vpp / 75 ohm

Monitor Out
1 - Video 1 Vpp / 75 ohm

2 - Audio L (0.5 Vrms / 10 k ohm)

3 - Audio R (0.5 Vrms / 10 k ohm)

AV2 INAV1 INMONITOR OUT
S-VIDEO
V
MONO/L
AUDIO
R
VIDEO
Pr
Y
Pb
ANTENNA IN 75
CENTER CHANNEL AMP INPUT
EXT INT
AMP SWITCH
SUBWOOFER
Rear Side
Audio/Video Jack Panels
CL 06532143_001.eps
011100
Technical Specifications, Connections, and Chassis Overview GB 3A10PTV2.0 NTSC 1.
1.3 Chassis Overview
Figure 1-2
Red CRT
Side J
Side J
ack
Panel
LSB Panel
Center
Channel
Switch
Filter Panel
Green CRT Blue CR
Blue CR
T
PIP Panel
SSM Panel
AC P
C P
ower
Switch Panel
SSB Module
Keyboard &
IR LED Panel
SVM Panel
CL 16532050_001.eps
090501
Safety Instructions, Warnings and Notes
GB 4 A10PTV2.0 NTSC2.
2. Safety Instructions, Warnings and Notes
2.1 Safety Instructions for Repairs
• Safety regulations require that during a repair:
– The set should be connected to the mains via an
isolating transformer;
– Safety components, indicated by the symbol

,
should be replaced by components identical to the
original ones;
– When replacing the CRT, safety goggles must be
worn.
• Safety regulations require that after a repair the set must
be returned in its original condition. In particular attention
should be paid to the following points.
– General repair instruction: As a strict precaution, we
advise you to resolder the solder joints through which
the horizontal deflection current is flowing, in
particular
a. All pins of the line output transformer (LOT);
b. Fly-back capacitor(s);
c. S-correction capacitor(s);
d. Line output transistor;
e. Pins of the connector with wires to the deflection
coil;
f. Other components through which the deflection
current flows.
Note: This resoldering is advised to prevent bad
connections due to metal fatigue in solder joints
and is therefore only necessary for television
sets older than 2 years.
– The wire trees and EHT cable should be routed
correctly and fixed with the mounted cable clamps.
– The insulation of the mains lead should be checked
for external damage.
– The mains lead strain relief should be checked for its
function in order to avoid touching the CRT, hot
components or heat sinks.
– The electrical DC resistance between the mains plug
and the secondary side should be checked (only for
sets which have a mains isolated power supply). This
check can be done as follows:
1. Unplug the mains cord and connect a wire
between the two pins of the mains plug;
2. Set the mains switch to the "on" position (keep
the mains cord unplugged!);
3. Measure the resistance value between the pins
of the mains plug and the metal shielding of the
tuner or the aerial connection on the set. The
reading should be between 4.5 M9and 12 M9
4. Switch off the TV and remove the wire between
the two pins of the mains plug.
– The cabinet should be checked for defects to avoid
touching of any inner parts by the customer.
2.2 Maintenance Instruction
It is recommended to have a maintenance inspection carried
out by a qualified service employee. The interval depends on
the usage conditions:
• When the set is used under normal circumstances, for
example in a living room, the recommended interval is 3
to 5 years.
• When the set is used in circumstances with higher dust,
grease or moisture levels, for example in a kitchen, the
recommended interval is 1 year.
• The maintenance inspection contains the following
actions:
– Execute the above mentioned 'general repair
instruction'.
– Clean the power supply and deflection circuitry on
the chassis.
– Clean the picture tube panel and the neck of the
picture tube.
2.3 Warnings
•ESD

All ICs and many other semiconductors are susceptible
to electrostatic discharges (ESD). Careless handling
during repair can reduce life drastically. When repairing,
make sure that you are connected with the same
potential as the mass of the set by a wristband with
resistance. Keep components and tools also at this same
potential.
• Available ESD protection equipment:
– Complete kit ESD3 (small table mat, Wristband,
Connection box, Extension cable and Earth cable)
4822 310 10671
– Wristband tester 4822 344 13999
• Be careful during measurements in the high-voltage
section and on the picture tubes.
• Never replace modules or other components while the
unit is switched on.
• When making settings, use plastic rather than metal
tools. This will prevent any short circuits and the danger
of a circuit becoming unstable.
2.4 Notes
• The direct voltages and oscillograms should be
measured with regard to the tuner earth (

), or hot earth
(

) as this is called.
• The direct voltages and oscillograms shown in the
diagrams are indicative and should be measured in the
Service Default Mode (see chapter 5) with a colour bar
signal and stereo sound (L: 3 kHz, R: 1 kHz unless stated
otherwise) and picture carrier at 475.25 MHz.
• Where necessary, the oscillograms and direct voltages
are measured with (

) and without aerial signal (

).
Voltages in the power supply section are measured both
for normal operation (

) and in standby (

). These
values are indicated by means of the appropriate
symbols.
• The picture tubes PWB have printed spark gaps. Each
spark gap is connected between an electrode of the
picture tube and the Aquadag coating.
• The semiconductors indicated in the circuit diagram and
in the parts lists are completely interchangeable per
position with the semiconductors in the unit, irrespective
of the type indication on these semiconductors.
Directions for Use GB 5A10PTV2.0 NTSC 3.
3. Directions for Use
4. Mechanical Instructions
4.1 Disassembly Procedures
All numbers found in the following text refer to the
CABINET DISASSEMBLY EXPLODED VIEW drawing and
apply to all models.
NOTE: If you are only servicing a PCB or speaker, you do not
have to remove the plastic upper back cover.
Figure 4-1
4.1.1 Removal of Upper Back Cover (2)
1. Remove 8 screws (A).
2. Remove 3 screws (B).
3. Lift cover up to dislodge from pegs (J) and remove cover.
4.1.2 Removal of Lower Center Back Cover (1)
1. Remove 3 screws (B).
2. Remove 8 screws (C).
4.1.3 Removal of Mirror Mounting Board (18)
1. Remove 6 screws (D) located in the mirror mounting
board and remove the board.
NOTE: Care should be taken NOT to place fingerprints or
smudges on mirror.
4.1.4 Removal of Plastic Light Barrier (16)
1. Remove two screws (E) located at the sides of the Plastic
Light Barrier.
4.1.5 Removal of Side Back Covers (3)
NOTE: To gain access to the Side Jack Panel (D) and two
Speakers, remove the Left Side Back Cover.
To gain access to the AC Power Switch Panel (L), remove
the Right Side Back Cover.
1. Remove 4 screws (F) from each of the Side Back Covers.
4.1.6 Removal of Large Signal Panel (A)
1. Pull 3 tabs on right of bracket and 2 tabs on left of
bracket.
2. Lift Large Signal Board up and out.
4.1.7 Removal of PFC Filter Panel (G)
1. Remove 4 screws from CBA.
2. Lift PFC Filter Panel up and out.
4.1.8 Removal of Small Signal Panel (C)
1. Remove 2 screws from the middle of the CBA.
2. Pull 3 tabs on right of bracket.
!
CABINET DISASSEMBLY EXPLODED VIEW
16
PHILIPS
PHILIPS
30
2
A
A
3
1
Left
Right
B
C
F
F
27
22
18
D
Optical Assembly
H
GG
6
E E
J
CL 06532143_003.eps
011100

Other Philips TV manuals

Philips EasySuite 19HFL3233D/10 User manual

Philips

Philips EasySuite 19HFL3233D/10 User manual

Philips 55PFT6609 User manual

Philips

Philips 55PFT6609 User manual

Philips 200V4LSB User manual

Philips

Philips 200V4LSB User manual

Philips 50PF7320G/98 User manual

Philips

Philips 50PF7320G/98 User manual

Philips Magnavox PR1317C12 User manual

Philips

Philips Magnavox PR1317C12 User manual

Philips 47PFL3403/98 User manual

Philips

Philips 47PFL3403/98 User manual

Philips 50PF9630A 50 User manual

Philips

Philips 50PF9630A 50 User manual

Philips 8545 Series User manual

Philips

Philips 8545 Series User manual

Philips 32PFL3904H/12 User manual

Philips

Philips 32PFL3904H/12 User manual

Philips 30PF9975/17 User manual

Philips

Philips 30PF9975/17 User manual

Philips 15GR2331 User manual

Philips

Philips 15GR2331 User manual

Philips Magnavox TS3254 User manual

Philips

Philips Magnavox TS3254 User manual

Philips QCG1.0S User manual

Philips

Philips QCG1.0S User manual

Philips 26PFL3606H/12 User manual

Philips

Philips 26PFL3606H/12 User manual

Philips 28PW632B/05 User manual

Philips

Philips 28PW632B/05 User manual

Philips 14PT4131 User manual

Philips

Philips 14PT4131 User manual

Philips 32HFL5561H/27 User manual

Philips

Philips 32HFL5561H/27 User manual

Philips 46PFL4908H User manual

Philips

Philips 46PFL4908H User manual

Philips 8837 Series User manual

Philips

Philips 8837 Series User manual

Philips 14PT4131 User manual

Philips

Philips 14PT4131 User manual

Philips L04L User manual

Philips

Philips L04L User manual

Philips 19PFL3403/10 User manual

Philips

Philips 19PFL3403/10 User manual

Philips 32PT6441 User manual

Philips

Philips 32PT6441 User manual

Philips 32PT6441/37 User manual

Philips

Philips 32PT6441/37 User manual

Popular TV manuals by other brands

IKEA UPPLEVA user manual

IKEA

IKEA UPPLEVA user manual

Toshiba 19A20 Service manual

Toshiba

Toshiba 19A20 Service manual

Sony XBR-100Z9D reference guide

Sony

Sony XBR-100Z9D reference guide

Sony Trinitron KV-HR36M90 Service manual

Sony

Sony Trinitron KV-HR36M90 Service manual

JVC AV-14AG16 instructions

JVC

JVC AV-14AG16 instructions

Loewe Table Stand Reference 55 user guide

Loewe

Loewe Table Stand Reference 55 user guide

Panasonic Genus TX-G10 operating instructions

Panasonic

Panasonic Genus TX-G10 operating instructions

Samsung LN26C350D1D Service manual

Samsung

Samsung LN26C350D1D Service manual

BBK LT1516D Service manual

BBK

BBK LT1516D Service manual

Samsung 55S9 B Series Quick setup guide

Samsung

Samsung 55S9 B Series Quick setup guide

Sharp LC-40FI5012E user manual

Sharp

Sharp LC-40FI5012E user manual

Evervue BN185 Operation manual

Evervue

Evervue BN185 Operation manual

North State TV2GO user guide

North State

North State TV2GO user guide

Toshiba CX35F70 owner's manual

Toshiba

Toshiba CX35F70 owner's manual

Magnavox PS1980 owner's manual

Magnavox

Magnavox PS1980 owner's manual

Panasonic QuintrixF TX-29AS1D operating instructions

Panasonic

Panasonic QuintrixF TX-29AS1D operating instructions

Samsung 4 Series Quick setup guide

Samsung

Samsung 4 Series Quick setup guide

Panasonic TX-21FG20R Service manual

Panasonic

Panasonic TX-21FG20R Service manual

manuals.online logo
manuals.online logoBrands
  • About & Mission
  • Contact us
  • Privacy Policy
  • Terms and Conditions

Copyright 2025 Manuals.Online. All Rights Reserved.