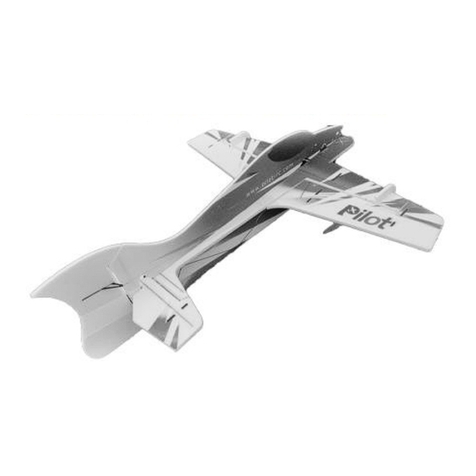
Pilot RC Extra NG - 67 User manual

Manual –Extra NG –67″
1- Introduction:
WELCOME TO THE PILOT-RC TEAM!
Thank you for choosing a Pilot-Rc plane as your next model. We hope that you
enjoy many successful and exhilarating flights with your new plane. Please read
through these instructions before you start building or flying to assure a successful
experience, and welcome to Team Pilot-Rc!
YOUR MODEL:
Model:
Extra NG
Wingspan:
67″ (1.702mm)
Length:
65.4″ (1.661mm)
Wing area:
872 “² (5,632 cm²)

Weight:
8.1lbs (3.7kg)
INCLUDED HARDWARE:
•Complete air frame with all basic accessories (such as carbon fibre main
undercarriage, tail-gear assembly and wing-tubes as well as fibreglass
control horns and wheel pants)
•Included wing bags
•Included extension wires
•Pre-prepared hinges ready to be installed and pre-mounted canopy
•Fuel tank, fuel dot and fuel tubing pre-prepared
•Wheels, axels and wheel pants
•Pre-prepared pushrods with ball links
•Included spinner
REQUIRED HARDWARE:
Motor: 20cc or equivalent electric
*Please note that the setup of this plane allows both electric or gas engines,
however in order to use a gas engine, the firewall and engine box must be
reinforced.
Servos: 4 high torque plus throttle // Uses x1 per aileron, x1 for elevator and x1 for
rudder
*Please note that the servo slots are designed to accept a medium size servo (35mm
x 15mm) however the wood has been prepared and marked, should you wish to
enlarge in order to accept standard size servos.
Also requires all the usual accessories such as transmitter, receiver, propeller,
batteries, powerbox, extension leads and possibly other small accessories.
PILOT-RC RECOMMENDED HARDWARE:
•Servos: Pilot-Rc PW16AH (16Kg at 8,4v)
•Servo arms: Pilot-Rc 1,2″ Aluminium arms (included with Pilot-Rc servos)
•Electric Motor Combo: Pilot-RC Power Pack for 67″ plane (3D acrobatic)
•Electric Motor & Servos Combo: Pilot-
RC Power Pack for 67″ plane WITH servos (3D acrobatic)
OTHER ACCESSORIES NEEDED TO COMPLETE:

•Epoxy Adhesives
•Cyanocrylate adhesives
•X-Acto and Saw knives
•Sandpaper
•Thread lock
•Aircraft stand or support
•Drill, screw drivers, allen keys, wrench set, pliers, etc
2- DISCLAIMER
All Pilot-RC products are guaranteed against defects for 30 days of your receiving
the model. This warranty is limited to construction or production defects in both
material and workmanship, and does not cover any parts damaged due to misuse or
modification.
Should you wish to return this airplane for any reason, all shipping costs are the
responsibility of customer.
If any parts are needed to be replaced by the manufacturer, the original parts must
be returned, at the costumers expense.
Do not regard this plane as a toy! This plane is meant for ages 14 and above.
The manufacturer can not supervise the assembly and maintenance of the model or
ensure your correct radio installation. Therefore, the manufacturer can not be made
responsible or liable for any damage occurring during the use of this radio controlled
model. As such all responsibility for the correct build, maintantence and operation
must be accepted by the customer. The operation of the model is taken as
acceptance by the customer of their acceptance to the above.
The model is highly prefabricated and ready for use, however please also assure
that any pre-installed (such as pushrodand ball link sets, fuel tank, etc) components
are tight, secure and airworthy both for the first flight and subsequent flights as part
of your routine maintenence and verification.
In no event does Pilot-RC accept any liability to exceed the original cost of the basic
Pilot-Rc airframe provided (accesories such as engine or radio system are also
excluded from liability).
To ensure safety, please read the instruction manual thoroughly before assembly.
Building and operating model planes requires diligent practice and correct guidance.
Any neglect, carelessness or lack of experience can cause serious bodily harm or
damage to property.
Seek the assistant of local model flying clubs and or an experienced aeromodeller
for assembly, operation and maintenance to ensure a quick and successful learning
process.
Fly only at designated model flying fields approved by the AMA (Academy of Model
Aeronautics), the MAAC (Model Aeronautic Association of Canada) or the similar
corresponding governing body for your country.
Pilot-RC reserves the right to update the model, instructions and limited warranty
without notice.
3- Assembly
MAIN LANDING GEAR ASSEMBLY:
•

Attach the ball link to the underside of the rudder using a small amount of Epoxy.
Run the control rod through the above ball link and screw the tail wheel unit to the
fuselage using the wood screws provided.
We recommend to keep the pivot point of the tail wheel as in line with the hinge
line as possible to assure a bind free movement of the springs.
STABILISER INSTALLATION:
•

•
Cut free the trailing edge of the vertical rudder in line with the stabiliser, in order to
allow you to slide the stabiliser into the fuselage. Keep the removed section for
later.
Trial fit the stabiliser into the fuselage. Make sure that it is centered (measure the
tip of the stabiliser to the tip of the wing on both sides and make sure they are the
same distance) and correctly aligned (looking at wings and stabiliser, should show
all being parallel)
Once centred and aligned, mark where it meets the fuselage. Remove the stabiliser
and carefully cut the covering on the inside of your mark, for gluing.
Prepare a mix of Epoxy and generously coat the inside of the fuselage where the
stabiliser will fit, then re-insert the stabiliser into its final location, checking again
that it is centred and aligned.
Glue back into place the section removed earlier in this process.
Excess epoxy glue can be removed with acetone
INSTALLING THE SERVO HORN ON THE ELEVATOR:

Locate and cut the covering where the horns will be glued
Glue them to the surface using epoxy glue
Excess epoxy glue can be removed with acetone
INSTALLING THE SERVO HORN ON THE RUDDER:
•
It is very important to sand horn to assure a strong bond once glued to the model.
Locate and cut the covering where the horns will be glued
Glue them to the surface using epoxy glue
Excess epoxy glue can be removed with acetone
INSTALLING THE SERVO HORN ON THE AILERONS:

•
Install and glue the included hinges.
Locate and cut the covering where the servos will be installed.
Route the servo wire through the wing and screw the servo in place.
Centre the servo with your transmitter, attach the servo arm and connect the servo
to the ailerons with the pushrods provided.
RUDDER SERVO INSTALLATION:

•
Install and glue the included hinges.
Locate and cut the covering where the servo will be installed, at the rear of the
fuselage, under the elevator.
Route the servo wire through the wing and screw the servo in place.
Centre the servo with your transmitter, attach the servo arm and connect the servo
to the ailerons with the pushrods provided.
ELEVATOR SERVO INSTALLATION:
This manual suits for next models
2
Table of contents
Other Pilot RC Toy manuals

Pilot RC
Pilot RC Extra 330SC User manual

Pilot RC
Pilot RC EDGE540 User manual

Pilot RC
Pilot RC 30cc 88" Skywolf User manual

Pilot RC
Pilot RC Foamy User manual

Pilot RC
Pilot RC 50cc Yak-54 User manual

Pilot RC
Pilot RC Decathlon User manual

Pilot RC
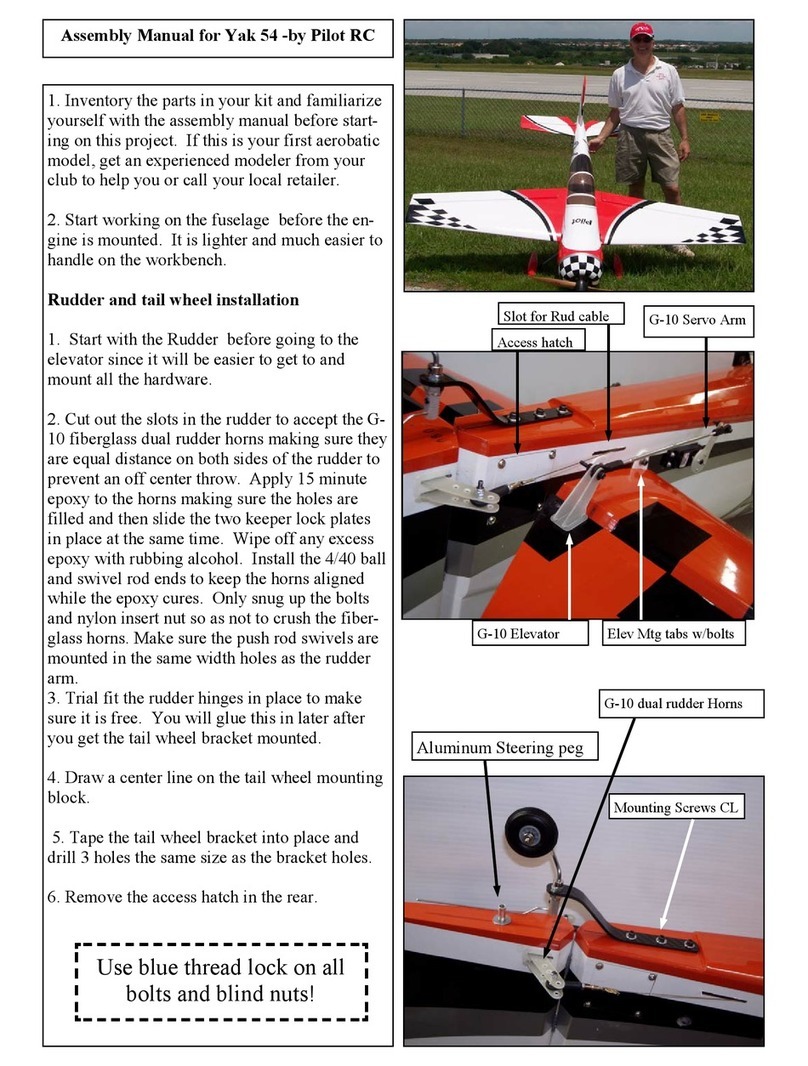
Pilot RC Yak 54 User manual

Pilot RC
Pilot RC Extra 330SC User manual

Pilot RC
Pilot RC 50cc Yak-54 User manual