1. www.polkaudio.com 5
Working with NAS Drives, PCs, and Mac Devices
The Polk Omni App is capable of recognizing any Media Server
or NAS drive that is broadcasting over your home network and
that’s configured for open access using the DLNA protocol. Using
the DTS Play-Fi Windows app, the Polk Omni Collection products
will play any file capable of being played by the Windows operating
system, including all music services. See “Downloading the DTS
Play-Fi PC App” above to learn more.
Because OSX devices don’t support DLNA, a third party software
(ex. Twonky, Plex or Servio) must be downloaded for them to be
visible to the network. Once downloaded, all locally stored content
on OSX-based devices will show up within the Polk Omni App
under “Media Server.”
Playing Music
Now that you’re connected, open the Polk Omni app to begin playing
music. To begin playing music, start by selecting the preferred music
source. The next step is to select the device(s) from which you want
to hear the music. When done, click “Next.” You can now select the
music you want to play.
Music choices to select from include:
Your personal music library- hear all the music
stored on your phone, tablet, computer, or NAS through
your Polk Omni products and all throughout your home.
Internet radio- Enjoy radio stations from around the
world, in virtually any genre, and all of it free. Internet
Radio has 37,000 stations with popular brands like
Disney, BBC, NPR, Fox News Radio, Wall Street
Journal Radio and more.
Online music services- Stream the most popular
online music services including Pandora, Spotify and
Songza. For the most updated list of music services, visit
www.polkaudio.com. Services like KKBox, QQMusic
and Deezer are available internationally in select countries.
Your Omni S6 is equipped to use Spotify Connect, please refer to
the separate information card for more details.
The Spotify software is subject to third party licenses found here:
www.spotify.com/connect/third-party-licenses
Adding Another Speaker or Component
Adding to your Polk Omni Collection is easy
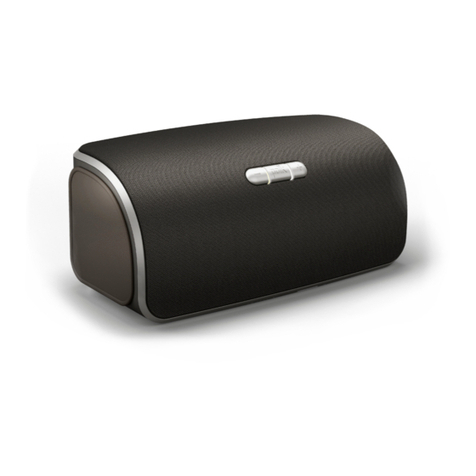
The Omni Collection makes creating a whole house wireless
music system as simple as pushing a button or two. Add more
S6 speakers, a sound bar, an amp or adapter to an existing audio
system. The Omni App and your home network do the rest.
• From the Omni App home page, choose “Settings.”
• From the “Settings” screen, choose “Add DTS Play-Fi Device.”
• Follow the app’s instructions to add the device to your list.
Maximum number of rooms/zone supported:
Eight separate wireless source devices (smartphones, tablets,
etc.), each with its own source, are supported simultaneously and
any wireless source device can stream to eight playback devices.
Due to bandwidth limitations of most wireless networks, we do not
recommend more than 16 wireless DTS Play-Fi products on the
Wi-Fi network at a given time. With hard-wired Ethernet connections
(customary for audio/video racks or in custom installation
configurations), up to 256 devices can be theoretically supported.
Call the Polk Preferred Services at 1-800-638-7276 for more
information.
Creating a stereo pair
Creating a stereo pair with two Polk Omni Wireless speakers will
make your music sound even more dynamic. Setup is easy:
First, make sure the two speakers you want to stereo pair
are in the same room.
For iOS:
1. From the home page of the Polk Omni App, press the Play-Fi
logo located in the lower right hand corner of the screen.
2. Select any of the available speakers.
3. Use the Drag Handles (three horizontal lines) in the top left corner
of the screen.
4. Select “Stereo Setup.”
5. Choose your left speaker.
6. Choose your right speaker.
7. Name your stereo pair and press “Done.”
8. Your speakers are now linked into a stereo pair. Enjoy!
For Android:
9. From your list of devices, go to the upper right-hand corner
and select the three dots.
10. From the drop-down menu, select “Stereo Setup.”
11. Press “Select a Stereo Pair.”
12. From your list of speakers, first choose the LEFT speaker.
13. Next choose the RIGHT speaker.
14. Name the Stereo Pair.
15. The name of the Stereo Pair will appear on the “Create a
Stereo Pair” screen.
16. You’re finished. Enjoy!
