SPECIFICATIONS PV450L
Container Size 6.6 gal
Power 1,400 watts
Volts 115 V
Frequency 60 Hz
Cable Length 16 ft.
DESCRIPTION AND FEATURES
Your PondMAX pond/outdoor vacuum has been
manufactured with advanced technology to provide you
a convenient, painless and efficient solution for routine
cleaning of your pond and water feature.
• This automatic vacuum is great for cleaning ponds,
fountains and waterfalls.
• Comes with an extensive range of nozzles and
accessories to meet the most demanding applications.
• Equipped with a 16 ft. suction hose and 8 ft. discharge
hose (for wet applications). A 16 ft. power cable further
compliments the features and convenience of this
vacuum.
• Caster wheels allow for easy transportation and use
around your yard.
• Features a unique automatic fill/drain system as well as
a large capacity canister.
• 2 Year warranty
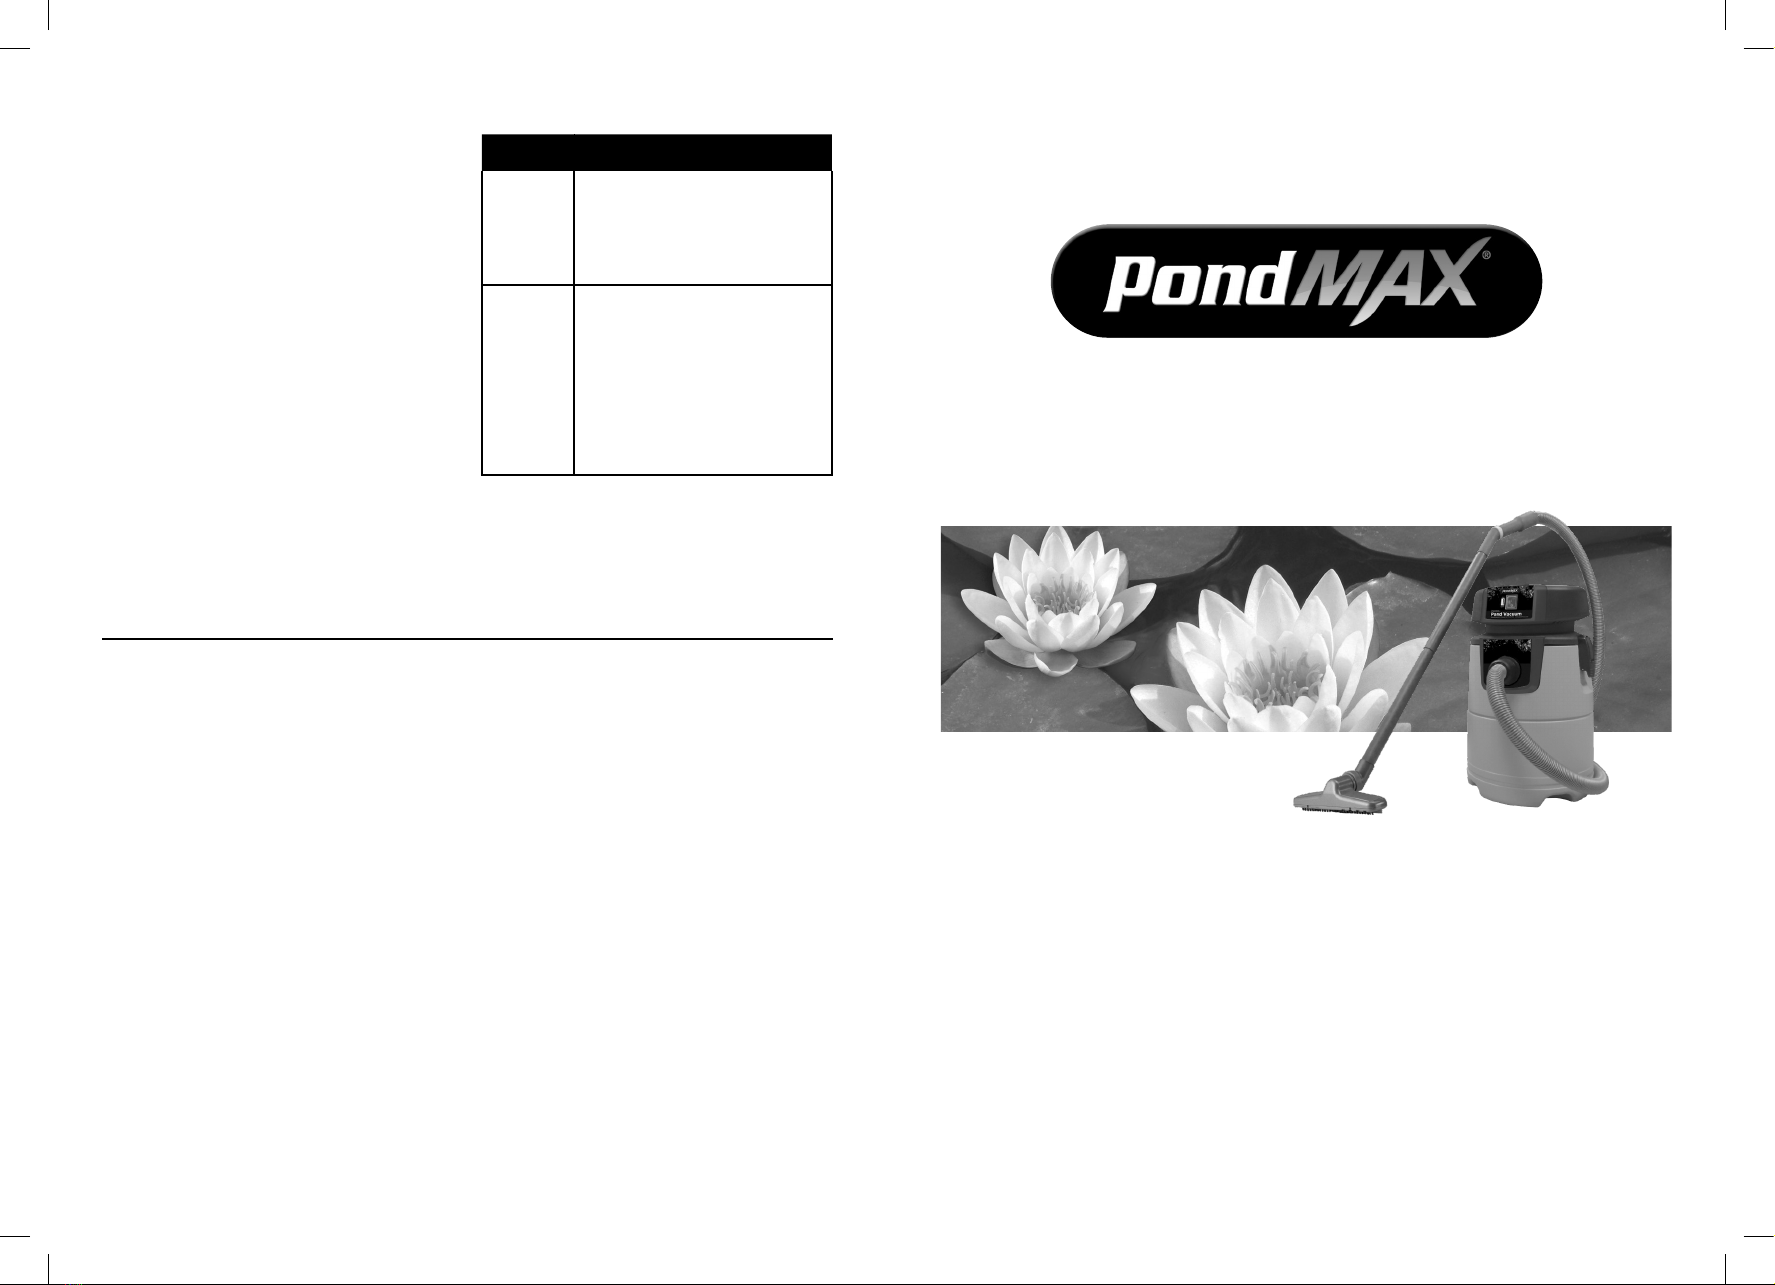
PV450L
POND/OUTDOOR VACUUM
ASSEMBLY
• Loosen and disconnect the vacuum tank clamps (x2)
and remove motor head 1. Remove all parts from
inside of the canister as well as any contents remaining
in the original box.
• Connect the intake filter 2to the bottom portion of the
motor head.
• Insert castor wheels 4into the bottom of the canister
3while applying pressure.
• Replace the motor head back onto canister
and lock the clamps.
• Connect the end of suction hose 5into
the upper port of the vacuum canister and
lock into place by twisting lightly to the right.
• On the opposite end of the suction hose,
connect the extension poles
10
firmly into
each other. Then add the desired suction
nozzle onto the extension pole.
• Connect the end of the discharge hose 6onto the
bottom port on the canister.
• The hose end with one way flapper should
be away from the vacuum at farthest point.
The waste filter bag 7attaches to the end
with flapper using draw string to secure it.
INCLUDED
1. Motor head
2. Replacement Foam
3. Canister
4. Wheel Set
5. Suction Hose
6. Discharge Hose
7. Waste Filter Bag
8. Large Nozzle
9. 3-piece Nozzle Kit
10. Extension Pole Kit
POWER SWITCH SETTINGS:
0Vacuum is off.
IVacuum is on in Automatic Mode. (The vacuum motor
will stay on until the tank is full then it will shut off for 30
seconds to allow the tank to drain and turn back on
automatically)
OPERATION IN WET APPLICATION
• Set up the vacuum as near to the pond or water feature
as possible. Make sure the vacuum is on level ground to
prevent tipping.
• ATTENTION: The vacuum is designed to be positioned
above the water level during operation, to assure
proper drain function.
• Position the end of the discharge hose in such a manner
that the discharged water is diverted to a remote
location, away from pond (e.g. garden, flower bed).
Lay the discharge hose flat on the ground (or if possible
with a slight incline downward).
• Make sure that the waste filter bag is fastened securely
to the end of the discharge hose so that large particles
are contained.
• Connect the vacuum power cable to the main power
source. Always use a GFCI protected power source.
• Insert one of the supplied nozzles into the end of the
suction hose/poles.
• Power on the vacuum at the main switch on the
motor head, using the “I” switch setting. This setting
automatically cycles the fill/drain system. The vacuum
will begin suction until the container is full. The motor will
then shut off for 30 seconds and will repeat cycle.
• While vacuum is running, apply vacuum directly to
debris using slow and even movements. Keep the
vacuum hose below waist level for best performance.
When the vacuum container has reached its maximum
liquid level,the vacuum will stop sucking automatically.
The one way flapper at the end of the discharge hose
will open and the debris will exit the vacuum container
until empty.
• The suction hose includes a yellow suction adjuster. To
reduce suction power open the vent by
turning the yellow ring till the vent is open.
Then you can use your finger to increase
the suction power temporarily by covering
the vent.
• When operation is complete turn off power at the main
switch.
WARNING
• Never use the vacuum without the foam intake
filter.
• The device may not be used for commercial
purposes.
• Never make technical alterations to the device.
• Only use original replacement parts and
accessories made specifically for this vacuum.
• Only have the device repaired at authorized
PondMAX service locations.
• Do not operate the vacuum in the rain or store in
the rain.
• Never vacuum up flammable or toxic liquids like
gasoline, copy machine toner or other volatile
substances.
• Never vacuum up acids.
• Never use in the presence of explosive liquids/
fumes.
• Never vacuum up asbestos.
MAINTENANCE
Your PondMAX vacuum requires very little maintenance.
However the container, foam intake filter and waste
filter bag should periodically be rinsed to rid of lingering
sludge or debris. Occasional inspection of the hoses is
also recommended.
• Always switch off the vacuum cleaner at the main
switch and unplug cable from power source, before
any maintenance is performed.
• Remove all hoses and the motor head from container.
• Rinse the container with a garden hose until all sludge
or debris has been removed.
• Pull the foam intake filter and waste filter bag off. Rinse
with garden hose until all sludge or debris has been
removed.
• While the intake filter is off, always inspect the float at
the bottom of the motor to make sure it is moves freely.
• Once the vacuum and components are clean, put the
vacuum back together inspecting the hoses and suction
poles carefully for possible damage.