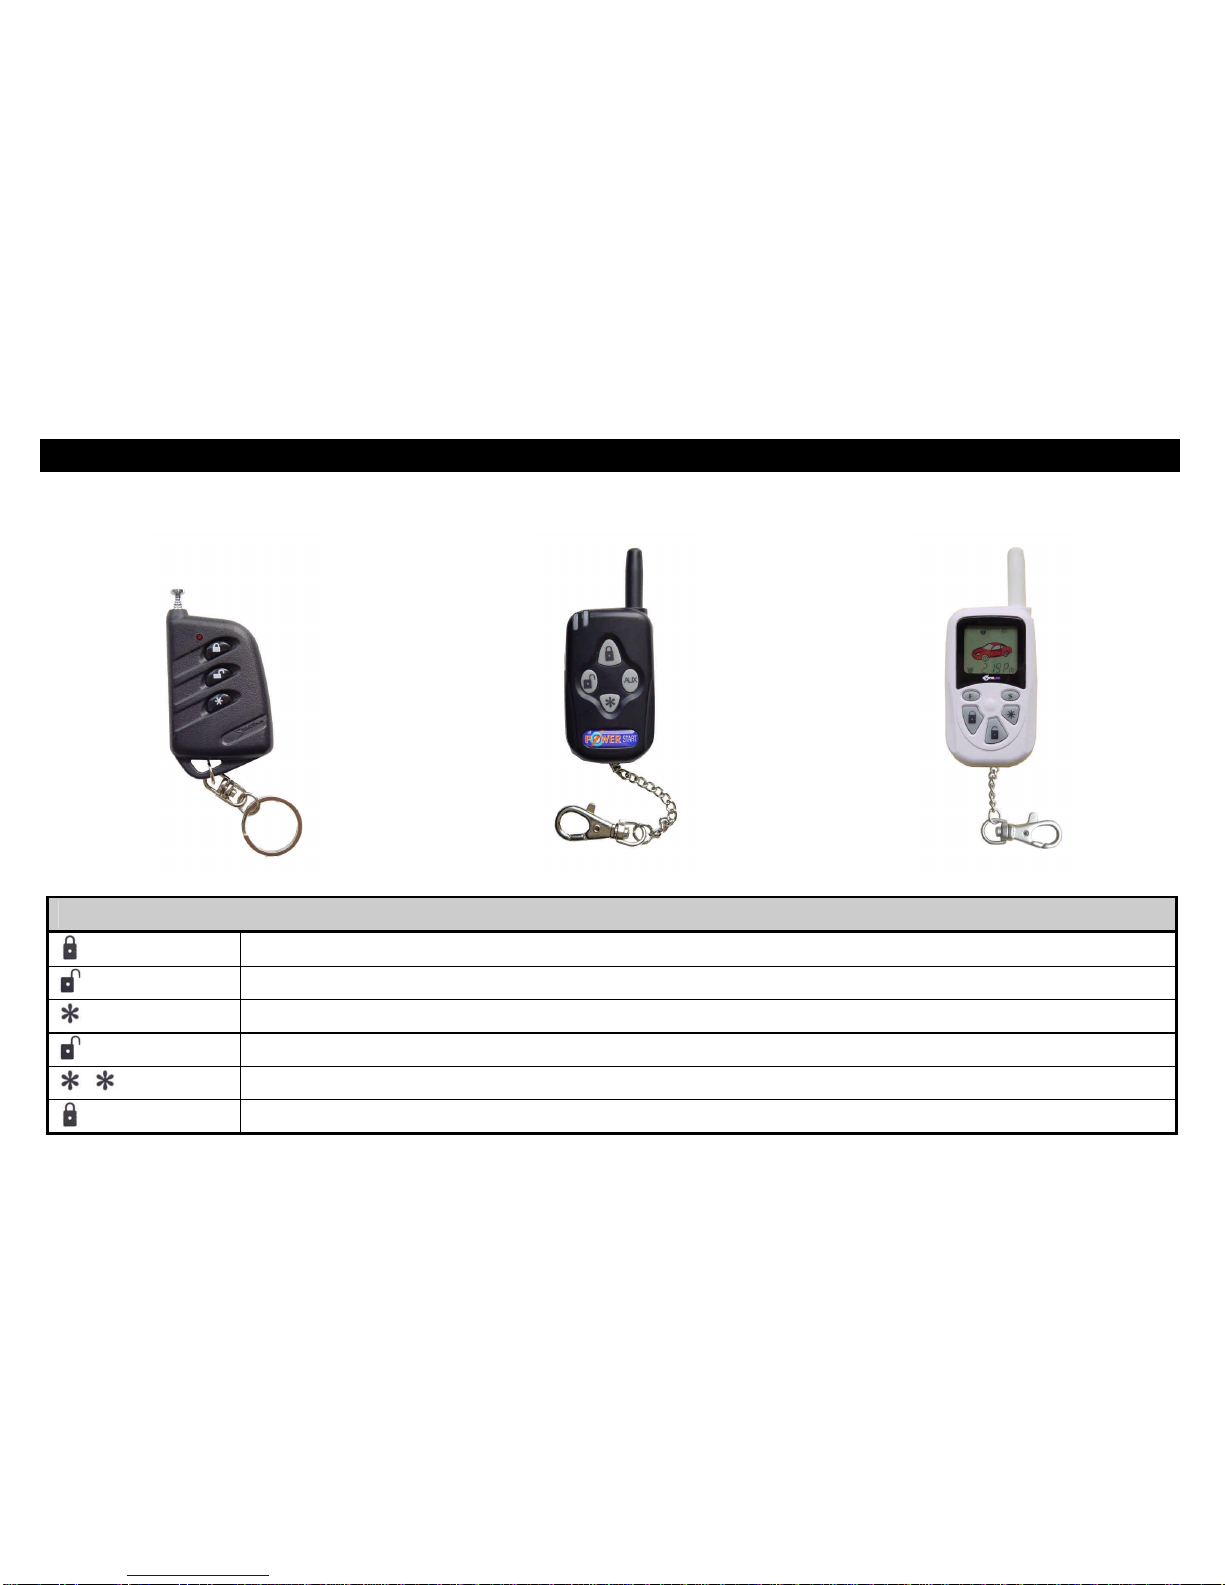
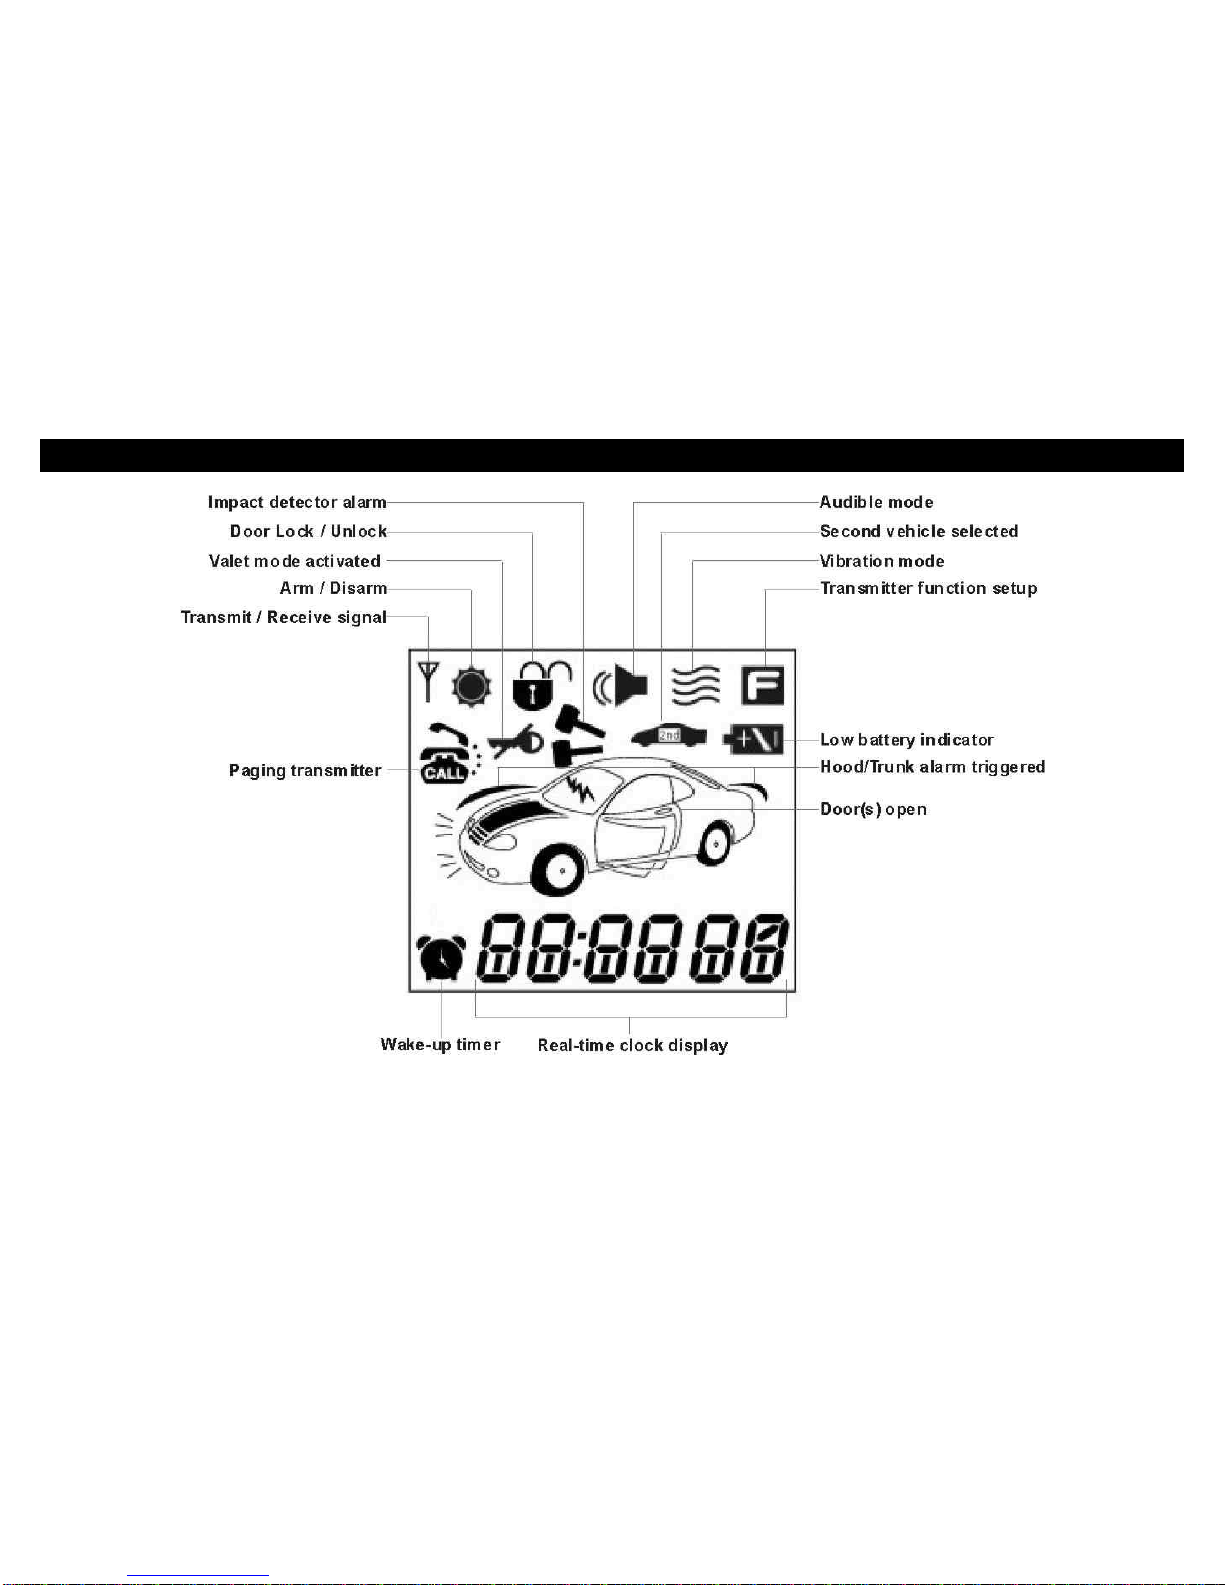
T-7001-TW-LCD @TWO WAY LCD TRANSMITTER OPERATIONS
Change SOUND to VIBRATION on your transmitter
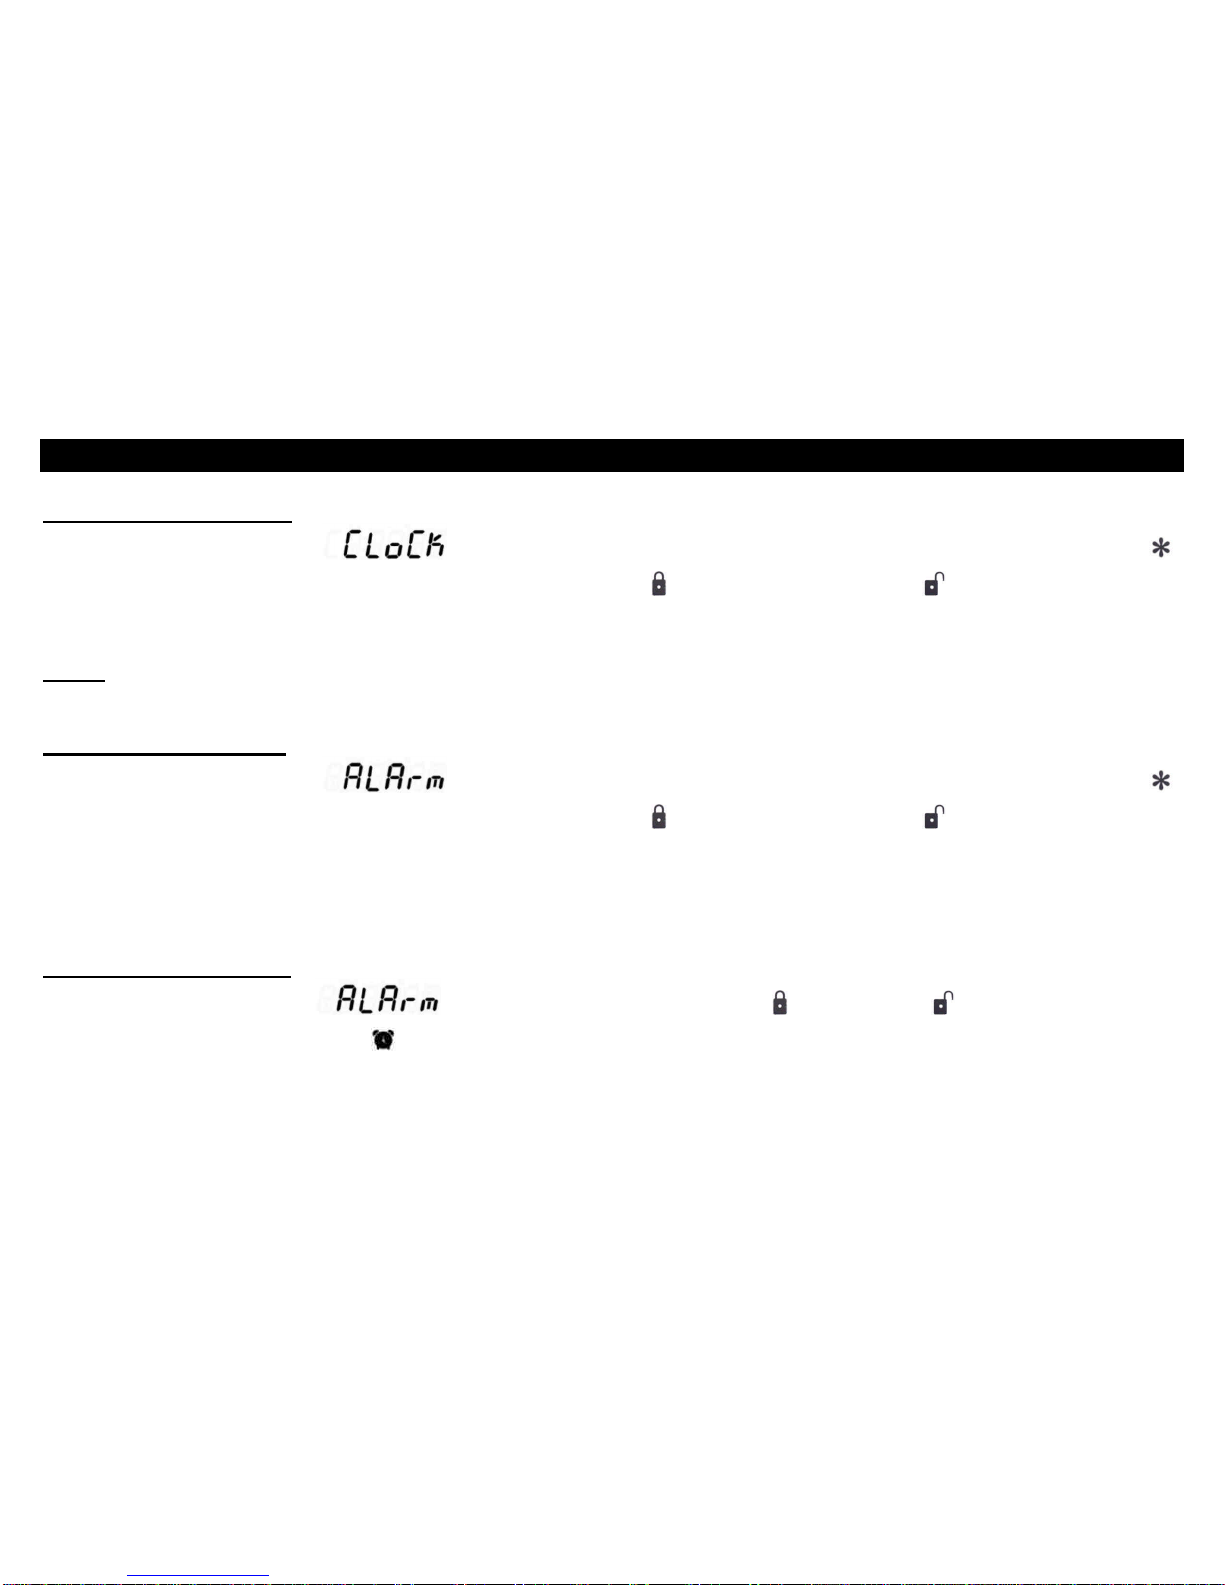
Keep pressing "S" button until appear then release. Then use the " " button or the " " button to toggle between
SOUND or VIBRATION option. The corresponding "Audible" or "Vibration" icon will be display.
Replace the battery of your transmitter
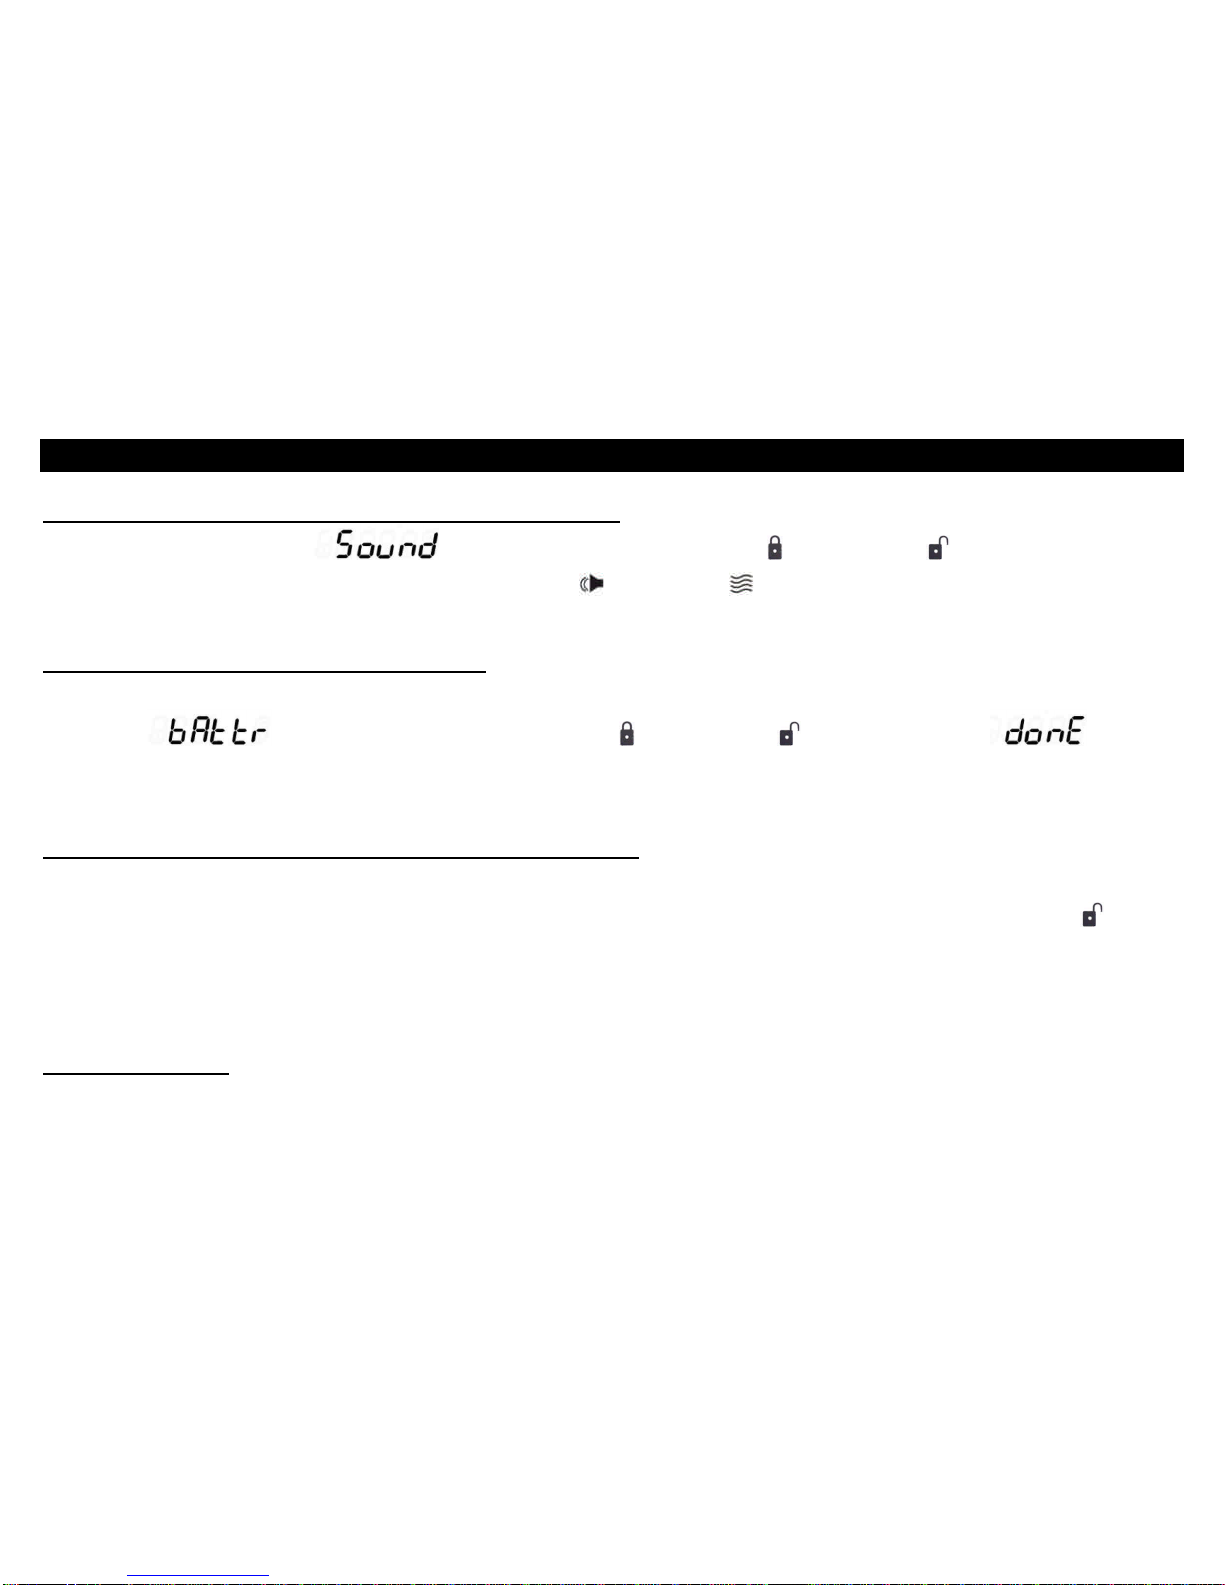
If you want to replace the battery without readjust the time and all your settings, use the following instructions. Keep pressing "S"
button until appear then release. Then press the " " button or the " " button, you will see displayed.
Now, you can replace the battery. Otherwise, press "S" button to exit this mode.
Battery Saver (Enable/Disable paging to transmitter)
For 2 way transmitter, normal AAA battery is last for 1.to 2 months in normal use . To save battery for transmitter, you can
enable or disable the system to page the transmitter when alarm is triggered. For model T-7001-TW, press the button , AUX
together you will hear 2 beeps . Paging transmitter is now OFF . Press again , you will hear 1 beep , paging transmitter in ON .
For model T-7001-TW-LCD, press button "F" and "S" together , antenna icon will disappear on LCD screen . Paging mode is
OFF , To reactivate this function ,press on "F" and "S" again . Antenna icon will re-appear on LCD screen . Paging mode is ON
IMPORTANT NOTE: :
When this function is enable, there is NO ANY SIGNAL will send back to transmitter when alarm is in progress but the
another like door lock , door unlock , etc , still remain same