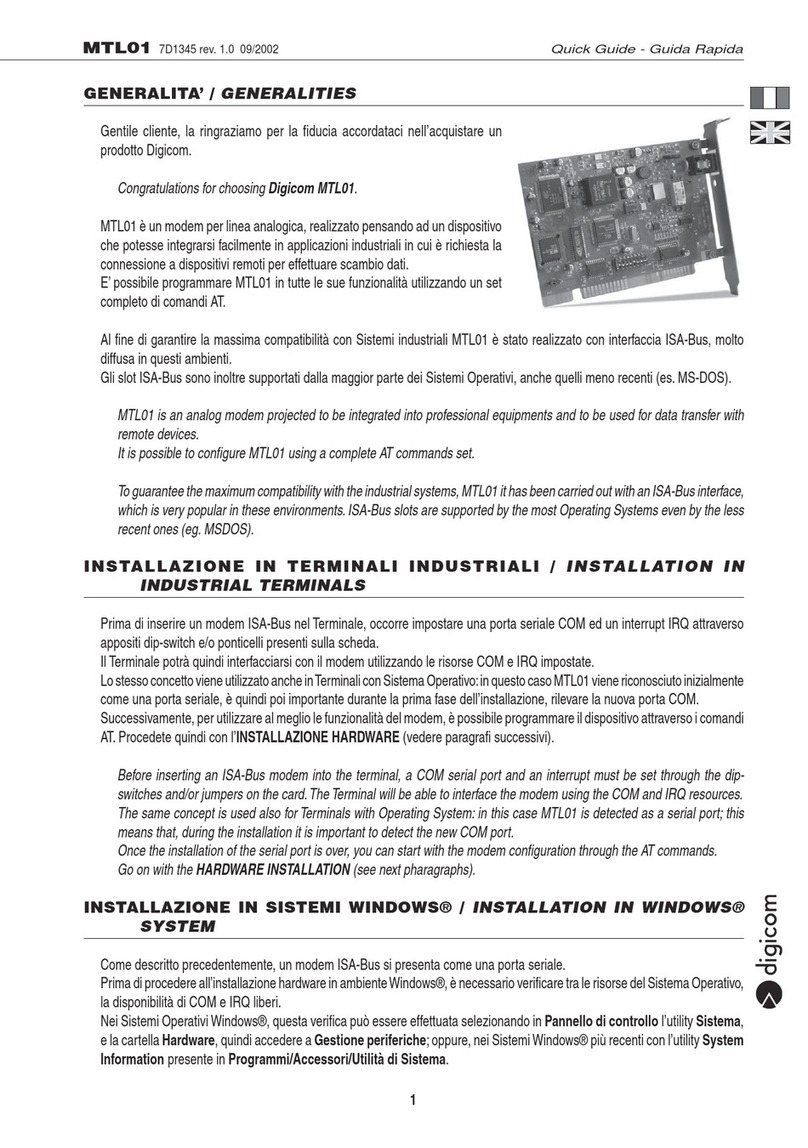
PRIXTON EW10 User manual

ENCHUFE WIFI
SMART PLUG
EW10

ES
Paso 1: Registro e inicio de sesión en la aplicación "Smart Life".
Si no tiene una cuenta en la aplicación "Smart Life", regístrese o acceda usando un
número de teléfono y el código de verificación. A continuación se describe el proceso de
registro:
1. Pulse "Crear cuenta nueva";
2. A continuación aparecerá la ventana emergente de "Política de Privacidad". Una vez la
haya leído, pulse el botón "De acuerdo".
3. El sistema detectará automáticamente su país/región. También puede seleccionar
usted mismo el prefijo de su país. Introduzca el número de teléfono o correo electrónico y
pulse el botón de "Obtenga el código de verificación".
4. Introduzca el código de verificación y elija una contraseña.
5. A continuación, pulse el botón de "Finalizar" para terminar el registro y empezar a crear
un hogar.
Asegúrese de que su teléfono está conectado a la red WiFi de su hogar. Pulse "+" en la
esquina superior derecha de la página de inicio y seleccione "Toma de corriente/enchufe"
en los tipos de dispositivo.
Tecla de función y descripción de los botones
Presione brevemente el botón de encendido, si se ilumina el piloto azul, el dispositivo está
encendido; de lo contrario es que está apagado.
Presione brevemente el botón de encendido durante unos 5 segundos, si el piloto azul
parpadea rápidamente (dos veces por segundo) el dispositivo entrará en modo EZ
(parpadeo rápido); es decir, estará en situación de emparejarse.
Presione 5 segundos más mientras el aparato se encuentra en modo EZ para que entre en
modo AP (parpadeo lento).
Parámetros técnicos
Corriente máxima: 10 A
Tensión nominal: 85-240 V
Potencia nominal: 2200 W
Voltaje de entrada: 110-220 V
Tipo de red inalámbrica: WiFi 2,4 GHz
Temperatura de funcionamiento: -10 ºC/60 ºC
Sistemas operativos compatibles: Android/IOS
Descargar aplicación "Smart Life"
Utilice el teléfono para escanear el código QR que aparece más abajo o busque "Smart
Life" en la tienda de aplicaciones para descargar e instalar la aplicación.
2

Paso 2: Conecte el dispositivo a la fuente de alimentación, mantenga pulsado el botón de
encendido más de 5 segundos hasta que el piloto azul entre en el modo de parpadeo
rápido EZ.
En la aplicación pulse el botón de "Confirmar que el piloto parpadea rápidamente".
Paso 3: Introduzca la contraseña WiFi de su hogar en su teléfono y haga clic en "Correcto"
para abrir la página de búsqueda de dispositivo.
3

Mientras está en el modo AP, pulse el botón "Confirmar que el piloto parpadea
lentamente", e introduzca la contraseña WiFi para conectarse.
Paso 4: Acceda a la página del dispositivo y termine la configuración.
4

Usar la Función de Estadísticas
Haga clic en el icono de "Estadísticas" en la esquina inferior derecha, abrirá la interfaz de
"Gestión de la cantidad Eléctrica". Compruebe la información detallada que se
proporciona.
Utilizar Amazon Echo para controlar los dispositivos inteligentes
Paso 1: Abra la aplicación "Amazon Alexa", busque el botón "Skills" en el menú y púlselo.
5

Paso 3: Elija el prefijo de su país, introduzca su cuenta y contraseña de "Smart Life" y pulse
el botón "Vincular ahora". Cuando haya iniciado sesión pulse el botón "Hecho".
Paso 2: Busque "Smart Life", elija la primera y actívela.
6

Paso 5: Ya puede utilizar Alexa para controlar sus dispositivos inteligentes, ¡disfrútelo!
Conectarse con Google Home
1. Haga clic en el botón "Home Control" en la parte izquierda de la página de Google
Home, como se muestra en la imagen.
2. A continuación, haga clic en el botón "+" en la esquina inferior derecha para añadir
dispositivos.
Paso 4: Vuelva al menú y pulse el botón "Smart home", después elija "Dispositivos" y pulse
el botón "Buscar".
7

3. Elija "Smart Life" en la lista de dispositivos para añadir.
4. Elija su país de residencia, introduzca su cuenta y contraseña en la ventana que se
abrirá, y haga clic en "Vincular ahora".
5. En la pantalla de Autorización, haga clic en el botón "Autorizar".
8

6. Se le pedirá que asigne las habitaciones.
7. Una vez que haya asignado las habitaciones, el dispositivo aparecerá en la pantalla de
Home Control.
8. A partir de ese momento podrá controlar el dispositivo con Google Home. Tomemos
como ejemplo el enchufe de la habitación, la orden vocal sería la siguiente
Ok, Google, enciende el enchufe de la habitación.
9

Por la presente, La Trastienda Digital SL como propietaria de la marca comercial Prixton,
ubicada en Avenida Cervantes 49, módulo 25, Basauri 48970, Bizkaia, declara que el tipo
de equipo radioeléctrico que a continuación se expone:
Es conforme con la Directiva 2014/53/UE del Parlamento Europeo y del consejo de 16 de
abril de 2014.
El texto completo de la declaración UE de conformidad está disponible en la dirección de
Internet siguiente:
www.prixton.com LA TRASTIENDA DIGITAL
Declaración UE De Conformidad Simplificada
MARCA MODELO DESCRIPCIÓN CATEGORÍA
Prixton EW10 Wifi Plug Home
Política de garantía
En cumplimiento de lo establecido a tal efecto por el Real Decreto Legislativo 03/2014, de
27 de marzo, se pone a disposición de los interesados, accediendo a www.prixton.com,
cuanta información sea necesaria para ejercer los derechos de desistimiento atendiendo a
los supuestos que recoge dicha ley, dando por cumplidas las exigencias que esta
demanda de la parte vendedora en el contrato de venta.
Las características técnicas y eléctricas que aquí se brindan corresponden a unidades
típicas y podrían cambiarse sin previo aviso con el fin de proveer un mejor equipo.
10

EN
Step 1: Registration and login "smart life" APP.
If you don't have the account of “Smart life” APP,register an account or sign in with
cellphone number + verification code.This page describes the Registration process.
1. Tap “Register” from the interface;
2. It automatically pop-ups the window of “Privacy Policy”, after you read completely and
press “Agree” button;
3. The system will automatically determine your country/region. You can also select your
country code by yourself. Enter the mobile No. or Email , and press the button of “Obtain
verification code”;
4. Enter verification code and set the password;
5. Press the button of “Completed” to finish the registration, then for start to create the
family.
Make sure your phone is connected to WiFi in your home. Click "+" in the upper right
corner of the homepage and select "Electrical outlet" from the device type.
Function Key and Indicator Description
Short press the power button, blue indicator lights up means power on; otherwise, it’s
power off.
Short press the power button for about 5 seconds, blue indicator flashes rapidly (2 times/
per second) means the product begin enter into EZ(rapidly blink) mode.
Press 5s more in EZ mode, it will enter AP (Slowly blink) mode.
Technical Parameters
Maximum current: 10A
Rated voltage: 85-240V
Rated power: 2200W
Input voltage: 110-220V
Wireless Type: Wi-Fi 2.4GHz
Operating temperature: -10ºC- 60ºC
Support system: Android \IOS
Connect with “Smart Life”
Use your phone to scan the QR code below or search “smart life” in application market to
download and install the App
11

Step 2: Connect with the power supply, long press the power button more than 5
seconds until the blue indicator enters into the fast flash mode.
Select and press the button of “confirm indicator rapidly blink ”.
Step 3: Enter your WiFi password for your phone and click "Confirm" to enter the page of
the search device.
12

While under AP mode, press the button” Confirm indicator slowly blink”, and input the
WiFi password to complete the connecting.
Step 4: Enter the device page, then complete the configuration
13

Take use of Statistic Function:
Click the icon of “statistics” at the lower right corner ,it will enter the interface of “Electrical
Quality Management”. Check the current detailed data.
How to use Amazon Echo to control your Smart devices?
Step 1: Open the” Amazon Alexa”APP,then find the “Skills “button on the menu. Press it.
14

Step 3: Select your country code and Enter your “Smart life” APP Account and Password,
then press the “Link Now” button. When the Account success to login press the “Done”
button.
Step 2: Search the” Smart life” and choose the first one, then Enable it.
15

Step 5: Now you can use your Alexa to control your Smart devices, enjoy yourself.
How to connect with Google Home?
1. Click the button of “Home Control” on the left side of Google Home Page just as the
illustration;
2. Then Click the button “+” on the lower right corner to add devices;
Step 4: Back to the menu, and press the “Smart home” button, then choose the
“Devices”, then press the ”Discover” button.
16

3. Choose “Smart Life” in the Add device list;
4. Please choose the country you living in, enter your account and password in the new
window, then click the button “ Link Now”;
5. With the interface of Authorization, click the button “Authorize”
17

6. Then you will be asked to assign the rooms;
7. After you assign rooms for device, your device will be listed in the Home Control
interface;
8. Now you can control these devices using Google Home. Take the bedroom plug as an
example, the supported voice are commanded as below:
Ok,google, turn on the bedroom plug.
18

Warranty policy
This product complies with the warranty law in force in the country of purchase. When
you have a problem that you can not solve, you must access the web www.prixton.com
and click on the contact option to send us your assistance form.
We, La Trastienda Digital located in Avenida Cervantes 49, módulo 25, Basauri 48970,
Bizkaia hereby declare that the following goods, imported and selling at European
market:
Simplified EU Declaration Of Conformity
Are in compliance with the EC Council Directive of 2014/53/EU (EM DIRECTIVE) and
harmonized standards and with the board of the 16th of April 2014.
The complete text of the UE Declaration of conformity is available anytime at this website
address:
www.prixton.com LA TRASTIENDA DIGITAL
BRAND MODEL NAME DESCRIPTION CATEGORY
Prixton EW10 Wifi Plug Home
These technical and electrical specifications are those of typical units and may be
changed without prior notice in order to provide improved equipment.
19

FR
Étape 1 : Création de compte et connexion à l’application « Smart Life ».
Si vous n’avez pas de compte « Smart Life », créez un compte ou accédez avec un numéro
de téléphone et un code de vérification. Ensuite, suivez ces étapes pour vous inscrire :
1. Cliquez sur « créer un nouveau compte » ;
2. Une fenêtre de politique de confidentialité apparaîtra. Une fois que vous l’avez lue,
cliquez sur le bouton « Accepter ».
3. Le système détectera automatiquement la région/le pays où vous vous trouvez. Vous
pouvez également sélectionner vous-même le préfixe de votre pays. Entrez votre numéro
de téléphone et votre adresse email puis cliquez sur « Obtenir un code de vérification ».
4. Entrez le code de vérification et choisissez un mot de passe.
5. Appuyez sur le bouton “Terminer” pour finaliser le processus de création du compte et
ainsi ajouter une maison.
Assurez-vous que votre téléphone est connecté au réseau WiFi de votre maison. Cliquez
sur « + » dans le coin supérieur droit de l’écran d’accueil et sélectionnez « Prise de courant
» dans la liste des appareils proposés.
Bouton de marche et description des boutons
Appuyez brièvement sur le bouton de marche. Si le pilote bleu s’allume, l’appareil est
allumé. S’il ne s’allume pas, l’apparreil est éteint.
Ensuite, appuyez brièvement sur le bouton de marche pendant environ 5 secondes. Si le
pilote bleu clignote rapidement (deux fois par seconde), l’appareil se mettra en mode EZ
(clignotement rapide) et sera prêt à être jumelé.
Finalement, appuyez 5 secondes de plus pendant que l’appareil est en mode EZ pour qu’il
se mette en mode AP (clignotement lent).
Caractéristiques techniques
Courant maximal : 10 A
Tension nominale : 85-240 V
Puissance nominale : 2200 W
Tension d’entrée : 110-220 V
Type de réseau sans fil : WiFi 2,4 GHz
Température de fonctionnement : -10 ºC/60 ºC
Systèmes d’exploitation compatibles : Android/IOS
Télécharger l’application « Smart Life »
À l’aide de votre téléphone, scannez le code QR qui apparaît ci-dessous ou entrez «
Smart Life » dans l’App Store ou Google Play Store pour télécharger et installer
l’application.
20
Table of contents
Languages:
Popular Modem manuals by other brands

Zoom
Zoom 1120 Quick start and reference guide
Arris
Arris Touchstone TM501 user guide
ZyXEL Communications
ZyXEL Communications P-660HN-T1A v2 Update instructions
DQ Technology
DQ Technology VisionNet 708 user manual

ZyXEL Communications
ZyXEL Communications ZyXEL ZyAIR B-220 Quick installation guide
Motorola
Motorola SB5100 - SURFboard - 38 Mbps Cable Modem user guide
