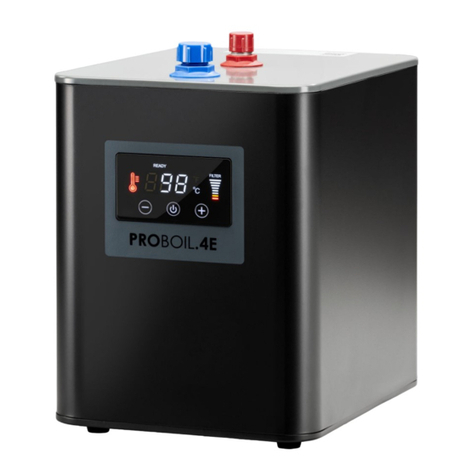
PROBOIL PROBOIL.4E User manual
Other PROBOIL Boiler manuals
Popular Boiler manuals by other brands
Worcester
Worcester Highflow 3.5 OF Installation and servicing instructions
Ferroli
Ferroli DIVACONDENS D PLUS F 24 Instructions for use, installation and maintenance

Ferroli
Ferroli ECONCEPT 51 A Instructions for use, installation and maintenance

STIEBEL ELTRON
STIEBEL ELTRON SHO AC 600 7,5 Operation and installation manual
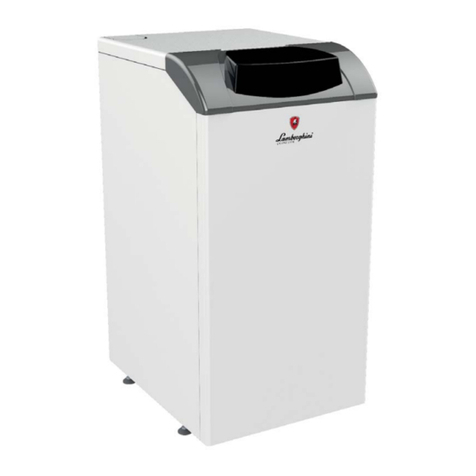
Lamborghini Caloreclima
Lamborghini Caloreclima KYRA D 30 SI UNIT Instructions for use, installation and maintenance
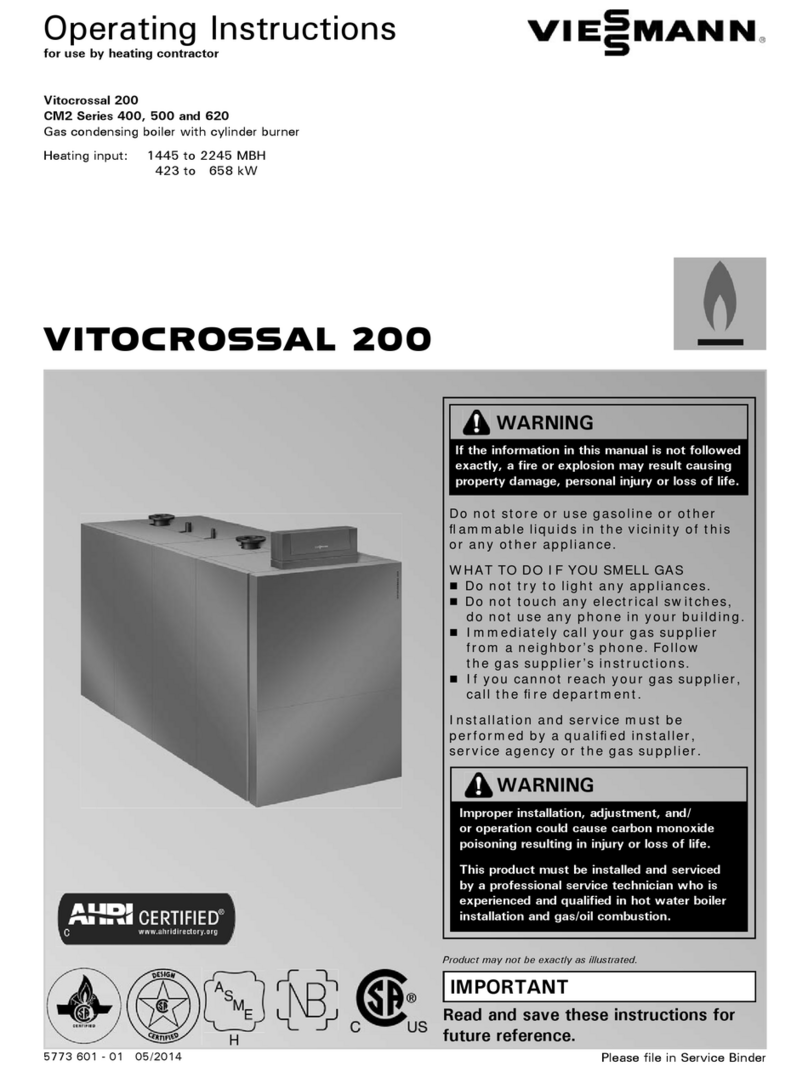
Viessmann
Viessmann VITOCROSSAL 200 operating instructions

REMEHA
REMEHA Quinta Ace Installation, user and service manual
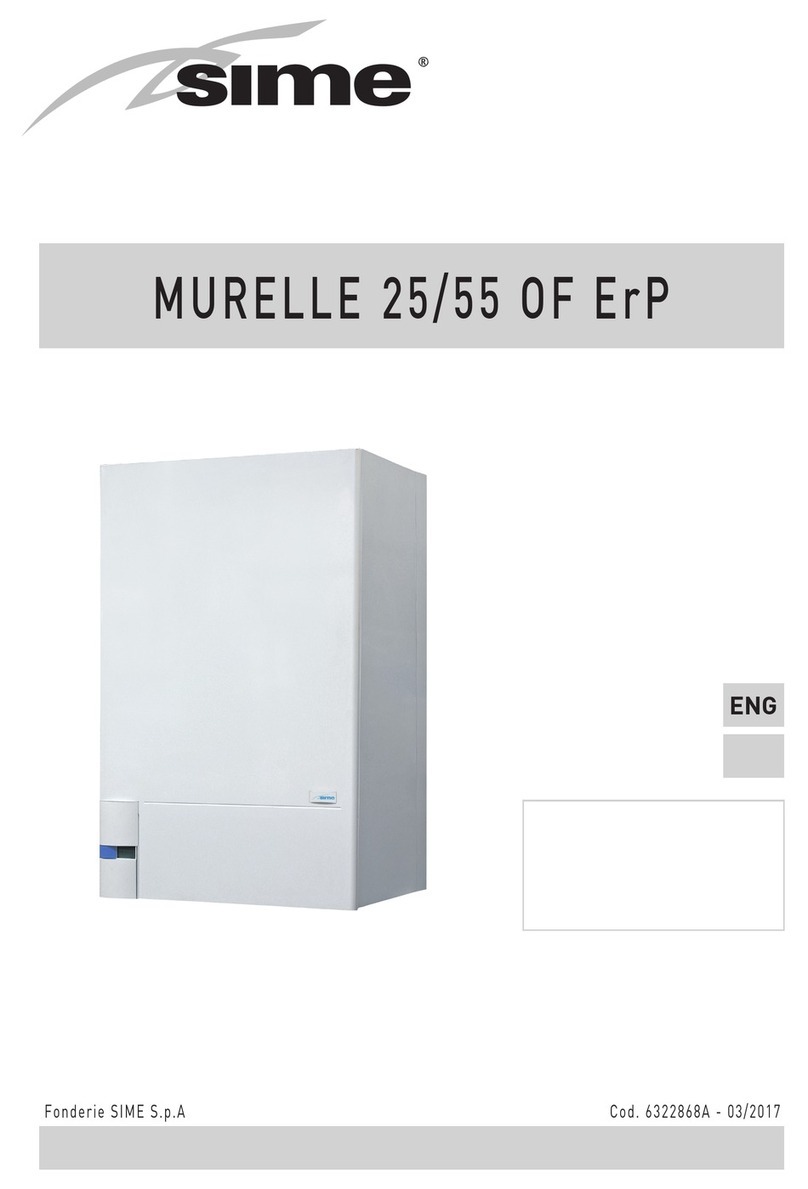
Sime
Sime Murelle 25/55 OF ErP Installer's instructions
Immergas
Immergas VICTRIX EXA 28 1 ERP Instruction booklet and warning

Atlantic Boilers
Atlantic Boilers Series E Technical data
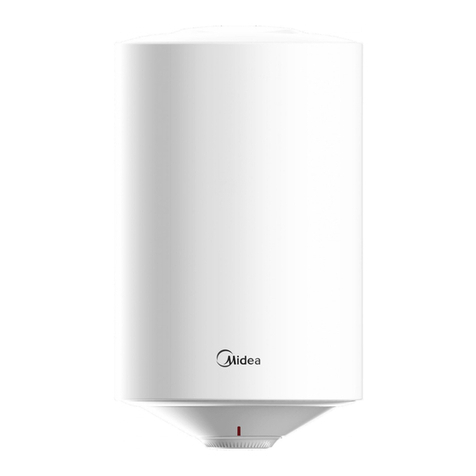
Midea
Midea D30-15FA3 instruction manual
Sime
Sime Planet AquaQuick 25 BF Installer's instructions

Strath Steam
Strath Steam Liberty owner's manual
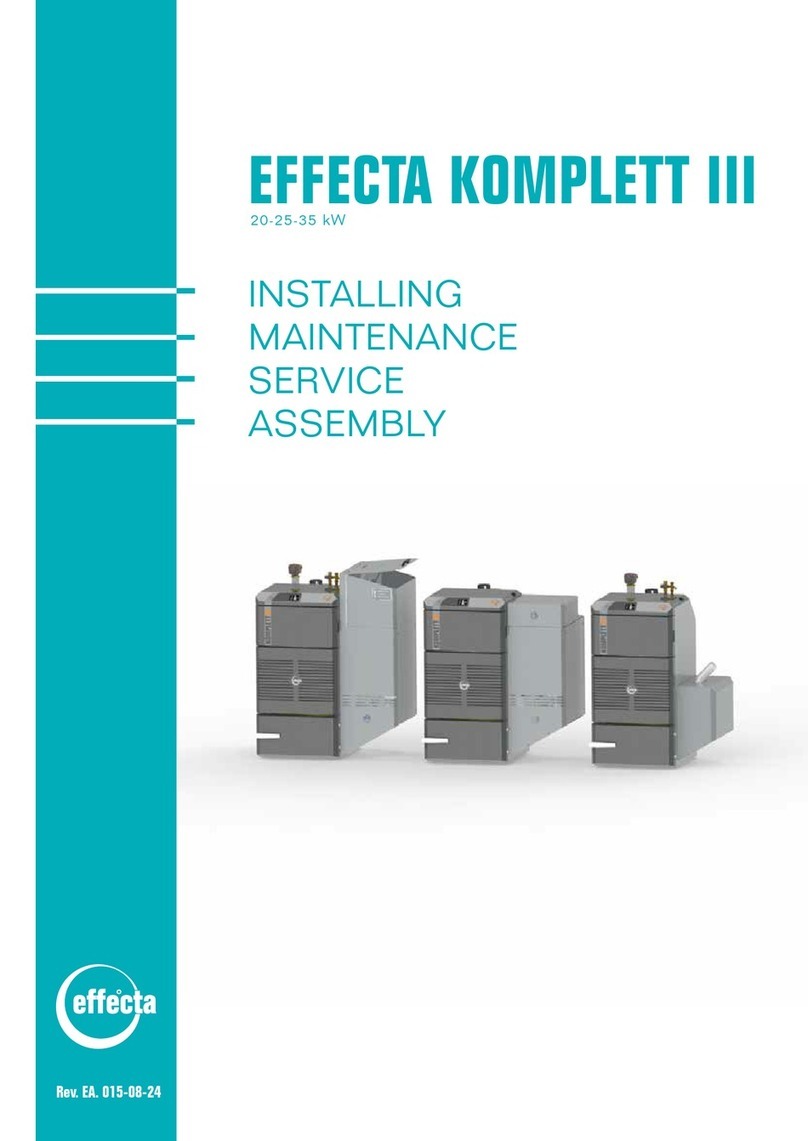
Effecta
Effecta Komplett III INSTALLING, MAINTENANCE, SERVICE, ASSEMBLY
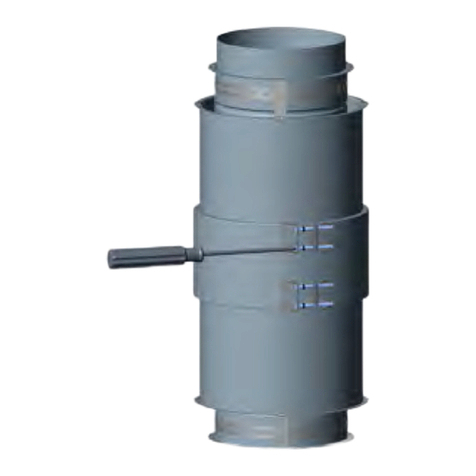
M&G
M&G DuraVent DuraStack PRO DCL Installation and maintenance instructions
Sime
Sime Green Planet I-HE 35 MF User and installation instructions
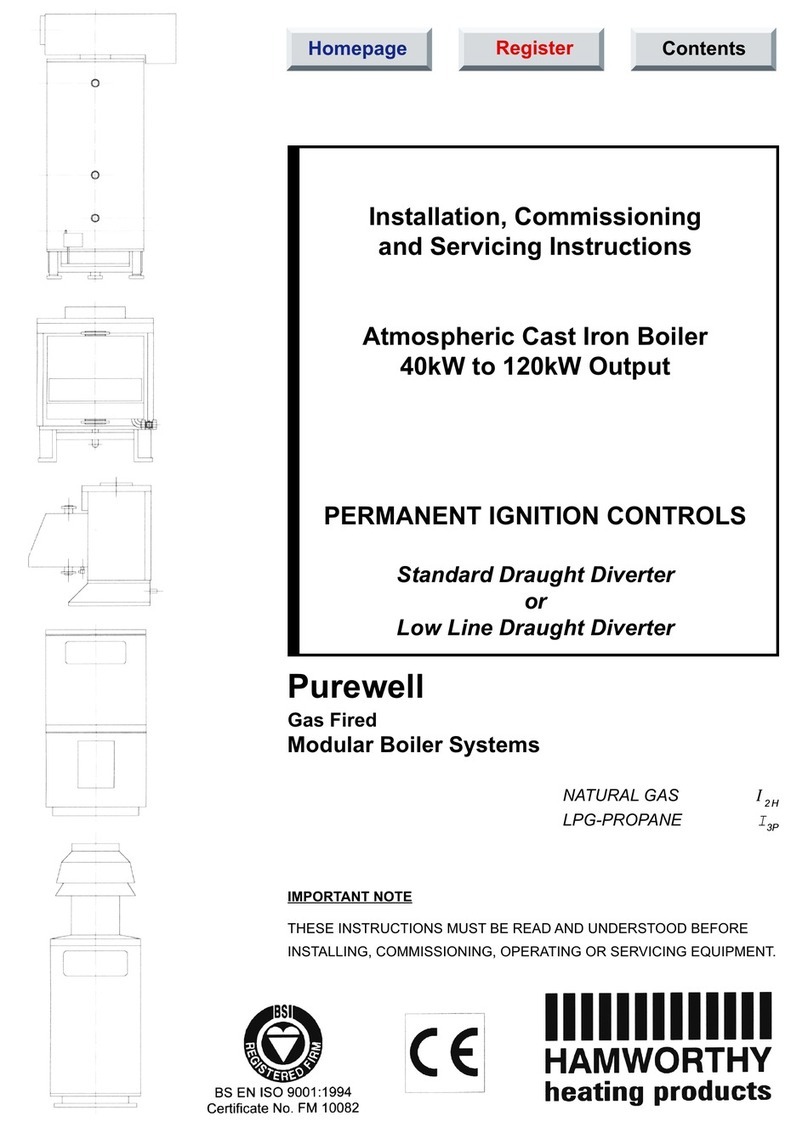
Hamworthy
Hamworthy Purewell Installation, commisioning and maintenance instructions
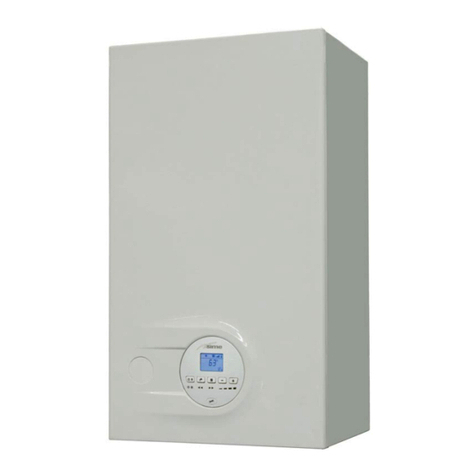
Sime
Sime MURELLE ADVANCED HE ErP User, installation and servicing instructions


