6
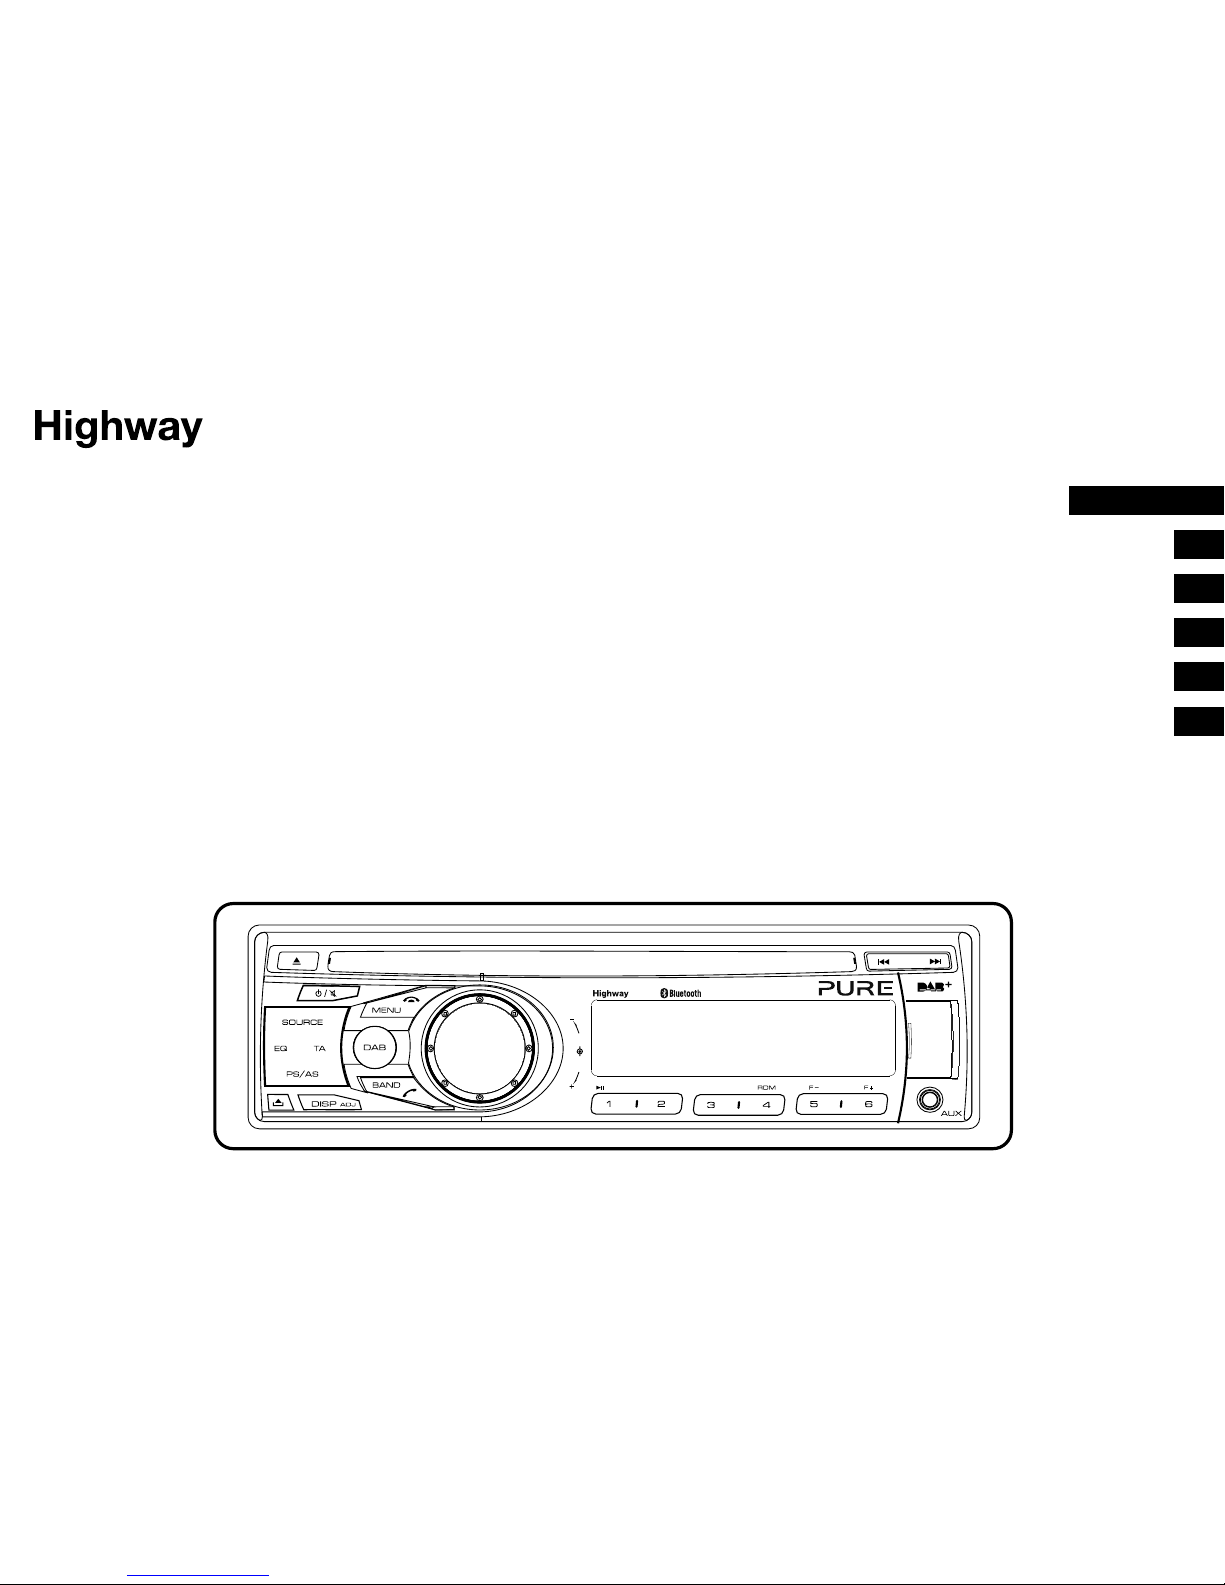
Listening to FM or MW radio
Press SOURCE repeatedly until ‘TUNER’ is
displayed on the screen.
Changing FM or MW stations
Manual tuning
Press the or buttons to tune in to a higher
or lower station.
Seek tuning
Press and hold the or buttons to seek to
the next or previous radio station that has a strong
signal.
Note: To stop seek tuning, repeat the steps above
or press any other button that has a radio function.
Choosing an FM or MW radio band
Highway includes a BAND button that you can
press to change the stations that are allocated to
the six preset buttons. In FM there are three bands
available, allowing you to store up to 18 FM presets.
In MW there is only one band available, allowing
you to store up to 6 presets. Press BAND to select
either FM1, FM2, FM3 or MW.
Storing and selecting presets
Manually storing a preset
Tune into the FM or MW radio station that you
want to store. Press and hold one of the numbered
preset buttons (1-6) to store it in the memory.
Recalling a preset
To tune to a preset, press the corresponding preset
button (1 to 6).
Auto storing presets
You can use the auto store function to automatically
populate your presets with radio stations that are
detected by Highway.
Press and hold the PS/AS button to start automatic
station search.
To stop auto store, press any button that has a
radio function.
Notes: If you start the auto store function in an
FM band, the auto store function will automatically
populate the presets in all the FM bands (FM1, FM2
and FM3). If you start the auto store function in the
MW band, the auto store function will automatically
populate the presets in the MW band.
Preset scan
You can use the preset scan function to listen
to ten seconds of audio from each of the radio
stations stored in your presets.
1. Press the PS/AS button to begin the preset
scan.
2. Press the PS/AS button again when you hear a
station that you want to listen to.
Note: Pressing the PS/AS button for more than
one second will start the auto store function, which
will overwrite all your presets.
Changing the information shown on
screen
In FM mode, Highway displays two rows of text.
The first row will display RDS information if it is
available. If there is no RDS information, the band
and frequency will display.
You can toggle the information that is displayed
on the second row by pressing the DISP button.
Highway can display the current time, scrolling text
(if available), programme type (PTY) information,
and band and frequency.
Service following
If you are listening to a digital radio station and
you lose the digital radio reception, Highway’s
service following feature will always attempt to
automatically tune in to the same radio station with
a better reception or a similar digital radio station. If
the same or a similar digital station cannot be found,
Highway will attempt to find the same station in FM
mode*.
Note: If Highway has used service following to
retune a digital radio station to the same FM station,
Highway’s screen will display ‘FM’ after the radio
station’s name.
Note: Digital to FM service following will not work
if TA standby mode is enabled. See page 14 for
more information.
*Service following is only supported by some broadcasters.