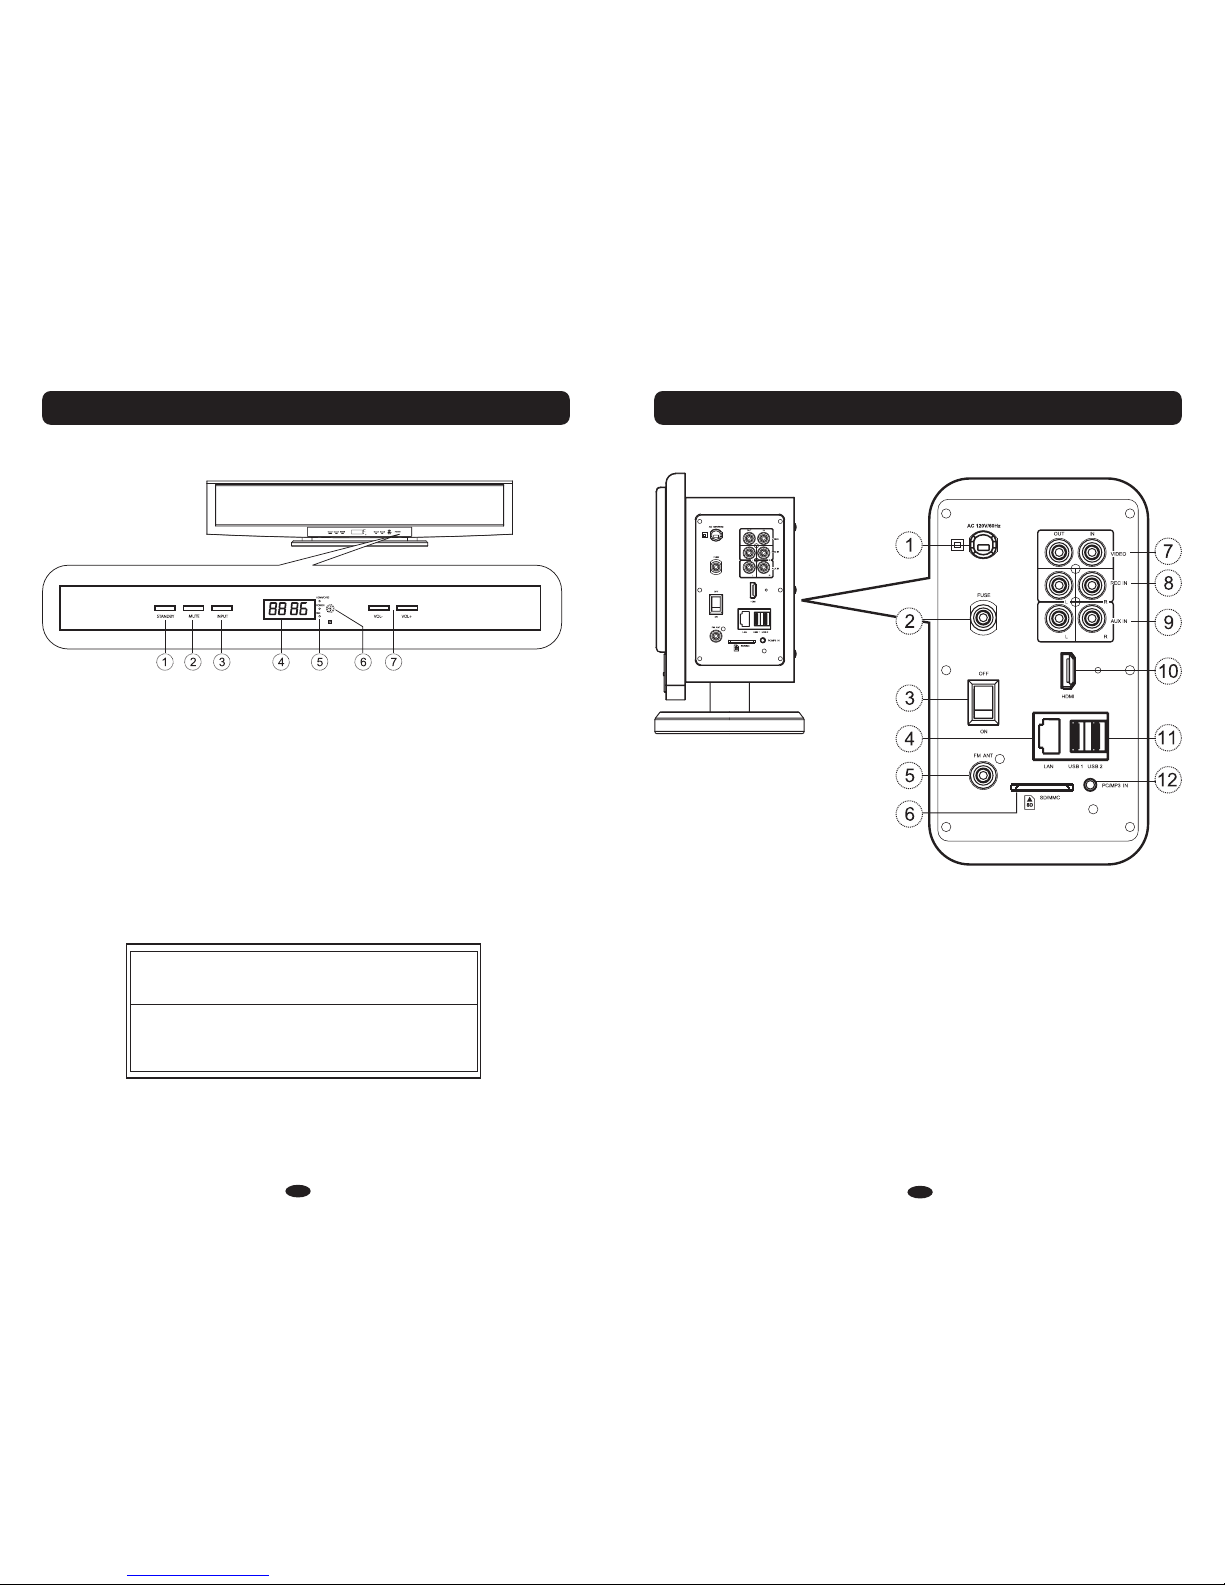
STANDBY MUTE INPUT VOL-VOL+
1. Battery Installation:
a. Remove battery cover.
b. Install two "AAA' size batteries (included) into the battery compartment
according to the polarity markings inside battery compartment.
c. Close battery cover.
Follow these precautions when using batteries in this device:
1. Use only the size and type of batteries specified.
2. Be sure to follow the correct polarity when installing the
batteries as indicated next to the battery compartment.
Reversed batteries may cause damage to the device.
3. Do not mix different types of batteries together(e.g. Alkaline,
Rechargeable and Carbon-zinc) or old batteries with fresh
ones.
4. If the device is not to be used for a long period of time, remove
the batteries to prevent damage or injury from possible battery
leakage.
5. Do not try to recharge batteries which are not designed to be
recharged. They can overheat and rupture.
6. Do not dispose of batteries in fire. Batteries may explode or
leak.
BATTERY PRECAUTIONS
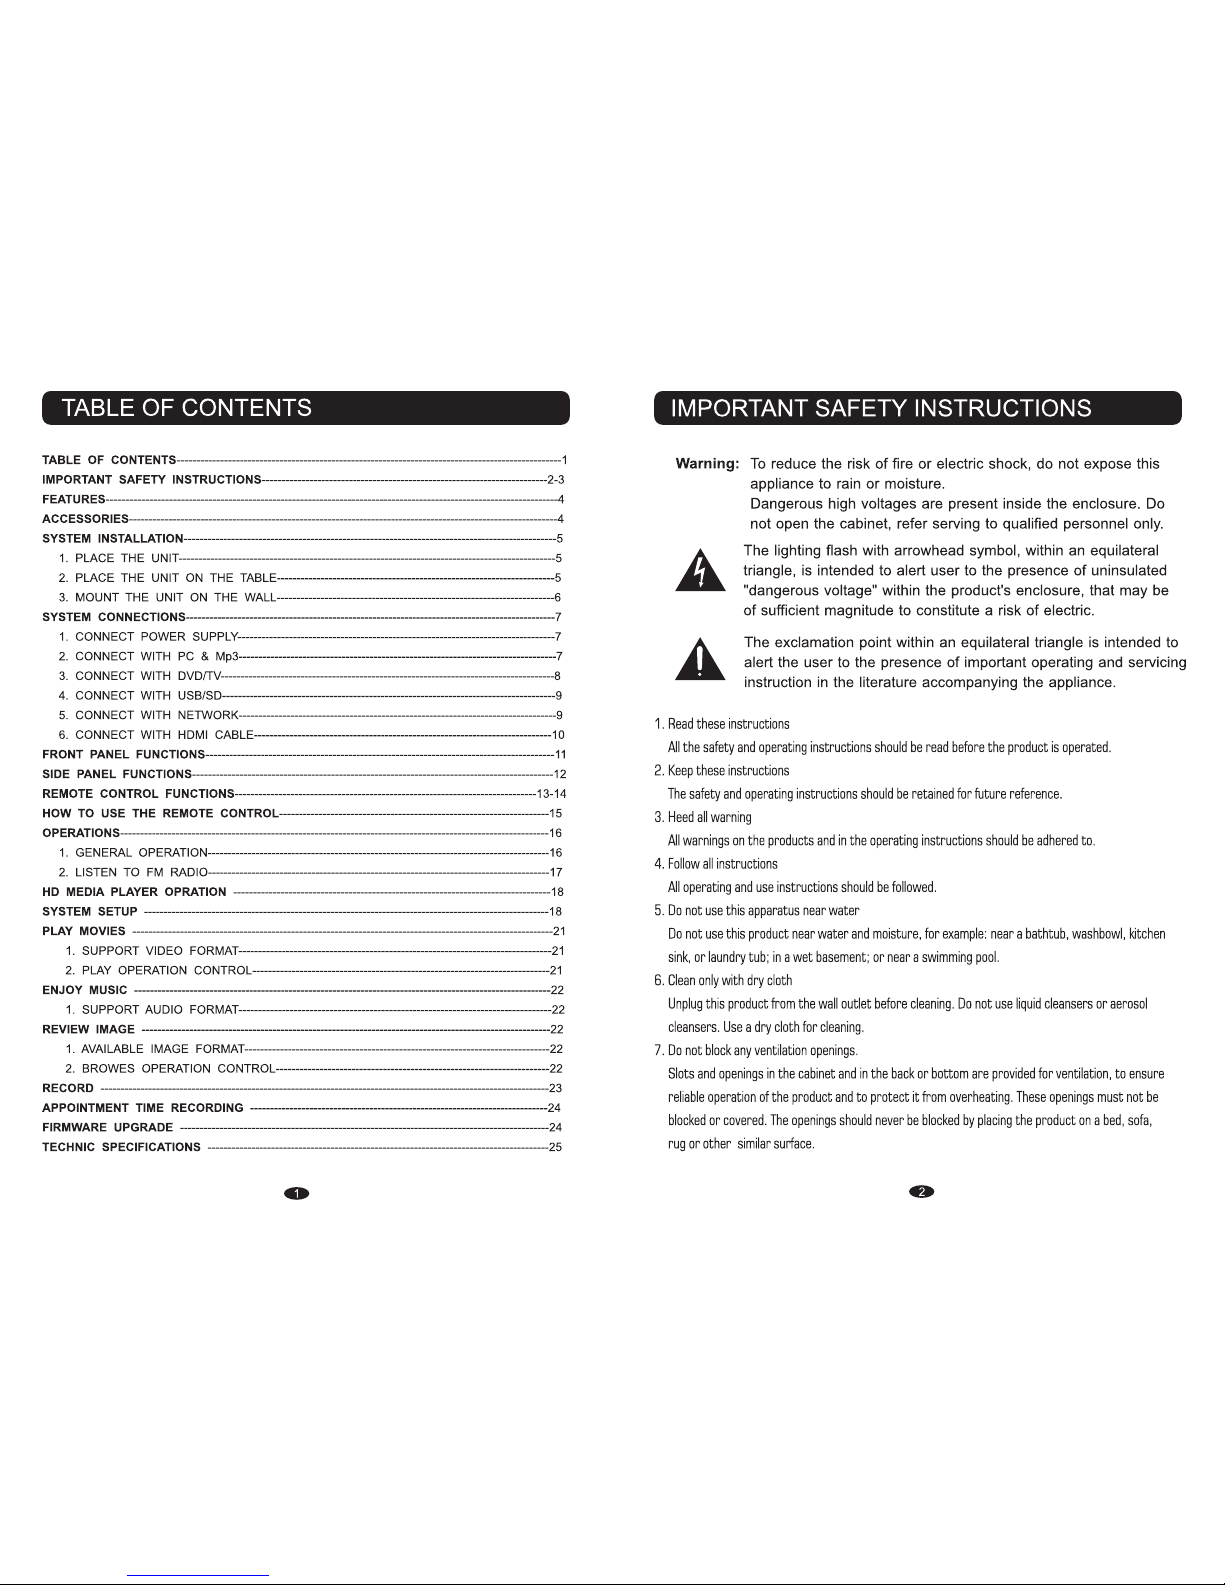
Approx. 16 feet
NOTES:
When there is an obstacle between the unit
and the transmitter, the transmitter may not
operate.
When direct sunlight, an incandescent lamp,
fluorescent lamp or any other strong light
shines on the remote sensor of the unit,
the remote operation may be unstable.
The remote control has an operating range which is less than 16 feet and at 30 degree angle left or
right away from the system.
2. Effective scope of the remote control
HOW TO USE THE REMOTE CONTROL
15 16
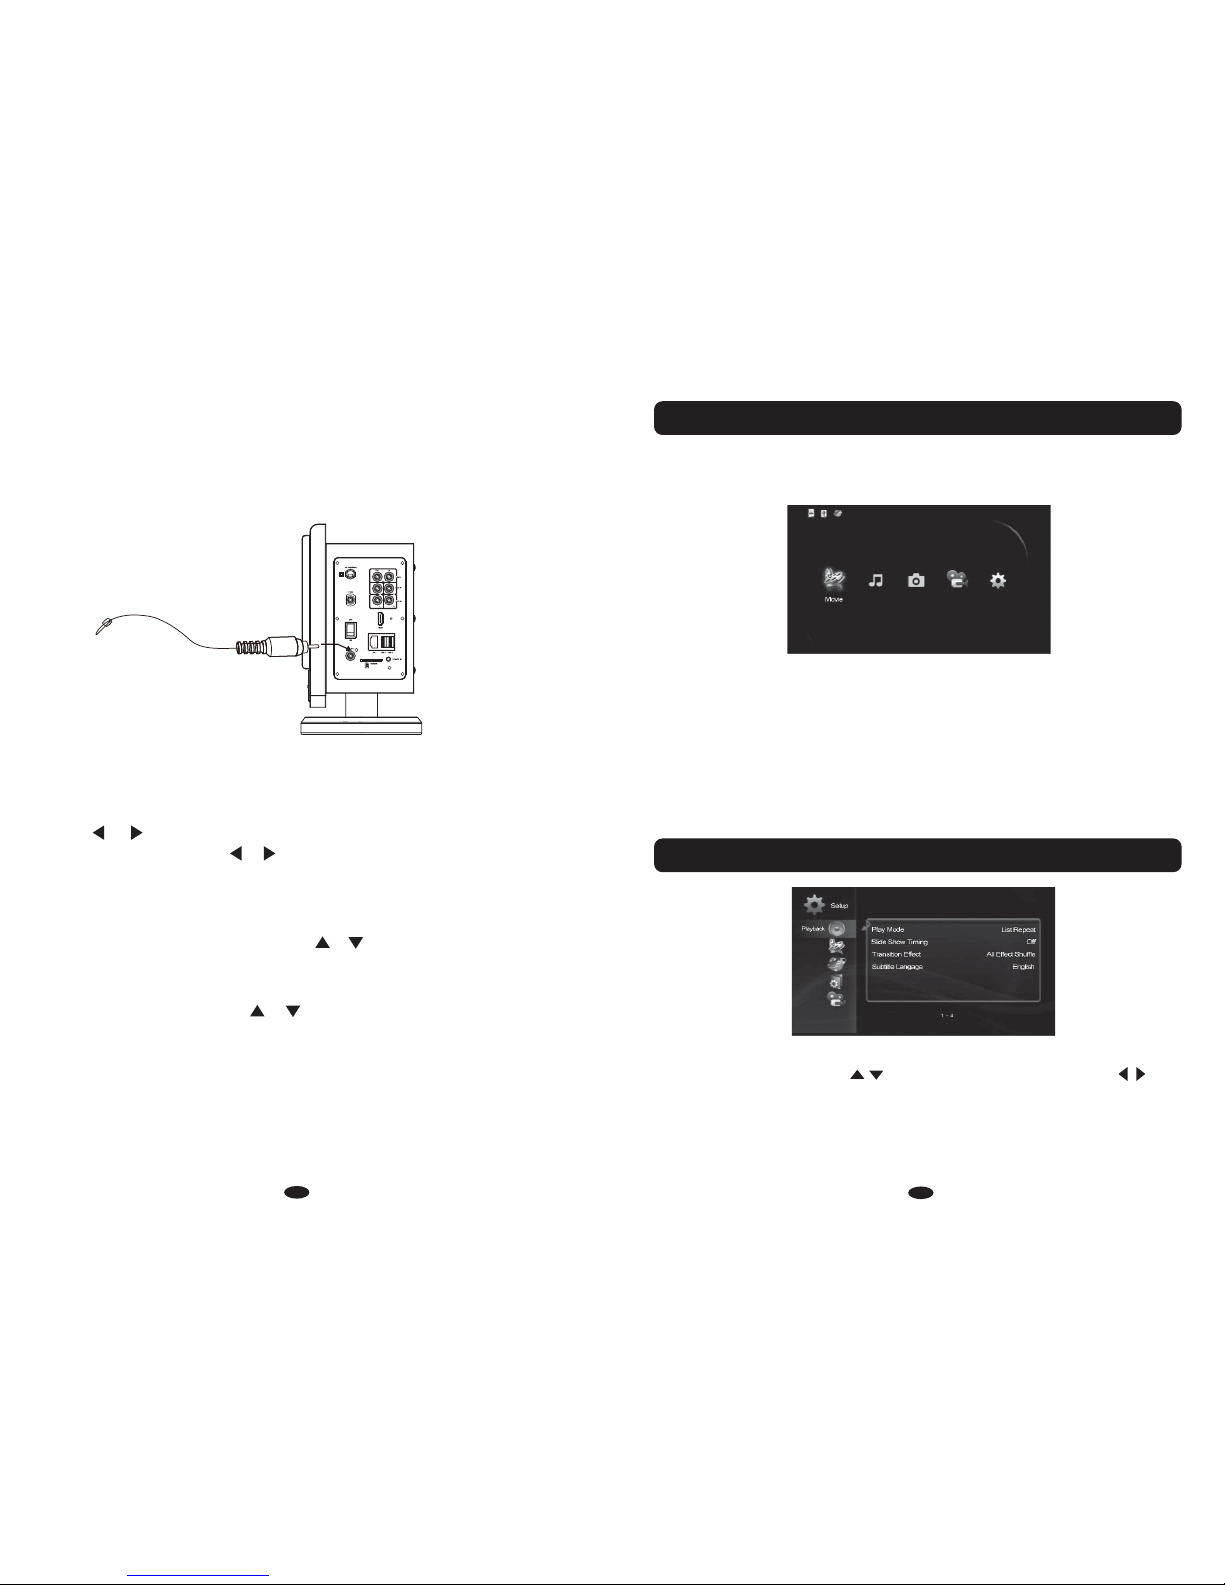
1. GENERAL OPERATION
OPERATIONS
1) Turn power ON/OFF switch on right side panel to ON position to turn the unit to Standby mode.
2) Press the STANDBY button on the unit or POWER button on remote control to power on the unit.
3) Press the INPUT button on the unit or remote control repeatedly to select the input sources to HD,
PC, AUX or FM as desire.
4) Press the VOL +/- buttons on the unit or remote control to adjust volume as desire.
5) Press the T+/- and B+/- buttons on the remote control to adjust treble and bass.
6) Press the SRS button on the remote control to turn the Surround Sound Effect ON, press again to
turn it OFF.
7) During listening, press the MUTE button on the unit or remote control to turn off the sound
temporary (MUTE will appear on the display), press again to turn the sound back.
8) During listening, press the RESET button on the remote control to reset the sound level to default
settings.
9) After using press the STANDBY button on the unit or POWER button on remote control to turn off
the unit(Standby mode).
NOTE: If you will not use the unit for long period of time, please power off the unit by turn power
ON/OFF switch on the side panel of the unit to OFF position to cut off the AC supply.
It takes some time to start up the HD media player systems so when you change to other mode,
the HD media player systems actually still running. For avoid give some inteferences to the FM
radio the HD media player systems will automatic off after you turn on the FM radio within
5seconds.