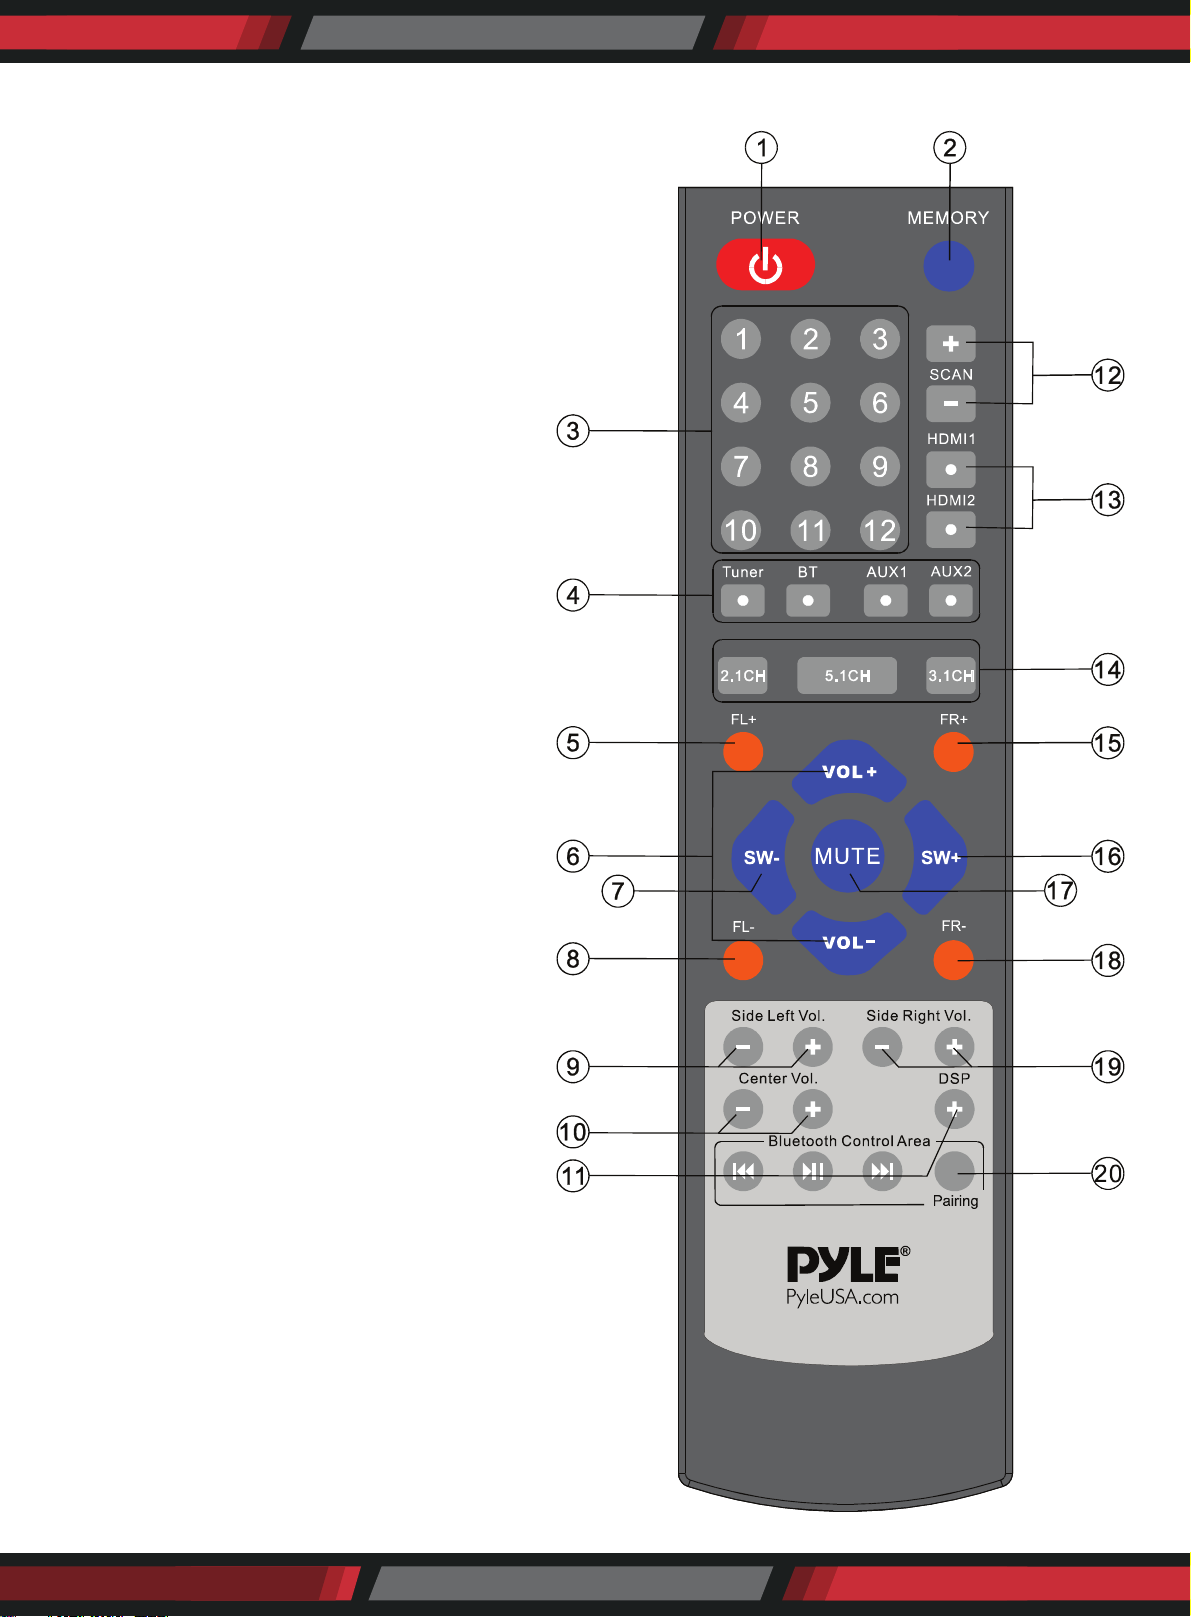
BASIC OPERATION
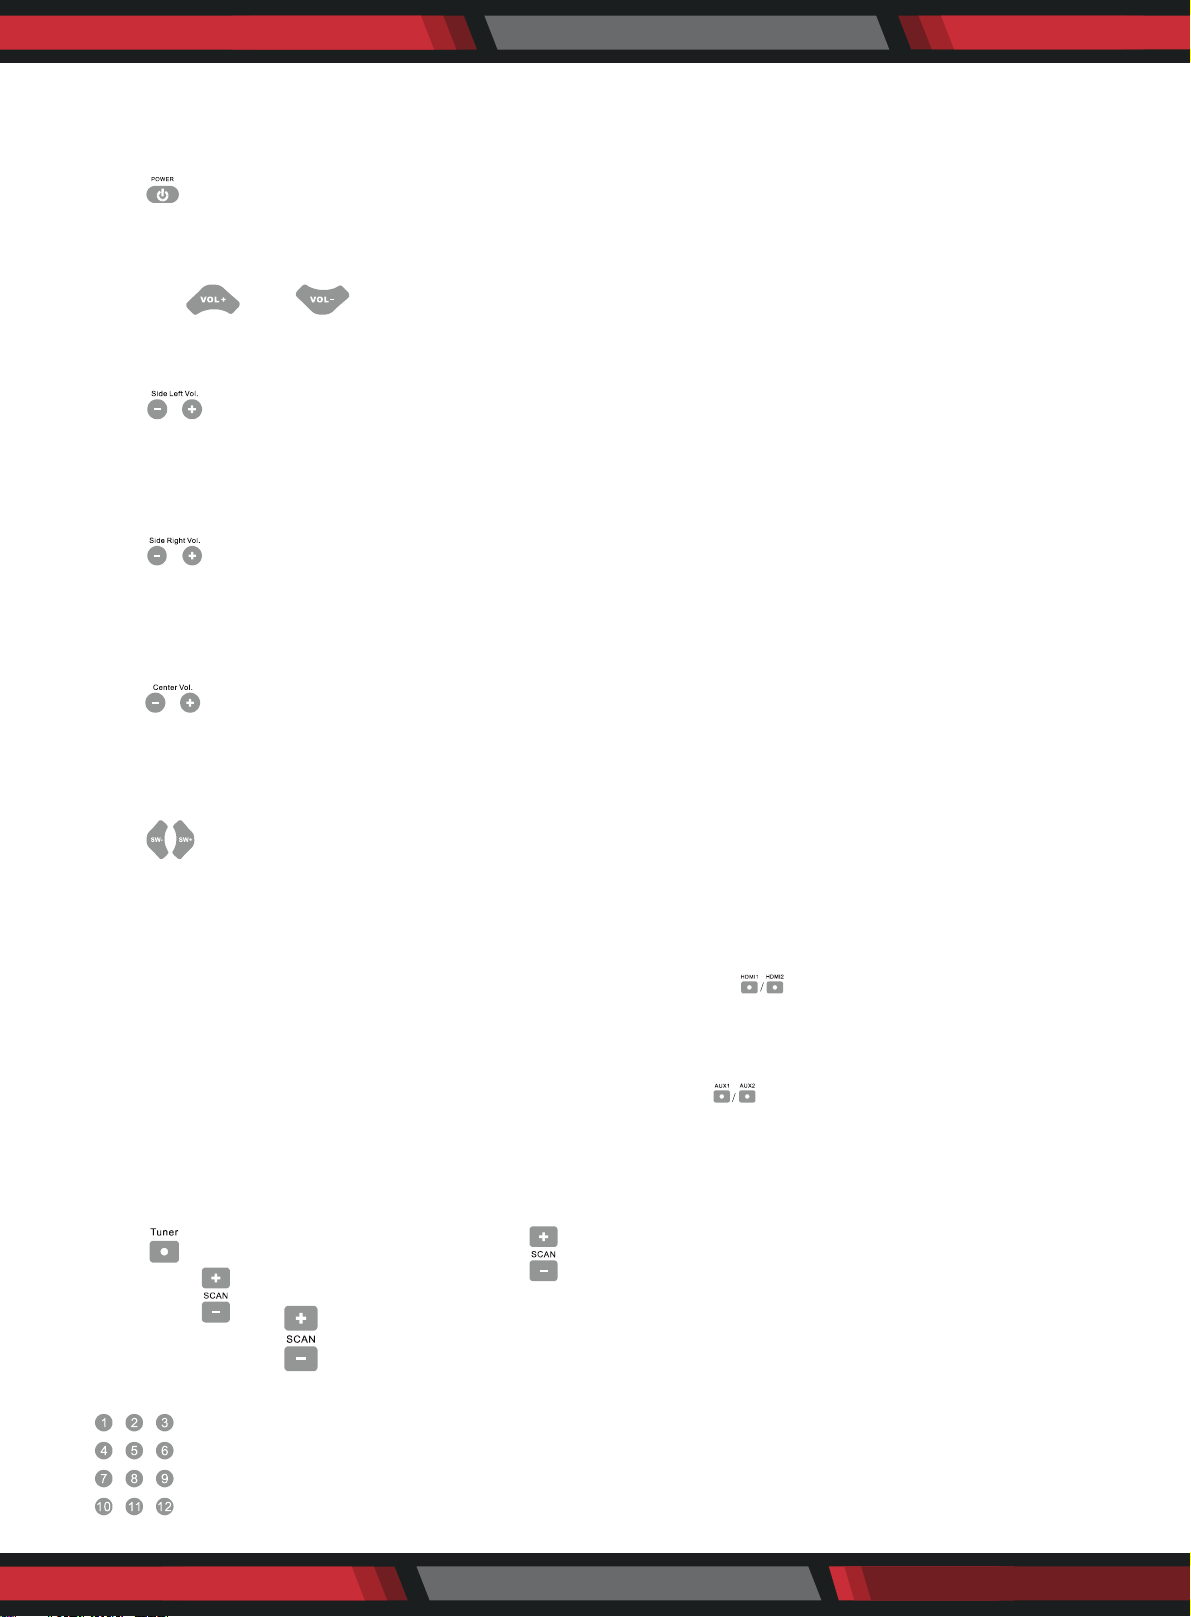
1. Turn ON/OFF the Power
Press " " key to control the power on and o.
2. Master Volume Control
Press the " " or " " Key to adjust the main channel volume.
3. Side Left Channel Volume Control
Press " " key on the remote control, screen display the SL volume, press "-ADJUST+" key to adjust
side left channel volume.
4. Side Right Channel Volume Control
Press " " Key on the remote control, screen display the SR volume, press "-ADJUST+" key to adjust
side right channel volume.
5. Center Channel Volume Control
Press " '' key on the remote control, screen display the CEN volume, press "-ADJUST+" key to adjust
center channel volume.
6. Subwoofer Volume Control
Press " " key on the remote control, screen display the SW volume, press "-ADJUST+" key to adjust
subwoofer channel volume.
7. How to Play HDMI
Make sure HDMI 1/HDMI 2 connection lines are correct. Press the " " key to play HDMI.
8. How to Play AUX
Make sure AUX 1/AUX 2 connection lines are correct. Press the " " key to play AUX.
9. How to Play Tuner
1. Select Program
• Use " " key to select FM band. Press the " " key to adjust the band of tuner.
• Press the " " key for 2 seconds, the FM will search automatically.
• You can press the " " key once or the input mode selector to stop the function.
2. Listen to the Preset Program
Press the number keys to select the radio program that you already saved. Once selected,
screen will display the radio program's frequency in the memory area.
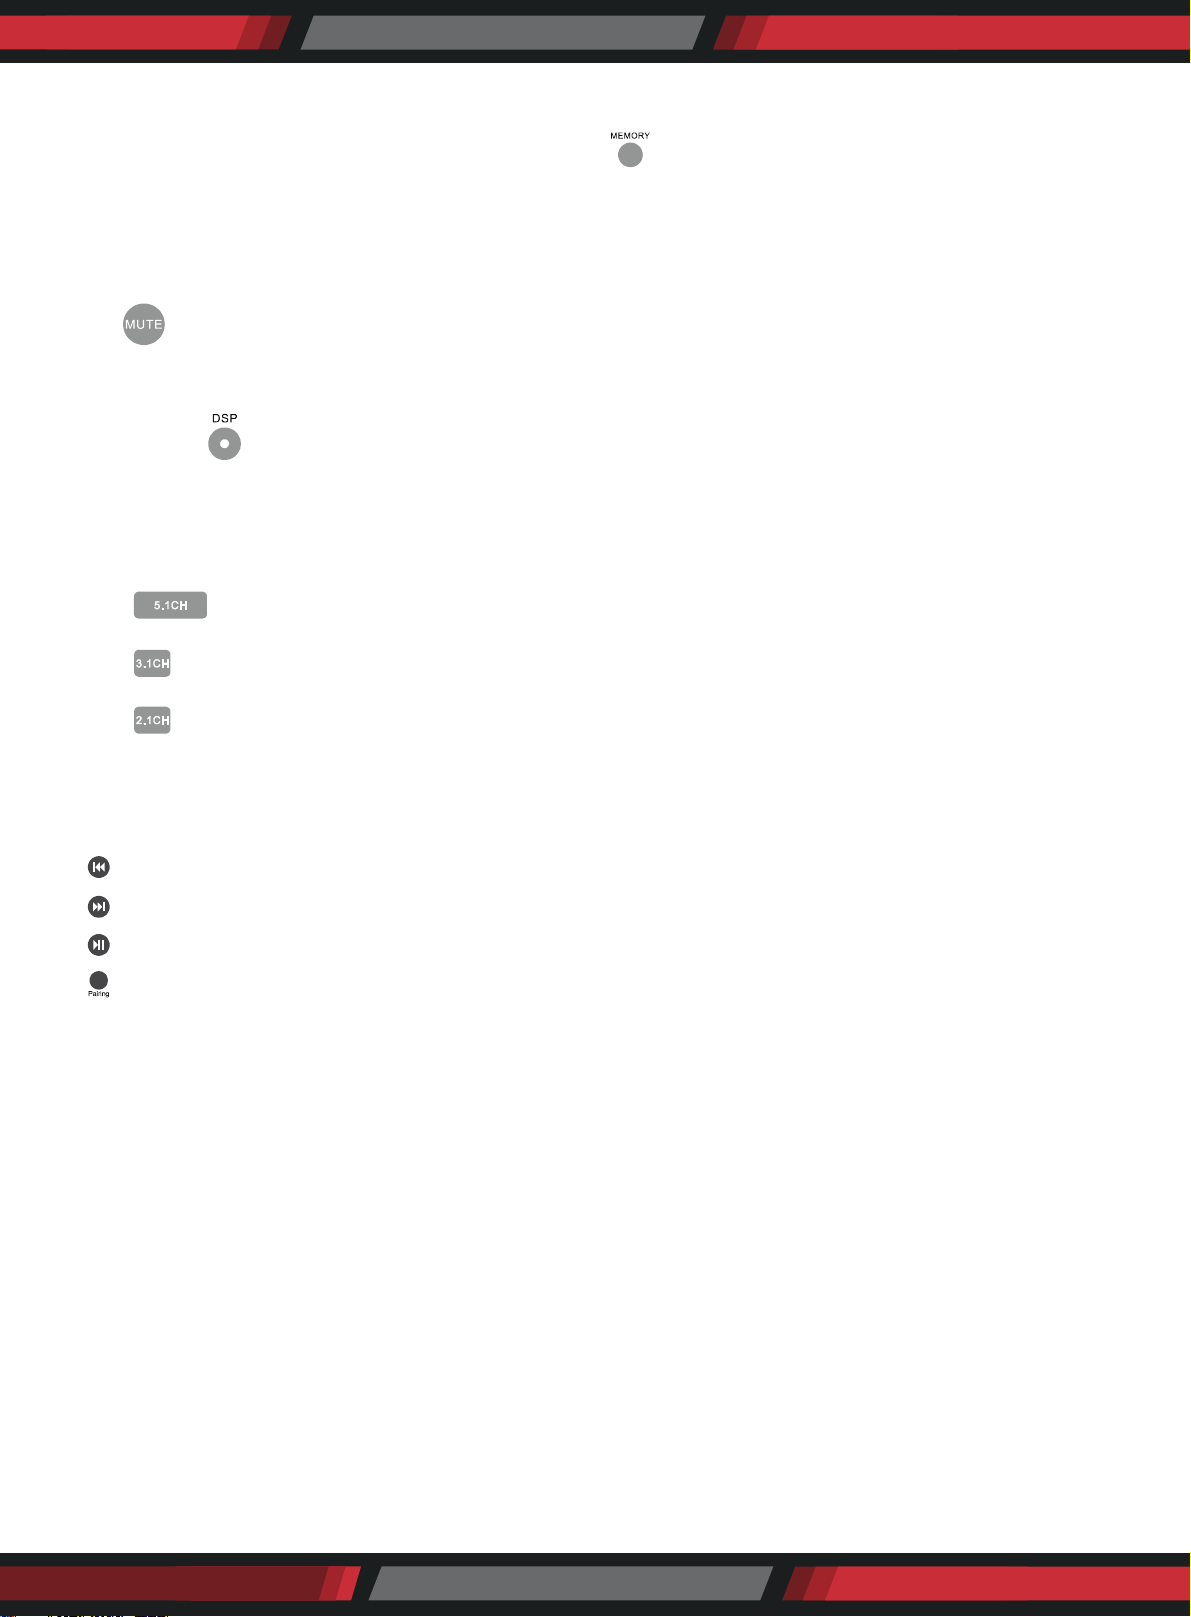
3. Memory Program
When you receive a clear radio program, press the " " key rst, and then the screen displays the
"Memory'' icon. Press one of the 12 number key on the remote control to select the memory station.
If you want to extract the channel you saved, just press the number key you selected.
HOW TO MUTE
Press " " key to turn sound o/on. Press again to restore the audio to the original level.
INTRODUCTION OF DSP CONTROL KEY
Press the key " " repeatedly to switch to dierent operations: Live, Hall or Church.
All the above functions can give dierent sound eects.
INTRODUCTION OF SOURCE OUTPUT SELECTOR AREA
• Press" " to receive 5.1 channel. (5.1 channel output is the default mode)
• Press" " to receive 3.1 channel. (Side left speaker and Side right speaker mute)
• Press" " to receive 2.1 channel. (Side left speaker, Side right speaker and Center speaker mute)
HOW TO PLAY WIRELESS BT
Paring with a Wireless BT sender as the following manual.
1. " " play the previous song.
2. " " play the next song.
3. " " play/pause the song.
4. " " paring the BT sender.
ADDITIONAL INFORMATION
PRECAUTIONS
On Safety
• Should any solid object or liquid fall into the receiver, unplug the receiver and have it checked by qualied
personnel before operating it any further.
On Power Sources
• Before operating the system, check that the operating voltage is identical with your local power supply.
• The operating voltage is indicated on the back of the speakers.
• As long as the unit is not removed from the wall outlet, the unit will not be disconnected from the AC
power source (main) even if the unit itself has been turned o.
• If you are not going to use the system for a long time, be sure to disconnect the system from the wall
outlet. To disconnect the AC power cord, disconnect by grasping the plug itself; never pull the cord.
www.PyleUSA.com
8