m/h
Flashing
Ski Mode
Slope Setting
188
slope angle
188
Ski Function ON
Sensitivity Setting
Ascending Sensitivity Descending Sensitivity
Fast Fast
Normal Normal
Slow Slow
Ski Mode
Ski Function ON
Ski Function
ON/OFF
Slope
Setting
Ascending
Sensitive
Setting
Descending
Sensitive
Setting
[M]
[M]
[M]
[M]
Hold
[M]
Hold
[M]
Ski Mode Setting Sequence
Ski Lap 3
Ski Recor d 1
Ski Lap 2
Ski Lap 1
meter
meter
meter
meter
meter
meter
a
e
i
0
0
0
0
0
0
200
200
200
200
200
200
400
400
400
400
400
400
600
600
600
600
600
600
800
800
800
800
800
800
b
f
j
c
g
k
ski lap 1
d
h
lm
ski lap2
ski lap 3
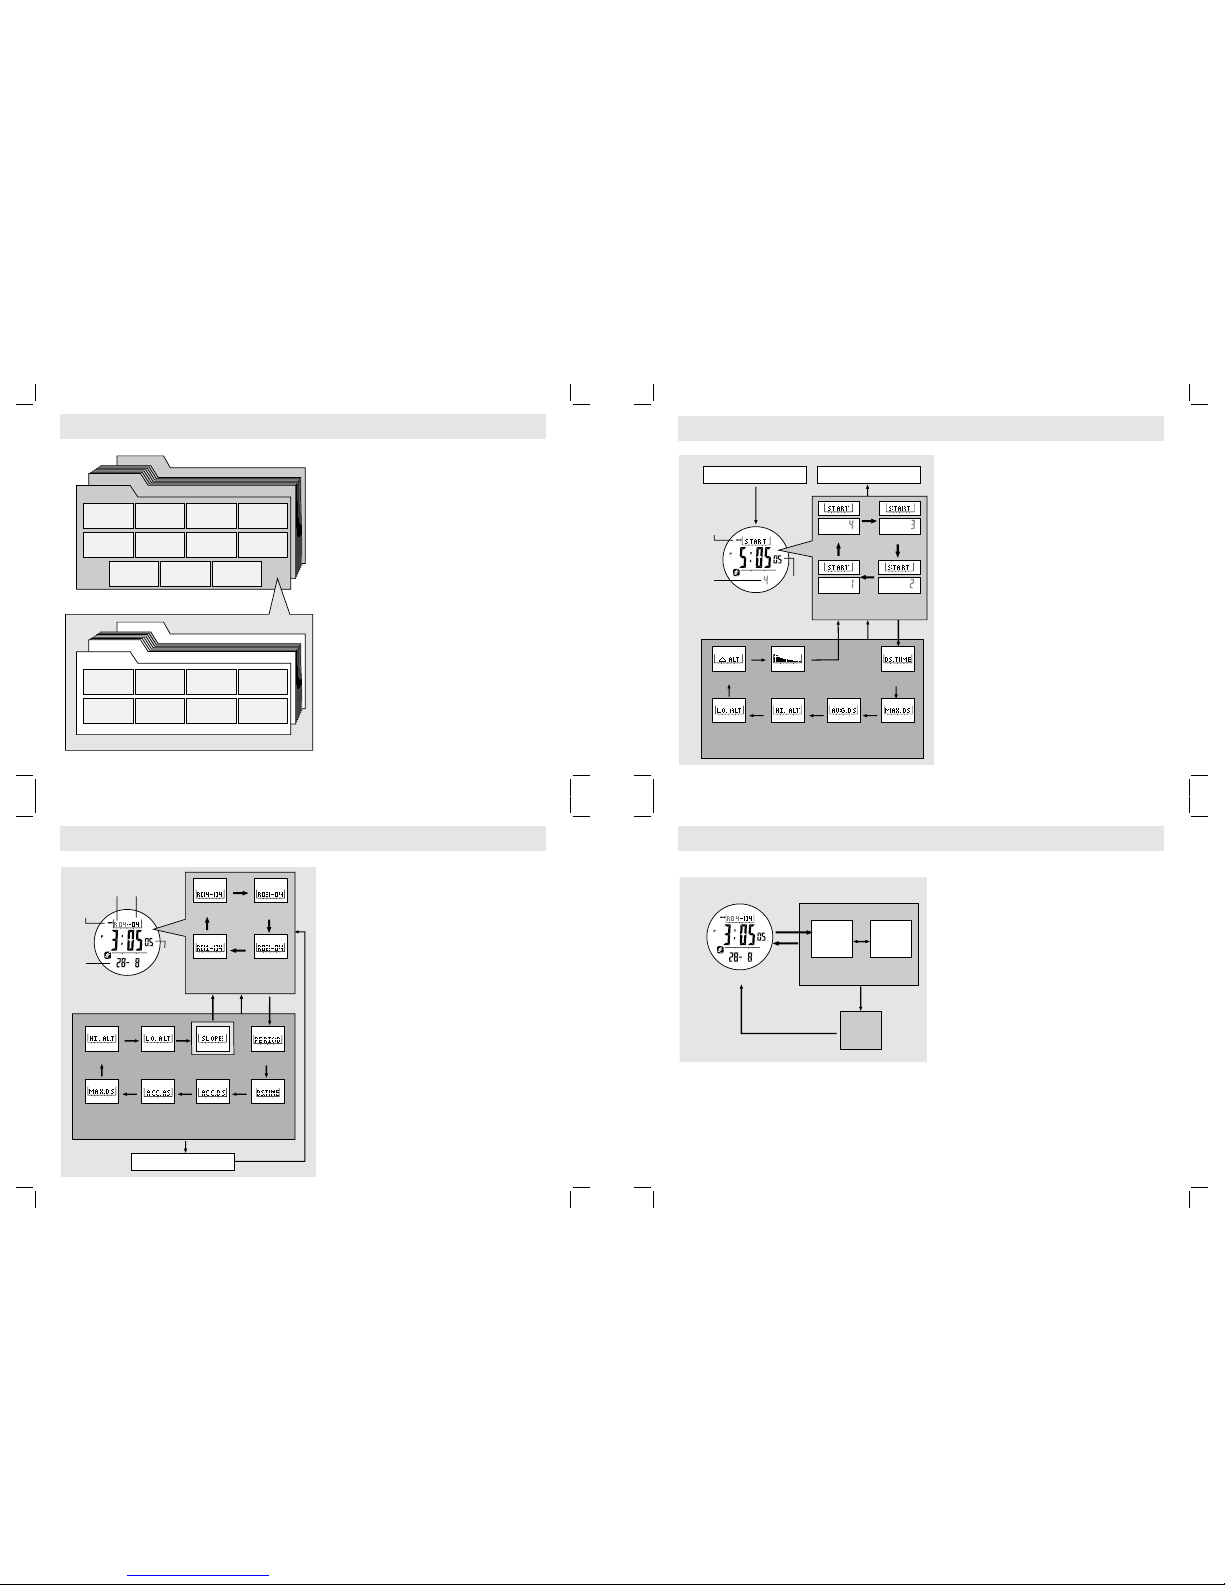
An Example to Illustrate Ski Log Function
!Assume a user enjoyed three ski runs within a day as it
is outlined by the adjacent diagram. To enjoy the Ski
Log function, the user needs to turn ON the Ski
Function before the ski runs.
!The Watch will log the below ski data into Ski Logbook
automatically, and these ski data can be reviewed in
Ski Recall Mode later.
Ski
Ski Lap (ski data)
NOTE:*These maximum speeds are dummy figures,
the maximum speed can be logged in a real case only.
Record (the info and summary of all ski laps)
!The record date = 11 June.
!The record started time = AM10:00 00.
!The total travel time = 5: 00 00.
!The total number of ski lap recorded = 3 ski laps.
!The total descent time = 0:15 00.
!The accumulative descent = 1200m.
!The accumulative ascent = 1200m.
!The maximum descent speed = 15 Km/h*.
!The highest altitude reached = 700 m.
!The lowest altitude reached = 200 m.
!The slope of the ski course = 358
!The lap started time = AM 11:00 00 (Lap 1), AM
12:00 00 (lap 2 ), PM 2:00 00 (Lap 3).
!The total descent time = 0:05 00 (Lap 1), 0:05 00
(Lap 2), 0:05 00 (Lap 3).
!The maximum descent speed = 9 Km/h* (Lap 1),
11 Km/h* (Lap 2), 15 Km/h* (Lap 3).
!The average descent speed = 6 Km/h (Lap 1), 8
Km/h (Lap 2), 10 Km/h (Lap 3).
!The highest altitude reached = 500 m (Lap 1), 600
m (Lap 2), 700 m (Lap 3).
!The lowest altitude reached = 200 m (Lap 1),
200 m (Lap 2), 200 m (Lap 3).
!The altitude change = 300 m (Lap 1), 400 m (Lap
2), 500 m (Lap 3).
!The descent altitude change graph for every lap.
9.4 Ski Mode - Ski Log Function
AM 11:00
AM 1 :2 00
PM :2 00
AM 1 :1 05
AM 1 :2 05
PM :2 05
358
358
358
Tur n ON th e
ski function
at point (a)
on 11 Jun,
AM 10:00
Tur n OFF
ski function
at point (m)
o
P 3
n 11 Jun,
M : 00
Ski Recor d 1
Ski Lap 1
meter
a
0 0
200 200
400 400
600 600
800 800
bc
de
ski lap 1
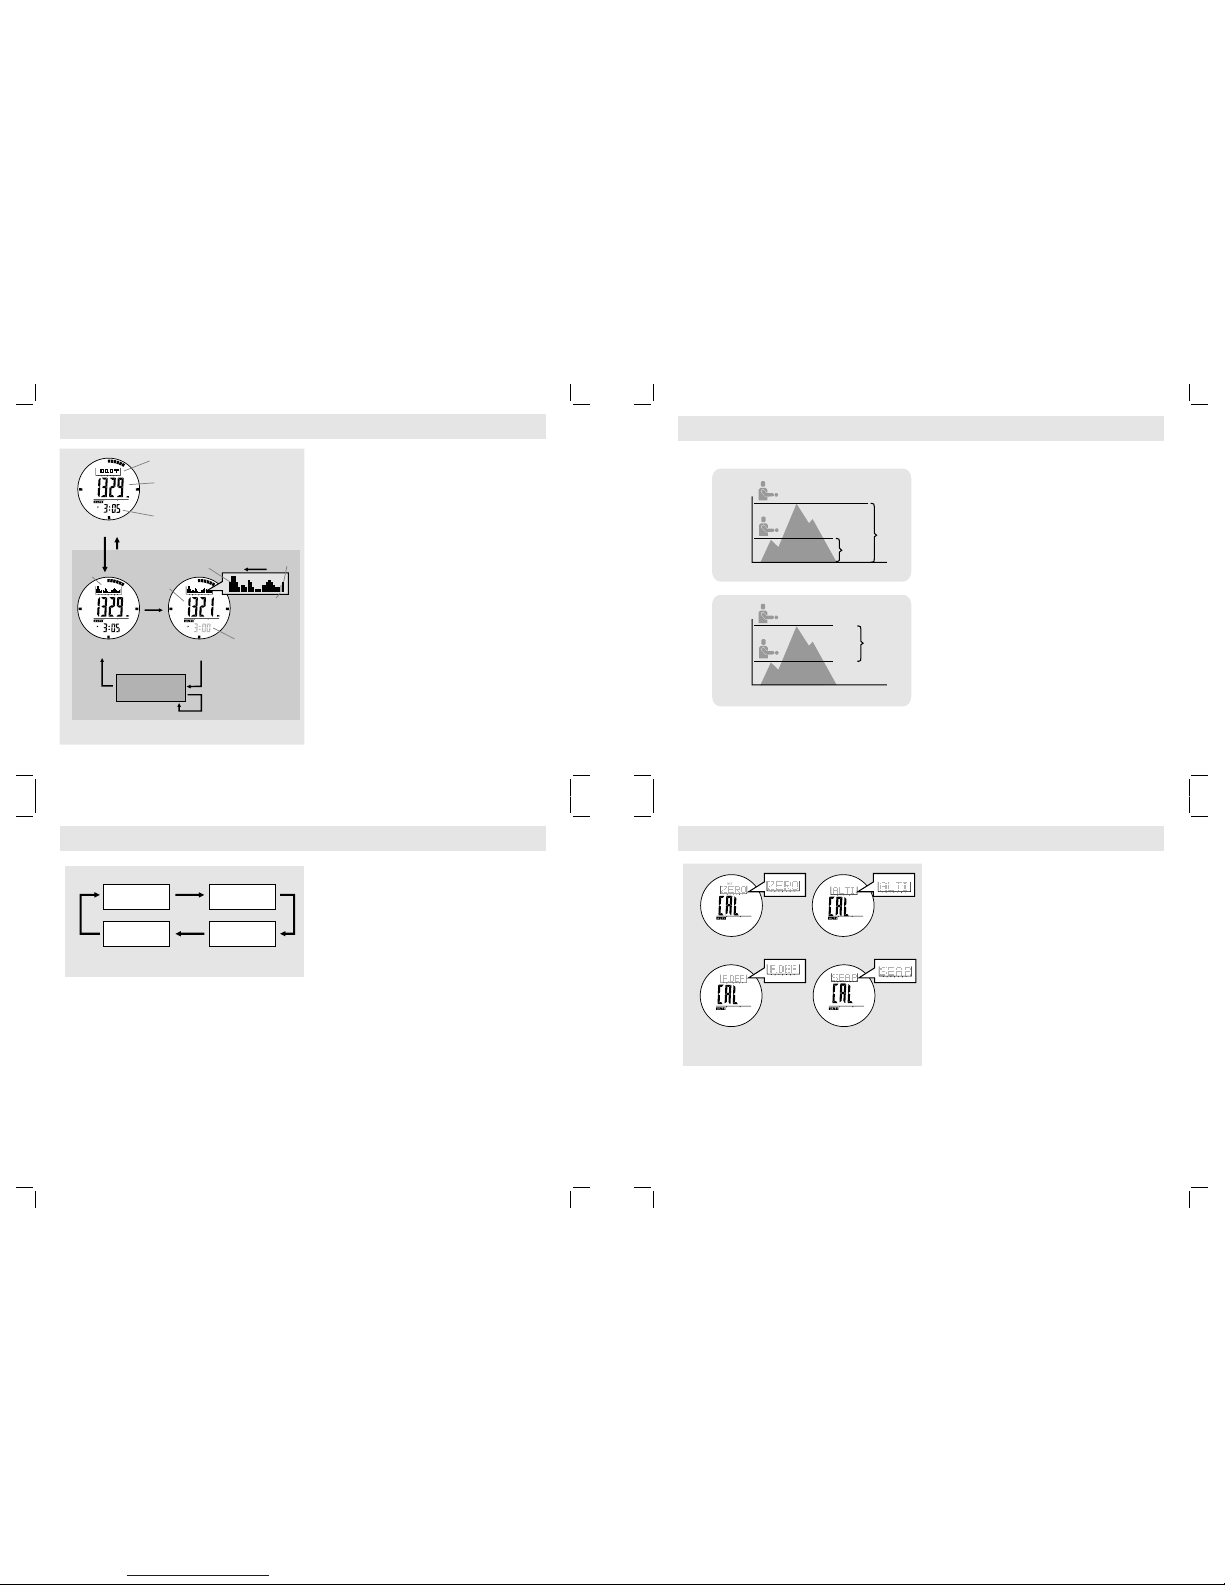
How to Log a Ski Lap
!When the Ski Function is turned ON:
!The Watch will create a Ski Record to log the
starting time and date into the Ski Logbook.
!When a ski run is started subsequently, the
Watch will create a Ski Lap automatically or
manually to log the ski data into the Ski
Logbook.
How to Activate a Ski Lap Automatically
!To start a Ski Run: When a ski run is started and a
significant altitude loss is detected, the decent
time timer will start counting automatically, and a
new ski lap is created .
!To stop a Ski Run: When a ski run is stopped and
the altitude loss is not significant, the decent time
timer will stop counting automatically, and the
current ski lap is saved.
How to Activate a Ski Lap Manually
!Press the [M] button once in the Ski Mode to
select 'MANUAL' Display, then the Watch is ready
for manual start/stop a ski lap.
!To start a Ski Run: Press the [S/S] button once
and start the ski run at the same time, then the
decent time timer will start counting from 0
seconds, and a new ski lap is created.
!To stop a Ski Run: Press the [S/S] button once
again when the ski run is stopped, then the decent
time timer will stop counting, and the current ski
lap is saved.
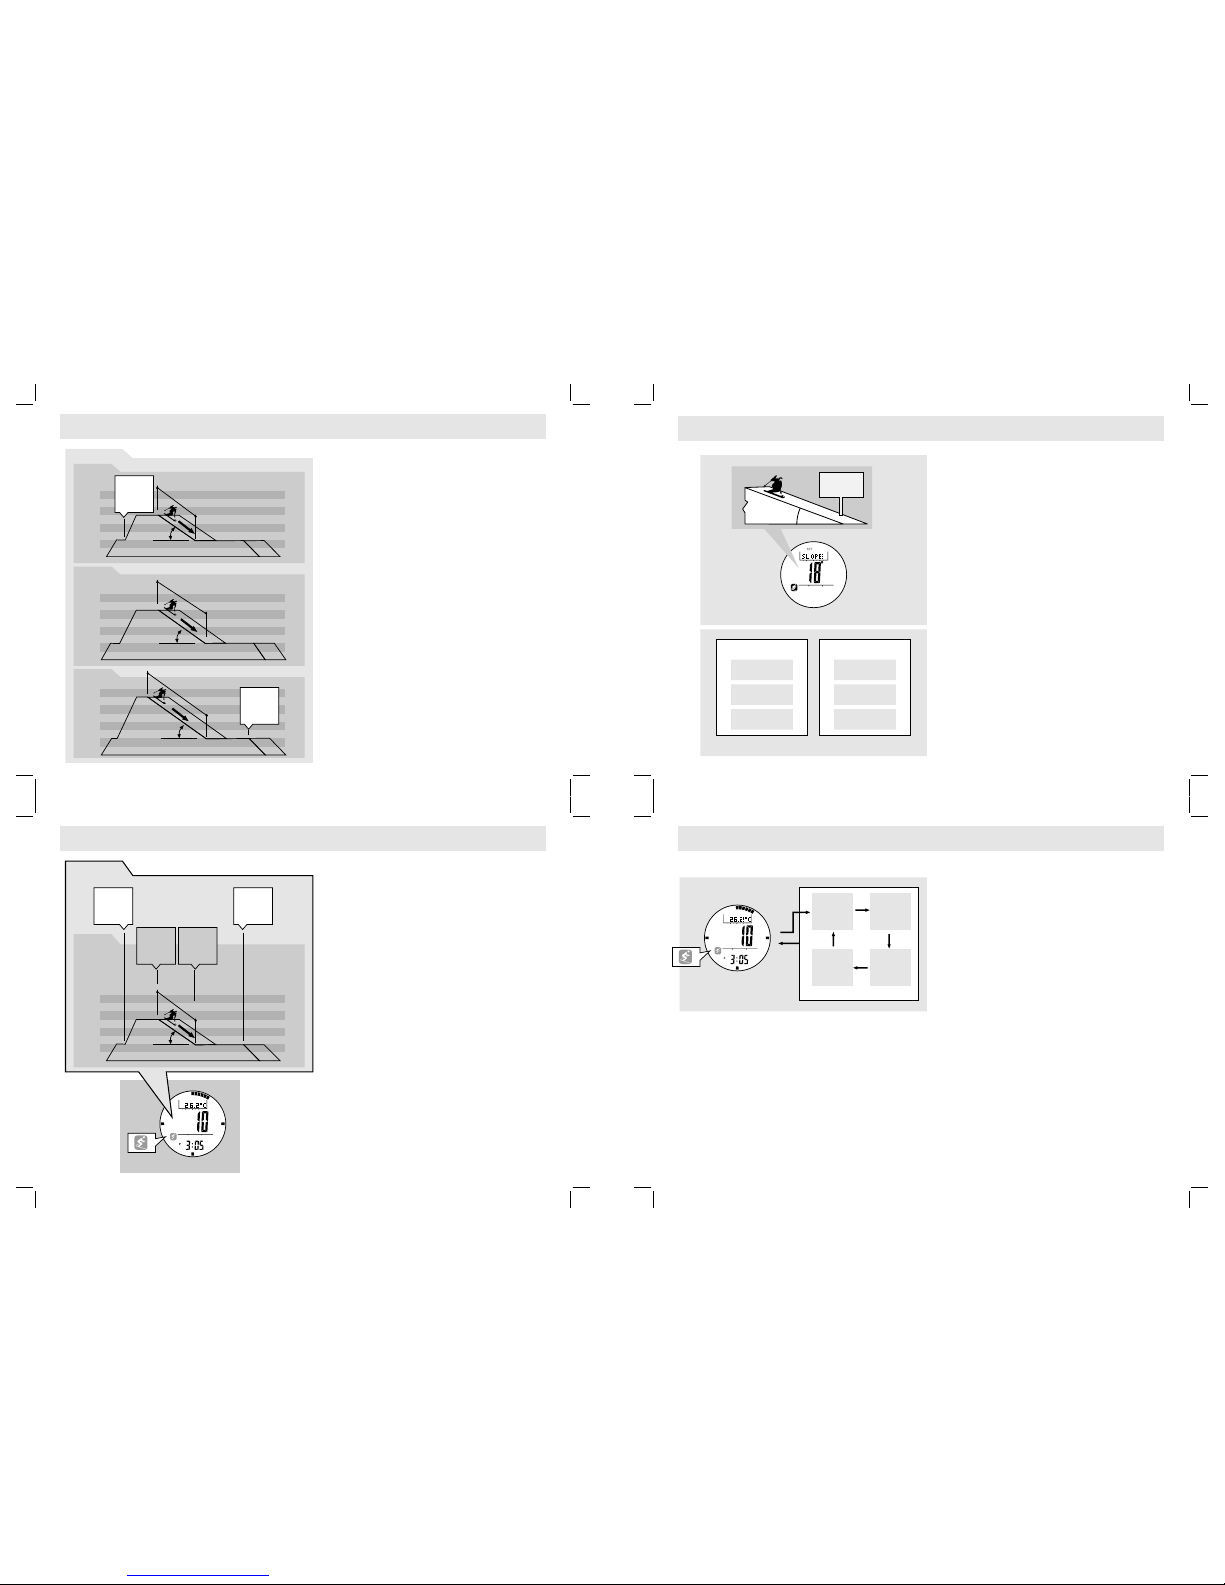
Slope Setting
!
!
The slope setting is the setting that inputs the
slope angle of the ski field into the Watch.
Most of the ski fields post that figure to skier on
the ski field.
Sensitivity Setting
!The Watch will activate the ski lap function
(start the descent timer and create a ski lap)
automatically when a ski run is started (a
significant altitude loss is detected).
!Sensitivity setting is the setting that adjusts the
accuracy for above auto-activation.
!Type of Sensitivity
!Asce ndin g s ensit ivit y s etti n g: A d just the
sensitivity for altitude ascend auto-activation.
!Desce nding sensiti vity setting: Adjus t the
sensitivity for altitude descend auto-activation.
!Level of Sensitivity
!Fast Sensitivity: If sometimes false auto-
activation is observed, select this setting to
improve the performance.
!Normal Sensitivity: If the auto-activation is
functioned normally, keep this setting.
!Slow Sensitivity: If the auto-activation can not
be functioned, select this setting to improve
the performance.
How to Set the Slop and Sensitivity
The Watch will
also exit the setting display if NO key-stoke has
been activated for 1 minute.
!To select the setting display, hold the [M] button
for about 2 seconds in Ski Mode, then the
flashing "SET" icon will appear.
!In setting display, press the [M] but ton to
change the selection following the adjacent
diagram.
!When the 'ON' or 'OFF' is flashing, hold
down the [S/S] button for about 2 seconds will
turn ON ('ON' is flashing) or OFF ('OFF' is
flashing) the Ski Function.
!When Slope angle is flashing, press the [S/S]
or [L/R] button to increase / decrease the
angle. (Hold down the button change the
angle at a higher speed).
!When the 'rAtE AS' (Ascending sensitive rate)
appear, press the [S/S] or [L/R] button to
change the s etting among 'FAST' (Fast),
'SLOW' (Slow) and 'NORM' (Normal).
!When the 'rAtE DS' (Descending sensitive
rate) appear, press the [S/S] or [L/R] button to
change the s etting among 'FAST' (Fast),
'SLOW' (Slow) and 'NORM' (Normal).
!When the set is completed, hold down the [M]
button to exit the setting display.
9.5 Ski Mode - How a Ski Lap is Logged
9.6 Ski Mode - What are Slope Setting and Sensitivity Setting
9.7 Ski Mode - Slope Setting and Sensitivity Setting
AM 11:00
AM 1 :1 05
358
Tur n ON th e
ski function,
the ski
record
is created.
Auto or
manual start
the ski lap,
the ski lap
is created
Auto or
manual stop
the ski lap,
the ski lap
is saved
Tur n OFF t he
ski function,
the ski
record
is saved.
m/h
Flashing