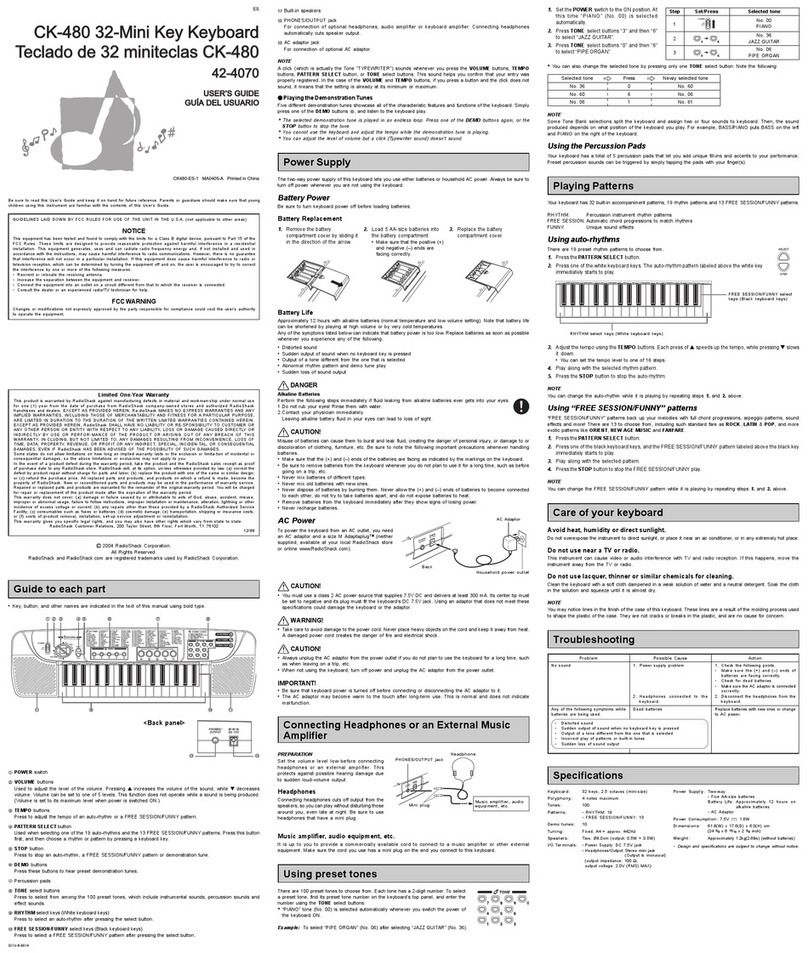
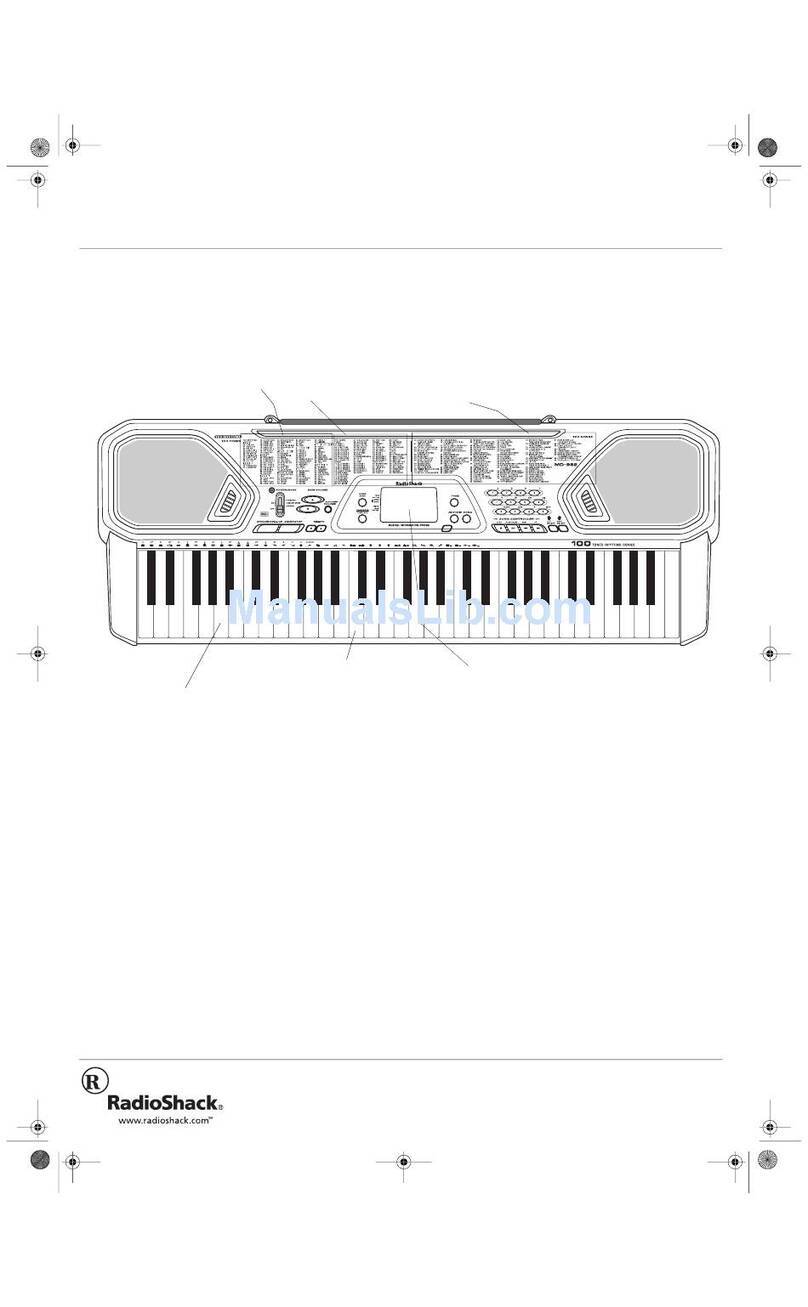
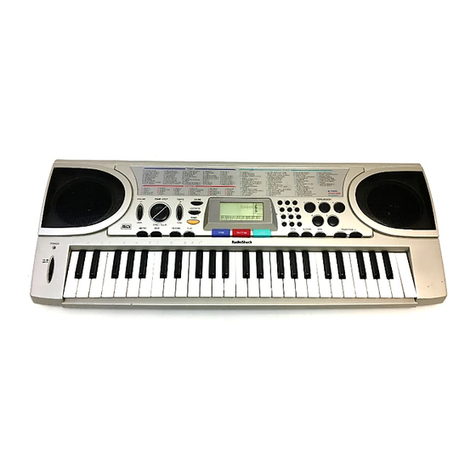
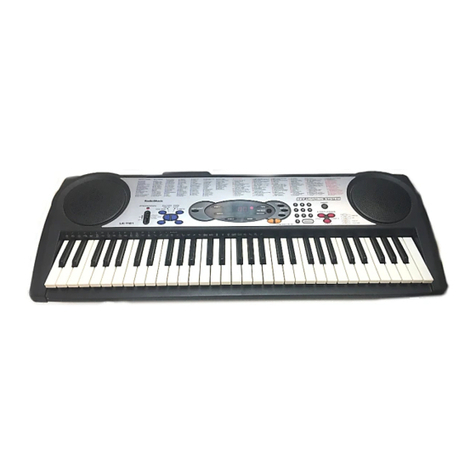
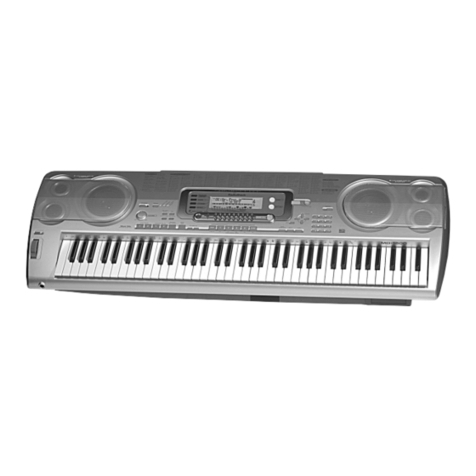
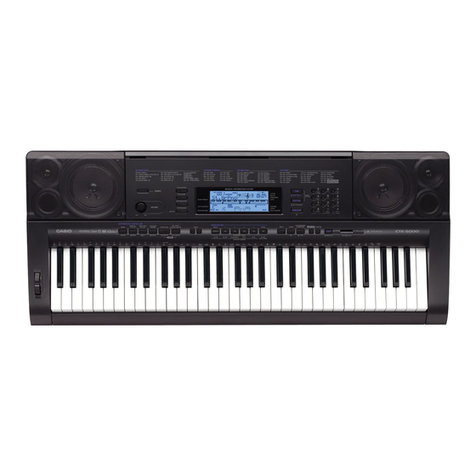
Radio Shack MD-1211 User manual

42-4058
OWNER’S MANUAL — Please read before using this equipment.
©2002 RadioShack Corporation.
All Rights Reserved.
RadioShack and RadioShack.com are trademarks
used by RadioShack Corporation.
32-Note Polyphonic Sound — lets you play
and hear up to 32 notes at the same time, so you
can play or create almost any type of music.
Large Display — shows you the notes and
chords as you play them, along with the current
tone, rhythm, and tempo. The built-in backlight
makes it easy to read, even in dim light.
61 Full-Sized Keys with Touch Response — provide the feel of a fine musical instrument.
The keyboard’s volume varies in response to the force of your touch, just like an acoustic
piano, so you can add emotion to your music.
248 Tones — uses technology usually found only on
professional equipment to allow you to set your
keyboard to sound like anything from a harpsichord to a
honky-tonk piano. 100 of these tones have
corresponding advanced tones, created by
programming in digital signal processor (DSP) effects
and other settings. You can even create up to 32 of
your own tones with the custom tone synthesizer
feature (see “Using the Tone Synthesizer” on Page 13).
100 Auto-Rhythms — provide a steady beat for
many styles of music, from rhumba to rock (see
“Using the Preset Auto-Rhythms” on Page 9).
Data Expansion System — lets you download
additional tones, up to four sets of accompaniment
data, DSP settings, and registration from your PC
and store them in your keyboard’s memory (see
“Using the Data Download Service” on Page 21).
Auto Accompaniment — lets you automatically play a
preset harmonic pattern to match the selected auto-
rhythm (see “Using Auto Accompaniment” on Page 10).
Mixer Function — lets you make the
keyboard sound multiple tones for auto
accompaniment or memory playback, or to
play MIDI data received from another MIDI
device (see “Using the Mixer” on Page 12).
This Owner’s Manual explains how to use this electronic keyboard. It does not teach music.
The keyboard conforms to most, but not all, General MIDI specifications. Because of this, you might
experience some incompatibility when using the keyboard with another General MIDI device. For
more information, see “Using MIDI” on Page 19. Your keyboard also includes a MIDI (Musical
Instrument Digital Interface) feature, which lets you connect it to other MIDI-equipped musical
instruments or devices — even your personal computer.
%106'065
The FCC Wants You to Know ..................... 2
Connecting Power ....................................... 2
Installing Batteries ................................... 2
Using AC Power ...................................... 2
Connecting Headphones ............................ 3
Listening Safely ....................................... 3
Connecting an External Amplifier ................ 3
Using the Sheet Music Stand ...................... 3
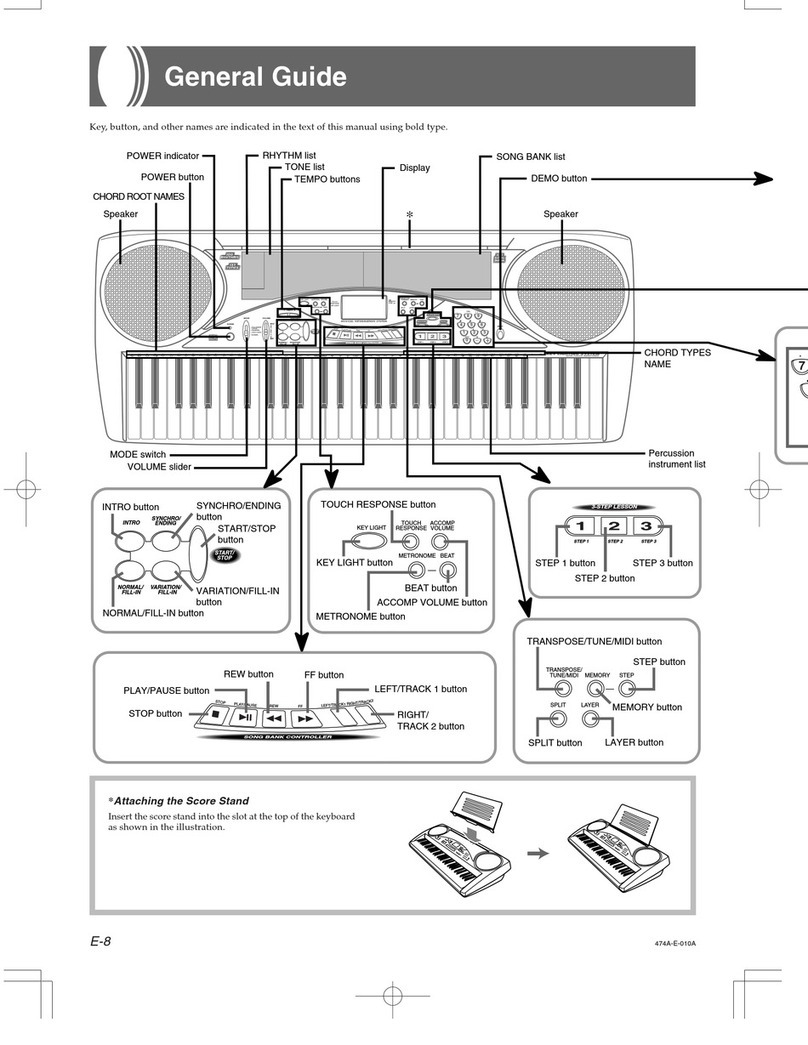
A Quick Look at Your Keyboard .................. 3
Basic Operation .......................................... 5
Playing the Demonstration Tunes ............ 5
Using the Preset Tones ............................ 5
Using an Advanced Tone ......................... 6
Using Reverb and Chorus ........................... 6
Selecting Reverb/Chorus ......................... 6
Changing the Reverb or
Chorus Parameters .................................. 6
DSP (Digital Signal Processor) ................... 7
Selecting a DSP Type .............................. 7
Setting Basic DSP Parameters ................ 7
Changing DSP Parameters ..................... 7
Saving DSP Parameter Settings .............. 7
Using the Equalizers ................................... 7
Selecting the Equalizer Type ................... 7
Adjusting the Gain ................................... 8
Using SPLIT ................................................ 8
Using LAYER .............................................. 8
Using SPLIT and LAYER Together ............. 8
Using the Preset Auto-Rhythms .................. 9
Selecting/Playing an Auto-Rhythm ........... 9
Using SYNCHRO ..................................... 9
Using INTRO ............................................ 9
Using FILL-IN ........................................... 9
Using FILL-IN NEXT ............................... 10
Using ENDING ....................................... 10
Using Auto Accompaniment ...................... 10
Adjusting the Accompaniment Volume ... 10
Concert Chord ........................................ 10
Standard Fingering ................................. 11
Full-Range Chords ................................. 11
Using Auto Harmonize ........................... 12
Using One-Touch Preset ........................ 12
Using the Mixer .......................................... 12
Using the Tone Synthesizer ....................... 13
Using the Registration Memory ................. 14
Storing a Setup ....................................... 14
Recalling a Setup ................................... 14
Special Features ........................................ 14
Changing Keys ....................................... 14
Tuning the Keyboard .............................. 14
Using Touch Response .......................... 15
Using a Sustain Pedal ............................ 15
Adjusting the Display Contrast ............... 15
Resetting the Keyboard .......................... 15
Using the Song Memory ............................ 16
Real-Time Recording .............................. 16
Playing Back from Song Memory ........... 17
Step Recording ....................................... 17
Recording Multiple Tracks ...................... 18
Editing Memory Contents ....................... 18
Editing a Song ........................................ 18
Using MIDI ............................................. 19
About MIDI ............................................. 19
Making the MIDI Connections ................ 20
MIDI Data ............................................... 20
Changing MIDI Settings ......................... 20
Notes About the
MIDI Implementation Chart .................... 20
Using the Data Download Service ......... 21
Troubleshooting ......................................... 22
Care .......................................................... 22
Service and Repair .................................... 22
Tone List .................................................... 23
Panel Tones ........................................... 23
Advanced Tones .................................... 25
GM Tones ............................................... 27
Drum Sounds ......................................... 29
User Tones ............................................. 29
Drum Assignment List ............................ 30
Fingered Chord Chart ............................ 31
Effect List ................................................... 32
Reverb ................................................... 32
Chorus ................................................... 32
DSP ........................................................ 32
DSP Algorithm List ................................. 34
MIDI Implementation Chart ....................... 41
Specifications ............................................ 42
/&/3433"/+&+"-G[DQCTF
42-4058.fm Page 1 Wednesday, May 8, 2002 12:00 PM
The FCC Wants You to Know
2
6*'"(%%"9#065";17"61"-019
This equipment has been tested and found
to comply with the limits for a Class B digital
device, pursuant to Part 15 of the
FCC
Rules
. These limits are designed to provide
reasonable protection against harmful
interference in a residential installation. This
equipment generates, uses and can radiate
radio frequency energy and, if not installed
and used in accordance with the
instructions, may cause harmful interference
to radio communications.
However, there is no guarantee that
interference will not occur in a particular
installation. If this equipment does cause
harmful interference to radio or television
reception, which can be determined by
turning the equipment off and on, the user is
encouraged to try to correct the interference
by one or more of the following measures:
• Reorient or relocate the receiving
antenna.
• Increase the separation between the
equipment and receiver.
• Connect the equipment into an outlet on
a circuit different from that to which the
receiver is connected.
• Consult your local RadioShack store or
an experienced radio/TV technician for
help.
• If you cannot eliminate the interference,
the FCC requires that you stop using
your keyboard.
Changes or modifications not expressly
approved by RadioShack may cause
interference and void the user’s authority to
operate the equipment.
You must use shielded interface cables with
this equipment.
%100'%6+0)"219'4
You can power your keyboard using internal
batteries or with standard AC power using
an optional AC adapter.
The keyboard retains the following settings
in its memory even when the power is turned
off as long as power is supplied to it (either
by the batteries or AC adapter):
• tone number
• layer and split
• split point
• touch response
• reverb/chorus
•DSP
• equalizer
• rhythm number
• tempo
•mixermode
• MIDI keyboard channel
• MIDI in chord judge
• MIDI accompaniment out
• assignable jack
• accompaniment volume
• user area tone (synthesizer tone)
• user area accompaniment
• user area DSP
• song memory
• registration mode
If the keyboard loses power (by
disconnecting the AC adapter when
batteries are not installed or the batteries
lose power), these settings are lost or
initialized to factory settings.
You can also delete or initialize some
settings independently. See “Resetting the
Keyboard” on Page 15.
+056#..+0)"$#66'4+'5
Your keyboard can use 6 D batteries (not
supplied) for power. For the best per-
formance and longest life, we recommend
RadioShack alkaline batteries. .
..
.
1. While pressing the tabs on the battery
compartmentcover onthe bottom of the
keyboard, pull up the cover to remove it.
2. Place the batteries in the compartment
as indicated by the polarity symbols (+
and –) marked next to the compartment.
3. Replace the cover.
When the keyboard stops operating
properly, replace the batteries. .#
.#.#
.#Rý
75+0)"#%"219'4
You can power the keyboard using a 9V,
800 mA AC adapter and a size M
Adaptaplug™ adapter (neither supplied).
Both are available at your local RadioShack
store. Connecting an AC adapter
automatically disconnects any internal
batteries. .
..
.
1. Set the AC adapter’s voltage switch to
9V.
2. Insert the Adaptaplug adapter into the
adapter’s cord so it reads – TIP.
3. Connect the AC adapter’s barrel plug to
DC 9V on the back of the keyboard.
4. Plug the AC adapter’s other end into a
standard AC outlet.
#"+/2146#06"#
If an icon appears at the end of a paragraph,
go to the box on that page with the
corresponding icon for pertinent information.
Rý— Warning #— Important
.
..
.— Caution °
°°
°— Hint
±— Note
R"9#40+0)ýR"
Dispose of old batteries promptly and properly.
Do not burn or bury them.
."%#76+10".
Installing Batteries
• Use only fresh batteries of the required size
and recommended type.
• Do not mix old and new batteries, different
types of batteries (standard, alkaline, or
rechargeable), or rechargeable batteries of
different capacities.
• If you do not plan to use the keyboard with
batteries for a week or more, remove the
batteries. Batteries can leak chemicals that
can destroy electronic parts.
Using AC Power
You must use a Class 2 power
source that supplies 9V DC and
delivers at least 800 mA. Its
center tip must be set to negative and its
plug must fit the keyboard's DC 9V jack.
Using an adapter that does not meet these
specifications could damage the keyboard
or the adapter.
• Always connect the AC adapter to the
keyboard before you connect it to AC
power. When you finish, disconnect the
adapter from AC power before you
disconnect it from the keyboard.
!
The FCC Wants You to Know
42-4058.fm Page 2 Wednesday, May 8, 2002 12:00 PM

Connecting HeadphonesConnecting Headphones
3
%100'%6+0)"*'#&2*10'5
To listen to your keyboard without disturbing
others, you can connect an optional pair of
stereo headphones with a 1/4-inch (6.35 mm)
plug. Your local RadioShack store sells a
wide selection of headphones. Insert the
headphones’ plug into PHONES/OUTPUT on
the back of the keyboard. Connecting
headphones disconnects the keyboard’s
built-in speakers.
.+56'0+0)"5#('.;
To protect your hearing, follow these
guidelines when you use headphones.
• Set the volume to the lowest setting
before you begin listening. After you
begin listening, adjust the volume to a
comfortable level.
• Do not listen at extremely high volume
levels. Extended high-volume listening
can lead to permanent hearing loss.
• Once you set the volume, do not
increase it. Over time, your ears adapt
to the volume level, so a volume level
that does not cause discomfort might
still damage your hearing.
%100'%6+0)"#0"':6'40#."#/2.+(+'4
To amplify your keyboard’s sound, you can
connect it to an optional external amplifier
using an audio cable with a 1/4-inch (6.35
mm) plug (not supplied). To connect an
external amplifier to your keyboard, insert
the cable’s plug into PHONES/OUTPUT on
the back of the keyboard, then connect the
other end of the cable to theamplifier’s input
jack(s) (such as AUX IN or TAPE IN). Your
local RadioShack store sells a full line of
amplifiers, speakers, and cables.
75+0)"6*'"5*''6"/75+%"56#0&
To easily view sheet music while playing
your keyboard, insert the supplied sheet music stand into the slot on the top back
panel.
#"37+%-".11-"#6";174"-';$1#4&
Preset 4-Band Equalizers —
lets you easily set the tone to
your favorite sound mix
(Standard, Jazz, Rock,
Dance, Classic, Mellow,
Bright, and so on). You can
even tailor the response of
each frequency band (see
“Using the Equalizers” on
Page 7).
Registration Memory — lets
you store up to 32 different
setups of the keyboard’s
controls, so you can instantly
recall them when you need
them (see “Using the
Registration Memory” on
Page 14).
42-4058.fm Page 3 Wednesday, May 8, 2002 12:00 PM
Other Radio Shack Electronic Keyboard manuals

Radio Shack
Radio Shack MD-981 User manual

Radio Shack
Radio Shack 42-4058 User manual

Radio Shack
Radio Shack LK-1261 User manual

Radio Shack
Radio Shack MD-1700 User manual

Radio Shack
Radio Shack MD-982 User manual

Radio Shack
Radio Shack MD-1600 User manual

Radio Shack
Radio Shack MIDI Keyboard User manual

Radio Shack
Radio Shack LK-1500 User manual

Radio Shack
Radio Shack 735A-E-002A User manual

Radio Shack
Radio Shack CK-480 User manual