programmed CD play
You can programme your CD player to play the tracks of
a CD in a specified order.
Press the Stop/Band button. You can
not programme the CD player while a
CD is playing.
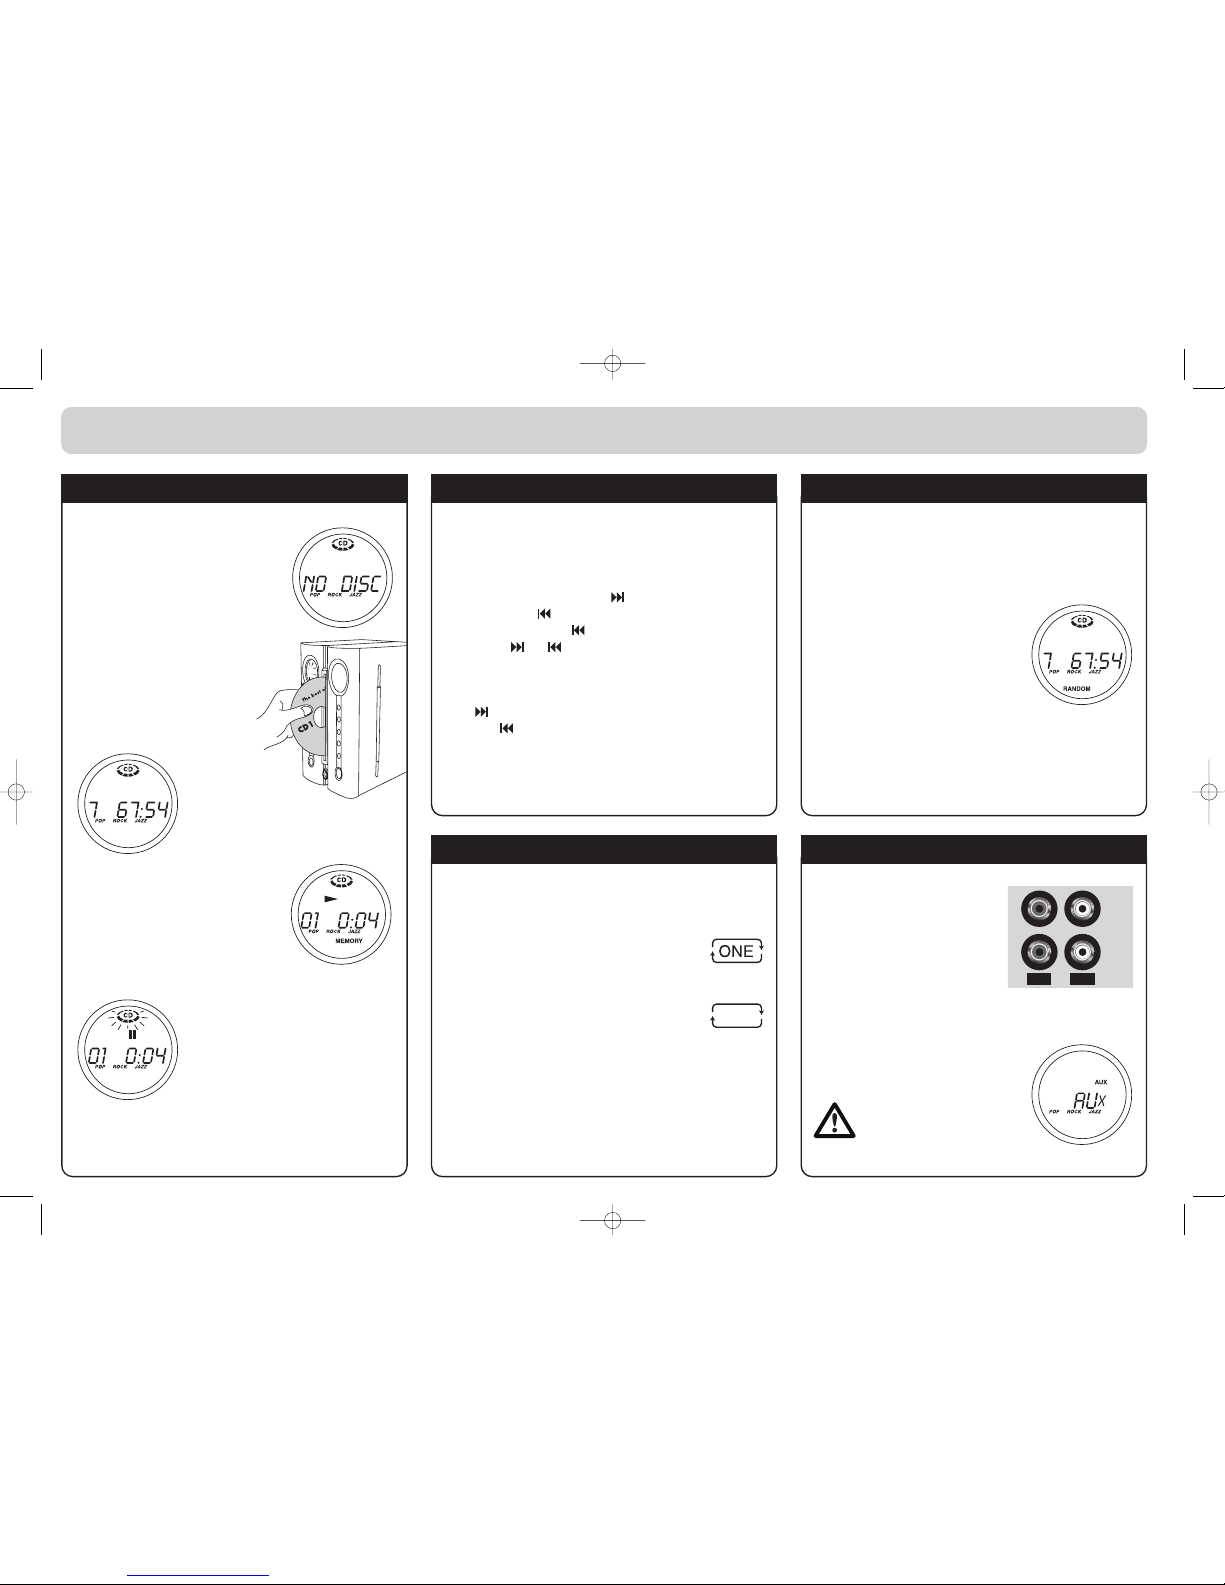
Press the Memory/Clock button. The
display shows P-01.
Press the Skip/Search/Preset
buttons to select the first track you want
to programme. In this example, track 4
has been selected.
Press the Memory/Clock button to
confirm your selection.
This time the display shows P-02.
Continue choosing tracks until your
selection is complete.
To start playing your programmed
selection press the
Play/Pause/Band button. You can
pause and resume play as normal during programmed
play.
You can add tracks to your selection during programmed
play. Press the Stop/Band button and follow the
directions above to programme additional tracks.
To delete the whole programme from memory, press the
Stop/Band button until the word
MEMORY disappears from the display.
Selecting another FUNCTION will also
delete the programme.
adjusting sound balance
Your CD Micro System has a built-in equaliser which
allows you to choose different sound balances.
Press the EQ button. POP is highlighted
in the display. The sound balance is
now suitable for pop music.
Press the EQ button again. ROCK is
highlighted in the display. The sound
balance is now suitable for rock music.
Press the EQ button for a third time.
JAZZ is highlighted in the display. The
sound balance is now suitable for jazz
music.
To turn off all equaliser settings, press
the EQ button again.
Your CD Micro System also has an X-BASS feature which
boosts the bass component of the sound. You can choose
from 3 different levels of boosted bass sound.
Press the X-Bass button twice. The
display shows X-BASS 1, the first level.
You can select different levels of
X–BASS by pressing the X-Bass
button the appropriate number of
times.
To turn off X-BASS press the X-Bass
button until the display reads
X–BASS 0.
You can use the X-BASS at the same
time as the equaliser settings.
using your CD micro system
the sleep setting
Your CD Micro System can be set to
turn off after a set time. You can use this
function to go to sleep while listening to
music.
Press and release the SLEEP button. The
display will show 90 for a a short while
which means that the power will turn off
after 90 minutes.
To select a shorter period press and
hold the SLEEP button. You will see that
the number of minutes reduces in the
dislpay. When it reaches your chosen
time, release the SLEEP button.
To cancel the sleep timer press the
SLEEP button again.
operating the timer
Your CD Micro System can be set to turn on at a chosen
time and play for a set period.
If, while you are setting the timer, no button has
been pushed for 10 seconds then it will reset and
you will have to start again.
In stand-by mode, press the Timer button then press the
Memory/Clock button. The hours will flash in the display.
Press the Skip/Search/Preset buttons to select the hour.
Press the Memory/Clock button again. The minutes will
flash in the display. Press the Skip/Search/Preset
buttons to select the minute.
Press the Memory/Clock button again. Press the
Skip/Search/Preset buttons to set the length of time you
want the system to stay on, from 5 minutes to 240 minutes.
Press the Memory/Clock button to confirm your settings.
A clock symbol shows in the display when the Timer is on.
Press the Power button and then the Timer button to
turn the Timer on or off.