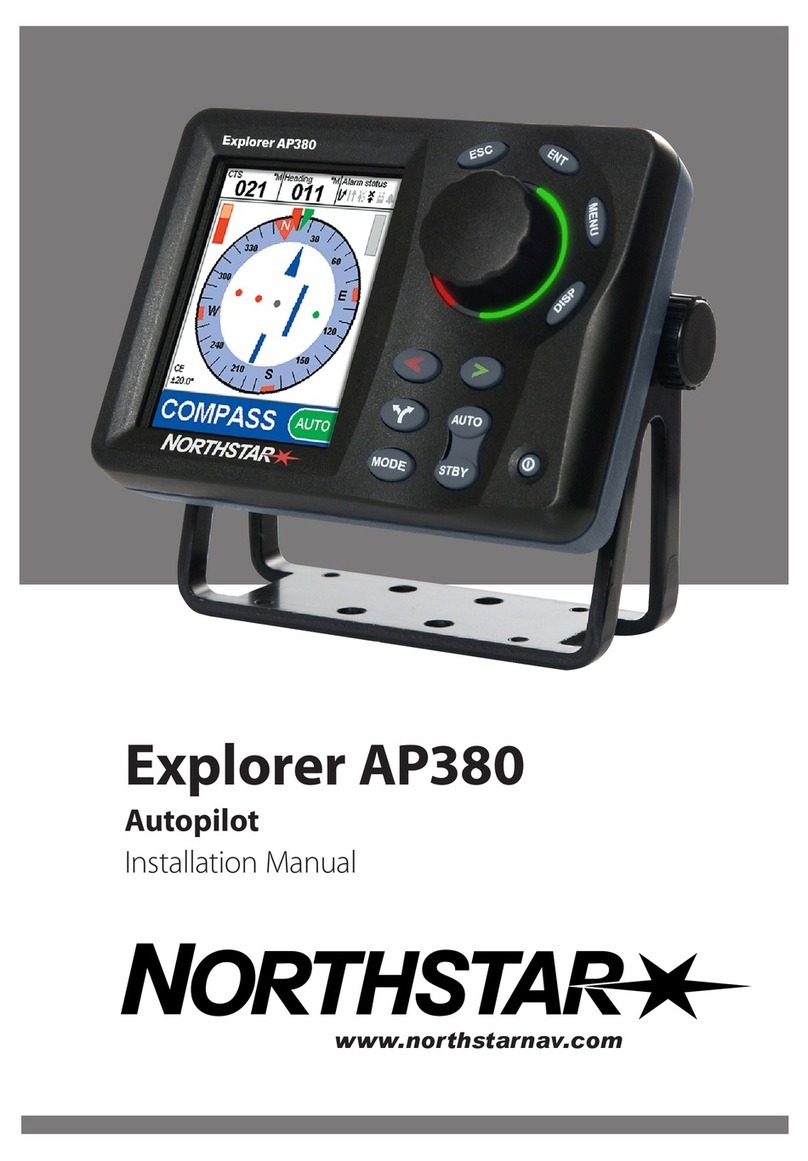
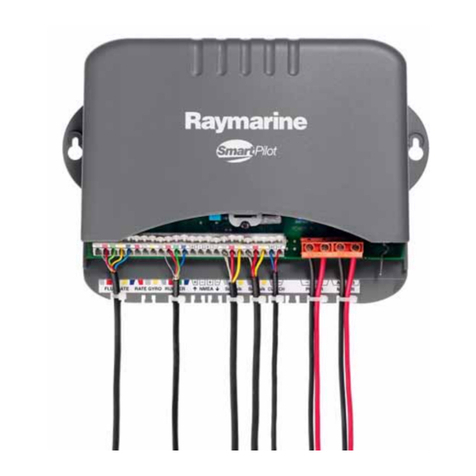
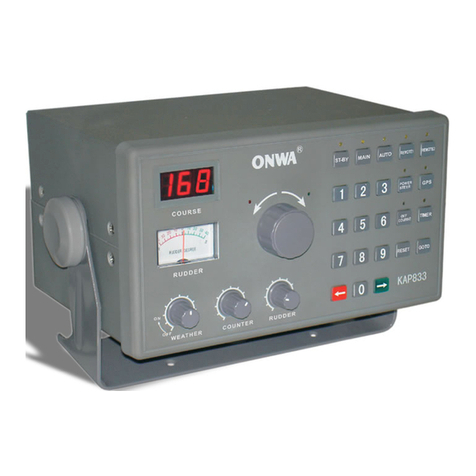
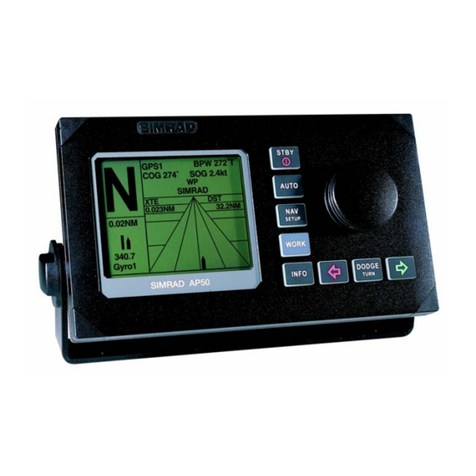
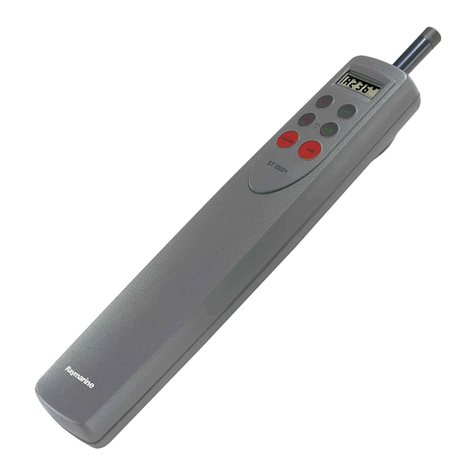
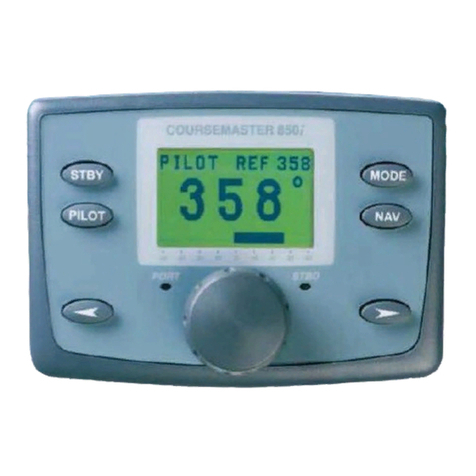
Raytheon Electronics ST4000 Plus User guide

ST4000 Plus
Wheel&Tiller
Autopilots
Owner’s
Handbook
Documentnumber:81131_4
Date:18thApril1999

2 Titleofhandbook

Preface i
Boat's Electrical
Distribution Panel
Rudder Reference Unit
(optional fit for wheel pilot only)
ST4000 Plus
Control Head
Fluxgate Compass SeaTalk Instruments
Tiller Pilot Actuator
Wheel Pilot Actuator
D3456-1

ii ST4000PlusWheel&TillerAutopilotsOwner’sHandbook
RaytheonElectronics,aspartofitscommitmenttocontinuousimprovementandupdating,
reservetherighttomakechanges,withoutpriornotice,totheequipment,equipment
specifications,andtheinstructionscontainedwithinthishandbook.
Tothebestofourknowledge,theinformationcontainedwithinthishandbookwascorrect
asitwenttopress.
Agreat dealofcarehas beentakentoensure thatthishandbookisasaccurateas possible.
However,liabilitycannotbeacceptedforinaccuraciesoromissions.
AutohelmandSeaTalkareregisteredtrademarksofRaytheonElectronicsofRaytheon
Electronics
WindTrim,AutoTack,AutoTrim,AutoSeastate,AutoAdaptandAutoDocksideare
trademarks
Copyright©RaytheonElectronics1996

Preface iii
Preface
Thishandbookcontainsinformationontheoperationandinstallation
ofyournewequipment.Inordertoobtainthebestperformancefrom
yourautopilot,pleasereadthishandbookthoroughly.
How this handbook is organised
Thishandbookisdividedintothefollowingchapters:
Chapter1:Introducestheautopilot,itsfeatures anditsuse.
Chapter2:Covers basic autopilotoperation.
Chapter3:Explainshowto useTrackand Vane(WindTrim)modes
andadjustautopilotperformance,andsummarises theST4000Plus
alarms.
Chapter4:ExplainshowtousetheCodeLocksecurityfeature.
Chapter5:Providesdetailsonhowtomakeadjustmentstocustomise
theautopilottoyourparticularvessel.
Chapter6:Explainshowtoinstallyourautopilotanditscomponents.
Chapter7:Coversfunctionaltestinganddocksideproceduresafter
installation,andintialseatrials.
Chapter8:Providesgeneralmaintenanceprocedures.
Chapter9:Providesinformationtohelpyouresolveanyproblemsyou
mayencounterwithyourautopilot.
Anindexisincludedattheendofthishandbook,followedbytemplates
forthe installationofthe controlhead,SeaTalk deckconnectorand
rudderreferencetransducer.
Warranty
Toverifytheownershipofyournewautopilot,pleasetakeafew
minutestocompletethewarrantycard.Itisimportantthatyou
completetheownerinformationandreturnthecardtothefactoryto
receivefullwarrantybenefits.

iv ST4000PlusWheel&TillerAutopilotsOwner’sHandbook
Safety information
Passagemakingunderautopilotcontrolisanenjoyableexperiencethat
can,ifyouarenotcareful,leadtotherelaxationofthe permanent
watch.ApermanentwatchMUSTbemaintainednomatterhowclear
theseamay appeartobe.
Remember,alargeshipcantraveltwomilesinfiveminutes–justthe
timeittakestomakeacupofcoffee.
Thefollowingrulesshouldalwaysbeobserved:
• Maintainapermanentwatchandregularlycheckallaroundforother
vesselsandobstaclesto navigation–nomatterhowclearthesea
mayappearadangeroussituationcandeveloprapidly.
• Maintainanaccuraterecordofthevessel’spositioneitherbyuseof
aradionavigationreceiverorvisualbearings.
• Maintainacontinuousplot ofpositiononacurrentchart.Ensurethe
lockedautopilotheadingsteersyouclearofallobstacles.Make
properallowance for TidalSet–the autopilotcannot!
• EvenwhenyourautopilotislockedontothedesiredTrackusinga
radionavigationreceiver,alwaysmaintainalogandmakeregular
positionalplots.Radionavigationsignalscanproducesignificant
errorsundersomecircumstancesandtheautopilotcannotdetectthis
situation.
• Makesurethatallmembersofcrewarefamiliarwiththeprocedures
todisengagetheautopilot.
YourRaytheonautopilotwilladdanewdimensiontoyourboating
enjoyment.However,itistheresponsibilityoftheskippertoensurethe
safetyofthevesselatalltimesbycarefulobservanceofthesebasic
rules.
EMC Conformance
AllRaytheonequipmentandaccessoriesaredesignedtothebest
industrystandardsforuseintheleisuremarineenvironment.
Theirdesignandmanufactureconformstotheappropriate
ElectromagneticCompatibility(EMC)standards,butcorrect
installationisrequiredtoensurethatperformanceisnotcompromised.

Preface v
Contents
Preface................................................................................... iii
How this handbook is organised ......................................iii
Warranty...........................................................................iii
Safety information............................................................ iv
EMC Conformance .......................................................... iv
Chapter 1: Introduction......................................................... 1
1.1 Overview ..................................................................... 1
1.2 Extended systems ........................................................ 2
1.3 Specification ............................................................... 2
Chapter 2:Basic Operation ...................................................3
2.1 Key functions .............................................................. 3
2.2 Display layout ............................................................. 4
2.3 Using Auto mode ........................................................5
Engaging the autopilot (Auto) ..................................... 5
Disengaging the autopilot (Standby) to return to hand
steering ........................................................................ 6
Changing course in Auto mode ................................... 6
Dodging obstacles in Auto mode ................................7
Returning to the previous locked heading ................... 7
Automatic tack (AutoTack) ......................................... 8
AutoTack to starboard ........................................... 8
AutoTack to port .................................................... 9
Off course alarm ..........................................................9
Operating hints .......................................................... 10
Making major course changes ............................. 10
Course changes under autopilot control .............. 10
Gusty conditions .................................................. 11

vi ST4000PlusWheel&TillerAutopilotsOwner’sHandbook
2.4 Display and keypad illumination .............................. 11
2.5 Data pages................................................................. 12
Chapter 3:Advanced Operation......................................... 15
3.1 Operation in track mode............................................ 15
Initiating track mode ................................................. 15
Automatic acquisition .......................................... 16
Manual acquisition .............................................. 17
Cross track error ........................................................ 18
Tidal stream compensation........................................ 18
Waypoint arrival and advance ................................... 19
Arrival.................................................................. 19
Skipping a waypoint – SeaTalk navigators only ..20
Advance ............................................................... 20
Dodges....................................................................... 20
Initiating a dodge manoeuvre .............................. 20
Cancelling a dodge manoeuvre............................ 20
Safety......................................................................... 21
Position confirmation at the start of a passage .... 21
Verifying computed positions .............................. 21
Plot frequency...................................................... 21
Setting waypoints................................................. 21
General ................................................................ 21
3.2 Operation in Vane mode (WindTrim) ....................... 21
Selecting Vane mode ................................................. 22
Adjusting the locked wind angle ............................... 22
Returning to the previous apparent wind angle ......... 23
Dodges....................................................................... 23
Wind shift alarm ........................................................ 24
Using AutoTack in Vane mode.................................. 24
Operating hints .......................................................... 25
Preface vii
3.3 Adjusting autopilot performance .............................. 26
Changing the response level (AutoSeastate) ............. 26
Changing the rudder gain .......................................... 27
3.4 Alarms....................................................................... 27
Chapter 4: CodeLock ............................................................31
4.1 CodeLock modes ......................................................31
4.2 Setting up CodeLock................................................. 31
Initial setup ................................................................ 31
Changing the code or master unit ..............................33
4.3 Entering your code (Manual mode only) .................. 33
4.4 Code number problems ............................................. 34
Chapter 5: Customising the ST4000 Plus ...........................35
5.1 User Setup................................................................. 35
Compass deviation correction ................................... 37
Deviation display....................................................... 37
Heading alignment .................................................... 37
Heading mode ........................................................... 37
Bar selection .............................................................. 37
Dockside rudder cal................................................... 38
Data pages ................................................................. 38
5.2 Dealer Setup.............................................................. 40
Calibration lock ......................................................... 42
Pilot type ................................................................... 42
Rudder gain ............................................................... 43
Response ................................................................... 43
Turn limit ................................................................... 43
Align rudder (Rudder Offset) .................................... 43
Off course alarm ........................................................43
AutoTack angle ......................................................... 44

viii ST4000PlusWheel&TillerAutopilotsOwner’sHandbook
Autotrim .................................................................... 44
Drive type .................................................................. 45
Variation .................................................................... 45
AutoAdapt ................................................................. 45
Latitude ..................................................................... 46
Rudder damping ........................................................ 46
Cruise speed .............................................................. 46
Chapter 6: Installation ........................................................47
6.1 Planning the installation............................................ 47
EMC installation guidelines ...................................... 47
Suppression ferrites ............................................. 48
Connections to other equipment .......................... 48
Cabling ...................................................................... 48
6.2 Control head.............................................................. 49
Siting ......................................................................... 49
Mounting procedure .................................................. 49
Cable connectors ....................................................... 50
Power supply connection........................................... 51
Connections to SeaTalk ............................................. 52
SeaTalk cables ..................................................... 52
Typical SeaTalk cabling...................................... 52
Cable types .......................................................... 53
6.3 Fluxgate compass...................................................... 53
Mounting location ..................................................... 53
Mounting location for steel-hulled vessels................ 54
Cabling ...................................................................... 55
6.4 Rudder reference transducer .....................................56
Mounting position ..................................................... 56
Control dimensions.................................................... 57

Preface ix
Installing the rudder reference transducer ................. 57
Cabling................................................................. 58
6.5 Wheel drive actuator .................................................58
General information .................................................. 58
Clamp selection ......................................................... 59
Fitting to metal wheels .............................................. 60
Fitting to wooden wheels........................................... 61
Fitting the pedestal bracket ....................................... 61
Slot 1 fitting ......................................................... 62
Slot 2 fitting ......................................................... 63
Bulkhead bracket fitting ............................................ 64
Cabling ...................................................................... 65
6.6 Tiller actuator installation ......................................... 67
Basic installation ....................................................... 68
Tiller pin installation (Part No. D001)................. 68
Mounting socket installation (Part No. D002)..... 69
Installation accessories .............................................. 69
Pushrod extensions .............................................. 69
Tiller brackets ...................................................... 70
Cantilever mounting .................................................. 72
Pedestal socket mounting .......................................... 74
Installation ........................................................... 74
Tiller pins............................................................. 75
Cabling and socket installation.................................. 75
Cabling................................................................. 75
Socket installation................................................ 76
6.7 NMEA interface........................................................ 77
Cabling ...................................................................... 77
NMEA data transmission to other equipment ........... 78
Data Formats........................................................ 78
Transmission of NMEA data on SeaTalk ............79

x ST4000PlusWheel&TillerAutopilotsOwner’sHandbook
Chapter 7: Post Installation Procedures ...........................81
7.1 Functional test ........................................................... 81
Switch on ................................................................... 81
Operating sense ......................................................... 82
Navigation interface (GPS, Decca, Loran)................ 83
Wind transducer interface ......................................... 83
SeaTalk interface ....................................................... 84
7.2 Dockside procedures................................................. 85
Dockside rudder calibration procedure ..................... 85
Rudder offset adjustment........................................... 87
7.3 Initial sea trial ........................................................... 87
EMC conformance .................................................... 87
Overview ................................................................... 88
Automatic compass deviation correction .................. 88
Further heading alignment adjustment ...................... 92
Checking autopilot operation .................................... 92
Checking the rudder gain .......................................... 93
Chapter 8: Maintenance ......................................................95
General............................................................................ 95
Servicing and safety ........................................................ 95
Advice ............................................................................. 95
Chapter 9: Fault Finding......................................................97
Index ......................................................................................99

Chapter1:Introduction 1
Chapter1:Introduction
1.1 Overview
The ST4000 Plus is a SeaTalk®compatible autopilot available for tiller
or wheel drive steering systems, which can also repeat instrument data
in a programmable selection of Data Pages.
The ST4000 Plus can share all data transmitted from other Raytheon
SeaTalk instruments:
Wind information from a wind instrument can be used for wind trim
(Vane) steering without the need to install a separate vane.
Track information, from a navigation instrument, provides waypoint
control from the autopilot.
Boat speed from the Speed instrument provides optimum track-
keeping performance.
The ST4000 Plus autopilot can also be used with any navigator (GPS,
Decca, Loran) transmitting NMEA 0183 data.
There are four operating modes:
Standby: Autopilot off
Auto: Autopilot engaged and locked onto a heading
Track: Autopilot maintains a track between two waypoints created
using a navigation system
Vane: Autopilot maintains a course relative to an apparent wind
angle
When the ST4000 Plus is being used to repeat instrument data, pop-up
pilot pages are displayed for 5 seconds whenever a change in autopilot
control is made.
The ST4000 Plus also provides the following:
Automatic tack facility, which can be used in Auto and Vane modes
Automatic compass deviation correction
Northerly/Southerly heading compensation
Automatic heading deadband seastate control
Waypoint advance feature
Setup and calibration options to suit each installation, giving
maximum performance with many types of boat, with three
calibration menus (user, intermediate and dealer)

2 ST4000PlusWheel&TillerAutopilotsOwner’sHandbook
Dockside rudder calibration feature, which automatically
determines the characteristics of your installation, and adjusts for
them, before you set sail
Raytheon CodeLock security support
1.2 Extended systems
The ST4000 Plus is compatible with other Raytheon SeaTalk
instruments. Additional fixed and hand-held SeaTalk autopilot control
units can be connected at secondary steering and control positions.
A rudder reference unit can be fitted as an optional extra, and will
improve the wheel pilots performance. It is especially recommended if
there is significant backlash in the steering system, or optimum
performance is required from a mechanical or cable steering system.
Note: You MUST fit a rudder reference if the ST4000 Plus is installed
on a hydraulic steering system.
1.3 Specification
Power Supply: 10 to 15V dc
Drive mechanism: Wheel or Tiller, low current FET drive
Current consumption:
Standby: 60mA (less than 200mA with full lighting)
Auto: between 0.5A and 1.5A depending on drive type, boat trim,
helm load and sailing conditions
Operating temperature: 0°C to +70°C (32°F to 158°F)
Eight button illuminated digital keypad
LCD display of heading, locked course and navigational data, with
three levels of illumination
Input connections for SeaTalk, power, fluxgate compass, rudder
reference unit and NMEA
Output connections for SeaTalk and motor drive

Chapter2:BasicOperation 3
Chapter2:BasicOperation
This chapter first provides summary diagrams of the key functions and
screen layout. It then gives operating instructions for engaging the
autopilot and using Auto mode, changing the lighting, and displaying
Data Pages.
2.1 Key functions
The autopilot is controlled using simple push-button operations, all of
which are confirmed with a beep. In addition to the main single key
functions, there are several dual key functions.
TRACK
Press for Track
mode from Auto
AUTO
Press for Auto mode
DISP
Press for
Data Page
STANDBY
Press for Standby
mode
Course Change Keys
Port 1˚ Starboard 1˚
Port 10˚ Starboard 10˚
STANDBY plus AUTO
Press for Vane mode
-1 plus +1
Press for Response level
+1 plus +10
Press together
for AutoTack
to starboard
-1 plus -10
Press together
for AutoTack
to port
Press to accept
waypoint advance
Press for 1 second
to skip waypoint
Press for 1 second
for Last Heading
Press again to
accept Last Heading
Press for 1 second
for lamp control
Press and hold for
Setup modes
D3447-1
Press for 1 second
for Rudder Gain
Press for 1 second for Last Wind
Press again to accept Last Wind
The autopilot always powers up in Standby mode. (If the text CODE
LOCKis displayed, enter your code as described in Chapter 4.)
Course changes can be made at any time using the –1,+1,–10and
+10keys.
You can return to manual steering at any time by pressing standby
and disengaging the autopilot.

4 ST4000PlusWheel&TillerAutopilotsOwner’sHandbook
2.2 Display layout
The following illustration shows all the elements, together with a brief
description, that make up the ST4000 Plus autopilot LCD display.
Rudder or Steer Direction Indicator
The bar graph at the bottom of the display is normally a rudder bar.
If it has been set as a direction-to-steer indicator, the display depends
on the current mode, as follows:
Mode Bar
Standby Notused
Auto Headingerrorbar
Track Cross track error (XTE) bar, in 0.02 nm increments
Vane Windangleerrorbar
If neither distance units (nmor SM) is displayed, the distance is in
Km.

Chapter2:BasicOperation 5
2.3 UsingAuto mode
Engagingthe autopilot (Auto)
1. Steady the vessel on the required heading.
2. Engage the clutch lever (Wheel Pilot) or place the actuator over the
tiller pin (Tiller Pilot).
Extending and Retracting the
Tiller Pushrod
Use any of these
keys to extend or
retract the pushrod
Engaging the clutch
on the Wheel Pilot
1
2
D3395-1
3. Press auto.
D3560-1
In Auto mode, the display shows the locked autopilot heading.

6 ST4000PlusWheel&TillerAutopilotsOwner’sHandbook
CAUTION:
Passage making under autopilot control is an enjoyable experience
that can, if you are not careful, lead to the relaxation of the
permanent watch. A permanent watch MUST be maintained no
matter how clear the sea may appear to be.
Remember, a large ship can travel two miles in five minutes just
the time it takes to make a cup of coffee.
Disengagingtheautopilot(Standby) to returnto
handsteering
1. Press standby.
D3561-1
In Standby mode, the display shows the vessels current
compass heading.
2. Disengage the clutch lever (Wheel Pilot) or remove the actuator
from the tiller (Tiller Pilot) to return to hand steering.
• Theprevious autopilot heading ismemorisedand can be
recalled(see Returning to previouslocked heading).
ChangingcourseinAuto mode
The +1and +10(starboard) and –1and –10(port) keys are used to
change the locked heading, in increments of 1° and 10°, when the
autopilot has control.
Example: a 30° course change to port = press –10three times.

Chapter2:BasicOperation 7
DodgingobstaclesinAutomode
In order to avoid an obstacle when your vessel is under autopilot
control, select a course change in the appropriate direction (for
example, port 30° = press –10three times).
When safely clear of the obstacle, you can reverse the previous
course change (for example, press +10three times), or return to the
previous locked heading (LASTHDG).
Returningtothepreviouslockedheading
(LASTHDG)
If for any reason the vessel is steered away from the selected locked
heading (for example, executing a dodge manoeuvre or selecting
Standby) you can return to the previous locked heading:
1. Press autofor 1 second. The previous locked heading (LASTHDG)
is displayed for 7 seconds.

8 ST4000PlusWheel&TillerAutopilotsOwner’sHandbook
1
D3562-1
Note: A direction-to-steer indicator is displayed to show you the
direction the vessel will turn.
2. To accept this heading, and resume the original course, press auto
once within this 7 second period.
If you do not press autowhile the display is flashing, the current
heading will be maintained.
Automatictack(AutoTack)
The ST4000 Plus has a built in automatic tack facility that turns the
vessel through a predetermined angle (the factory default is 100°) in the
required direction.
AutoTacktostarboard
Press the +1and +10keys together to tack to starboard.
Table of contents