6
—
English
FEATURES
VERTICAL
STORAGE
CAPABILITY
The
folding
handles
allow
for
compact,
upright
storage
in
your
garage.
BATTERY
COVER
The
battery
cover
protects
the
battery
port
from
moisture
and
debris.
DUAL
BLADES
Dual
blades
provide
a
premium
cut
and
finer
mulching.
PRODUCT
SPECIFICATIONS
Motor
...............................................
Deck
Size
........................................ .
'
Height
Adjustments
...........................
Wheel
Size
....................................... .
SIDE
DISCHARGE
CHUTE
The
side
discharge
chute
directs
the
clippings
out
of
the
mower
deck
when
the
grass
is
too
tall
for
mulching.
START
BUTTON
AND
LEVERS
The
start
button
and
levers
are
located
on
the
upper
handle
of
the
mower.
HEIGHT
ADJUSTMENT
HANDLE
The
height
adjustment
handle
provides
cutting
height
adjustments.
ONE
TOUCH
HANDLE
FOLDING
Pull
the
lever
on
the
handle
crossbar
in
either
direction
to
unlock
the
handles
for
folding.
BRUSHLESS
MOTOR
This
product
features
a
brushless
motor
that
maximizes
power
and
performance
as
well
as
battery
run
time.
MAXIMUM
SPEED
SELECTOR
Allows
user
to
set
maximum
speed
settings
for
the
self-
propelled
feature.
SELF-PROPELLED
FEATURE
Pushing
down
on
the
self-propelled
paddle
activates
the
self-propelled
feature
of
your
mower.
2-POSITION
HANDLE
The
handle
can
be
adjusted
to
two
heights
for
mowing.
DUAL
BATTERY
PORTS
This
product
features
dual
battery
ports
to
maximize
runtime
and
minimize
down
time
during
operation.
This
enables
the
user
to
easily
switch
batteries
during
a
mowing
session.
GRASS
CATCHER
The
grass
catcher
collects
grass
clippings
and
prevents
them
from
being
discharged
across
your
lawn
as
you
mow.
START
KEY
The
start
key
must
be
inserted
before
the
mower
can
be
started.
LED
HEADLIGHTS
LED
headlights
are
located
on
the
front
of
the
unit
to
illumi
nate
your
path
in
low
light
conditions.
The
lights
will
operate
continuously
whenever
the
motor
is
running.
NOTE:
If
the
start
button
is
pressed
and
released,
the
head
lights
will
illuminate
for
20
seconds.
MULCHING
DOOR
When
actuated,
the
mulching
door
covers
the
rear
discharge
opening
and
allows
the
mower
blade
to
cut
and
recut
for
finer
clippings.
ALL-WHEEL
DRIVE
The
selective
all-wheel
drive
provides
increased
traction
and
easy
maneuverability
when
needed.
Place
the
switch
in
the
ON
(1)
position
to
activate.
Return
the
switch
to
the
OFF
(0)
position
to
deactivate.
TILT
SENSOR
The
tilt
sensor
prevents
the
unit
from
starting
if
it
is
in
a
verti
cal
position
or
tilted
at
an
angle
greater
than
45°.
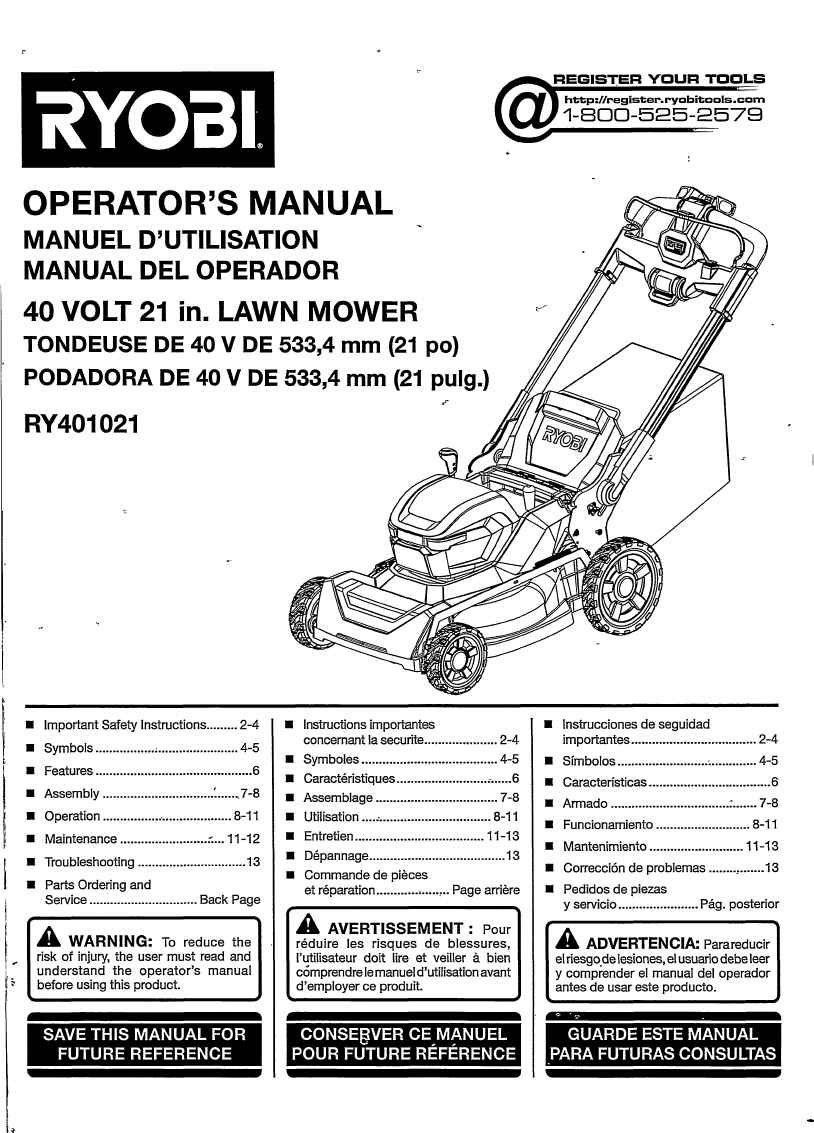
KNOW
YOUR
LAWN
MOWER
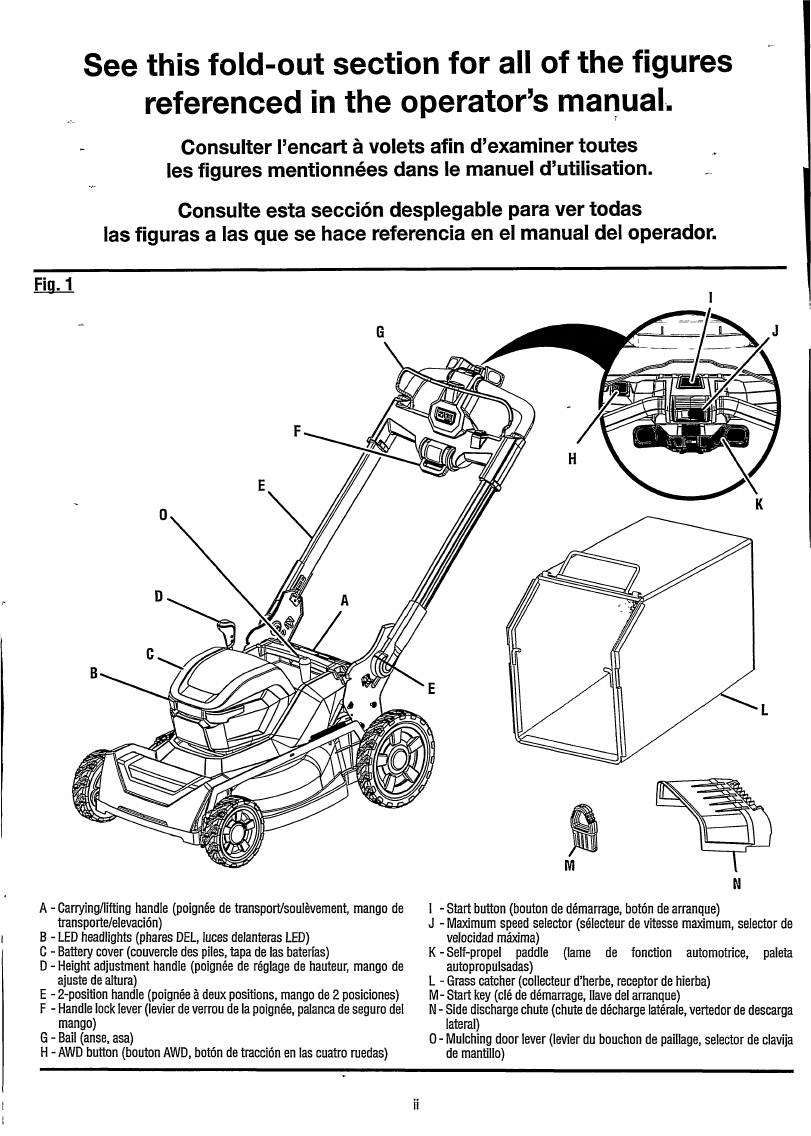
See
Figure
1.
The
safe
use
of
this
product
requires
an
understanding
of
the
information
on
the
product
and
in
this
operator
’
s
manual
as
well
as
a
knowledge
of
the
project
you
are
attempting.
Before
use
of
this
product,
familiarize
yourself
with
all
oper
ating
features
and
safety
rules.
...............
40
Volt
DC
........................
21
in.
.............
1
in.
to
4
in.
8
in.
front,
11
in.
rear