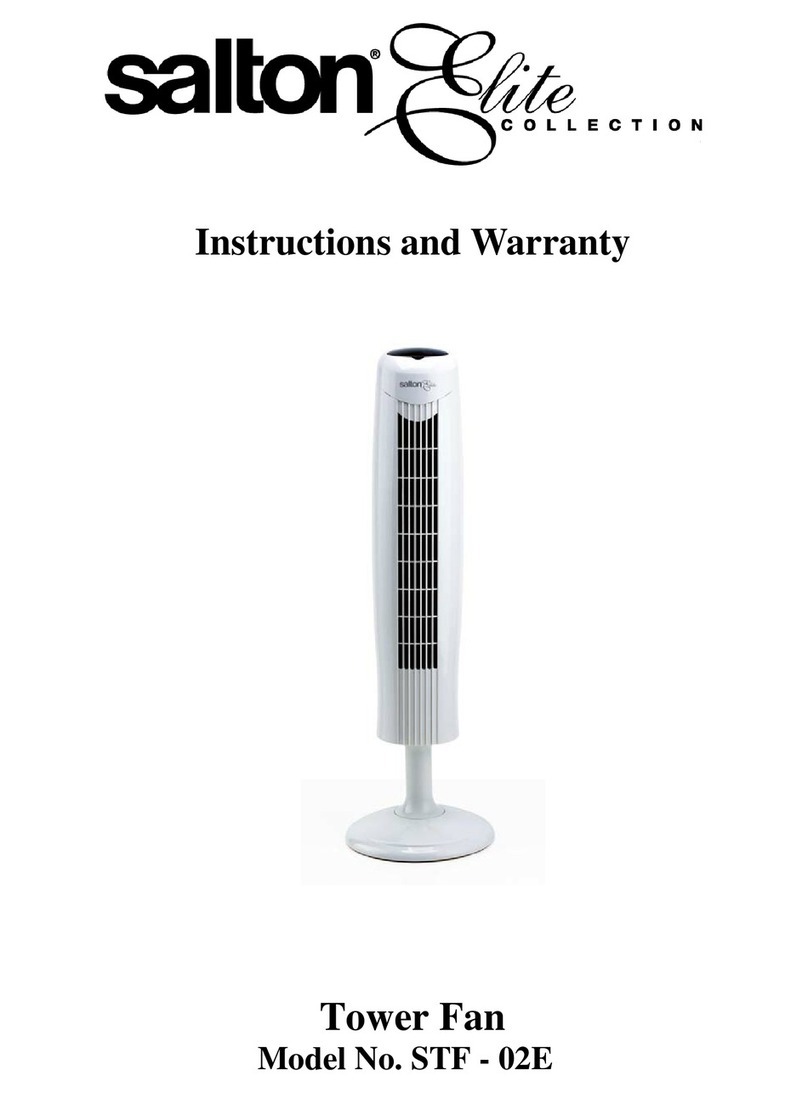
Salton elite STF-02E Installation guide

Instructions and Warranty
Tower Fan
Model No. STF - 02E

2
Thank you for purchasing our Salton Elite Oscillating Tower Fan. Each unit has been
manufactured to ensure safety, reliability and easy of use. Please read these instructions carefully
before using your fan for the first time and keep then for future reference.
1. IMPORTANT SAFEGUARDS
When using your Salton Tower Fan, basic precautions should always be followed including the
following:
Make sure that the power supply corresponds to the one indicated on the rating label.
Use the fan only for its intended use as described in this instruction manual.
To protect against electrical shock, do not place the fan in front of an open window
should it be raining.
Do not cover the fan.
Do not immerse the unit, plug or cord in water, or allow any liquid to come into contact
with any parts of the fan.
Close supervision is necessary when any appliance is used near or by children,
Unplug the fan from the power source when not in use or moving the fan from one
location to another, before putting on or taking off parts or when cleaning.
Avoid coming into contact with any moving parts.
To avoid vibrations, place the fan on a smooth level surface.
Never operate the fan with a damaged power cord or plug, or after it has fallen or been
damaged in any way.
Do not allow objects to fall into the openings and do not insert objects through the guard
when the fan is in operation.
Do not operate the unit without fan grilles firmly in place.
Do not use outdoors.
Do not let the cord hang over the edge of the table or counter or to touch hot surfaces.
To disconnect, grip the plug and pull from the wall outlet. Never pull on the cord.
Do not try to cover, extend or stretch the mains cable.
Never attempt to open any part or to dismantle the controls. Responsibility for failure
cannot be accepted if these instructions have been ignored.
This product is intended for household use only. Industrial or commercial use invalidates
the warranty.

3
2. MODEL AND SPECIFICATIONS
Model: STF- 02E
Rated Voltage: 230V
Rated Frequency: 50HZ
Input Power: 45W
3. PARTS NAME AND LOCATION
NO.
Name of Part
1
Front base
2
Near base
3
Front upright column
4
Near upright column
5
Wind Wheel
6
Top Panel
7
Piano Switch
8
Oscillation Switch
9
Time button
10
Transparence Cover
11
Near Shell
12
Power cord
4. INSTALLATION
Refer Fig 1:
1. Thread the electric wire through the slot of near column(4), then tightly clip column(3)
and near column(4) mutually;
2. Then aim the locating pin of column(3)(4) at the locating hole of the micro motor
stand(5), fix the micro motor stand and the column with 4 pieces of M5X12 cross-head
screws by a screwdriver;
3. Thread the electric wire(12) through the middle gate of the rear base frame and the wire
clipping slot, fasten the front base frame(1) and the rear base frame (2)mutually, then
match column(3) (4)with the base frame and fix it with 4 pieces of M5X12 cross-head
screws by a screwdriver.
Figure 1

4
Oscillation Switch
LED
2
1OFF
3
Time button
Adjust Speed Switch
5. OPERATION
1. Push down button “1”,”2” or “3” to select the corresponding low, middle or strong
wind.
Push down button “0/OFF” to stop the fan running.
2. While the fan is running, you can select any timing value within
120 minutes by turning the timer control.
3. Push down the oscillation switch to select oscillating with selected
wind speed function. Push again to stop oscillation.
4. Hold the fan body with hands, the unit can also turn 30° to left and right separately,
5 directions to choose from.
Note: Keep the plastic parts away from greasy dirt. Do not use it in kitchen in order to avoid the
parts becoming obstructed by grease dirt. Fans are usually damaged by obstruction of greasy dirt.
6. SAFETY POSITIONING
The fan must not be located immediately beneath a socket outlet.
Only use the fan when it is standing upright, i.e. on its base
For your own safety and that of others, do not use the fan in the immediate surroundings
of a bath, shower or swimming pool. Ensure that the appliance cannot fall into water
(bath wash basin, shower cubicle etc).
Keep the mains cord at a safe distance from the air inlet and outlet grilles.
7. CLEANING
Always disconnect the cord from the electrical outlet when cleaning the fan.
Light accumulated dust may be removed from the fan with a soft cloth or vacuum
cleaner, using the brush attachment. Interior dust can usually be removed by using a
vacuum cleaner in its blower mode with a crevice tool attachment.
Wipe the exterior surfaces of the appliance occasionally with a damp cloth moistened
with a solution of mild detergent and water. Ensure that the excess water has been
squeezed from the cloth before using on the appliance
Dry the casing thoroughly with a dry cloth before operating the fan.

5
CAUTION
Do not allow water to run into the interior of the fan as this could create a fire or electric
shock hazard.
No other maintenance is required or recommended. This appliance does not contain any
self-serviceable parts. Should the fan require a service, please take the unit to the nearest
authorized service depot or agent.
Store the appliance in a clean, cool, dry place when not in use.
8. CHANGING THE PLUG
Connect three-pin plug as follows:
The wires in this mains lead are coloured in accordance with the following code: Green/Yellow =
Earth Blue = Neutral Brown = Live
NOTE: This appliance is a class two product and as such does not have an Earth wire. Please
follow the above instructions leaving out the connection for the Earth wire.
9. SERVICING THE APPLIANCE
Hints before returning the appliance:
Is your household socket working properly?
Are all required switches in the ON position?
Ensure that the plug is firmly in the socket and switched on.
Ensure that the fan is standing on an even surface.
There are no user serviceable parts in this appliance. If the fan is not operating correctly, please
check the following:
You have followed the instructions correctly
That the unit has been wired correctly and that the wall socket is switched on.
That the mains power supply is ON.

6
If the appliance still does not work after checking the above:
Consult the retailer for possible repair or replacement. If the retailer fails to resolve the
problem and you need to return the appliance, make sure that:
The unit is packed carefully back into its original packaging.
Proof of purchase is attached.
A reason is provided for why it is being returned.
If the supply cord is damaged, it must be replaced by the manufacturer or an authorized service
agent in order to avoid any hazard. If service becomes necessary within the warranty period, the
appliance should be returned to an approved Amalgamated Appliance (Pty) Ltd service centre.
Servicing outside the warranty period is still available, but will, however, be chargeable.

7
PLEASE AFFIX YOUR PROOF OF PURCHASE/RECEIPT HERE
IN THE EVENT OF A CLAIM UNDER WARRANTY THIS RECEIPT MUST BE
PRODUCED.
W A R R A N T Y
1. Tedelex Trading (Pty) Limited (“Tedelex”) warrants to the original purchaser of this product
(“the customer”) that this product will be free of defects in quality and workmanship which
under normal personal, family or household use and purpose may manifest within a period of 1
(one) year from the date of purchase (“warranty period”).
2. Where the customer has purchased a product and it breaks, is defective or does not work
properly for the intended purpose, the customer must notify the supplier from whom the
customer bought the product (“the supplier”) thereof within the warranty period. Any claim in
terms of this warranty must be supported by a proof of purchase. If proof of purchase is not
available, then repair, and/or service charges may be payable by the customer to the supplier.
3. The faulty product must be taken to the supplier's service centre to exercise the warranty.
4. The supplier will refund, repair or exchange the product in terms of this warranty subject to
legislative requirements. This warranty shall be valid only where the customer has not broken
the product himself, or used the product for something that it is not supposed to be used for.
The warranty does not include and will not be construed to cover products damaged as a result
of disaster, misuse, tamper, abuse or any unauthorised modification or repair of the product.
5. This warranty will extend only to the product provided at the date of the purchase and not to
any expendables attached or installed by the customer.
6. If the customer requests that the supplier repairs the product and the product breaks or fails to
work properly within 3 (three) months of the repair and not as a result of misuse, tampering or
modification by or on behalf of the customer, then the supplier may replace the product or pay
a refund to the customer.
7. The customer may be responsible for certain costs where products returned are not in the
original packaging, or if the packaging is damaged. This will be deducted from any refund paid
to the customer.
TEDELEX TRADING (PTY) LTD (JOHANNESBURG)
JOHANNESBURG TEL NO. (011) 490-9000
CAPE TOWN TEL NO. (021) 552-5161
DURBAN TEL NO. (031) 792-6000
www.amap.co.za
Rated Voltage:
220V
Rated Frequency:
50Hz
Input Power:
45W
FL-10-1752、
1754 circuit
diagram
Fuse
NL
MotorMini Motor
S
Control IC
NL
MHL
Capacitor
FL-10-1751、
1753 circuit
diagram
MotorMini Motor
Rated Voltage:
220V
Rated Frequency:
50Hz
Input Power:
45W
Fuse
LNN
Fuse
FL-10-1752、
1754 circuit
diagram
Input Power:
45W
Rated Frequency:
50Hz
Rated Voltage:
220V
L
MotorMini Motor
S
Control IC
NL
MHL
Capacitor
FL-10-1751、
1753 circuit
diagram
MotorMini Motor
Rated Voltage:
220V
Rated Frequency:
50Hz
Input Power:
45W
Fuse
LN
Table of contents
Other Salton elite Fan manuals
Popular Fan manuals by other brands

Monte Carlo Fan Company
Monte Carlo Fan Company 5DI52ES D Series Owner's guide and installation manual

Maico
Maico DZQ Ex e Series Installation and operating instructions

CHICAGO
CHICAGO D/36A Centrifugal Fan Operating and maintenance instructions

Dryfast
Dryfast DFV4500 instruction manual

Copper Canyon Hugger
Copper Canyon Hugger KV52CHY-HU-BRZ Owner's manual and installation instructions

Westinghouse
Westinghouse 72050 Important instructions