INSTALACIÓN DE LA BATERIA:
1. Retire con cuidado el producto del embalaje.
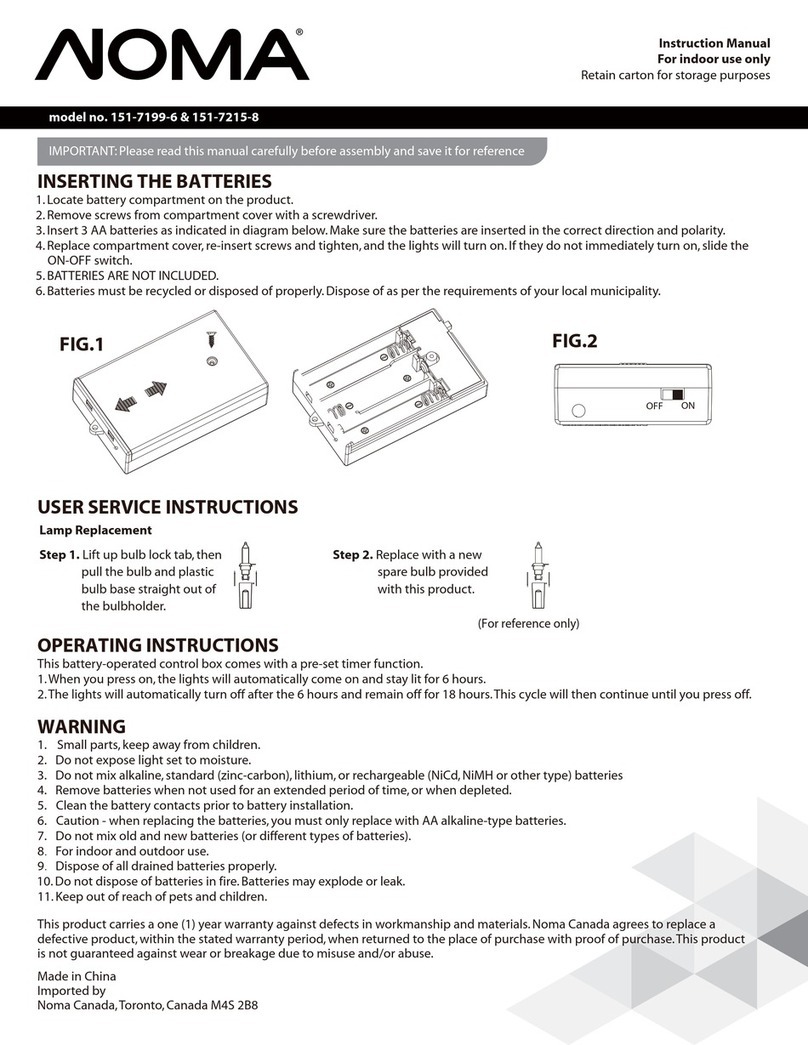
2. Abra la caja de baterías por retirar los dos clips en el lado de la caja (Fig 1).
3. Coloque tres baterías D (no incluidas) en el compartimiento de baterías. Asegúrese de que las
baterías estén colocadas con la polaridad correcta, tal como se indica en el compartimiento de
baterías (Fig 2).
4. Cierre la caja y fije los dos clips.
MODO DE USO:
Gire la perilla en la esquina superior derecha de la caja de batería para cambiar entre 1 – Cálido Blanco,
2 – Cálido Blanco con Temporizador, 3 – Multi, 4 – Multi con Temporizador, 5 – Cambio de Color, 6 –
Cambio de Color con Temporizador y 7 - Apagado.
NOTA: Los límites del temporizador son 6 horas encendidas/18 horas apagadas.
INSTRUCCIONES DE SEGURIDAD IMPORTANTES
a)
LEA Y SIGA TODAS LAS INSTRUCCIONES DE SEGURIDAD.
b) Este producto de temporada es para uso en INTERIORES y EXTERIORES.
c) Este producto de temporada no está diseñado para la instalación ni el uso permanente.
d) No use este producto para ningún fin que no sea el indicado.
e) No cuelgue adornos u otros objetos sobre el cable o cable de luces.
f) No cubra el producto mientras está en uso.
g) Este producto está equipado con luces LED que se enchufan. No tuerza las luces LED para retirarlas.
h) Lea y siga todas las instrucciones que están en el producto o que se proporcionan junto a éste.
i)
GUARDE ESTAS INSTRUCCIONES.
PRECAUCIÓN :
1. No utilice este producto cuando esté en el embalaje.
2. Nunca mezcle pilas usadas con pilas nuevas (O pilas de distinto tipo).
3. No mezcle pilas alcalinas, estándares (carbono-cinc), o recargables (Ni-MH, Ni-CD, etc).
4. Las pilas se deben colocar con la polaridad correcta.
5. Las pilas gastadas se deben quitar del compartimento de pilas.
6. Los terminales no deben ser cortocircuitados.
7. No tire pilas al fuego.
8. Nunca se debe dejar las pilas en el producto durante periodos prolongados de no utilizarlo.
9. Nunca deje que ninguna pieza de plástica se ponga en contacto con una fuente de calor o llama.
10. Las baterías no están incluidas.
11. Ésta es una decoración de Navidad. No es un juguete. Manténgase fuera del alcance de los niños pequeños.
NOTA: este equipo ha sido probado y se ha verificado que cumple con los límites para un dispositivo digital Clase B, conforme a la
Parte 15 de las reglas de la FCC. Estos límites están diseñados para proporcionar protección razonable contra interferencia
perjudicial en una instalación residencial. Este equipo genera, utiliza y puede irradiar energía de radio frecuencia y, si no se instala y
usa de acuerdo con las instrucciones, puede causar interferencia perjudicial a las comunicaciones de radio. Sin embargo, no se
garantiza que no se producirán interferencias en una instalación en particular. Si este equipo genera interferencia perjudicial a la
recepción de radio o televisión, lo que se puede determinar al apagar y encender el equipo, se recomienda al usuario que intente
corregir la interferencia con una o más de las siguientes medidas:
- Reoriente o reubique la antena de recepción.
- Aumente la separación entre el equipo y el receptor.
- Conecte el equipo a un tomacorriente de un circuito distinto al que usa el receptor.
- Solicite ayuda al distribuidor o a un técnico con experiencia en radio/TV.
Cet appareil est conforme à la Section 15 des règles de la FCC.
Son fonctionnement est assujetti aux deux conditions suivantes:
(1) Cet appareil ne doit pas causer d'interférence néfaste.
(2) Cet appareil doit accepter toute l'interférence reçue, y compris celle pouvant entraîner un fonctionnement non désiré.
ADVERTENCIA: Tout changement ou modification non expressément approuvé par la partie responsable de la conformité pourrait
annuler l’autorisation accordée à l’utilisateur d’utiliser cet équipement.
ELIMINACIÓN Y RECICLAJE:
Los residuos de productos eléctricos no deben tirarse en la basura doméstica. Por favor recicle donde
existan centros de reciclaje. Consulte con sus autoridades o vendedores locales para obtener
información sobre el reciclaje. Esto también se aplica a las pilas.
PROBLEMAS / SOLUCIONES:
Si la iluminación no está en secuencia después de sustituir una luz LED, retire la luz LED y vuelva a colocarla,
asegurándose de que las pestañas estén alineadas como se ha ilustrado anteriormente. Esta es una
bombilla especializada y no se debe sustituirla con una bombilla LED estándar o una bombilla incandescente.
Si necesita bombillas adicionales, por favor llame a nuestro centro de servicio al cliente al 1-888-831-6656.
Reemplazo de LED: Antes de cambiar las luces LED, asegúrese de que el producto esté apagado y que las baterías se retiren.
INSTRUCCIONES DE UTILIZACIÓN Y MANTENEMIENTO
a) Antes de usar el producto, inspecciónelo cuidadosamente. Deseche cualquier producto que tiene
aislamiento o cordones cortados, dañados o desgastados, grietas en los portalámparas o
envolventes, conexiones sueltas o cable de cobre expuesto.
b) Las bombillas LED que se sueltan o que se queman necesitan ser reemplazadas inmediatamente
para mantener el rendimiento y la vida útil de este juego.
c)
Cuando no se utilice el producto, guárdelo ordenadamente en un lugar fresco y seco, alejado de la luz del sol.
Gracias por comprar este producto que funciona con baterías. Por favor lea las instrucciones a continuación.
©2014 Santa's Best LTD, Suite 3902-08 Skyline Tower, 39 Wang Kwong Rd, Kowloon Bay, Kowloon, HK. Todos los derechos reservados. HECHO EN CHINA IMPRESO EN CHINA
El protector de bombilla actualmente utilizado puede variar, según el producto comprado.
Paso 3: Reemplace la bombilla, solamente con
una bombilla de tipoLEDde 3 voltios,
20 mA (incluida con el producto).
Paso 1:tome el enchufe y retírelodel receptáculo
ode cualquier otro tomacorriente.
No tire del cable para desenchufarlo.
Paso 2: sujete la base de plásticodel LED y sáquela
del portalámparasjalandode forma recta.
BASE
DEL LED
ALAMBRES
DEL LED
LED
BASE
PORTALÁMPARAS
Fig. 1 Fig. 2
Batería D
Batería D
Batería D
1
1.Warm White
2.Warm White Timer
3. Multi
4. Multi Timer
5. Color Change
6. Color Change Timer
7. OFF
2 6
4
3 5
7
MODEL Nº
7311004B-62QV3/7323001B-62QV3 LED14
Corona Guirnalda
2014 QVC
Pre-Lit Battery Operated Wreath & Garland - Safety Instruction - Spanish
Size: 10” x 9.5”
Date: 6/27/14
