Schmick JC95B User manual

1
INSTRUCTION
MANUAL
Models: JC95B / JC95W / JC132B / JC132W
This manual
contains important information including safety and installation instructions of the
appli
ances. Please read it carefully and keep handy for easy reference.
Note: Not to be used for preservation of fresh foods, this is a drinks refrigerator
CONTENTS
IMPORTANT SAFETY
INFORM
A
TION
.......................................................................................
P.2
ACCESSORY INSTALLATION BEFORE OPE
R
A
TING...............................................................
P.4
REVERSE THE DOOR SWING..................................................................
..............................
P.
4
OPERATING THE REFRIGERATOR
............................................................................................
P.5
CARE AND
MAINTENANCE........................................................................................................
P.6
TROUBLESHOOTING.................................................................................................................
.
P.
7

2
IMPORTANT SAFETY INFORMATION
•Read all instructions before using the appliance.
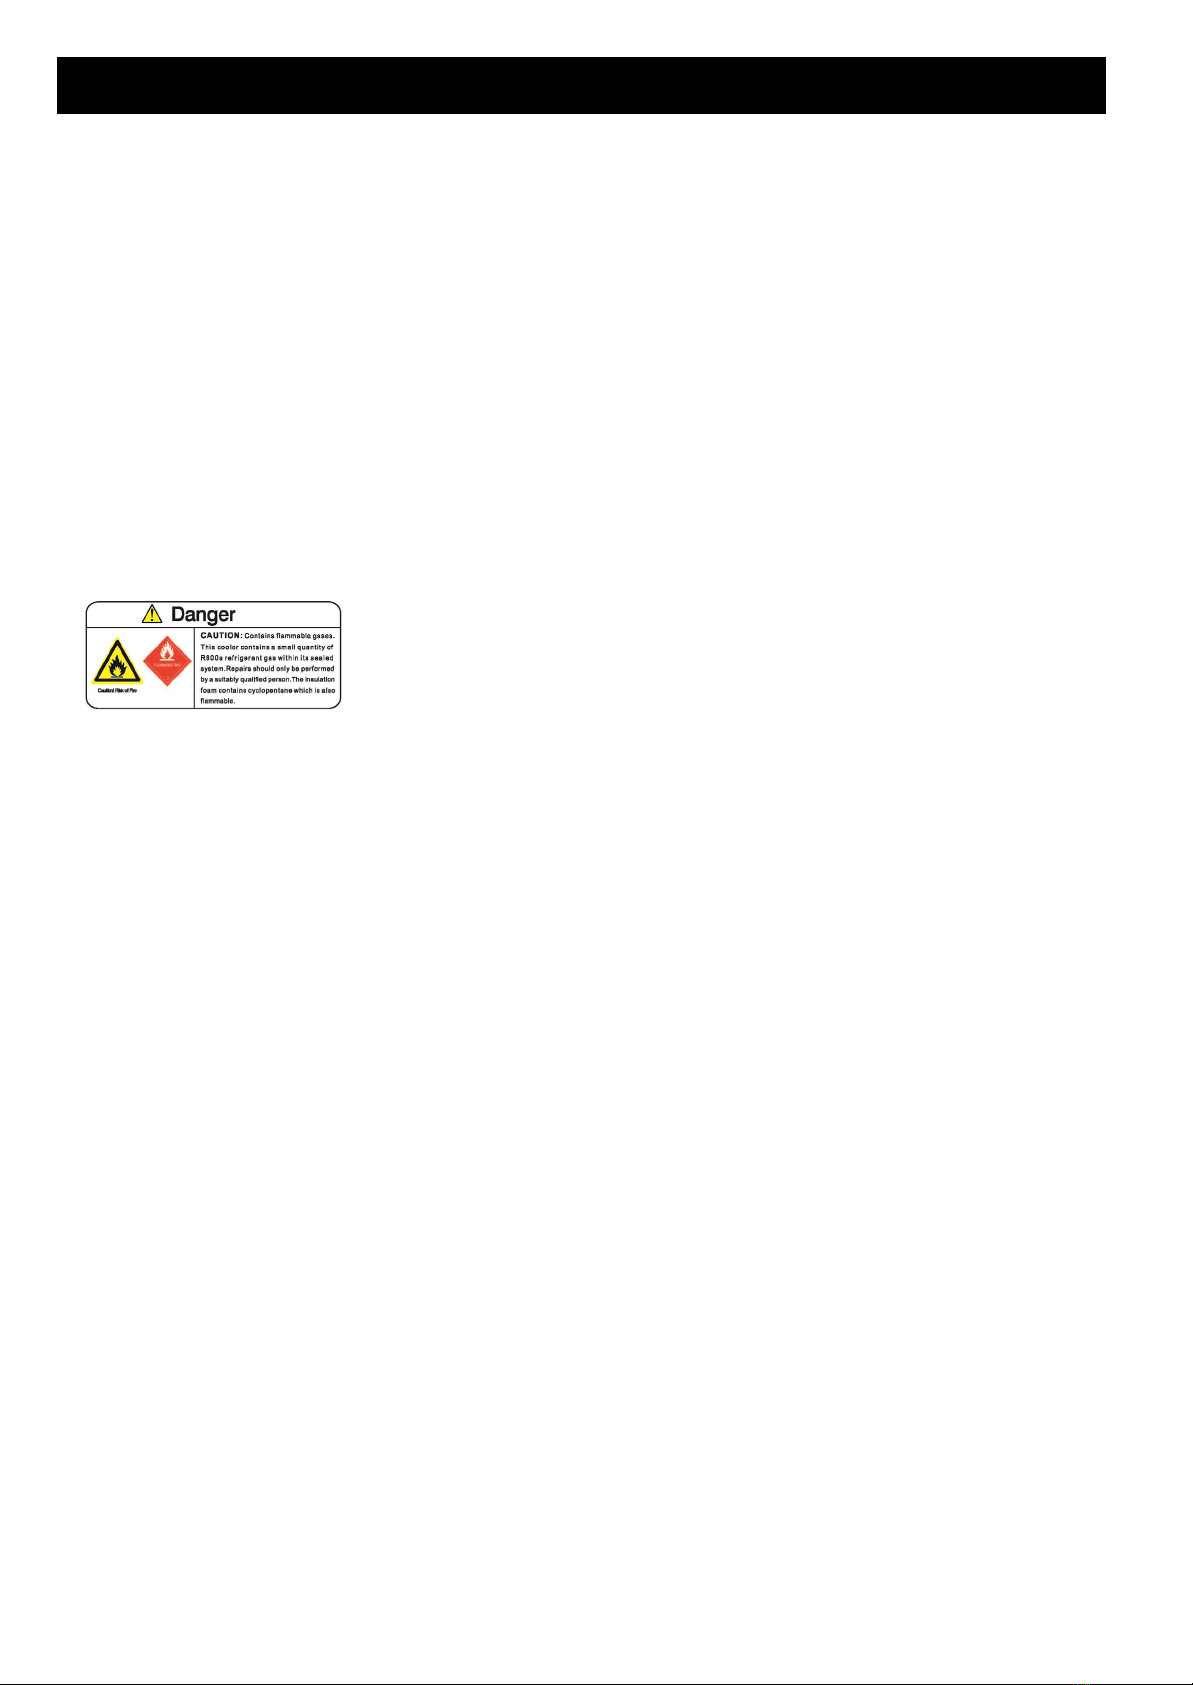
•It is hazardous for anyone other than an authorized Service Person to carry out servicing or repairs to this
appliance, the gas R600 is flammable.
•Take serious care when handling, moving, and using the appliance to avoid either damaging the refrigerant
tubing or increasing the risk of a leak.
•Replacing component parts and servicing shall be done by BFA authorized service technicians so as to
minimize the risk of possible ignition due to incorrect parts or improper service.
•This appliance is not intended for use by persons (including children) with reduced physical, sensory or
mental capabilities, or lack of experience and knowledge, unless they have been given supervision or
instruction concerning use of the appliance by a person responsible for their safety. Children should be
supervised to ensure that they do not play with the appliance. Cleaning and user maintenance shall not be
made by children without supervision.
-Do not rest heavy items (including the fridge) on the electrical lead.
-Queensland installation/servicing requirement: Need qualified technician to perform a Gas Repair Job
(hydrocarbon refrigerants) if the appliance gas system is being opened or charged.
•If the supply cord is damaged, it must be replaced by the manufacturer, its service agent or similarly
qualified persons in order to avoid a hazard.
•WARNING: Keep ventilation openings, in the appliance enclosure or in the built-in structure, clear of
obstruction.
•WARNING: Do not damage the refrigerant circuit.
•This appliance is intended to be used for purpose of drinks only, it is not recommended to store fresh food,
blood, medicine or vaccines in this appliance.
•Plug into a grounded 3-prong outlet. Do not remove grounding prong, do not use an adapter, and do not
use an extension cord.
•You can clean appliance with lemon juice concentrate and warm water, followed by wipe down with clean
cloth. Unit must be turned OFF while cleaning process takes place
•Do not connect or disconnect the electric plug when your hands are wet.
•Unplug the appliance or disconnect the power before cleaning or servicing. Failure to do so can result in
electrical shock or death.
•Do not attempt to repair or replace any part of your appliance unless it is specifically recommended in this
manual. All other servicing should be referred to a qualified technician.
•Do not store or use gasoline or any other flammable vapors and liquids in the vicinity of this or any other
appliance. The fumes can create a fire hazard or explosion.
•Use two or more people to move/install the refrigerator. Failure to do so can result in back or other injury.
•To ensure proper ventilation for your appliance, the front of the unit must be completely unobstructed.
Choose a well-ventilated area with room temperatures above 10°C and below 35°C. This unit must be
installed in an area protected from the elements, such as wind, rain, water spray or drips.
•The appliance must be installed with all electrical connections in accordance with state and local codes. A
standard electrical supply (220-240V AC 50 Hz).

3
•Do not kink or pinch the power supply cord of the appliance.
•The fuse (or circuit breaker) size should be 10 amps or higher
•It is important for the appliance to be leveled in order to work properly. You may need to make several
adjustments to level it using the adjustable feet provided.
•Although the unit has been tested at the factory, due to transit and storage, you should clean the appliance
before use.
•Do not use solvent-based cleaning agents or abrasives on the interior. These cleaners may damage or
discolor the interior.
•Do not use this apparatus for other than residential purposes.
•This appliance is CFC- and HFC-free and contains small quantities of Isobutane (R600a) which is
environmentally friendly, but flammable. It does not damage the ozone layer, nor does it increase the
greenhouse effect. Care must be taken during transportation and setting up of the appliance that no parts of
the cooling system are damaged. Leaking coolant can ignite and may damage the eyes.
•In the event of any damage:
-Avoid open flames and anything that creates a spark,
-Disconnect from the electrical power line,
-Air the room in which the appliance is located for several minutes, and
-Contact the Service Department for advice.
•When you dispose the appliance, take off the door and leave the shelves in place so that children may not
easily climb inside. And make sure the coolant circuit, particularly the heat exchanger at the back/bottom of
the unit is not be damaged.
•The recycle symbol on the product or its packaging indicates that this product is not to be
handled as normal household waste and it is to be taken to a recycling collection point for
electrical and electronic goods.
•

4
ACCESSORY INSTALLATION BEFORE OPERATING
UNPACKING AND CLEANING THE APPLIANCE
•Remove the exterior and interior packing materials.
•Let the appliance stand upright for approximately 2 hours before connecting it to the power
source, which helps to reduce the possibility of a cooling-system malfunction from handling
during transportation.
•Use a soft cloth to clean the interior surface with lukewarm water.
•Install the door handle provided with the appliance.
•This appliance is designed for free standing or built-in (fully recessed) installation.
•This appliance is intended to be installed in a space between two units.
The minimum space required is:
JC95B/JC95W: 460mm wide × 605mm deep × 810mm high
JC132B/JC132W: 605mm wide x 605mm deep x 810mm high
Please note: When the product is installed, there should be a small ventilation gap between the top
of the unit and the underside of any fitting above (6mm or 1/4").
LOCK & UNLOCK THE DOOR (FOR OPTION)
•Lock is fitted and key is attached in packing with this Manual.
•Insert the key into the lock and turn it counter-clockwise to unlock the door. To lock it, please
follow the reversed operation. Please keep the key in safe location.
Installation of the Handle
To install the handle, please follow these instructions:
•Carefully pull the door gasket (seal) away from the door in the area where the handle will be
attached.
•Place the handle over the screw holes on the outside of the door and attach it with the screws that
have been provided. Tighten the screws.
•Press the door gasket back into its groove.
REVERSING THE DOOR SWING
This appliance has the capability of the door opening from either the left or right side. The unit is
delivered to you with the door opening from the left side. Should you desire to reverse the opening
direction, please follow the instructions below:
1. Carefully lay the appliance on its back. Use cushioning to protect the floor and appliance.
2. Using a Philips screwdriver, remove the two screws and bottom right hinge beneath the door.
Keep the hinge in a safe place in case you need to reverse the door again in the future.
3. Carefully slide the door off and place it on a padded surface.
4. Remove the bottom support bracket from the right side.
5. Remove the top right hinge and keep in a safe place in case you want to reverse the door in the
future.
6. Remove the screws from the top left and transfer to the right.
7. Install the top left hinge.
8. Install the bottom left hinge to the door. Do not over-tighten the screw.
9. Rotate the door 180º and relocate it on the top hinge.
10. Install the bottom support bracket.
11. Adjust door alignment. When set, tighten screw on hinge.
Please note: Keep the spare hinge plate(s) to be able to reverse the door back again.

5
OPERATION
WORKING CLIMATE
•The appliance should be placed where the ambient temperature is between 10~35°C (50~95°F). If
the ambient temperature is above or below this range, the performance of the unit may be
affected. Placing your unit in extreme cold or hot conditions may cause interior temperatures to
fluctuate.
•If the ambient temperature is above or below the designed climate range, the performance of the
unit may be affected. For example, the appliance operating in extreme cold or hot conditions may
cause interior temperatures to fluctuate, and the temperature set 1-18°C may not be reached if
this occurs.
•To prevent damaging the door gasket, make sure to have the door opened fully all the way before
pulling the shelves out.
•Please store wine in sealed bottles.
•Should the appliance be left empty for long periods it is suggested that the appliance is
unplugged, and after careful cleaning, leave the door ajar to allow air to circulate inside the cabinet in
order to avoid possible condensation, mold or odours forming.
•Recommended Temperatures for chilling/storage your wines/beer.
Red Wines
15 - 18 ºC
Dry/White Wines
9 - 14 ºC
Rose Wines
10 - 11 ºC
Sparkling Wines 5 - 8 ºC
Beer 1 - 4 ºC
Led Display Of Danfoss Controller
Interface
Explanation of the icons:
Item Function
When controller is running
ON
OFF
1
ECO mode
ON
OFF
2
Compressor
ON
OFF
3
Defrost
ON
OFF
4
Evaporator fan
ON
OFF
5
Celsius
ON
OFF
6
Fahrenheit
ON
OFF
7
Alarm
In alarm
No alarm

6
Keypad introduction
Explanation of the buttons
Buttons
Normal operation
Press for short press
Press for long press
Toggle ECO mode Toggle defrost
Light ON/OFF Power ON/OFF
Increase set point /
Decrease set point Toggle °C and °F
How to set the temperature
Set the desired cooling temperature by pressing the corresponding button or . Each depression
of the buttons will raise or lower the temperature setting. The temperature selected will flash in the
LED display for approximately 10 seconds, then revert back to displaying the temperature of the
cabinet interior.
CARE AND MAINTENANCE
CLEANING THE DRINKS FRIDGE
•Turn off the power, unplug the appliance, and remove all items including shelves.
•Wipe the inside surfaces with a sponge and baking soda solution. The solution should be about 2
tablespoons of baking soda to 1 litre of warm water.
•Wash the shelves with a mild detergent solution. Allow wooden shelves to dry before placing back
into the wine cooler.
•Wring excess water out of the sponge or cloth when cleaning area of the controls, or any electrical
parts.
•Wipe the outside cabinet with warm water and mild liquid detergent. Dry with a clean soft cloth.
Do not use steel wool or steel brush on the stainless steel. These will contaminate the stainless
steel with steel particles and rusting may occur. Olive Oil is great to run on stainless for protection
against rust.
POWER FAILURE
Most power failures are corrected within a few hours and should not affect the temperature of your
appliance too much that it spoils drinks. If the power is going to be off for a longer period of time, you
need to take the proper steps to protect your contents.

7
MOVING THE DRINKS FRIDGE
•Remove all items.
•Securely tape down all loose items (shelves) inside your appliance.
•Turn the adjustable leg up to the base to avoid damage.
•Tape the door shut.
•Be sure the appliance stays secure in the upright position during transportation. Also protect
outside of appliance with a blanket, or similar item.
ENERGY SAVING TIPS
•The appliance should be located away from heat producing appliances, and away from direct
sunlight.
•Ensure that the unit is adequately ventilated. Never cover air vents at front.
•Only open the door when necessary. Avoid leaving the door open for long periods or
opening/closing the door frequently.
•For beer units, when you are away, set at 8-10°C, this means much less energy consumption
and still will keep beverages from spoiling
•Keep unit at least ¾ full, this will ensure less run times, as less air to chill
•Every 12months or so check your rear wire condenser (behind panel) for dust and particle build
up, this can cause over running and overheating if blocked. Clean with brush or vacuum up the
build-up of dust/particles.
TROUBLESHOOTING
If you feel the appliance is out of order, follow these instructions to try to see if you can solve the
problem simply by yourself before calling for service.
PROBLEM POSSIBLE CAUSE / MEASURE
The Drinks Fridge does not operate.•Not plugged in.
•The appliance is turned off.
•The circuit breaker tripped or a blown fuse.
The Drinks Fridge is not cold enough. •Check the temperature control setting.
•External environment may require a higher setting.
•The door is opened too frequently.
•The door is not closed completely.
•The door gasket does not seal properly.
Automatically turn-on and turn-off
frequently.
•The room temperature is hotter than normal.
•A large amount of contents has been added to the
Wine Cooler.
•The door is opened too frequently. The door is not
closed completely.
•The temperature control is not set correctly. The
door gasket does not seal properly.
The lighting does not work. •Not plugged in.
•The circuit breaker tripped or a blown fuse. The
lighting is turned off.
Too much vibration •Check to assure that the appliance is level.
•Check to assure no parts inside the cabinet or in the
compressor chamber are loose.

8
The unit seems to make too much
noise
•The rattling noise may come from the flow of the
refrigerant, which is normal, can sound like water
trickling (gurgling).
•As each cycle ends, you may hear ‘gurgling’ sounds
caused by the flow of refrigerant.
•The appliance is not level.
The door will not close properly. •The unit is not level.
•The door was reversed and not properly installed.
•The gasket is dirty, or cold and out of shape.
•The shelves are out of position.
The display window is shown with
“E01”, “E02” instead of a digital figure.
•The temperature sensor has failed.
•The temperature probe is out of order.
The display window is shown with “Hi”
or “Lo” instead of a digital figure.
Air temperature is higher or lower.
The display window is shown with
“uHi” or “uLi” instead of a digital figure.
Line voltage is higher or lower .
Postal: P.O Box 166, Sebastopol, Vic, 3356
Warehouse: 40 Production Drive, Alfredton, Vic, 3350
Ph: Service 1300 170640 (Mon > Fri 9.00AM > 4.00PM)
Email: sales@bar-fridges-australia.com.au
Web: www.bar-fridges-australia.com.au
Golden Bear Enterprises T/As Bar Fridges Australia ABN 13 101 612 239
This manual suits for next models
3
Table of contents
Other Schmick Refrigerator manuals