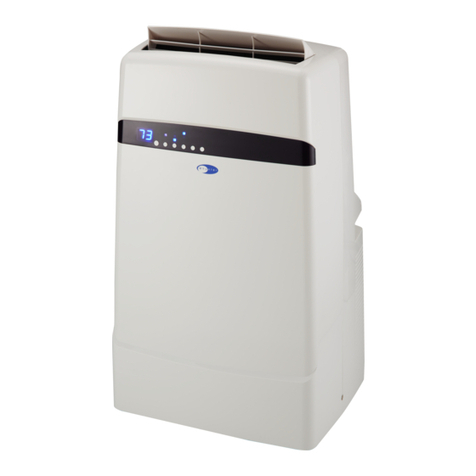
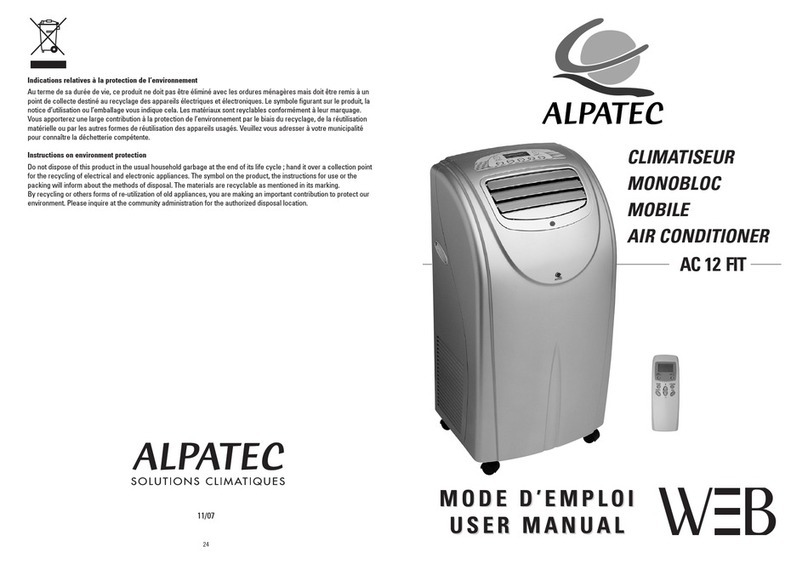
Selecline TAC-07CPB RM User manual


EN
5
1/ SAFETY INFORMATION
Before using this appliance, read the following instructions
carefully and keep the operating instructions for future use.
1. This product can be used by children aged from
8 years and above and persons with reduced physical,
sensory or mental capabilities or lack of experience
and knowledge if they have been given supervision or
instruction concerning use of the product in a safe way
and understand the hazards involved.
2. Children shall not play with the product.
3. Cleaning and user maintenance shall not be made by
children without supervision.
4. CAUTION – Fire, electric shock, physical injury and
property damage hazards.
5. To use the product, always follow the instructions
for assembly, use and maintenance as well as usage
cautions.
6. Keep housing dry at all times. Do not cover the air outlet
while in use.
7. Do not allow children to play with the remote control or
drop any objects into the air outlet.
8. Do not place any objects or let any person sit on top of
the product.
TABLE OF CONTENTS:
1/ SAFETY INFORMATION ____________________________ P. 5
2/ TECHNICAL DATA _________________________________ P. 9
3/ DESCRIPTION ____________________________________ P. 10
4/ INSTALLATION ___________________________________ P. 11
5/ USE ____________________________________________ P. 13
6/ MAINTENANCE AND CLEANING_____________________ P. 15
7/ TROUBLESHOOTING ______________________________ P. 18
8/ WARRANTY AND LIMITATIONS OF LIABILITY__________ P. 20

EN
6
9. Always turn the product o and remove the power
plug from the socket when cleaning or for any other
maintenance operation.
10. Do not attempt to remove any part of the casing unless
by an authorised technician.
11. Disconnect the plug from the socket if the product is
not being used for a long period.
12. The lter should be cleaned or replaced periodically to
prevent insucient air ow caused by a build-up of dust
particles. Poor air ow will cause overheating, reduce
the performance of the product and add more risk.
13. Do not operate the product with damaged plug or
loose socket point.
14. This product contains non-serviceable parts. The
coolant gas in this product cannot be replaced/regased.
15. Allow at least 45cm of around and above space away
from the wall or other fournitures. Do not place the
product in front of curtains or drapes in case they fall
against the back air intake.
16. If the supply cord is damaged, it must be replaced by
the manufacturer, its service agent or similarly qualied
persons in order to avoid a hazard.
17. If using this product with an extension lead do not
exceed the maximum rated wattage of the extension
lead.
18. Do not use this product in bathrooms or wet room
environments/locations.
19. The product shall not be installed in a laundry room.
20. The product must not be used in closed cupboards
or changing rooms. Do not cover the product with
clothing or any other fabric.
21. The product must be kept at a suitable distance from
walls, furniture and curtains to prevent them from
overheating due to poor ventilation.
22. The product should not be used when no one is at
home. If you are away for long periods of time, turn o
the power and remove the plug from the socket.


EN
8
41. Do not clean the unit with water. Water can enter
the unit and damage the insulation, creating a shock
hazard. If water enters the unit, unplug it immediately
and contact Customer Service.
42. Utilize two or more people to lift and install the unit.
43. To avoid possible cuts, avoid contacting the metal parts
of the appliance when removing or re-installing the
lter. It can result in the risk of personal injury.
44. Always grasp the plug when plugging in or unplugging
the appliance. Never unplug by pulling on the cord. It
can result in the risk of electrical shock and damage.
45. Close all doors and windows to the room for most
ecient operation.
46. Do not obstruct the air intake and outlet. Leave the
grilles free.
47. This appliance is intended for home use and for use in
similar environments such as:
-kitchen areas for sta in shops, oces or other work
environments;
-farms;
-by customers in hotels, motels and other residential
environments;
-guest room type environments.
48. This appliance is intended to be used by expect or
trained users in shops, in light industry and on farms, or
for commercial use by lay persons.


EN
10
3/ DESCRIPTION
1. Deector
2. Control panel
3. Handle (both side)
4. Castors
5. Plug xer
6. Middle condenser drain
7. Condenser drain
8. USB charging slot
9. Intake grille
10. Air outlet grille
11. Intake grille
12. Power cable
Control panel
1. Timer button
2. Fan speed button
3. Increase button
4. Decrease button
5. Mode button
6. ON/OFF button
A. Timer indicator
B. High speed fan indicator
C. Low speed fan indicator
D. Cool indicator
E. Dehumidify indicator
F. Fan indicator
Remote control
1. On/O button
2. Mode button
3. Increase button
4. Swing button (No function)
5. Timer button
6. Sleep button
7. Decrease button
8. Fan speed button
9. Unit switch button
Accessory list
1. Hose inlet x 1
2. Exhaust hose x 1
3. Hose outlet x 1
4. Window slider kit x 1
5. Window slider screws x 2
6. Window slider without hole x 1
(Optional)
7. Remote control x 1
8. Drainage hose x 1

EN
11
4/ INSTALLATION
•Unpack all parts.
•Check for completeness and shipping damage immediately after unpacking. If
your shipment is damaged or incomplete, please contact our customer service.
•Insert 2 AAA 1.5 V batteries into the remote control, make sure the battery polarity
is correct.
Select the location
•The air conditioner should be placed on a rm foundation to minimize noise and
vibration.
•The air conditioner should be placed near a window to assemble the exhaust hose.
•For safe and secure positioning, place the air conditioner on a smooth, level oor
strong enough to support it.
•The air conditioner has castors to aid placement, but it should only be rolled on
smooth, at surfaces. Use caution when rolling on carpeted surfaces or wood
oors.
•The air conditioner must be placed within reach of a properly rated grounded
socket.
•Never place any obstacles around the air inlets or outlets of the air conditioner and
do not cover the appliances’ intakes and outlets.
•Allow at least 45cm of around and above space away from the wall for ecient
working.
•The hose can be extended, but it is the best to keep the length to minimum
required. Also make sure that the hose does not have any sharp bends or sags.
45 cm
45 cm
45 cm
Install the exhaust hose
In the cool mode the air conditioner must be placed close to a window or opening so
that the warm exhaust air can be discharged outside.
1. First position the air conditioner on a at oor and make sure there’s a minimum
of 17.7” (45cm) clearance around the unit, and is within the vicinity of a power
source.
2. Extend either side of the exhaust hose and connect the hose inlet and hose outlet
to the two ends of the exhaust hose.


EN
13
Notes:
-The window slider kit has been designed to t most standard vertical and
horizontal window applications, however, it may be necessary for you to modify
some aspects of the installation procedures for certain types of windows. The
window slider kit can be fastened with screws.
-If the window opening is less than the minimum length of the window slider kit,
cut the end without the hole in it short enough to t in the window opening.
Never cut out the hole in the window slider kit.
Cut on opposite of hole
Insert the exhaust hose through the window slider hole
Ax the exhaust hose outlet into the window slider and seal them tightly.
5/ USE
The appliance can be controlled with the control panel or with the remote control. On
the following pages, operation is mainly described when using the remote control.
1. Plug the air conditioner to an outlet, the appliance goes into standby mode.
2. Press the button to turn on the air conditioner.
3. Never turn the air conditioner o by unplugging from the mains. Always press
the button, then wait for a few minutes before unplugging. This allows the
appliance to perform a cycle of checks to verify operation.
Notes:
-To ensure the receiving eect, the remote control must be no more than 7 meters
away from the air conditioner, and there should be no obstacles between the
remote control and the receiver.
-Protect the room from direct exposure to the sun by partially closing curtains
and/or blinds to make the appliance much more economical to run.
-Make sure there are no heat sources in the room.
Cool mode
•This mode is ideal for hot muggy weather when you need to cool the room.
•To set this mode correctly: Press the button a number of times until the cool
indicator lights up.
•Select the target temperature18°C-32°C (64°F-90°F) by pressing the or
button until the corresponding value is displayed.
•Select the required fan speed by pressing the button. When the fan speed is
high, the temperature drops down fast. When the fan speed is low, the temperature
drops down slower and the fan will run with lower noise.
-The most suitable temperature for the room during the summer varies from 24 °C
to 27 °C. You are recommended, however, not to set a temperature much below
the outdoor temperature. This will cause unnecessary power consumption.


EN
19
Problem Cause Solution
The appliance can not
be turned on.
•It is not plugged into the
mains.
•Plug the appliance into
the mains.
•The internal safety device
has tripped.
•Wait for 30 minutes, if the
problem persists, contact
your service center.
The appliance works
for a short time only.
•There are bends in the air
exhaust hose.
•Position the air exhaust
hose correctly and keep it
as short and free of curves
as possible to avoid
bottlenecks.
•Something is preventing
the air from being
discharged.
•Check and remove any
obstacles obstructing air
discharge.
The appliance works,
but can not cool the
room.
•Windows, doors and/or
curtains are opened.
•Close doors, windows and
curtains.
•There are heat sources in the
room (oven, hairdryer, etc).
•Eliminate the heat
sources.
•The air exhaust hose
is detached from the
appliance.
•Fit the air exhaust hose in
the housing at the back of
the appliance.
•The technical specication
of the appliance is not
adequate for the room in
which it is located.
•Buy a new appliance
adequate for your room.
During operation,
there is an unpleasant
smell in the room.
•Air lter is clogged.
•Clean the lter as
described in “Maintenance
and cleaning”section in
this manual.
The appliance does
not operate for about
three minutes after
restarting it.
•The internal compressor
safety device prevents
the appliance from being
restarted until three
minutes have elapsed since
it was last turned o.
•Please wait for three
minutes. This is normal
delay.
The following
messages appear:
Lt/PF/Ft.
•The appliance has a
self diagnosis system
to identify a number of
malfunctions.
•See the “Self-diagnosis”
section in this manual.

EN
20
8/ WARRANTY AND LIMITATIONS OF LIABILITY
This product is guaranteed for a period of 24 months (dened by local law) from
the date of purchase against any failure resulting from manufacturing or material
defects.
This warranty does not cover damage caused by improper installation, improper use,
or normal wear and tear of the product.
More specically, the warranty does not cover:
-Damage or problems caused by improper use, accident, alteration or electrical
connection of improper intensity or voltage.
-Modied products, those whose warranty seal or serial number have been
damaged, altered, removed or oxidized.
-Replaceable batteries and accessories are guaranteed for a period of 6 months.
-Failure of the battery due to overcharging or failure to observe the safety
instructions explained in the instruction manual.
-Cosmetic damage, including scratches, dents, or any other element.
-Damage caused by any intervention carried out by an unauthorised person.
-Defects caused by normal wear and tear or due to normal ageing of the product.
-Software updates due to a change in network settings.
-Product failures due to the use of third party software to modify, change or adapt
the existing software.
-Product failures caused by use without accessories approved by the manufacturer.
-Oxidised products.
Under no circumstances can the manufacturer be responsible for the loss of data
stored on the disk. Similarly, the manufacturer is not required to verify that the SIM/
SD cards are removed from the returned products.
Repaired or replaced products may include new and/or reconditioned components
and equipment.
Terms and conditions of implementation:
To obtain a warranty service, you are requested to return your product to the customer
service desk of your retail outlet with your proof of purchase (receipt, invoice, …), the
product and its supplied accessories, with its original packaging.
It is important to have the date of purchase, the model and the serial or IMEI number
on hand as information (this information usually appears on the product, the
packaging or your proof of purchase).
Failing this, you must return the product with the accessories necessary for its proper
operation (power supply, adaptor, etc.).
In the event that your claim is covered by the warranty, the after-sales service may,
within the limits of local law, either:
-Repair or replace defective parts.
-Exchange the returned product with a product that has at least the same
functionality and that is equivalent in terms of performance.
-Refund the product at the purchase price of the product mentioned on the proof
of purchase.
If one of these 3 solutions is used, this does not give rise to the extension or renewal
of the warranty period.
This manual suits for next models
1
Table of contents
Languages:
Popular Air Conditioner manuals by other brands

Sanyo
Sanyo THX2452 user manual
Haier
Haier 1U71S2SS5FA installation manual
GE
GE AGM24DH Owner's manual and installation instructions
Samsung
Samsung DC42GTVA Service manual
Daikin
Daikin FAQ71CVEB installation manual
GD Midea Refrigeration Equipment
GD Midea Refrigeration Equipment Elite Series Technical & service manual


