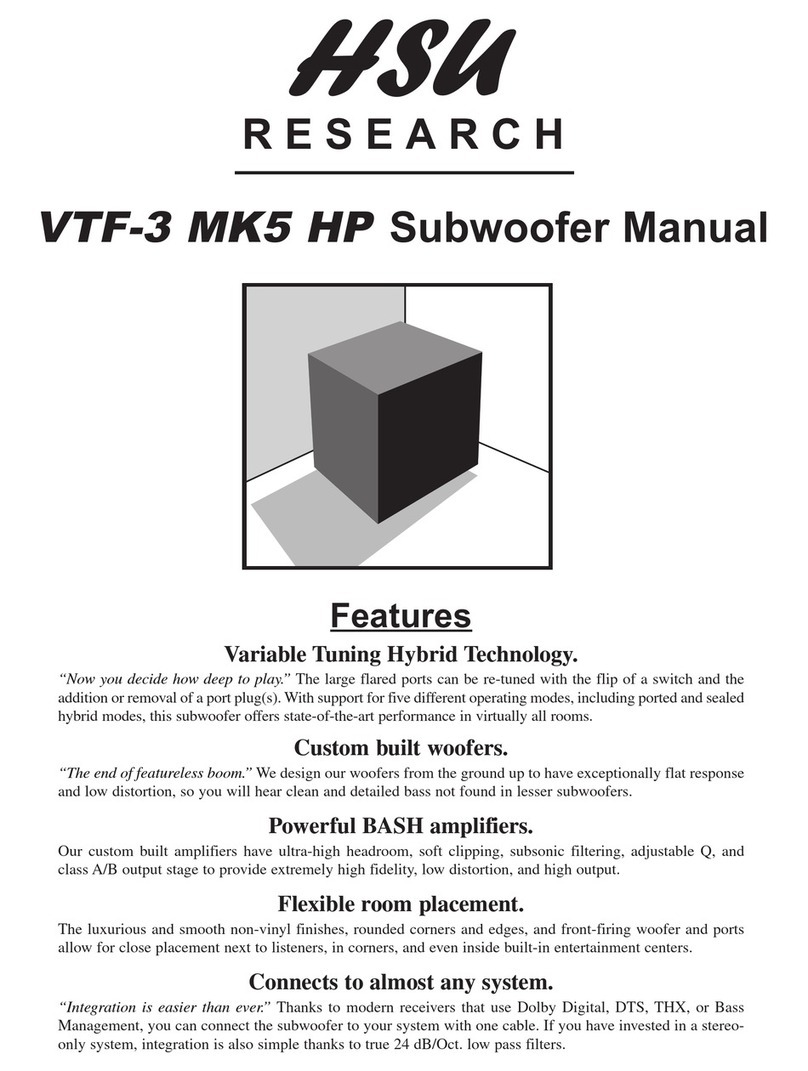
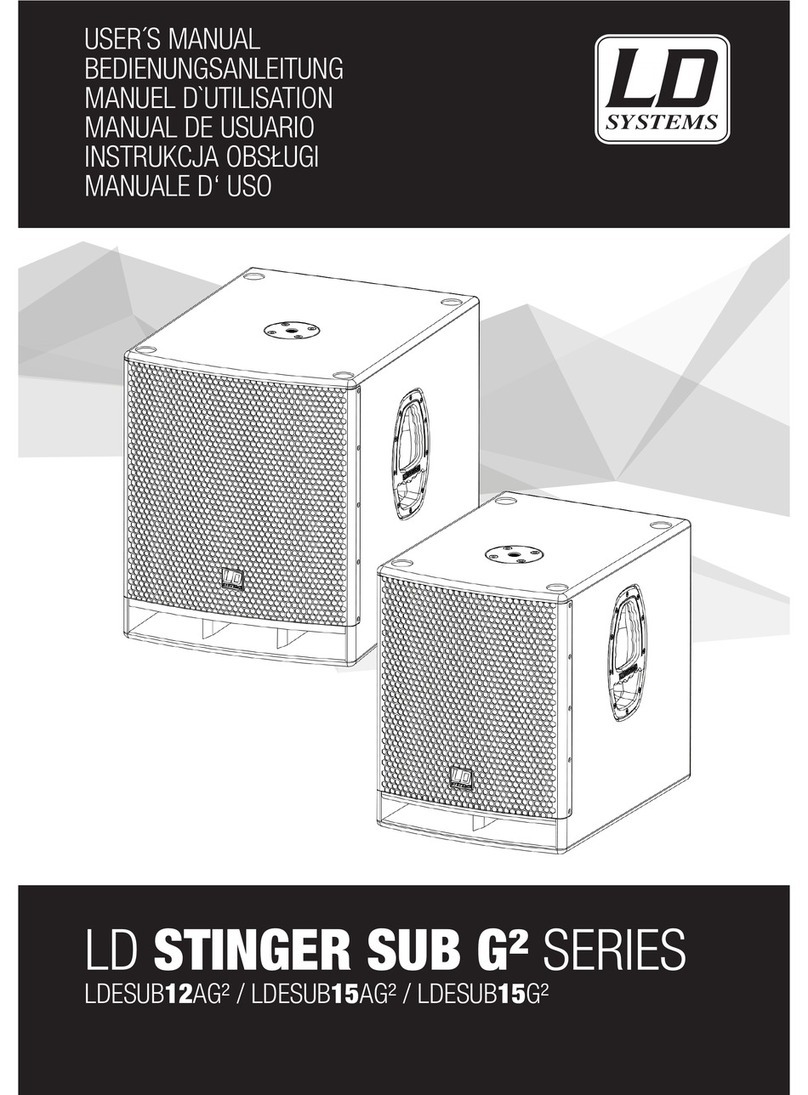
Sensa Sound V12SW User manual

V12SW User's Manual
@SensaSound USA LLC. ALL RIGHTS RESERVED www.sensasound.com Warren, New Jersey, USA


TABLE OF CONTENTS
Preface
Caution
Accessories
Important Safety Notice
Unpacking Instruction
Precaution and Suggestion
Back Panel Overview
Subwoofer Connection
Subwoofer Placement
Setting Your Subwoofer
Receiver Set Up
Specification
Design and Features
Warranty

SensaSound USA LLC V12SW User's Manual
1
Dear Valued Customer,
Thank you for your purchasing of SensaSound Professional V12SW power subwoofer. You
are about to experience the subwoofer with the latest advancements in amplifing technology.
Before you unpack and install the product, we encourage you to read through this user’s
manual to learn all the features and capabilities of your new V12SW. From correct system
connection, placement and optimized performance, this manual will guide you through from the
beginning to the end. Should you still have any questions about the products, please contact
your local dealer or directly contact us about your inquiry. Welcome to our SensaSound family,
it is time to amplify your home entertainment!
SENSASOUND TEAM
This symbol warns the presence of dangerous voltage inside the enclosure. There is a high
risk of electric shock if the product is opened at which the symbol appears. Please follow all
instructions specified in this manual.
Preface
Cautions
Accessories
AC Power Cord 1
Glove 1
User’s Manual 1
Warranty Card 1

SensaSound USA LLC V12SW User's Manual
2
Read and follow these instructions:
1. Do not use this subwoofer anywhere near water or in any wet environment.
2. Clean the subwoofer only with a dry cloth.
3. Keep the subwoofer away from any sources that produce heat.
4. The subwoofer should be properly installed so that its location or position does not block any
ventilation openings. Also, it should not be placed in a built-in installation, such as a bookcase
or cabinet which may impede the air flow.
5. Power cords should be protected so that they are not likely to be walked on or pinched
especially near the plugs, convenience receptacles, and the point where they exit from the
subwoofer.
6. Do not defeat the safety purpose of the polarized or grounding-type plug.
7. Only use attachments that are specified by the manufacturer.
8. In order to prevent the damage to the product during lightning or power-line surges, unplug
the subwoofer from wall outlet.
9. Use the appropriate shipping tools when moving the subwoofer to avoid the injury from tip-
over and fall-off.
10. Do not overload wall outlet and extension cords in order to avoid the risk of fire or electric
shock.
11. Ask for service assistance from qualified personnel when amplifier has been damaged, such
as damage to the supply cord or plug, liquid spillage into the amplifier, damage to the subwoofer
from fallen objects, significant change in performance, malfunctions or water exposure etc.
12. Unplug the power cord from subwoofer when unused for a period of time.
13. The objects which are filled with water, such as vases, should not be placed on the
subwoofer.
14. Do not place the amplifier on unstable stand, shelf, bracket or table. This may cause a
serious injury and product damage. Please follow all instructions in this manual.
Important: Turn off all equipment before you making any connection.
Important Safety Notice

SensaSound USA LLC V12SW User's Manual
3
1. Before unpacking the box, check the integrity of the package and ensure that there is no
visual signs of damage. Otherwise you should consult your SensaSound dealer before you start
the installation.
2. When unpacking the box, handle with care in order to avoid any damage to the product.
3. Keep the original carton for future shipping.
Important: Turn off all equipments before you making any connection.
1. Normally subwoofer unit is heavy weight, it is important that you properly handle the unit
unpacking, movement and placement, this will help to avoid unnecessary damage to the unit,
operator and floors.
2. Properly connect the system for achieving the best performance. Failing to do so may cause
noise or damage to your equipments. If possible, choose the highest quality cable within your
budget. You need thicker cable for longer runs.
3.V12SW is capable of delivering a high-level output to support the bass from your audio
system. We recommend to adjust the sound pressure at a comfortable listening volume.
Unpacking Instruction
Precaution and Suggestion

SensaSound USA LLC V12SW User's Manual
4
Back Panel Overview
LEFT
INPUTS
RIGHT/LFE
100-120/220-240V
~50/60Hz 1.6A
FUSE T1.6A L 250 V
V12SW
Designed and engineered in USA.
©SENSASOUND USA LLC.
All RIGHTS RESERVED.
Warren, New Jersey, USA
Volume Level Control
Caution Power Connector
Low pass Filter
Range: 50-180Hz
or bypass
0-180°
Phase Shift
Subwoofer Input
Signal detection circuitry

SensaSound USA LLC V12SW User's Manual
5
1. Before you do the connection, make sure that you have prepared a dedicated subwoofer cable to
support your bass system.
2. Found the place of “subwoofer output” at the rear of your receiver and the place of “SUB IN” at
your subwoofer amplifier board, insert the subwoofer cable from the receiver’s “subwoofer output” to
subwoofer’s “SUB IN”.
3. We recommend to use a “shielded subwoofer cable” to avoid annoying signal into your bass
performance.
4. Found the place of “Power Connector” at your subwoofer amplifier board. Plug the AC power cord
into the back of your subwoofer and then into a wall outlet or power strip. DO NOT plug it into the back of
your receiver or preamp.
5. V12SW is sold with a wireless receiver. If you want to use wireless function, insert the TX transmitter
into the receiver’s “subwoofer output” instead of subwoofer cables.
Properly place the subwoofer will improve the bass performance greatly and deliver even sound pressure
level throughout your listening area. Here are a few guidelines to help finding the optimal location.
1.If you use one V12SW subwoofer, you can place it within one foot of the corner to get a greatest output
level.
2. If you use a pair of V12SW subwoofers, measure the width between two sides of your room, place
them at 1/3 and 2/3 of the room.
3.Different from 5.0 system, the placement rule of subwoofer is much flexible than 5.0 system since it is a
non directional sound unit. Use the golden rule to perform a few experiments to find a best location in the
room until your ears are satisfied with the results.
Subwoofer Connection
Subwoofer Placement
One Subwoofer Placement A pair of Subwoofer Placement

SensaSound USA LLC V12SW User's Manual
6
Recommend Initial Settings:
From top to bottom, there are four knobs at subwoofer
amplifier board for adjusting volume level, crossover, phase
and power switch. We recommend to do an initial setting first,
then fine-tune to your preference value.
Initial setting suggestion:
LEVEL: 12 o’ clock to 2 o’clock
Crossover: 80-100 Hz
Phase: 0 º
Power: Auto
Frequency Response.........................................................................................20Hz~150Hz
Max Power..................................................................................................................400W
Woofer......................................................................................12"Polypropylene Bass Cone
Type..................................................................................Low-Frequency Reflex Subwoofer
Amplifier Type.............................................................................................Class D Amplifier
Dimensions (W*H*D).........................................................14.2"*15"*14.2"(36cm*38cm*36cm)
Weight........................................................................................................35.2 lbs(16.0 Kg)
Most modern receivers support “On Screen Setup”, you can easily setup your subwoofer by
following the screen setup guidelines.
Enter into receiver’s setup menu and go to “Speaker Setup”. Set the subwoofer value to
“LFE + Main” if your front speakers are “small”; if your front speakers are “large”, then
set up the subwoofer value to “LFE”
When set up the “crossover”, it’s important to match the crossover point between the front
speaker and subwoofer. (e.g. if your front speaker crossover is at 80Hz, your subwoofer should
set at 90Hz for the best result)
In the speaker distance menu, you should measure the distance between your subwoofer and
your mainly listening position, then input the distance value into the menu.
The last step is to set up the volume level. You can set the volume at subwoofer’s amplifier
board at 12 o’clock or 2 o’clock place first, then fine-tune the “level calibration” knob at
receiver for you preference SPL level.
Setting your Subwoofer
Receiver Set Up
V12SW Specification

SensaSound USA LLC V12SW User's Manual
7
V12SW is equipped with our state-of-the-art technologies; it is designed to deliver solid and deep bass
to support any hi-fi or home theater systems. This Subwoofer utilizes a 400 watts Class D amplifier with
high effectiveness of power supply, very low-level heat emission to guarantee the highly safety of the
circuits. Unlike traditional subwoofers, this 12” unit offers advanced polypropylene bass cone, which is
distinguished by its high rigidity and low mass driver, making the V12SW full of precision with very low
distortion even at extreme listening levels.
V12W adopts a front-firing design with a ported driver at the base to produce a very deep and explosive
bass output. The High Density Fiberboard (HDF) enclosures successfully reduce cabinet vibrations and
resonance to deliver the bass with a vanishingly low distortion.
Additionally, this V12SW supports wireless function with a TX transmitter. It can be connected with the
audio source wirelessly to rescue you out from the intricate cable nets. The V12SW will undoubtedly add
solid, deep, room-shaking bass to elaborate the experience of your listening and movie watching.
·Advanced 12" Front-Firing Polypropylene Bass Cones
This bass driver features its rigidity to endure extreme-level
driver movement and impacts, it can deliver a solid and deep
bass with no distortion.
·Wireless Connection with TX Transmitter
V12SW is designed and built with the wireless function
combined with our TX transmitter. Your subwoofer can boost a
flexible placement and free of cable constraint.
·400 Watts Class D Power Amplifier
V12SW uses an efficient 400 watts class D amplifier with a
high current switching power supply. This allows maximum
performance output with very low heat emission.
·Advanced Rubber and Butyl Suspension
The rubber and butyl suspension ensures smooth response,
deeper and louder bass performance and ideal linearity.
·Anti-Resonant HDF Cabinet
V12SW cabinet is made of solid High Density Fiberboard (HDF)
to guarantee that the cabinet is perfectly free of any unwanted
vibrations.
Design
Features

SensaSound USA LLC V12SW User's Manual
8
We promise that all SensaSound speakers are elaborately designed and manufactured with the most
strict quality requirements. Under normal use we warranty them free from defects in materials and
workmanship for a certain amount of time from the original purchase date.
·The warranty for V12SW amplifier is valid for 1 year.
·The warranty for other parts of V12SW is valid for 3 years.
If any defects in materials and workmanship occur within the limited warranty period, you can get
immediate help from the following ways:
Contact the dealer from whom you purchased the product
Or you can send an email to [email protected]
However, after the warranty period, you will be responsible for the charges incurred from spare parts,
labor service and shipments, etc.
No matter which way you choose to obtain the service, we need the information of model, serial number,
original purchase date and detailed problem description from you. Once we have confirmed that any parts
need to be repaired or replaced, it is required that you carry or send your products to the SensaSound
dealer where you bought them. Please note, that we also need your warranty card and purchase proof,
so keep them in a secured place after your purchasing of SensaSound products.
Important:
Please do not entrust any repair work to unauthorized person or party. Only the authorized SensaSound
dealers and distributors can provide the original components necessary for servicing the products. We do
not warranty any service to any modified parts that are not from authorized ways.
Warranty does not include (but are not necessarily limited to) :
·Those caused by force majeure and acts of nature.
·Damages caused by any use other than correct use described in the user manual.
·Damage caused by improper installation, adjustment or was installed in seal up environment.
·Damage caused by shipment other than arranged by SensaSound.
·Bought, repaired, modified or use of parts that are not made or authorized by SensaSound.
·If the serial number has been altered, defaced or removed.
·For deterioration of component parts, the nature of which is to become worn or depleted with use.
Shipping charge:
If the repairs are covered by the warranty, you need to pay for the charge incurred from sending
the product to the maintenance point, and SensaSound will pay for the return shipping charge.
We provide all support and guidance to make sure the process moves smoothly.
Warranty

SensaSound USA LLC
P.O. Box 4137, Warren, NJ 07059, USA
www.sensasound.com
Table of contents
Other Sensa Sound Subwoofer manuals
