10
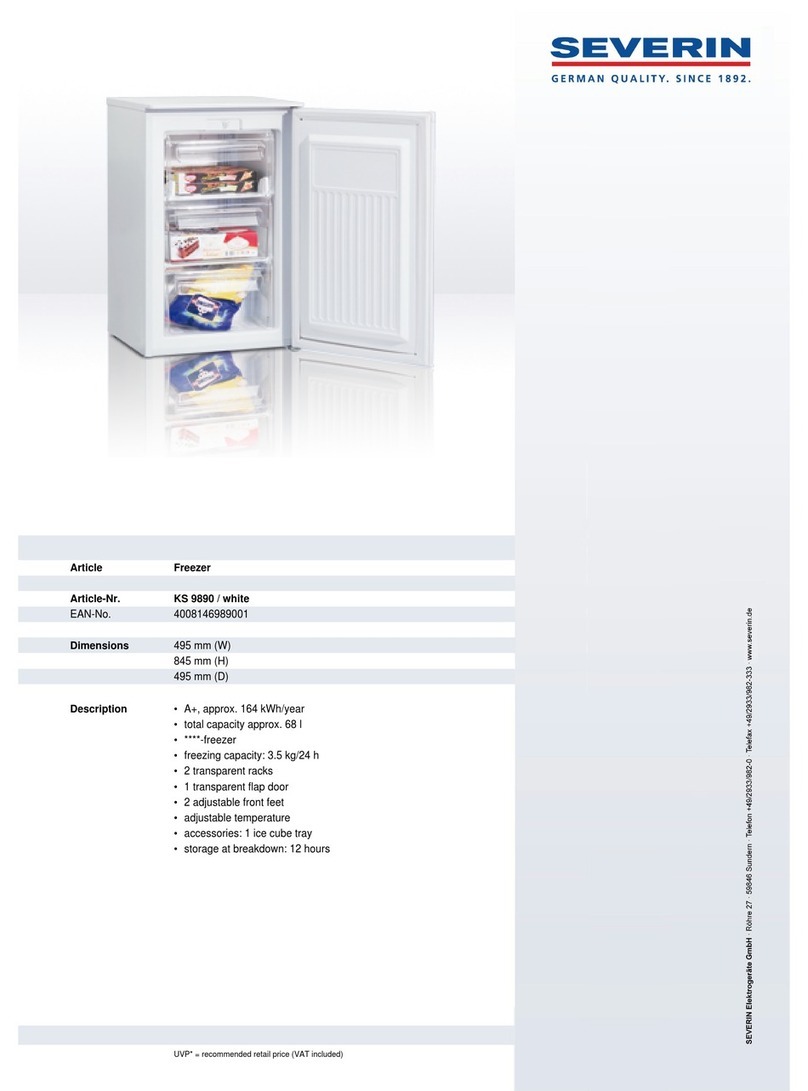
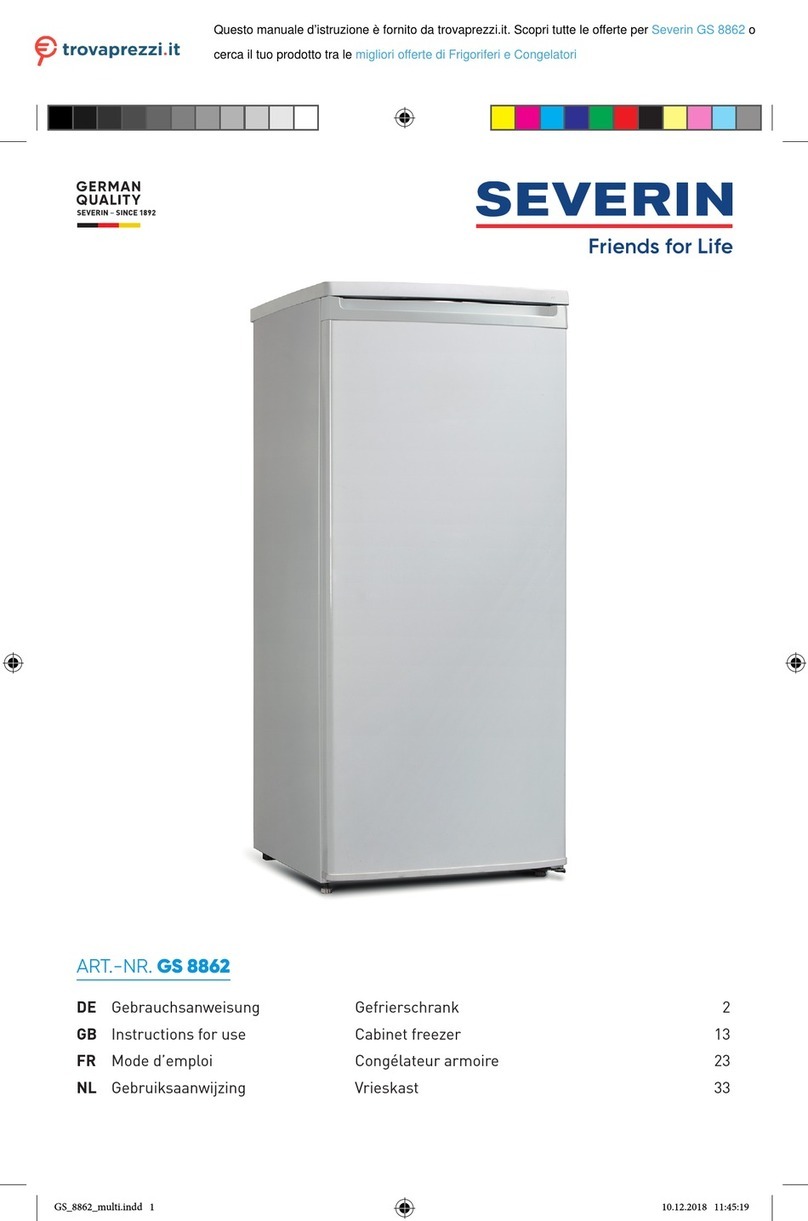
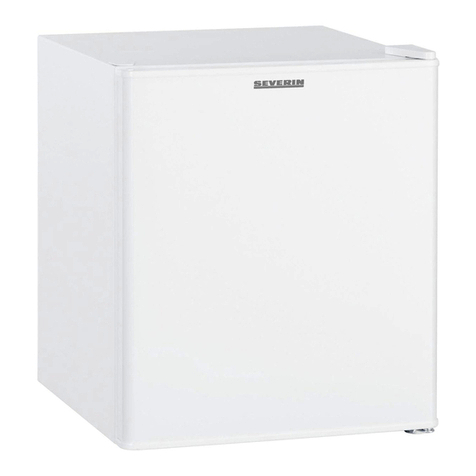
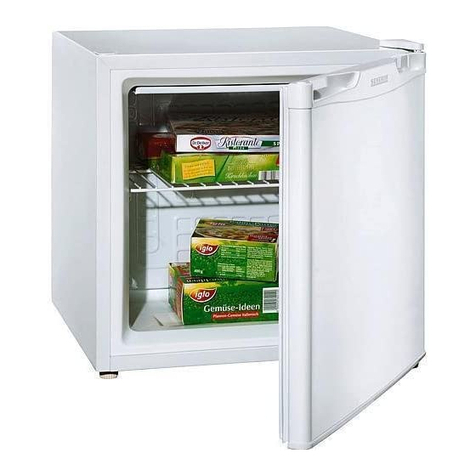
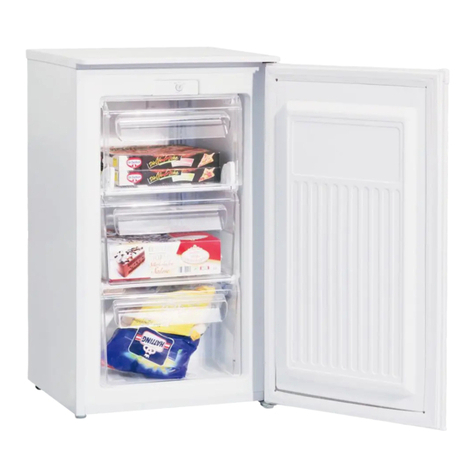
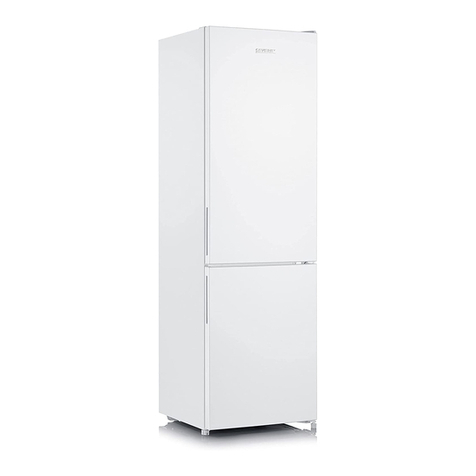
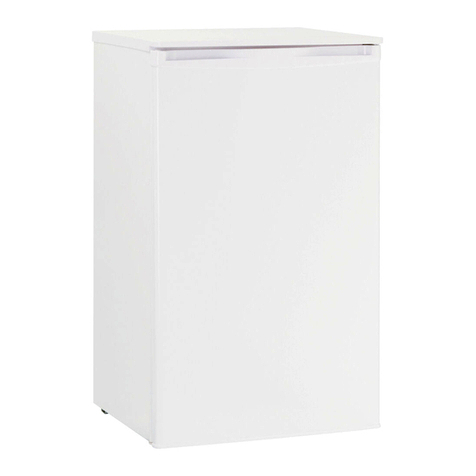
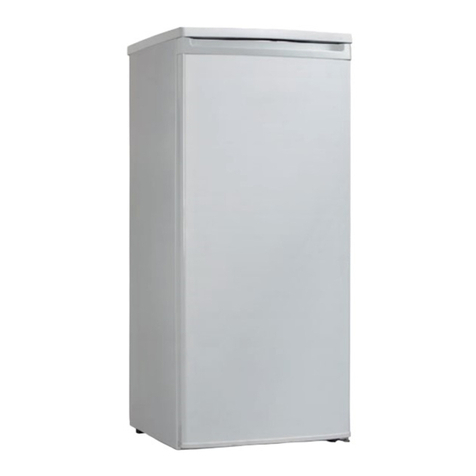
Abbildung ähnlich!
1. Gefrierschranktür öffnen.
2. Entfernen Sie die vier Abdeckungen Cvon Gehäuse
und Türinnenseite.
3. Setzen Sie bei der zweigeteilten Abdeckung die
Verlängerung um 180° gedreht auf der Gegenseite
wieder ein.
4. Schrauben Sie den Bolzen in der Türinnenseite im
Bereich C/6 heraus. Achtung! Tür festhalten.
5. Nehmen Sie die Gefrierschranktür ab und legen Sie
sie auf eine weiche Unterlage. Schrauben Sie den
Türanschlag von der Türunterseite ab und schrauben
Sie den beiliegenden Türanschlag auf der Gegenseite
an.
6. Schrauben Sie die obere Halterung 6ab. Beachten
Sie das Kunststoffplättchen unter der Halterung.
7. Drehen Sie die Halterung 6samt Kunststoffplättchen
um 180° und schrauben Sie sie auf der anderen
Gefrierschrankseite in die beiden freien
nebeneinander liegenden Bohrlöcher wieder ein.
8. Nehmen Sie die untere Abdeckleiste 1ab, indem Sie
sie leicht nach oben ziehen.
9. Schrauben Sie Halterung 2mit dem Bolzen ab.
10. Schrauben Sie den Bolzen mit den Zahnscheiben aus
der Halterung heraus und dann in der Öffnung auf der
Gegenseite der Halterung wieder ein.
11. Nehmen Sie Halterung 7ab und ersetzen Sie diese
durch Halterung 2mit dem Bolzen.
12. Halterung 7kommt an die frühere Stelle von Halterung
2.
13. Setzen Sie die Gefrierschranktür auf den Bolzen von
Halterung 2. Achtung! Tür festhalten.
14. Setzen Sie den Bolzen der Halterung 6in die
Gefrierschranktür ein und schrauben Sie die Halterung
am Gerät fest.
15. Decken Sie die Halterung und die freien Öffnungen mit
den vier Abdeckkappen Cab.
16. Entnehmen Sie die Abdeckkappe 10 aus Abdeckleiste
1und setzen Sie sie auf der gegenüberliegenden
Seite wieder ein.
17. Setzen Sie die Abdeckleiste 1wieder in das Gerät ein.
18. Entfernen Sie die Schraubenabdeckkappen a und die
Verschlussstopfen b.
19. Drehen Sie die Schrauben des Türgriffes heraus.
Schrauben Sie den Griff auf der Gegenseite wieder
fest. Die mitgelieferten Verschlussstopfen drücken
Sie in die verbliebenen Öffnungen in der Tür und die
Schraubenabdeckkappen auf die Schrauben.
Entsorgung
Geräte, die mit diesem Symbol gekennzeichnet
sind, müssen getrennt vom Hausmüll entsorgt
werden. Diese Geräte enthalten wertvolle
Rohstoffe, die wiederverwertet werden können.
Eine ordnungsgemäße Entsorgung schützt die Umwelt und
die Gesundheit Ihrer Mitmenschen. Ihre
Gemeindeverwaltung bzw. Ihr Fachhändler gibt Auskunft
über die ordnungsgemäße Entsorgung.
∙Ziehen Sie vor der Entsorgung den Netzstecker aus der
Steckdose und trennen Sie das Netzkabel vom Gerät.
∙Das Kältemittel Isobutan (R600a) und das
Treibmittel in der Isolation Cyclopentan
(C5H10) sind brennbare Stoffe und müssen
fachgerecht entsorgt werden.
∙Beachten Sie, dass die Rohre des Kühlkreislaufes bis
zur fachgerechten Entsorgung nicht beschädigt werden
dürfen.
Garantie
Von den nachfolgenden Garantiebedingungen bleiben
die gesetzlichen Gewährleistungsrechte gegenüber
dem Verkäufer und eventuelle Verkäufergarantien
unberührt. Wenden Sie sich im Garantiefall daher direkt
an den Fachhändler. Zusätzlich gewährt SEVERIN eine
Herstellergarantie von zwei Jahren ab Kaufdatum. In
diesem Zeitraum beseitigen wir kostenlos alle Mängel,
die nachweislich auf Material- oder Fertigungsfehlern
beruhen und die Funktion wesentlich beeinträchtigen.
Weitere Ansprüche sind ausgeschlossen. Von der Garantie
ausgenommen sind: Schäden, die auf Nichtbeachtung
der Gebrauchsanweisung, unsachgemäße Behandlung
oder normalen Verschleiß zurückzuführen sind, ebenso
leicht zerbrechliche Teile wie z. B. Glas, Kunststoff oder
Glühlampen. Die Garantie erlischt bei Eingriff nicht von
SEVERIN autorisierter Stellen. Sollte eine Reparatur
erforderlich werden, setzen Sie sich bitte telefonisch oder
per Mail mit unserem Kundendienst in Verbindung. Die
Kontaktdaten finden Sie im Anhang der Anleitung.
Angaben für Kundendienst
Sollte eine Reparatur erforderlich werden, wenden Sie sich
mit Fehlererklärung direkt an die Service-Hotline. Notieren
Sie sich vorher die Art.-Nr. KS ... vom Typenschild des
Gerätes (siehe Abb.), da diese für die optimale Abwicklung
benötigt wird.
