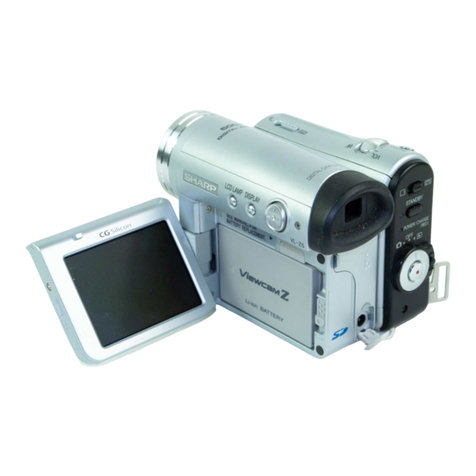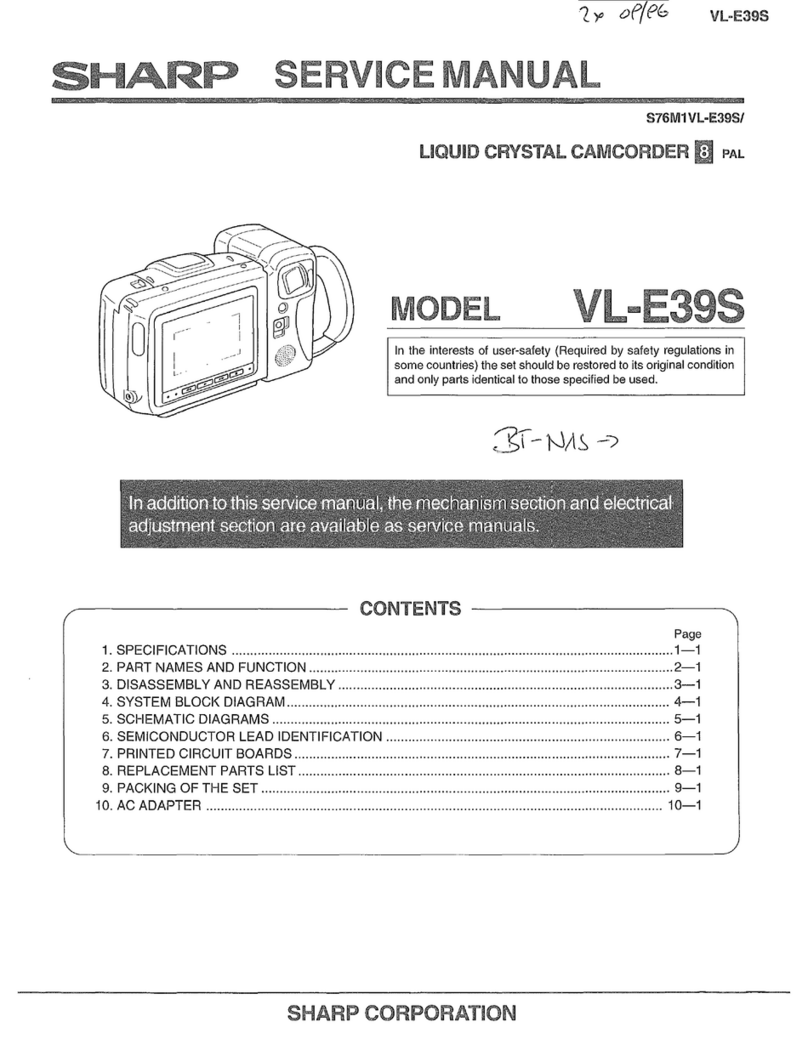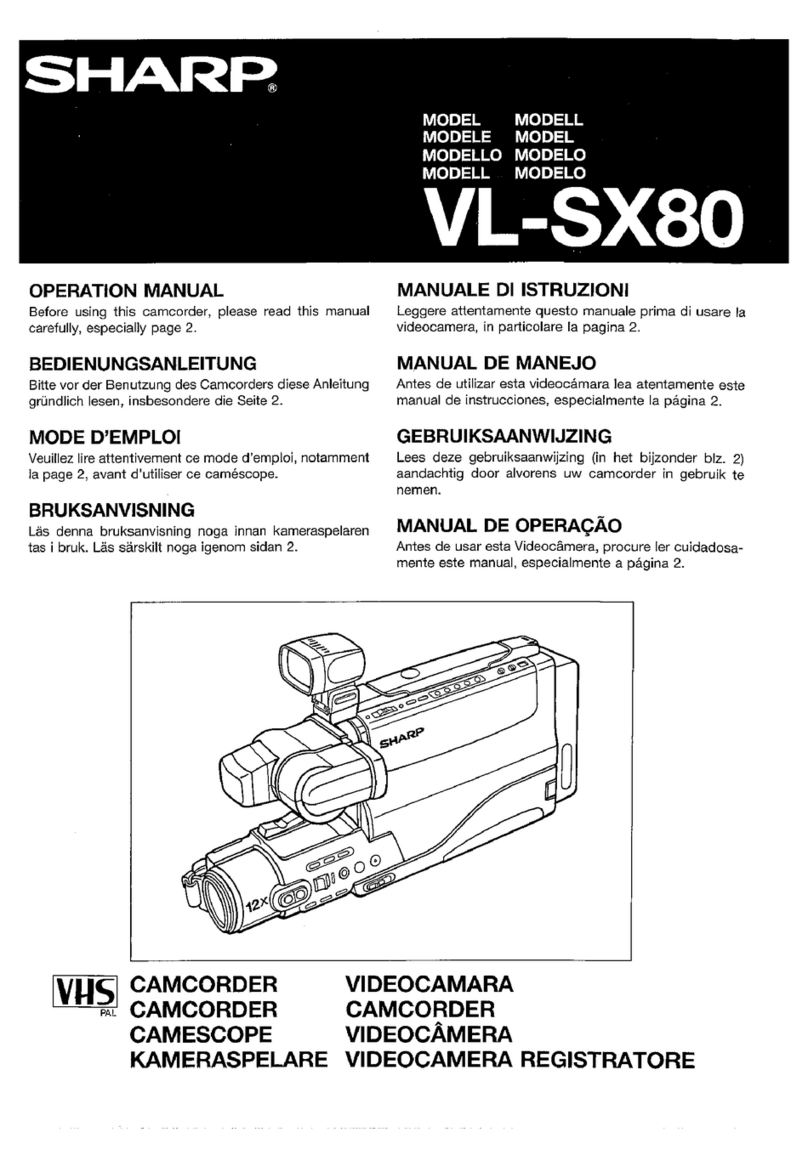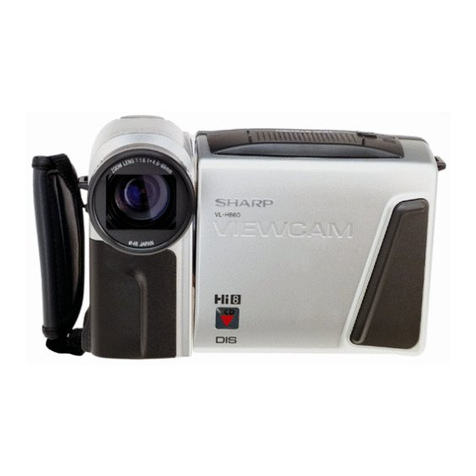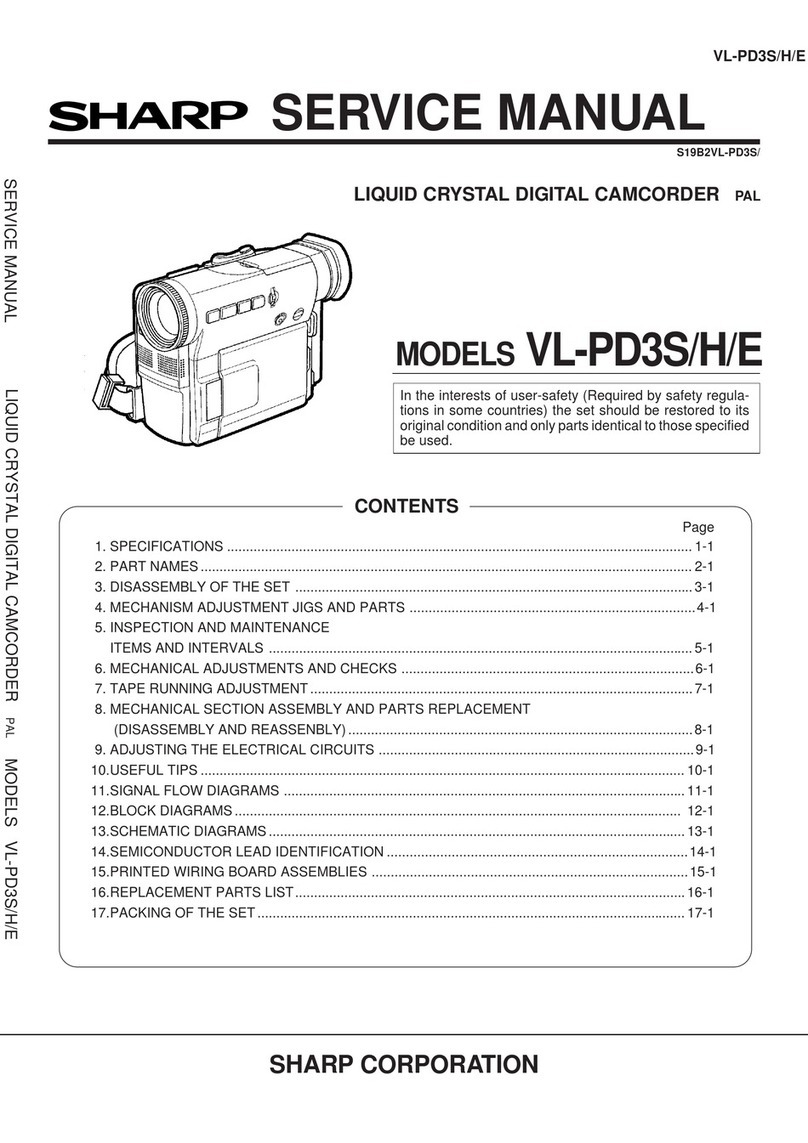
VL-E610S/VL-E610H
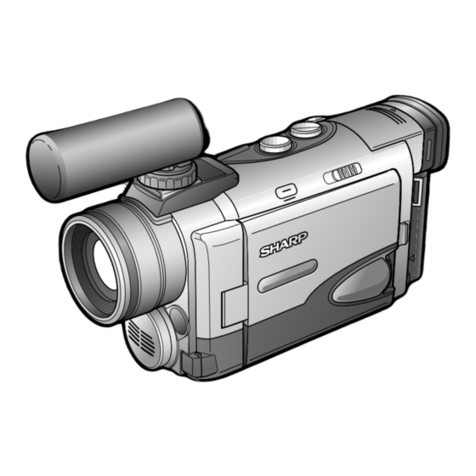
VL-E660S/VL-E96E
VL-E98E
1. SPECIFICATIONS
Signal System: PAL standard
Recording System: 2 rotary heads, helical scanning system
Cassette: 8 mm video tape, MP type
Recording/Playback Time: 120 minutes (P5-120)
Tape Speed: 20.051 mm/second
Pickup Device: 1/4" (6.4mm, effective size: 4.5 mm) CCD image sensor with approx.
320,000 pixels including optical black
Lens: 16 ×power zoom lens (F1.4, f=4.0-64.0 mm) and full-range auto focus
Lens Filter Diameter: 46 mm
Monitor: 3" (7.5 cm)—full-color LCD screen (TFT active matrix)
Microphone: Electret monaural microphone
Color Temperature Compensation: Auto white balance
Minimum Illumination: 0.8 lux* (5 lux measured by EIA standard) (with gain-up, F1.4)
Video Output Level: 1.0 Vp-p 75-ohm unbalanced
Audio Output Level: –8 dBs, impedance less than 2.2 kohms
Speaker Output: 200 mW
Power Requirement: DC 3.6V
Power Consumption:
E610S/E610H/E96E:4.8W (during camera recording in full auto mode
with zoom motor off, and backlight in normal mode)
E660S/E98E:4.9W (during camera recording in full auto mode with zoom
motor off, Extend Zoom, DIS and Snapshot functions off, and backlight
in normal mode)
Operating Temperature: 0°C to + 40°C (32°F to 104°F)
Operating Humidity: 30% to 80%
Storage Temperature: –20°C to +60°C (–4°F to 140°F)
Dimensions (approx.): 182 mm (W) ×109 mm (H) ×99 mm (D)
Weight (approx.): 690g
(without battery pack, lithium battery, video cassette, and lens cap)
*(VL-E610S, VL-E660S, VL-E96E)
Specifications are subject to change without notice.
Battery Pack BT-H22
DC Output: 3.6V
Dimensions (approx.): 2 1/8" (W) ×3/4" (H) ×2 7/32" (D)
[54 mm (W) ×19 mm (H) ×
56 mm (D)]
Weight (approx.): 0.30 lbs (136 g)
AC Adapter/Battery Charger
UADP-0280TAZZ
UADP-0281TAZZ(VL-E610H)
Power Requirement: AC 110-240 V, 50/60 Hz
DC Output: 4.5 V
Power Consumption: 16 W
Dimensions (approx.): 75 mm (W) ×51 mm (H) ×
130 mm (D)
Weight (approx.): 220 g
1-1

