siphon king 48350 User manual

Owner’s Manual
Siphon King® Gas Powered Water Pump
Model #48350

Quick Start
1. Unpack and check contents.
2. Fill engine crankcase with supplied 10W-40 or 10W-30 oil to full level. Top o with addional
oil as necessary. (PG 15)
3. Fill Fuel Tank with unleaded 86 octane or higher Fuel with 10% or less ethanol. (PG 14-15)
4. Aach inlet hose, Discharge Hose, and aachments. (PG 7)
5. Move pump to ready posion. (PG 6)
6. Prime pump per instrucons. (PG 9)
7. Start pump per instrucons. (PG 9)
Siphon King® Gas Powered Water Pump - Technical Specicaons
General
Product Name Siphon King® Gas Powered Water Pump
Model Number (SKU) 48350
Length 11.5”
Width 11.5”
Height 13”
Weight 18.9 lbs
Packaging Dimension 16.5” x 12.6” x 14.6”
Engine
Engine Type 4-Cycle, Single Cylinder
Displacement 40 cc
Cooling System Air Cooled
Ignion System Transistor Magneto
Starng System Recoil Starter
Operang Mode Connuous Operaon
Engine Oil SAE 10W-30 or 10W-40 API SM
Engine Oil Capacity 2.7 oz
Fuel Unleaded; 86 or higher
Fuel Tank Capacity 0.2 US gal
Spark Plug Gap 0.024”
Idle Speed 3,300 ± 100 r/min
Pump
Sucon Port Diameter 1.0”
Discharge Port Diameter 1.0”
Max. Total Head 82
Max. Sucon Head 25
Discharge Capacity 39.6 gal/min (max)
WARNING
Do not operate in enclosed areas. Engine exhaust produces carbon monoxide
that could lead to serious injury or death.
Gasoline is highly ammable and explosive.
You can be burned or seriously injured when handling fuel.
Stop the engine and keep heat, sparks, and ames away during refueling.
Handle fuel only outdoors.
Wipe up spills immediately.
A – 6’ Hose (2)
B – Oil (1)
C – Strainer (1)
D – Garden Hose Adapter (1)
E – Large O-Ring Seal (Garden Hose Adapter) (1)
F – Hose Adapter #2 (2)
G – Wrench (1)
H – Small O-Ring Seal (Hose) (2)
I – Hose Adapter #1 (2)
J – Hose Clamps (3)
Pump (not shown)
A
A
C
D
EF G H I
J
B
2 3

Pump Safety
This pump is designed to pump only water that is not intended for human consumpon, and other uses can
result in injury to the operator or damage to the pump and other property.
Pump Operaon
Pump only water that is not intended for human consumpon. Pumping ammable liquids, such as gasoline or fuel oils,
can result in a re or explosion, causing serious injury. Pumping sea water, beverages, acids, chemical soluons, or any
other liquid that promotes corrosion can damage the pump.
Refuel with Care
Gasoline is extremely ammable, and gasoline vapor can explode. Always refuel outdoors in a well-venlated area with the
engine shut o. Never smoke near gasoline and keep other ames and sparks away. Clean any spilled fuel prior to starng
engine.
Hot Exhaust
The muer becomes very hot during operaon and remains hot for a while aer stopping the engine. Do not touch the
muer while hot. Let the pump cool before transporng or storing it indoors.
Carbon Monoxide
Exhaust gas contains poisonous carbon monoxide. Avoid inhalaon of exhaust gas. Never run the engine in a closed garage
or conned area.
Safety Label Locaon
Please read labels carefully.
Controls
Ignion Switch
The Ignion Switch controls the ignion system. It must be in the
ON posion for the engine to run. Turning the switch to the OFF
posion stops the engine.
Choke Lever
The Choke Lever opens and closes the valve in the carburetor.
The CLOSED posion enriches the fuel mixture for cold starts.
The OPEN posion provides opmum fuel mixture for operaon
aer starng and starng a warm engine.
Throle Lever
The Throle Lever controls engine speed and ow rate of the
water being pumped. Moving the Throle Lever in the direcons
shown makes the engine run faster or slower. Pump output
reects engine speed.
Pull Cord
Pull Cord is used to crank the engine for starng.
Slow
Fast
4 55

Before Opera on
Read and understand this manual; know what the controls do and how to operate them. Familiarize yourself
with the pump and its opera on before you begin pumping water.
For your safety and to maximize the service life of your Pump it is very important to take a few moments before
opera on to check its condi on.
• Look around and underneath the pump for signs of oil or gasoline leaks
• Remove any excessive dirt or debris
• Look for any signs of damage
• Check that all nuts, bolts, screws, Hose connec ons and Clamps are ght
• Check condi on of Hoses
• Check that the Strainer is in good condi on
Before Star ng Pump
• Check engine oil level. Low oil level can cause engine damage.
• Check air lter. Restric ve/dirty air lter will reduce pump performance.
• Check fuel level. Full tank will reduce interrup ons during opera on.
Pump Placement
For best Pump performance, place the
pump near the water level and use hoses
that are no longer than necessary.
As pumping height (head) increases the
pump output decreases. The length, type,
and size of the hoses can also a ect pump
output.
Suc on Hose Installa on
Use the Hose, Hose Adapter, Clamp, and seal provided with
the Pump. The Suc on Hose must be reinforced with a non-
collapsible wall or braided wire construc on to prevent Suc on
Hose collapse.
The Suc on Hose should be no longer than necessary as the
Pump performance is best when the Pump is near the water level
and hoses are short.
Never use a Suc on Hose with an inside diameter less than 1”.
Use provided Hose Clamp to securely fasten the Hose Adapters
to the Hose in order to prevent air leakage and loss of suc on.
Verify that the seal is in good condi on and replace as necessary.
A ach Hose with small O-Ring Seal to the Pump’s Inlet port.
Install provided Strainer on the other end of the Suc on Hose
and secure it with a Clamp. The Strainer will help to prevent the
Pump from becoming clogged or damaged by debris. Do not
operate the Pump without the Strainer as it could damage the
Pump.
Tighten the Hose Adapter to the pump suc on port.
WARNING
Improperly maintained pump could cause
a malfunction in which you could be
seriously injured. Always perform an
inspection before operation.
#1 Hose Adapter
O-Ring Seal
#2 Hose Adapter
Clamp
Hose
67

Discharge Hose Installa on
A ach a Hose, Hose Adapter, Clamp and Small O-Ring Seal to the Pump’s
Outlet port.
Op onal Garden Hose Adapter
An Garden Hose Adapter is supplied
with the Pump for connec ng a garden
hose to the Pump’s discharge port. Use
Large O-Ring Seal between Garden Hose
Adapter and Pump Outlet port. Hand
ghten the Adapter just enough not to
leak and then a ach the garden hose to
the adapter.
Priming the Pump
Before star ng the engine, remove the ller cap from the pump
chamber and completely ll the pump chamber with water.
Reinstall the ller cap and ghten securely.
Star ng the Pump
Cold Start
Move the Choke Lever to the closed posi on.
Warm Start
Leave the Choke Lever in the open posi on.
Move the Thro le Lever away from the IDLE posi on to about
the halfway point.
WARNING
Do not over tighten Garden Hose Adapter.
If a garden hose is used and equipped with a shut o valve
or nozzle, do not shut o the discharge water for a long
period of time as that could cause the pump to overheat.
Do not install Garden Hose Adapter on the pump suction
port as it could damage the Pump.
WARNING
Operating the pump dry could
damage the pump seal.
89

Press the Priming Bulb repeatedly unl fuel can be seen in the
clear plasc fuel return tube.
Turn the Ignion Switch to the ON posion.
Hold the carrying handle securely and pull the pull start rope
lightly unl you feel resistance. Then pull briskly in the direcon
of the arrow as shown below.
If the Choke Lever was moved to the CLOSED posion to start
the engine, gradually move it to the OPEN posion as the engine
warms up.
Aer starng the engine, move the Throle Lever to the HIGH
posion for priming and check pump output.
Pump output is controlled by adjusng the engine speed. Moving
the throle to the HIGH posion increases output while the LOW
posion will decrease output.
Emergency Stopping
To stop the engine in an emergency, turn the Ignion Switch to
the OFF posion.
Normal Stopping Procedure
Move the Throle Lever to the LOW posion.
Turn the Ignion Switch to the OFF posion.
Slow
Fast
10 11

Storage Procedure
Aer use, remove the pump drain plug and drain the pump
chamber. Remove the ller cap and ush the pump chamber
with clean fresh water. Allow the water to drain from the pump
chamber and then reinstall the ller cap and drain plug.
Servicing Pump
The maintenance schedule applies to normal operang condions. If operang the Pump under severe
condions, such as sustained high load or high temperature operaon or unusually wet or dusty condions
increase maintenance to each me Pump is used.
Safety Precauons When Servicing Your Pump
Make sure the engine is o before you begin any maintenance or repairs to eliminate potenal hazards such as:
• Carbon monoxide poisoning from engine exhaust
• Burns from hot parts
• Injury from moving parts
Read instrucons before you begin and make sure you have the tools and skills required to perform the tasks.
To reduce the possibility of re or explosion use cauon when working around gasoline. Use only nonammable
solvent and do not use gasoline to clean parts. Keep ames and sparks away at all mes.
Maintenance Schedule
Item / Maintenance
Required Each use 1st month
– 10 hours
3 months –
25 hours
6 months –
50 hours
1 year –
100 hours
2 years –
300 hours
Engine Oil
Check
Level
Change
Air Filter (Replace if
damaged)
Check
Clean
Nuts, Bolts, Fasteners Check
Spark Plug
Check
Replace
Engine Cooling Fins Clean
Fuel Tank Clean
Fuel Filter Clean
Fuel Tubes Check
Oil Tubes Check
12 13

Refueling
The Fuel Tank is translucent so that the fuel level can be seen without removing the Fuel Cap. If you are unable
to see the fuel level then it is low and fuel needs to be added. Refuel in a well-venlated area with the engine
stopped. If the engine has been running allow it to cool rst. Never refuel the engine inside a building where
gasoline fumes can reach ames or sparks.
To refuel, place Pump on at ground.
Remove the Fuel Tank Cap.
Fill tank to the boom of the ller neck.
Install Fuel Tank Cap and ghten securely.
The engine of your Pump can operate on regular unleaded gasoline with an octane rang of 86 or higher.
Do not use oil or contaminated gasoline or an oil/gasoline mixture. Avoid geng dirt or water in the fuel tank.
Use regular unleaded gasoline with no more than 10% Ethanol. Using fuel with higher Ethanol content can cause
starng or performance problems. It may also damage metal, rubber and plasc parts of the fuel system. Any
damage caused from using fuel with higher percentages is not covered under the limited warranty.
Engine Oil Level
Check the engine oil level before each use or every 10 hours of
connuous usage.
Check the engine oil level with the engine stopped and on level
ground.
Remove the oil ller cap/dipsck and wipe clean with a clean
towel or rag.
Insert and remove the dipsck without screwing it into the ller neck.
Check the oil level shown on the dipsck.
If the oil level is low, ll to the edge of the oil ller hole with the
recommended oil. 10W-40 or 10W-30. Avoid overlling or under-
lling.
Reinstall the oil ller cap/dipsck and ghten securely.
Running the engine with a low or excessive oil level can cause
engine damage. This type of damage is not covered by the
limited warranty.
WARNING
Gasoline is highly ammable and explosive.
You can be burned or seriously injured when handling fuel.
Stop the engine and keep heat, sparks, and ames away during refueling.
Handle fuel only outdoors.
Wipe up spills immediately.
Low
Full
14 15

Engine Oil Change
Drain the used oil while the engine is warm to ensure complete and quick draining.
Check that the fuel tank cap is ghtened securely.
Place a suitable container next to the engine to catch the used oil.
Remove the oil ller cap/dipsck and drain the oil into the container by pping the
engine toward the oil ller neck.
Dispose of used motor oil in a manner that is compable with local regulaons.
See secon for Engine Oil Level (PG 15) on lling instrucon
Air Filter Inspecon
Operang the engine without the air lter or with a damaged air lter will allow dirt to enter the engine and cause
damage. This type of damage is not covered by the limited
warranty.
Remove screw holding air lter cover.
Li o cover from air lter.
Remove air lter.
Air Filter Cleaning
If you operate the pump in very dusty areas, clean the air lter more frequently than specied in the
Maintenance Schedule. Refer to Air Filter Inspecon (PG 16) secon for removing Filter.
Clean air lter in kerosene and allow to dry thoroughly before reinstalling or using Pump.
Dip the air lter in clean engine oil and then squeeze out all the excess oil. The engine will smoke when started if
too much oil is le in the foam.
Wipe dirt from the air cleaner base and cover before installing cleaned lter. Do not let dirt get into the air inlet
that leads to the carburetor.
16 17

Spark Plug Service
In order to service the spark plug you will need a spark plug wrench and a #2 Phillips screwdriver.
Recommended spark plug: CMR6A.
Incorrect spark plug can cause engine damage.
Remove top cover by taking out the 3 screws shown in
images at right.
Remove any dirt from around the spark plug area and then disconnect the spark plug cap.
Remove spark plug with spark plug wrench.
Inspect spark plug for signs of wear or cracks. Replace if necessary.
Measure the spark plug gap with feeler gauge. Correct gap if necessary by bending the electrode. The gap should
be .024-.028 in.
Install spark plug carefully by hand to avoid cross threading.
Aer spark plug seats, ghten with spark plug wrench.
A loose spark plug can overheat and damage the engine. Over-ghtening the spark plug can damage the threads
of the cylinder head.
Aach spark plug cap.
Install top cover with 3 screws and ghten securely.
WARNING
Do not operate the engine with
the cover removed.
18 19

Cleaning Engine
Remove top cover by taking out the 3 screws shown in
images at right.
Inspect engine cooling ns and clean out any debris as needed.
Install top cover with 3 screws and ghten securely.
WARNING
Do not operate the engine with
the cover removed.
Fuel Filter Inspecon and Tank Cleaning
Check that the engine oil ller cap/dipsck is ghtened
securely.
Remove the Fuel Tank Cap and drain the fuel into an
approved gasoline container by pping the engine toward
the fuel ller neck.
Pull Fuel Filter out through the fuel ller neck by hooking
the fuel tubing. Be careful not to damage the fuel tubing.
Inspect Fuel Filter for dirt. If dirty, gently wash it with
nonammable or high ashpoint solvent. If excessively dirty
or damaged replace it.
Rinse sediment from fuel tank using nonammable solvent.
Insert the Fuel Filter into the fuel tank and ghten the Fuel
Tank Cap securely.
Fuel Tube inspecon
Check the fuel supply and return tubes and replace any
tube that is damaged, cracked or leaking.
WARNING
Gasoline is highly ammable and explosive.
You can be burned or seriously injured when handling fuel.
Stop the engine and keep heat, sparks, and ames away during refueling.
Handle fuel only outdoors.
Wipe up spills immediately.
20 21

Storage
Cleaning
Wash engine and pump by hand and be careful to prevent water from entering the air cleaner or muer
openings. Keep water away from the controls.
Do not use spray nozzle or power washer to clean pump or engine.
Allow engine to cool before cleaning.
Wipe dry all accessible surfaces.
Fill pump chamber with clean water and start engine outdoors. Let it run unl it reaches normal operang
temperature in order to evaporate any external water.
Stop the engine and allow to cool.
Remove pump drain plug and allow water to drain.
Install pump drain plug.
Fuel
For long term storage drain fuel tank and carburetor.
Check that the engine oil ller cap/dipsck is ghtened
securely.
Remove the fuel tank cap and drain the fuel into an
approved gasoline container by pping the engine toward
the ller neck.
Press the priming bulb several mes unl there is no more
fuel in the return tubes.
Aer all fuel is drained reinstall the fuel tank cap securely.
Engine Oil
Change the engine oil prior to storage.
Refer to Engine Oil Change (PG 16) secon.
WARNING
Gasoline is highly ammable and explosive.
You can be burned or seriously injured when handling fuel.
Stop the engine and keep heat, sparks, and ames away during refueling.
Handle fuel only outdoors.
Wipe up spills immediately.
22 23

Transporng
If the Pump has been running allow the engine to cool for at least 15 minutes before loading the Pump for
transportaon. Keep the Pump level during transportaon.
Troubleshoong
Engine
Engine Will Not Start Possible Cause Correcon
Check control posions
Choke open Move Choke Lever to closed
posion unless motor is warm
Improper throle posion Move Throle Lever to start
posion on warm motor
Ignion Switch is OFF Turn Ignion Switch to ON
Check fuel
Out of fuel Refuel
Bad fuel Drain tank and carburetor and
refuel
Remove and inspect spark plug
Spark plug faulty, fouled, or
improperly gapped
Gap or replace spark plug
Spark plug wet with fuel Dry and reinstall spark plug with
throle in fast posion and choke
open
Take engine to service Fuel lter clogged, carburetor
malfuncon, fuel line, etc.
Replace or repair faulty
equipment
Engine Lacks Power Possible Cause Correcon
Check Air Filter Air Filter dirty Clean or replace Filter
Check fuel Bad fuel or low fuel Drain tank and carburetor and
refuel
Take engine to service Fuel Filter clogged, carburetor
malfuncon, fuel line, etc.
Replace or repair faulty
equipment
Pump
No Pump Output Possible Cause Correcon
Check pump chamber Pump not primed Prime Pump
Check Sucon Hose
Hose collapsed, cut or
punctured
Replace Sucon Hose
Strainer not completely
underwater
Sink the Strainer and hose
completely
Air leak at Adapter Replace sealing washer if
missing or damaged
Tighten hose clamp and adapter
Strainer clogged Clean debris from Strainer
Check Engine Engine lacks power Check engine troubleshoong
secon
Low Pump Output Possible Cause Correcon
Check Throle Lever Throle lever not in HIGH
posion
Move lever to HIGH posion
Check Sucon Hose
Hose collapse, damaged, too
long or diameter too small
Replace Sucon Hose
Air leak at Adapter Replace sealing washer if
missing or damaged, ghten
hose adapter and clamp
Strainer clogged Clean debris from Strainer
Check Discharge Hose Hose damaged, too long or
diameter too small
Replace Discharge Hose
Check Engine Engine lacks power Check engine troubleshoong
secon
If problems persist, please contact King Innovaon for addional assistance.
Customer Service: (800) 633-0232
Engineering Hotline: (877) 771-8885
customerservice@kinginnovaon.com
24 25

Technical Informaon
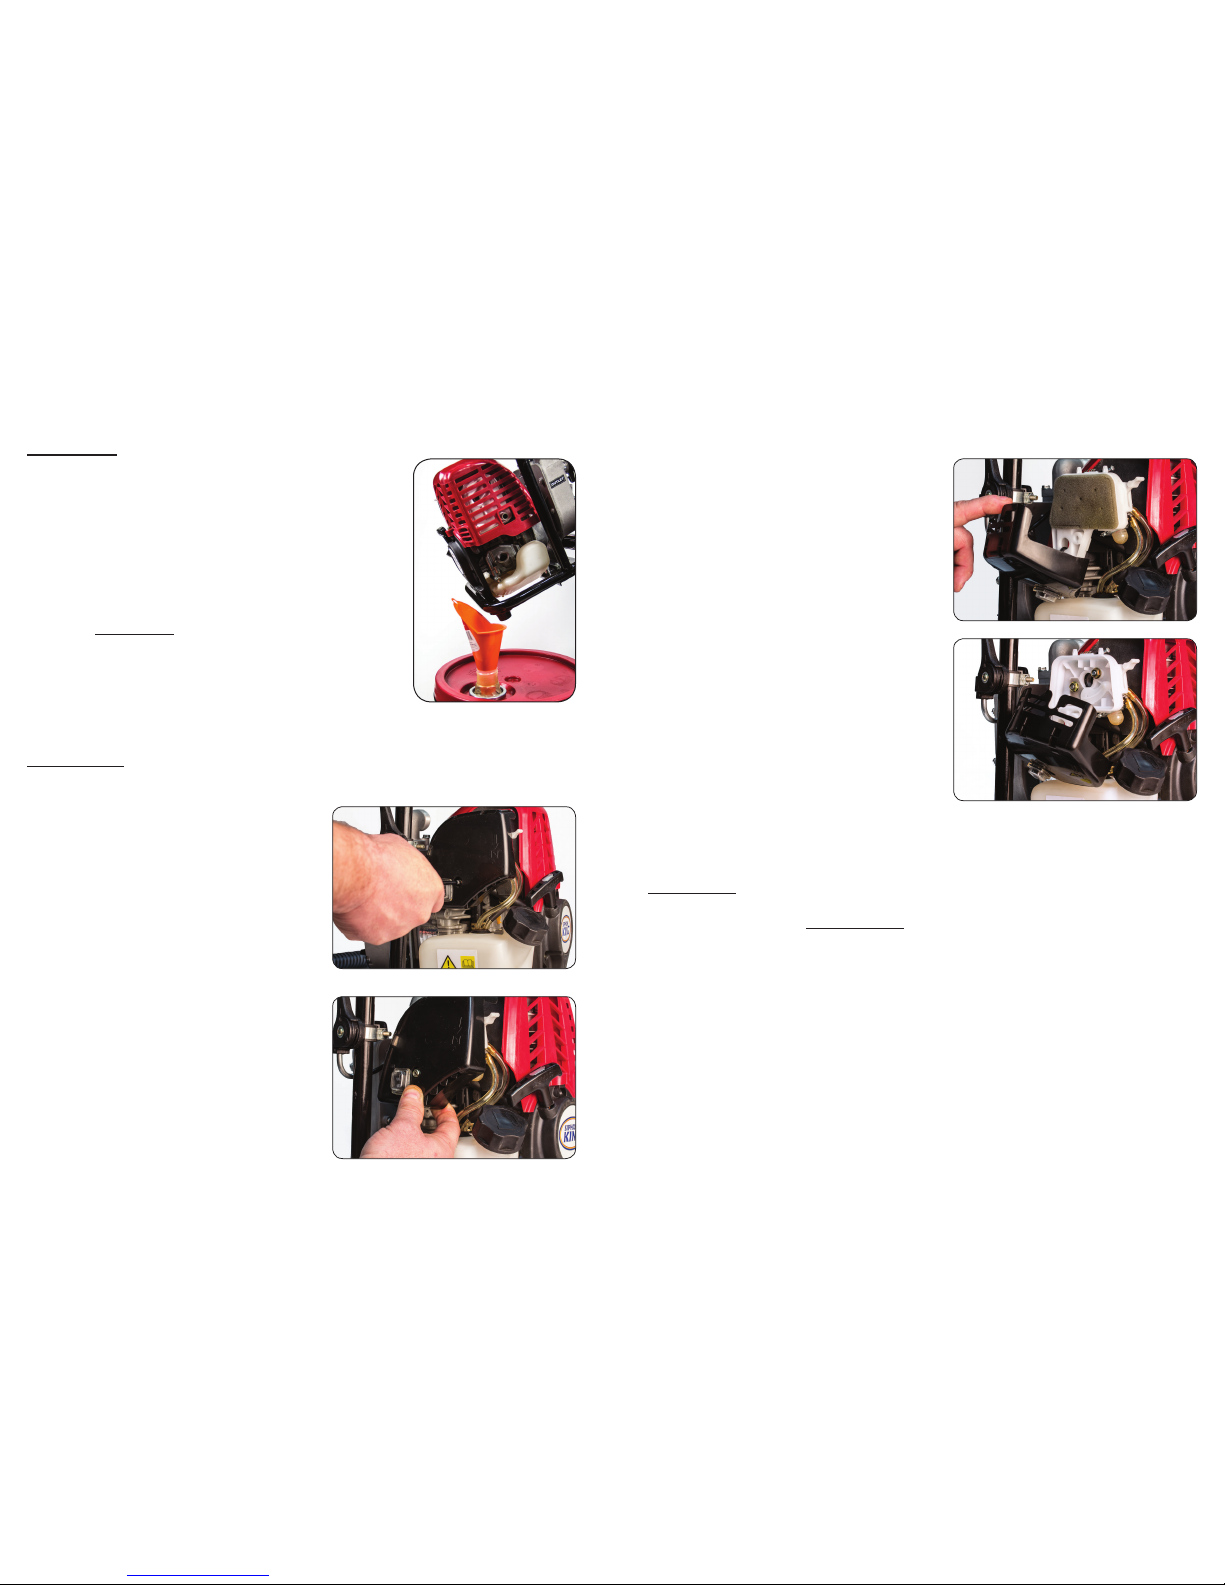
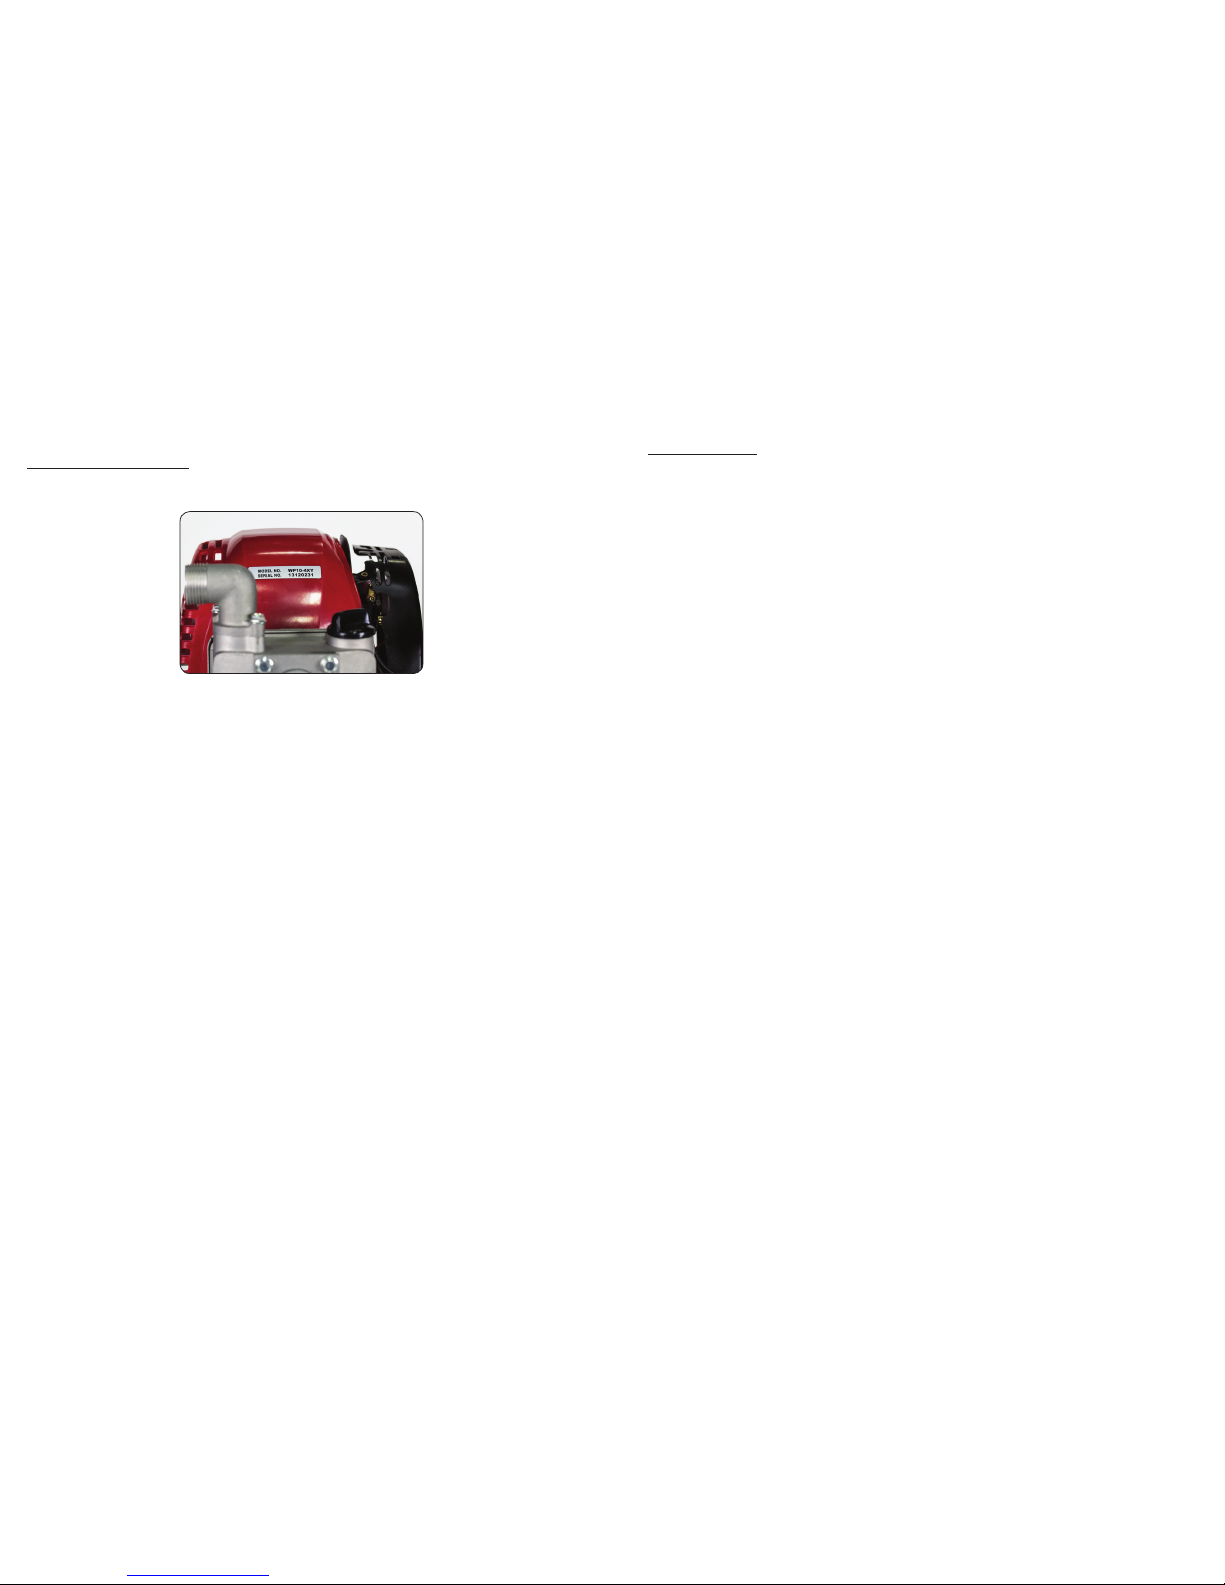
Serial Number locaon
Record the pump serial number in the space below, you will need this when ordering parts.
Serial Number: ____________________________________________
Date of Purchase: __________________________________________
Customer Service Informaon
King Innovaon®
42 N. Central Dr.
O’ Fallon MO, 63366
800-633-0232
customerservice@kinginnovaon.com
Engineering Hotline: 877-771-8885
Warranty Informaon
Prior to seeking warranty, please view troubleshoong secon of Owner’s Manual. (PG 24-25)
Limited Warranty: King Innovaon® products are guaranteed against faulty materials or workmanship for a period of one
year from date of purchase. Pump returns require a pre-approval from King Innovaon. Return transportaon charges
must be prepaid back to the factory. All returns must be accompanied by proof of purchase / date of purchase , i.e. sales
receipt. Proof of purchase rests solely with the customer. Product returned to King Innovaon within this warranty period
showing defects in material or workmanship will be repaired or replaced F.O.B. factory without charge.
The liability of the Company is limited to the repair or replacement of the defecve parts. In no case will the Company
be liable for damage or loss incurred because of interrupon of service or for consequenal damages, labor, or expense
required to repair or replace defecve units. This warranty, which is given expressly and in lieu of all other warranes,
expressed or implied, or merchantability and tness for parcular purpose, constutes the only warranty made by the
Company.
All fuel, oil and water must be drained from the Pump before return shipment to factory. For instrucons on how to do so,
please refer to long term storage secon of Product Manual. (PG 22-23)
The warranty does not cover damage caused by:
• Damage caused by lack of lubricaon / oil.
• Damage caused by use of gasohol, containing methanol wood alcohol, or gasoline containing less than 86 octane.
Only use unleaded gasoline which contains 86 octane or higher.
• Engine damage caused by use of ether or starng uids.
• Damage caused by tampering with engine speed governor or emission components, or running engine above
specied recommended engine speeds.
• Operaon of the pump without a properly maintained or removed air lter.
• Damage caused by dirt, pressure washing, steam cleaning, salt water, corrosion, rust, or abrasives.
• Defects, malfuncons, or failures caused by abuse, misuse, modicaons, alteraons, normal wear, improper
servicing, or use of unauthorized aachments.
• Incorrect storage procedures, stale fuel, including failure to perform required maintenance services as prescribed in
the owner’s manual. Preventave maintenance as outlined is the customer responsibility.
• Failure due to improper set-up.
• Certain parts are not warranted including but not limited to, lubricants, starter cord.
• Use of spark plug other than those meeng the requirements of the OEM spark plug listed in owner’s manual.
• Overheang failure due to restricted, clogged exhaust port or combuson chamber including spark arrestor screen.
• Adjustments aer the rst (30) days and beyond, such as carburetor adjustment and throle cable adjustments.
• Damage caused to gears and gear cases caused by contaminated grease or oil, use of incorrect type of viscosity of
lubricants, and /or failure to comply with recommended grease or oil change intervals.
• Damage caused by running the pump dry, pumping causc or ammable materials, or lack of or broken strainer.
• Addional damage to parts or components due to connued use aer operaonal problem or failure occurs.
Should operaonal problem or failure occur, the product should not be used. Product should be returned as stated
above in “Limited Warranty” statement.
Rental Applicaon Warranty: Units for rental use will be covered against defects in material and workmanship for a period
of 90 days from the date of purchase.
26 27

02/14 REV B
©2014 King Innovaon
O’Fallon, MO 63366, USA
800.633.0232
www.kinginnovaon.com
Other manuals for 48350
1
Table of contents
Other siphon king Water Pump manuals
Popular Water Pump manuals by other brands

AutoAqua
AutoAqua Smart AWC Lite manual

Ingersoll-Rand
Ingersoll-Rand 650502-B Operator's manual

EBARA
EBARA ETM Operating and maintenance manual

Xylem
Xylem Goulds GB Series Installation, operation and maintenance instructions

Wilden
Wilden Turbo-Flo T8 Engineering, operation & maintenance

Graco
Graco ToughTek S340e Operation, repair, and parts

Mixtron
Mixtron MXO1.075.P110.00 Operating and maintenance manual

UPRENT
UPRENT impulse MUMBAI IP Series user manual

Cosmo
Cosmo DN 25 Instructions for use

KNF
KNF N96 Translation of original operating instructions

Grundfos
Grundfos CR Series Installation and operation

Samoa
Samoa Larius 2 Transfer Operating and maintenance manual