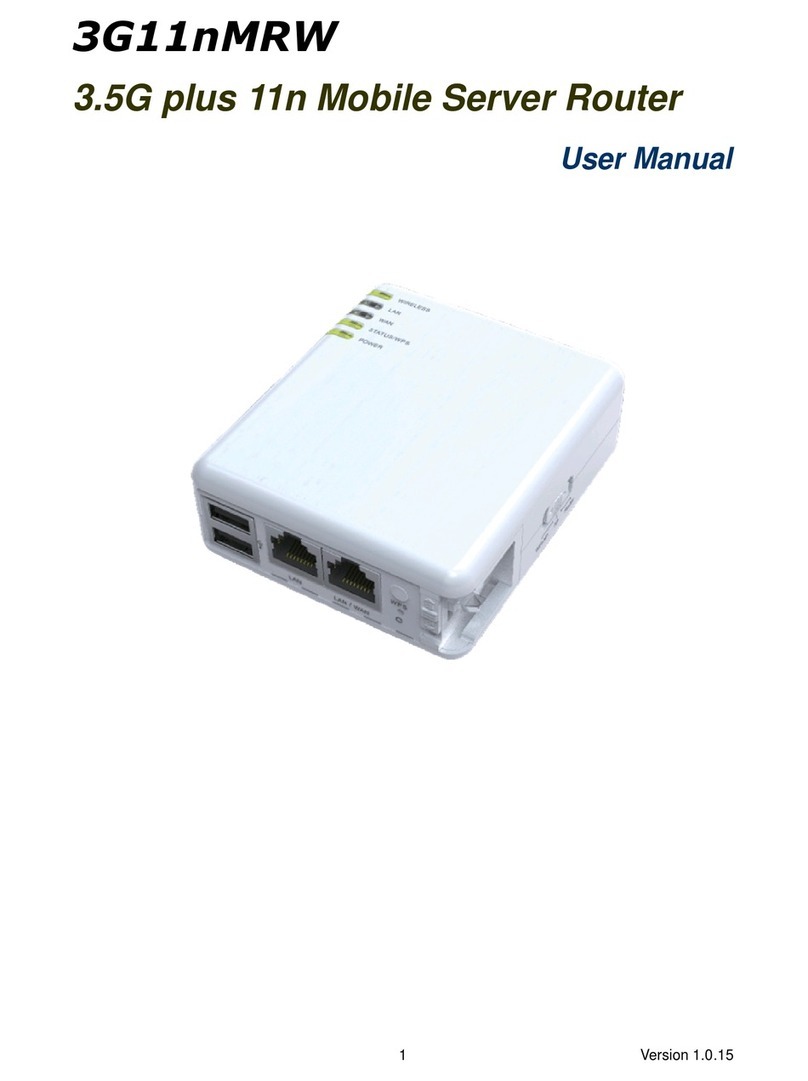
SknFnd 21.6Mbps Wireless Router User manual

WIFI Router Quick Guide
21.6Mbps Wireless Router
User Guide
Switching On/Off Your Device
Hold the Power button to switch on/off the device.
Charging Your Device
You can charge your device by using USB cable or adapter.
1. Insert the charger lead carefully with the plug arrow facing the bottom of the device.
2. The plug only fits one way. Do not use excessive force to insert the plug.
3. Make sure the plug is the right way round and lined up correctly and inserted gently.

WIFI Router Quick Guide
Working Mode
Your device supports three working modes. We only use PC or laptop as the example in this
document.
USB Mode: Connect to the device with the USB cable.
Wi-Fi Mode: Connect to the device via Wi-Fi.
Notes:
If you want to connect to the Internet by using Wi-Fi mode, make sure that the client supports
the Wi-Fi function.
The following picture is the application example. All of the client devices can surf on the Internet
at the same time.

WIFI Router Quick Guide
Establish a connection between your Wi-Fi device and the client
Via USB Cable
1. Connect your device and the client with the USB cable.
2. Power on your device.
3. Follow the system prompts to complete the software installation.
Notes:
.Uninstall previously installed product drivers (if any) before installing drivers for
MOBILE HOTSPOT
.If the system does not launch installation automatically, you can run the installation
program in path of My Computer > Mobile Hotspot.
.The driver of your device will be installed automatically at the same time.
4. After the installation, the MOBILE HOTSPOT program will be displayed in the Start→
Programs menu.
The connection between your device and the client will be established successfully within
few moments.
5. disable PROXY settings inside internet explorer settings to access internet AND web GUI
home page
VIA WI-FI
1. Power on your device directly. It will take 1~2 minutes to initialize, and then WI-Fi LED will
blink.
2. Use your normal Wi-Fi application on the client to search the available wireless network.
Notes:
disable PROXY settings inside internet explorer settings to access internet and web GUI
home page
You need to check your Wireless Network Connection. Set the client to obtain an IP address
automatically in the Internet protocol (TCP/IP) properties, and the client will be assigned an
IP address like “192.168.0.1”.
3. Select the SSID of your device : uFi_999999, default password : 12345678.
Notes:
Make sure that you can remember the new password if you have changed the password by
selecting Settings>Security. Pls restore the device to the factory settings in case you forget the
new password.
4. Wait for a few moments. The connection between your device and the client will be
established successfully.

WIFI Router Quick Guide
Access the Web GUI Configuration Page
1. Make sure the connection between your device and the client is correct.
2. Launch the internet browser and enter http://192.168.0.1 or http://ufi.home in the address
bar.
Notes:
It is recommended that you use IE (7.0 or later), Firefox (3.0 or later), Opera (10.0 or
later),Opera(10.0 or later), Safari (4.0 or later) or Chrome (5.0 or later).
3. The login page appears as follows.
View the information of WAN, WLAN and Device. Input the case-sensitive default password
“admin”, and then click Login to access the WebGUI configuration page
Notes:
Do not put anything on the top of your device. Do not lay device to overlap each other than
using
The device takes 1~2 minutes to initialize, and attach to the network
PIN code Verification
If the PIN code of your SIM card is enabled, you will need to input the PIN code when you login at
the first time.
Click the Activation button at the top right corner of the Web GUI Configuration page to initiate
the activation process

WIFI Router Quick Guide
Notes:
The (U)SIM card will be locked if you enter wrong PIN code consecutively for three times
If you want to modify the PIN Status, please select Settings > Advanced > PIN Manage to do the
actions
Quick Setup
After logging in, select Quick Setup, and then the Quick Setup wizard appears
The Quick Setup Wizard guides you how to set the basic parameters for your device in the safest
way. After this procedure, you can use your Internet service.
Please note that the changes will be possible only if you are not connected to the internet. To
disconnect the connection click on “WAN Connection > Manual (Disconnect Internet)”
Notes:
The Parameter settings may have been preset by your service provider. And you will enjoy your
internet service directly. Please contact your service provider for details if you want to do some
modification
WAN Connection
After logging in, select WAN Connection, and you can choose the WAN Connection Mode
according to your requirement. Default: Always ON / Auto connect: ON

WIFI Router Quick Guide
Settings
After logging in, select Settings, and you can do the following operations.
Select Settings >
Wi-Fi Settings
View the current station list, change the basic wireless network
settings, and choose the security mode and WPA type and perform the
WPS configuration
Select Settings >
Network Settings
View the Wireless Information, select Band Selection Mode or
change APN Setting.
Select Settings >
Firewall
Set the Mac/IP/Port Filtering, Port Forwarding or the System Security
configuration.
Select Settings >
Advanced
View the current status of your device, change the Administrator
Settings, restore factory defaults, manage PIN or set the LAN interface
configuration.
Wi-Fi Settings :
Station List
Select Settings > Wi-Fi Settings > Station List to show the Wi-Fi client status.
Basic
Select Settings > Wi-Fi Settings > Basic to config the basic settings of the wireless network.

WIFI Router Quick Guide
Network Mode: If all of the wireless devices connect with this device in the same
transmission mode, performance will be improved by choosing the appropriate wireless
mode.
Network Name (SSID): Service Set Identifier (SSID). Enter a string less than 32 characters as
the name for your wireless local area network (WLAN).
Broadcast Network Name (SSID): Disable or Enable (Default) this function. If Enable is
selected, your device broadcasts the SSID, and other devices can search and connect to it.
When you select Disable, other devices cannot search out the SSID. If you want someone to
connect, you need tell them the SSID, and let them setup manually.
Country Code: Choose the right country code.
Frequency(Channel): Choose the appropriate channel to optimize the performance and
coverage of your wireless network.
Rate: Choose the speed rate.
MAX Station Number: Change the maximum number of the stations which connect the AP
simultaneously. Click Apply to confirm your configuration.
Security
Select Settings > Wi-Fi Settings > Security to set the wireless network security of your device.
In the OPEN security mode:
1. Select the Encrypt Type.
2. Select the Default Key which you want to use.
3. Enter the WEP Keys(5 or 13 ACSII characters/10 or 26 HEX characters).

WIFI Router Quick Guide
4. Click Apply to confirm.
In the SHARED security mode:
1. Select the Default Key which you want to use.
2. Enter the WEP Keys(5 or 13 ACSII characters/10 or 26 HEX characters).
3. Click Apply to confirm.
In the WPA-PSK, WPA2-PSK or WPA-PSK/WPA2-PSK security mode:
1. Choose the WPA Algorithms.
2. Enter the WPA Key manually.
3. Click Apply to confirm.
Administrator Management
Select Settings > Advanced > Management to change the login password of the Web GUI
Configuration page.
1. Enter the current password.
2. Enter the new password twice.
3. Click Apply to confirm.
Disconnect from the Internet

WIFI Router Quick Guide
1.Log in the Web GUI Configuration page, and select WAN Connection.
2.Select Manual > Disconnect Internet.
3.Click Apply.
Notes: Turning off the device can also terminate the Internet connection.
Usage of WPS
If your client device supports WPS, you need not to input the password manually after WPS has
been available, Please do the following
1. Start up your device
2. Launch the client device connected to your device
3. Enable the WPS function of your device
4. Enable the WPS function of the client
Notes:
For the detailed operations about the client, please refer to the client’s instruction.
SMS
This function only allows you to view, send and receive short messages.
After logging in, select SMS, and you do the following operations.
Select SMS > Local
Operate the SMS in your device
Select SMS > SIM card
Operate the SMS in your SIM card
Select SMS > New Message
Send or save SMS
Select SMS > SMS settings
Set the SMS configuration
Sleep Mode
When you enable the Wi-Fi function and use the battery to supply power to the device, once no
user connects to the device within 10 minutes, the device will enter the sleep mode,and all LEDs
will be turned off. In the sleep mode, the Wi-Fi function will be disabled. Press the Power button
to wake up the device, and all LEDs will be turned on.
Notes:
With USB connection if no Wi-Fi user connects to the device within 10 minutes, only the Wi-Fi
function will be disabled. Press the Power button to enable this function.
FAQ
Q: What is MOBILE HOTSPOT main purpose unlike other routers?

WIFI Router Quick Guide
A: MOBILE HOTSPOT is a portable Wi-Fi device that fits in the palm of your hand. It will allow
you to connect up to 5 devices to access the Internet, such as laptops, portable game consoles or
mobile phones.
Q: What networks does MOBILE HOTSPOT operate on?
A: MOBILE HOTSPOT operates on WCDMA/ HSPA.
Q: What kind of security is available with MOBILE HOTSPOT?
A: MOBILE HOTSPOT supports advanced Wi-Fi security protocol through standard methods
such as Wi-Fi Protected Access (WPA & WPA2) and the previous method of Wired Equivalent
Privacy (WEP). More advanced settings are available in the Web based user interface.
Q: What if the user forgets their MOBILE HOTSPOT password?
A: MOBILE HOTSPOT can be restored to the factory default settings by pressing the button 10
times continuously. The device will restart automatically to indicate reset is successful.
Q: What might the owner of MOBILE HOTSPOT need to be aware of before sharing with
multiple devices?
A: With multiple devices or used as a temporary hotspot:
. If there are several heavy data users on at the same time, you may notice the degradation
in performance
. Users are not allowed to access more than 5 devices to MOBILE HOTSPOT in order to keep
the devices’ data speed stable enough to be communicated without a problem.
. If all are accessing MOBILE HOTSPOT that is using the battery, the battery will be consumed
faster than the average of 4 hours usage time for one user.
Q: Can a user connect MOBILE HOTSPOT to their computer with a USB cable?
A: MOBILE HOTSPOT can be charged when connected to a computer via USB cable, and no
interferences to the device.
Q: Why does MOBILE HOTSPOT turn off automatically during using?
A: If MOBILE HOTSPOT operating temperature increases above 65 ℃, the device will
automatically shutdown to prevent any damage.
Q: Does MOBILE HOTSPOT support voice calls, fax and/or text messaging?
A: MOBILE HOTSPOT only support to receive text message.
Q: Can MOBILE HOTSPOT be used for memory storage?
A: MOBILE HOTSPOT does not support removable memory storage.
Q: How long does a user need to charge the battery before they begin using?
A: The battery must be fully charged before using MOBILE HOTSPOT for the first time. We
recommend a minimum of 4 hours charging time before first use.
Q: What if MOBILE HOTSPOT cannot access the internet even though the unit has been
activated?
A: Verify your network & signal strength for optimal performance.
Q: When will a user of MOBILE HOTSPOT need to access Web GUI configuration interface?
A: The Web GUI configuration interface will only need to be accessed or used when configuring
your device for the first time or changing the security settings or establishing more advanced
settings.

WIFI Router Quick Guide
Troubleshooting
Problem
Description
Possible Causes
Problem Solving
The system
cannot run the
installation
program
automatically
The system configuration is having
difficulty with the auto-run software.
The device will appear as a
virtual CDROM on the PC’s
start menu. Click on the icon
and start the Autorun.exe. If
you have previously installed a
version of the program, please
uninstall it first.
After installation,
the system
doesn't install
the driver
program
properly.
The system configuration is having
difficulty with the auto-run software.
Please install the driver
program manually. The driver
program can be found in
installation folder.
After restarting
the
PC or laptop, the
signal indicator is
always blinking
or red bright.
1. You are in the place where
there is no GSM
/GPRS/EDGE/WCDMA/CDMA 1X/CDMA
EV-DO/HSPA network coverage. Such
places include underground parking
garages, tunnels, and some remote rural
areas.
1.Move to an area with good
signal
2. The (U)SIM card isn't inserted properly.
2.Remove and reinsert the
(U)SIM card correctly.
Cannot send
message
1. The SMS center number is incorrect.
1. Your device is preconfigured
so it is unlikely that it will need
changing. However if it is
missing or incorrect contact
your operator.
2. The network is busy or you are in an
area with no signal.
2. Try later or move to an area
with a stronger signal.
Data connection
failed.
1. You are in the place where there is no
GSM/GPRS/EDGE/WCDMA/CDMA
1X/CDMA EV-DO/HSPA network coverage.
1. Move to an area with good
signal.
2. The network is busy.
2. Try later.
3. The APN in the user configuration file is
incorrect.
3. Check the APN in the user
configuration file by selecting
Settings > Network Settings >

WIFI Router Quick Guide
Profile Setting.

Seek and Find AS
www.sknfnd.com
Table of contents
Popular Wireless Router manuals by other brands
GROM Audio
GROM Audio GROM-BTD Installation and operation instruction
D-Link
D-Link AC750 user manual

Dension
Dension Wi-Drive user manual
TRENDnet
TRENDnet TEW-659BRV Quick installation guide
Linksys
Linksys WRT120N - Wireless-N Home Router Wireless Package Contents
ZyXEL Communications
ZyXEL Communications NBG-419N installation guide
