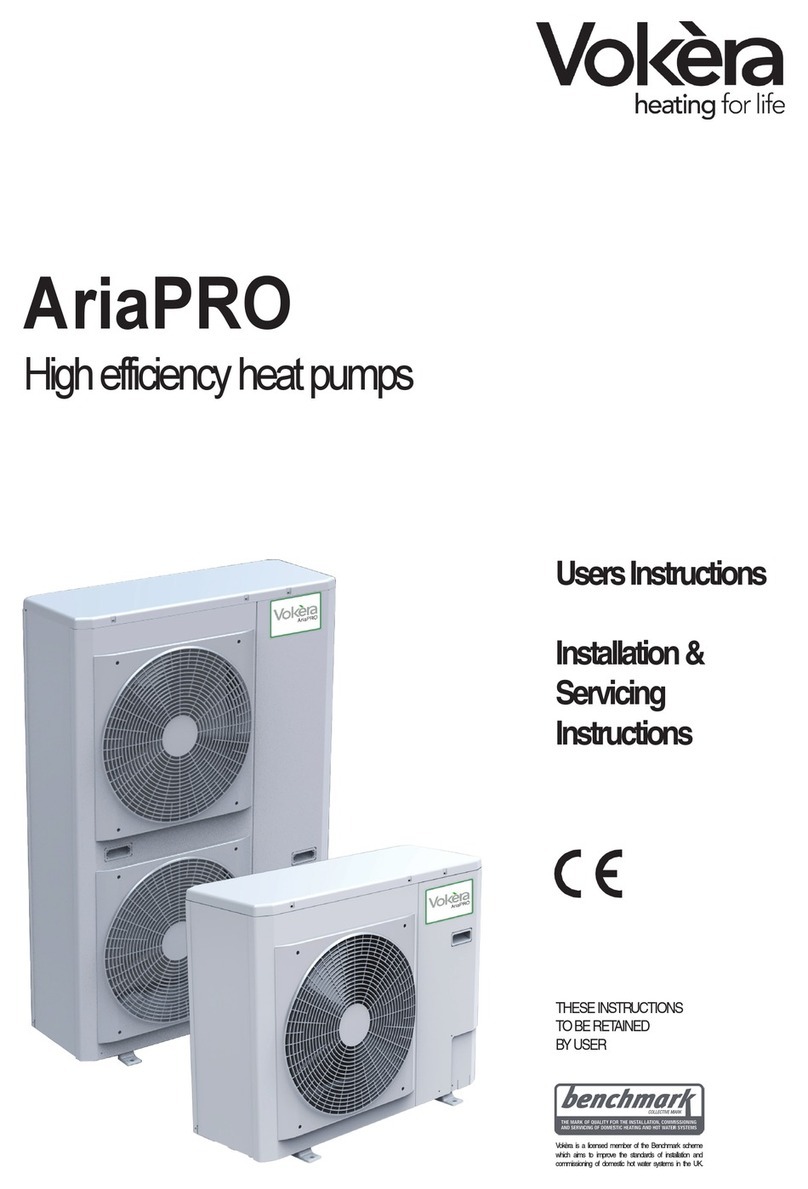
Skyline Energy SX-20BZA User manual

SKYLINE ENERGY
DUAL-COMPRESSOR HYDROCARBON HYDRONIC HEATPUMP
INSTALLATION GUIDE
SX-20BZA(/SX-21ZA),
SX-24ZA,
SX-2 ZA,
V20ZA,
V25ZA,
V27ZA,
V30ZA,
V35ZA,
V40ZA
&
V42ZA
PCB version CG248008, LCD version CG248009
J
ULY
2019

Foundations & Drainage
1/ When siting the heatpump at ground level, the recommended method of mounting the heatpump is
to make a rectangular base from concrete house stumps lying on their sides, and topped with
expanded foam.
2/ If a slab has been prepared, it is still best to use the stumps to raise the unit above the ground.
/ There are many drain holes in the base of the unit.
4/ Heatpumps generate a large amount of condensate. If placed over gravel or earth the condensate
will drain away, but if the unit is placed over a paved area additional drainage will be required to deal
with the condensate.
5/ The buffertank however can be placed directly on a paved area or paving slab.


Recommended clearances:
For V-Models:
Notes:
This plan is a guide only.
It assumes that two sides are closed
No more than two sides should be closed
Overhanging structures such as eaves should be avoided
Waste cold air must not be allowed to back-feed into the heatpump
Access must be provided for service
If only one side is closed then the 500mm clearance can be reduced to 00mm

Recommended clearances:
For SX-20BZA/SX-21ZA – SX-26ZA-Models:
Notes:
This plan is a guide only.
It assumes that two sides are closed
No more than two sides should be closed
Overhanging structures such as eaves should be avoided
Waste cold air must not be allowed to back-feed into the heatpump
Access must be provided for service
If only one side is closed then the 500mm clearance can be reduced to 00mm

Water flow-rate in the primary circuit:
Before anything else you MUST plan to achieve the required water flow rate in
the primary circuit between the heatpump and buffertank.
Adequate water flow-rate is critical to achieve maximum efficiency.
(Just because a unit is heating does not mean its running efficiently)
Avoid restrictive plumbing. Use large diameter pipes for the primary flow and
return, and limit elbows and sharp bends.
The temperature rise across the heatpump inlet and outlet ports is directly
proportional to the water flow-rate.
Lower the temp rise = higher flow rate = higher efficiency
Use enquiry code “A5” and “A6” to read the temperature rise which should be
4
o
C or lower for all models.
Example:
A model V 5ZA with close-coupled buffertank with a GPD 2-12 circ pump
produces a flow rate of 49Lt/min on our test rig, and at 10C ambient the unit
produces an average of 2 .7kW power output.
If we increase the pump size to a GPD25-16 adding another 245Watts to the
power draw, this increases the flow rate to 64Lt/min, and increases the power
output to 24.7kW. The result is that we spend another 245Watts to gain
another 1000Watts output.
Note:
If your primary circuit is long and/or complex, an additional circulation pump
may be required to boost the flow-rate.

Airflow:
1/ In general, all Skyline Energy dual-compressor, top draught,
hydrocarbon hydronic heatpumps require at least 2m clearance on two
sides.
2/ There should be no large objects within 2 meters above the fans.
/ Fresh air flow is critical... You must avoid the possibility of waste cold air
back-feeding to the unit and driving down its efficiency.
4/ Do not place trellis over the fans... If the unit must be hidden, then it is
best to use louvers.
5/ Do not place the heatpump under eaves, under the building, in a garage,
or any other confined space.

Buffertanks:
Skyline Energy 200Lt 3-zone buffertank dimensions April 2019

Buffertanks: (continued
Skyline Energy 200Lt 2-zone buffertank dimensions April 2019

Buffertanks: (continued
Skyline Energy 100Lt 2-zone buffertank dimensions April 2019

Electrical install notes:
1/ Room thermostat wiring to be 1.0mm or 1.5mm TPS.
2/ Room thermostats to be placed in a horizontal wall plate @ 1500mm
above floor level.
/ Locate room thermostats away from heat sources e.g. ovens, radiators,
aircons or sunlight.
4/ The minimum capacity circuit breaker is as per the table, but be aware of
higher than normal grid voltage that can make the units draw more
current than posted. If circulation pumps are on the same circuit, they
will add to the load.
5/ Power supply is to be connected to the enclosure with the 4 pole RCD, &
links installed to change from ph to 2ph or 1 phase
6/ Room thermostats are to be connected their relevant test switch.
7/ Although the control panel indicates a Flow-switch is installed, there is
no flow-switch and its input is bridged-out.
8/ The “Stat test” switch is provided to bridge-out the room thermostat(s)
during commissioning and testing... Holding the stat test switch closed
for about 15 seconds will energise the controller and energise the latch
relay if the buffertank water temperature is lower than the programmed
start up temperature.
9/ Later models have GPOs fitted for the circulation pumps
10/ The buffertank water temperature sensor MUST be pushed to the
bottom of the sensor-well or it will read low. Best to fill the back of the
gland with foam to make sure the cable is clamped... Be aware that
sensors tend to migrate out of the sensor-well if not secured in firmly.


*Specifications:
NOTES:
kW input and outputs
Amps are rated at 2 0V.
Higher supply voltages
can drive the input
current a lot higher than
specified.
Circulation pump loads
are not included in kW
input ranges, however
an allowance for these
loads has been made in
circuit size
recommendations.
*Specifications are
subject to change
without notice.

Real World Testing:
Unlike most heat-pump manufacturers, we test every unit in the ambient
temperature range where they are really meant to operate.
We test and fine-tune EVERY unit prior to dispatch and ensure that it’s C.O.P. is
as high as possible.
Claims by others of C.O.P.’s of 4 or 5, may be correct in a lab with a standard
test condition of 20C ambient and a water temp of 15C, but the C.O.P.’s of
these units will be much lower at lower ambient air temperature and higher
starting/returning water temperatures.
Most other brands of heatpumps are set-up specifically for pool heating or
potable hot water heating under a variety of climatic conditions. Our
heatpumps are set-up specifically for hydronic and are fine-tuned to operate
specifically between 5C to 55C water temperature, and -5C to +15C ambient
air temperature.

Sound level – locating the heatpump:
1/ High capacity heatpumps can create relatively high noise, so please be
considerate of neighbours when locating the heatpump. A good location
would be behind a solid barrier such as a shed, garage, water tank etc...
2/ Do not site a sidedraft unit with its fans facing toward close neighbours.
/ Sound will dissipate more rapidly the higher the unit is installed. On a
steeply sloping property, uphill is better than downhill.
4/ The buffertank can be installed right next to the heatpump, or 40meters
or more away. The primary flow & return lines to and from the
buffertank should be well insulated to ensure minimal heatloss. Ensure
the correct water flowrate is maintained and a booster-pump, and
possibly larger diameter pipe may be necessary to overcome friction
loss. Flowrate is critical to efficiency and must be kept within specs.
5/ Placing the heatpump close to a carport or veranda can amplify sound
level.
6/ Skyline Energy will not be responsible for poor placement of heatpumps
that create noise problems.

Configurations:
1/ The heatpump and buffertank can be sited side-by-side or the heatpump
located 50 or more metres from the buffertank, but in all cases the
primary flow and return water pipes should be of adequate size, and the
primary circulation pump of adequate size to provide the required water
flow rate.
2/ The primary flow and return water pipes should be well insulated, and if
trenched they must be sealed inside an outer casing such as flexible
unslotted drainage pipe, or stormwater pipe to keep the insulation dry
and minimise heat-loss.
/ The primary water circulation pump can be placed at the tank or
heatpump, and in some models they may be installed inside the
heatpump cabinet.
4/ Heatpump control systems are usually fixed to the cabinet, but systems
can be ordered for remote location such as a plantroom.
5/ Multi-zoned systems with multiple zone connections to the buffertank,
should always have the buffertank placed as close as possible to a
floorcoil manifold, radiator manifold etc. Only single zoned systems may
have the buffertank placed remotely from the manifold/radiator system.
6/ The expansion tank sub-system (pressure gauge, pressure relief valve,
cold-fill valve etc.) can be placed anywhere in the system, but more
commonly fitted close to the buffertank.
7/ Buffertanks, all circulation pumps, expansion sub-systems etc, should all
be installed sheltered from the weather if possible, to minimise heat-loss
and increase service life. (They can be installed fully exposed to weather
but it is best practice to maximise efficiency.)
8/ Heatpumps must be installed where continuous fresh air is available,
generally they should not be in any enclosed space. If this can not be
avoided, then clean airflow is required through ductwork, or at the very
least through unobscured mesh or louvered wall/enclosure.

Typical installation diagram:

Bleeding and Buffertank
:
1/ The most common failure at commissioning is created by excess air, an
air blockage causing no water flow.
2/ If the compressor shuts down about 20 seconds after starting
95% CHANCE, YOU HAVE AN AIR-LOCK
/ After initial commissioning, the auto air bleed valve on the top of the
tank should expel most of the air.
4/ Other places for bleeding are the floorcoil manifolds, radiators, and the
big Silver screws on the pumps.
5/ It is good practice to place an auto air bleed valve at any high points in
the plumbing.
This manual suits for next models
10
Table of contents
Other Skyline Energy Heat Pump manuals
Popular Heat Pump manuals by other brands

Bryant
Bryant 677E-A Owner's information manual

Ferroli
Ferroli HSW Installation and operation manual

Carrier
Carrier XCT7 40VD005-024L-7E-QEE Installation and owner's manual

Viessmann
Viessmann VITOCAL 300-G Technical guide

Daikin
Daikin ERGA06EAV3H Installer's reference guide

Lennox
Lennox EL16XP1 Series Unit information

Mitsubishi Electric
Mitsubishi Electric EHST20C-VM2C.UK Service manual

Gree
Gree GJC07AJ-D6DRNC2A Service manual

Sears
Sears GT Series installation instructions

Breeze
Breeze VT3130 Installation and operation manual

Panasonic
Panasonic WH-WDG05LE5 installation manual

Compac
Compac 6 Owners and installation manual