E_MH_Mounting_instructions_Skylux_Electric_screen 01/01/2021
2/9
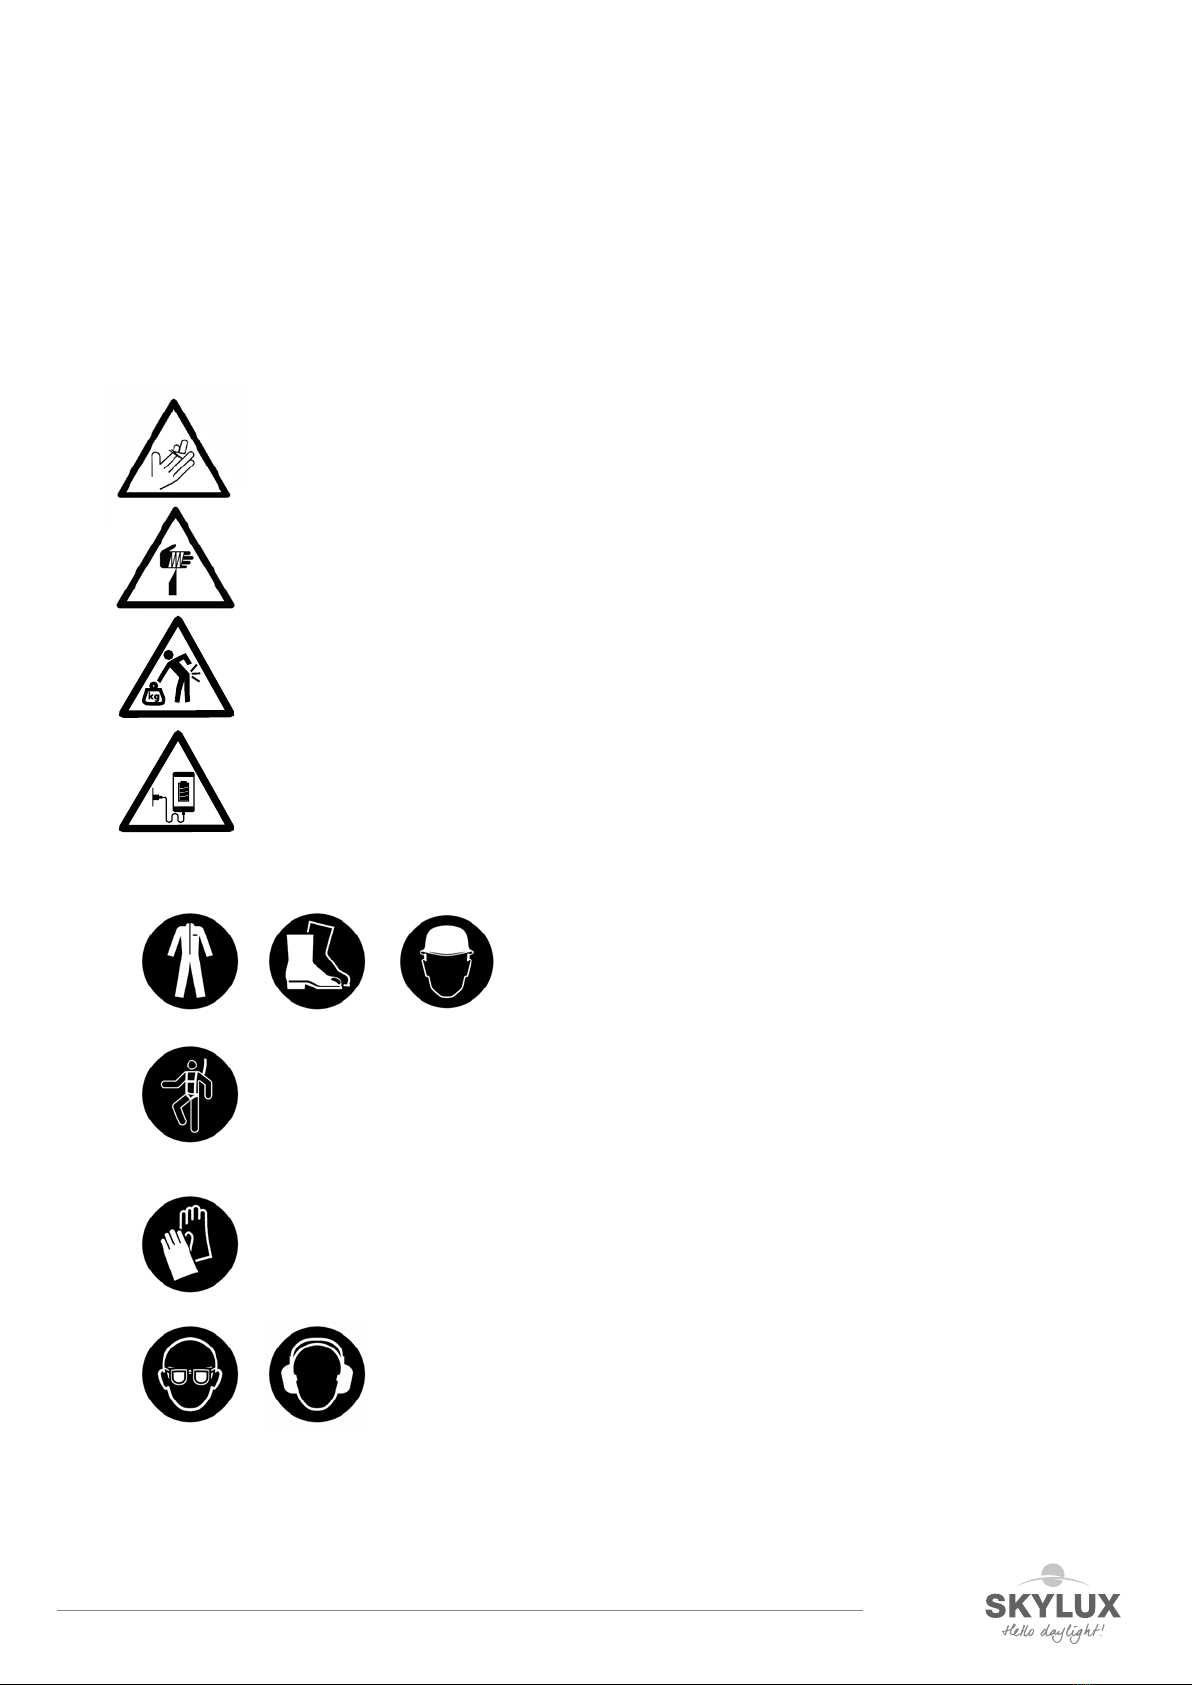
Safety
Take the necessary and required safety precautions, such as safety nets and lifelines when installing from the
outside, safety goggles, gloves, hard hat, etc.
Do not step on the glass.
Falling from height
• When using ladders to go on the roof:
- Ladder in good condition?
- Set up correctly at an angle of 75°?
- Secured below and on top against moving?
- Don’t take heavy material with you on the ladder (3-point contact rule)! If possible,
use a crane to lift the material.
• Do not lift material over the roof edge; use a crane to put the material on the roof.
• Roof zone: make sure the part of the roof where the skylight/barrel vault will be installed is
safe enough, e.g. secure the edge (support system in the roof gutter that supports against the
outer wall of the building, with suitable A B C category depending on the roof pitch) or use a
scaffold so no one can fall off the roof. If the roof is not safe enough, always use a harness with
lifeline (adapted to the fall height), attached to a suitable attachment point.
•Make sure the roof is stable and does not have dangerous openings or insufficient secure parts
(e.g. corrugated sheets, …). Take the necessary measures if this is not the case: strengthen,
use suitable safety nets below the danger zones, …
• Before making the roof opening for the skylight/barrel vault: make sure there are safety nets
conform to the current legislation. The nets must be attached firmly and sufficiently to the
building.
•When using an aerial work platform: always wear and secure your harness (mandatory)! Leaving
the cage is forbidden.
• Never walk backwards on a roof, always walk forwards.
• Make sure there’s enough light in the working zone.
Low-hanging obstacles and falling loads
• Forbidden to walk under or within a radius of 1 m of a hanging or lifted load.
• Demarcate the danger zone below the skylight/barrel vault, in the building as well as on the
outside near the outer walls (in case material slides off the roof). If the zone is demarcated,
people cannot be hit by any falling loads. It’s prohibited to enter these danger zones during
construction.
Crushing hazard
• All working tools are in good condition, provided with a valid CE label and all necessary safety
regulations. These cannot be removed.
• People who use these working tools are educated for this purpose. Protections are always
present on all working tools. They are in good condition and need to be set correctly.
Tripping/falling
•Safety is key and it begins with order and tidiness. Clean everything immediately, leave nothing
lying around.
• Trash needs to be sorted.
• Be cautious with electric cables (danger of tripping/falling). Never walk backwards!
• Make sure there’s enough light in the working zone.