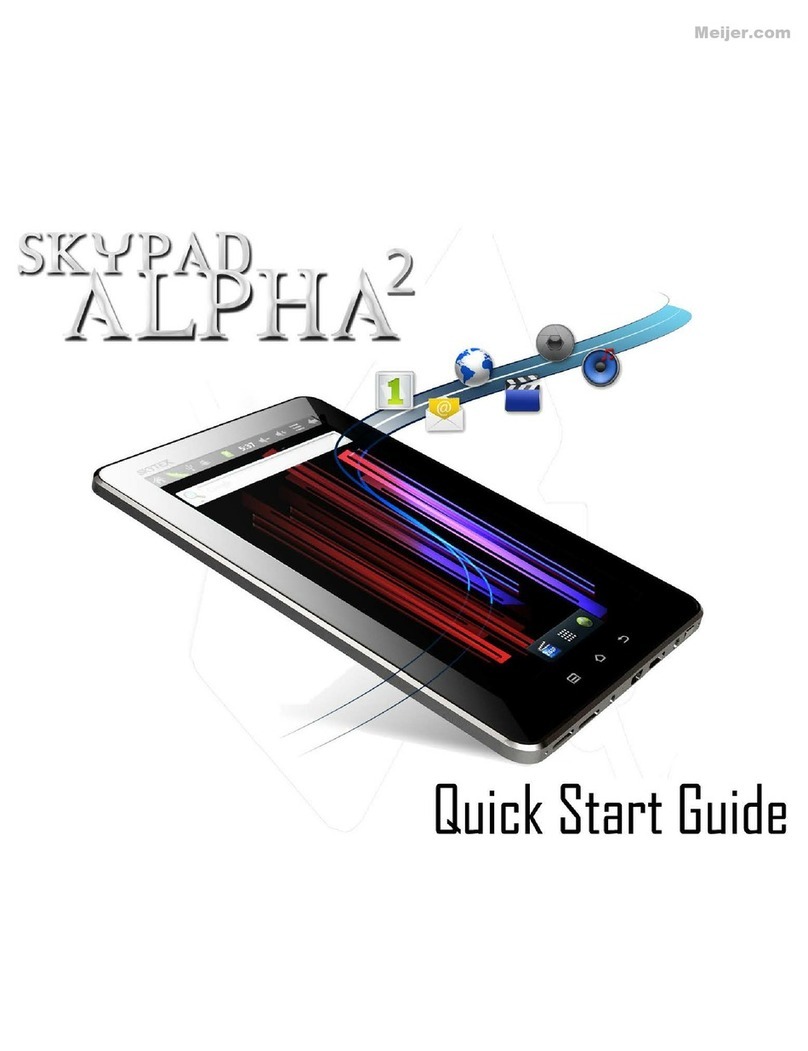
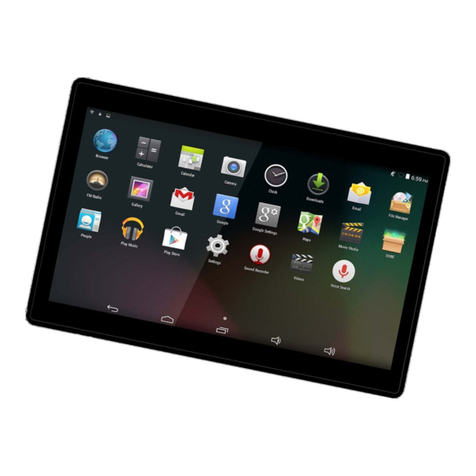
Skytex Skypad Alpha2 User manual

User Manual
1

CONTENTS
Section Page
Introduction 3
Section 1: Getting Started 4-5
Section : Understanding Your Device 6-9
Section 3: Settings 10-17
Section 4: Wireless Connectivity 18-19
Section 5: Web Browsing 0- 1
Section 6: Pictures, Music and Video - 5
Section 7: Camera and Email 6- 8
Section 8: USB and Micro SD 9-30
Section 9: About SKYPAD Alpha 31
Section 10: Health and Safety Information 3 -34
2

Introduction
THANK YOU FOR PURCHASING THE SKYPAD ALPHA 2 INTERNET
TABLET BY SKYTEX TECHNOLOGY. WE HOPE YOU ENJOY YOUR
NEW DEVICE.
PLEASE READ THIS MANUAL BEFORE OPERATING YOUR TABLET,
AND KEEP IT FOR FUTURE REFERENCE.
PLEASE BE ADVISED THAT MANY SERVICES AND APPLICATIONS
OFFERED THROUGH THIS DEVICE ARE PROVIDED BY VARIOUS
OPERATING SYSTEMS, SOFTWARE AND APPLICATIONS
DEVELOPERS. IF YOU USE, LINK TO OR DOWNLOAD SUCH A
SERVICE, OR AN APPLICATION, CHAT ROOM, FORUMS,
MARKETPLACE OR SOCIAL NETWORK FROM THIS DEVICE, YOU
SHOULD CAREFULLY REVIEW THE TERMS OF SUCH SERVICE OR
APPLICATION. PERSONAL INFORMATION YOU SUBMIT MAY BE
READ, COLLECTED, OR USED BY THE SERVICE OR APPLICATION
PROVIDER AND/OR OTHER USERS OF THOSE FORUMS. PLEASE
CAREFULLY REVIEW ANY AND ALL TERMS AND CONDITIONS
APPLICABLE TO THOSE APPLICATIONS AND SERVICES,
INCLUDING THOSE RELATED TO ANY LOCATION BASED SERVICES
FOR ANY PARTICULAR PRIVACY POLICIES, RISKS OR WAIVERS.
3

SECTION 1: Getting Started
Dev ce controls and ports
1. Volume +
2. Volume -
3. Power
4. M crophone
5. 3.5mm Aud o Jack
6. m n -HDMI 1.4 port
7. m n -USB OTG port
8. DC IN
9. M cro SD card reader
10. Speaker
11. Touch Key - Back
12. Touch Key - Home
13. Touch Key - Menu
Turning Your Device On
Press and hold the power button, the system w ll enter the
4

startup process, as follows:
. Boot Logo startup
. Unlock Screen (place your f nger on the mage of the lock and
drag t up to the green dot)
Turning Your Device Off
Press and hold the power button, a pop-up menu of opt ons w ll
appear. Touch “Power off” and then “OK”.
5

Section : Understanding your Device
Features
. 7- nch 800*480 LCD D splay
. Capac t ve touch screen w th 5-Po nts of touch recogn t on
. Andro d OS 2.3
. Connect ons: W -F 802.11 b/g/n
. 0.3Mega p xel forward-fac ng
. HD V deo Player (up to 1080P or stereoscop c 3D)
. ARM Cortex-A8 1.2GHz
. Ma l-400 MP GPU, 3D graph cs eng ne
. AXP209 Power management system
. Battery Capac ty 3000mAh
. Power nput AC 110-240V, DC 5V, 2A
Home screen
The home screen s the start ng po nt for us ng your dev ce. You
can Place shortcuts, w dgets and other tems here to custom ze
your dev ce to your needs. The default desktop features a
status/not f cat ons bar, qu ck search bar, and shortcut menu.
6

. W dgets: Appl cat ons that run on the Home screen
. Shortcuts: Shortcuts to commonly used appl cat ons
. Status/Not f cat ons bar: D splays network s gnal strength,
battery l fe, t me, and system not f cat ons
. Qu ck search box: Qu ck search the web by typ ng search terms
Navigating Your Device
Use command keys (home, back, menu) and the touch screen to
nav gate.
Volume keys: changes the volume outputt ng through the
speakers or headphones.
Power key: Long press for power on/off, short press to enter or
leave h bernat on.
Menu button: D splays the menu opt ons for current operat on.
Home button: Back to the home screen
Back: Return to last nterface.
7

Finger Gestures
. Tap tems to select or launch them.
. Tap a menu tem to select t.
. Tap an appl cat on’s con to launch the appl cat on.
. P nch/expand to zoom n or out n the web browser and apps
w th p nch-to-zoom support.
. Touch and hold a w dget on the home screen to move or delete
t.
. Touch and hold on an empty area to d splay a pop-up menu of
opt ons (add w dgets, shortcuts and folders, or change
wallpaper).
Notification panel
. The not f cat on panel shows nformat on about connect ons,
downloads, updates, etc.
Applications Tray
To open your appl cat ons tray, tap the correspond ng con on
your shortcut menu:
8

The app tray d splays all of the appl cat ons that have been
nstalled to the dev ce. Stock appl cat ons nclude a web
browser, clock, camera, calculator, market (1 Mob le), gallery
and more.
9

Section 3: Settings
Th s sect on expla ns Sett ngs for custom z ng your dev ce.
System Settings
Cl ck the ma n menu nterface n the "sett ngs" con; you can
open the system sett ngs nterface, as shown below:
Accessing settings
. From the Home screen, press the Menu key → Sett ngs.
. From the Home screen, touch Appl cat ons → Sett ngs.
Wireless and networks
. Control your dev ce’s w reless connect ons.
. W -F sett ngs nterface as shown below:
10

. Your dev ce supports W -F b/g/n. Use W -F sett ngs to manage
your dev ce’s W -F connect ons.
. Turn ng W -F On and Off. When you turn the W -F serv ce on,
your dev ce automat cally searches for ava lable, n-range
w reless Access Po nts.
Managing Wireless Access Points
. Tap W -F sett ngs to choose the access po nt you w sh to
connect to
. Tap the name of the access po nt of cho ce and enter the
password/network key ( f requ red)
Sound and display
Set the volume level for mus c, v deos and apps
. From the Home screen, press the Menu
key→Sett ngs→Volume
. Touch and drag the sl ders to set
. or press the Volume +/- keys of the dev ce to set
11

Date and time settings
To set the date and t me for your dev ce, go to Sett ngs → Date
& t me sett ngs:
. You can choose to automat cally use the Network T me.
. You can also manually set the date, select the t me zone, and
set the t me, t me format, and date format.
For example:
Select +: to ncrease the un t by 1,
Select -: to decrease the un t by 1.
You can also choose the number by enter ng the nput mode.
Manually enter the des red number, then select done. L ke so:
12

Screen brightness
To adjust screen br ghtness go to Sett ngs → D splay, scroll down
sect on, select "Br ghtness", move the sl der to the des red
pos t on and tap “OK”:
Standby
The screen can be set to automat cally t meout when the tablet
s dle over a set per od of t me. To set the screen t meout t me,
go to Sett ngs → D splay, then choose the length of t me the
tablet dles before the screen t mes out:
Note: Wh le play ng v deo, the screen t meout s d sabled.
13

HDMI
The SKYPAD Alpha 2 supports HDMI 1.4 through a m n -HDMI
port.
. Plug a m n -HDMI-to-HDMI cable to an HD capable telev s on or
mon tor
Downloading and Installing Applications
F rst we must allow the dev ce to accept downloads from
“unknown sources”. (Note: Andro d cons ders all 3rd party app
markets as “unknown sources”, nclud ng 1Mob le)
. Go to Sett ngs → Appl cat ons as shown below:
Tap “Unknown Sources”, and then tap “OK”, as shown below:
14

The off c al Andro d market s not supported by th s dev ce at
th s t me. The default App market for the Alpha 2 s the 1Mob le
Market. It s a 3rd party app store that offers thousands of free
Andro d Appl cat ons.
To download apps from 1Mob le, go to App Tray → 1Mob le
Market.
. Browse or search for your des red apps and games
. Tap the appl cat on you would l ke to download
. Tap download
. A not f cat on w ll appear, lett ng you know your app s be ng
downloaded
. Pull down the not f cat ons bar to see the progress of your
download
. Once the download s f n shed, tap t
15

. Tap nstall. Once the nstallat on s f n shed you can choose to
open the app or press “done” to go back to the prev ous screen
. Downloaded apps w ll appear n your App tray
Side-loading Applications
S de-load ng an appl cat on s an alternat ve to d rectly
download ng an app onto the dev ce. You can do th s v a PC and
M cro SD card.
. Copy the APK onto your M cro SD card.
In the ma n menu, select the “app nstaller” con:
16

. The system w ll start a scan to f nd all of the ava lable APKs
from your M cro SD card.
. Select all the ava lable APKs you w sh to nstall.
To force close or uninstall applications
. Go to Sett ngs → Appl cat on → Manage Appl cat ons, select
the appropr ate appl cat on to v ew the program nformat on,
force stop, or un nstall the program.
17

Section 4: Wireless Connectivity
The Skypad Alpha 2 ncludes features that allow t to connect to
the nternet and to other dev ces
Note: Your dev ce’s nternal w reless antenna s located along
the bottom back of the dev ce. Do not block the antenna; do ng
so may affect s gnal qual ty and may cause the dev ce to operate
at a h gher power level than s necessary.
Wi-Fi
. W -F s a w reless network ng technology that prov des access
to local area network. Use your dev ce’s W -F feature to:
. Access the nternet for brows ng, or to send and rece ve ema l.
. Access your corporate network.
. Use hotspots prov ded by hotels or a rports wh le travel ng.
W -F commun cat on requ res access to an ex st ng W reless
Access Po nt. WAP can be open or secured. Your dev ce supports
the 802.11b/g/n W -F protocol.
Scanning and Connecting to a Wi-Fi Network
. When W -F s turned on, your dev ce w ll search for and d splay
ava lable w reless networks.
18

. When the scan s complete, touch a w reless network to
connect, f the network s open, your dev ce w ll automat cally
connect, f the network s secured, enter the password to
connect.
19

Section 5: Web Browsing
Your dev ce s equ pped w th a full HTML Browser, wh ch allows
you to v ew webpages.
. Wh le connected to a network, open the Web browser by
tapp ng the Globe con on the shortcut menu and enter a URL.
Or
. Qu ck-search the web by us ng the search bar on the top of the
home screen.
Entering a URL
. Launch the browser.
. Touch the URL f eld at the top of the screen, and then enter the
URL us ng the v rtual QWERTY keyboard.
. As you enter characters, potent al matches d splay. Cont nue
enter ng characters, or touch a match to complete the URL.
. Touch Go to load the page.
20
Other manuals for Skypad Alpha2
1
Table of contents
Other Skytex Tablet manuals
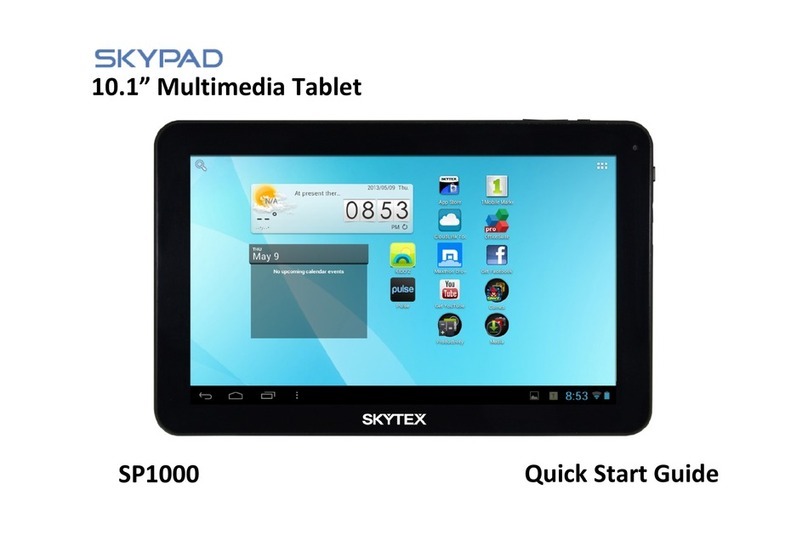
Skytex
Skytex SP1000 User manual
Skytex
Skytex SKYPAD SP728 User manual
Skytex
Skytex Primer Pocket User manual

Skytex
Skytex Primer Pocket SX-SP435A User manual
Skytex
Skytex SkyPad Gemini User manual
Skytex
Skytex Skypad SP706 User manual
Skytex
Skytex SP1026 User manual

Skytex
Skytex SP736 User manual
Skytex
Skytex Skypad Alpha 2 User manual
Skytex
Skytex IMAGINE 10 User manual

