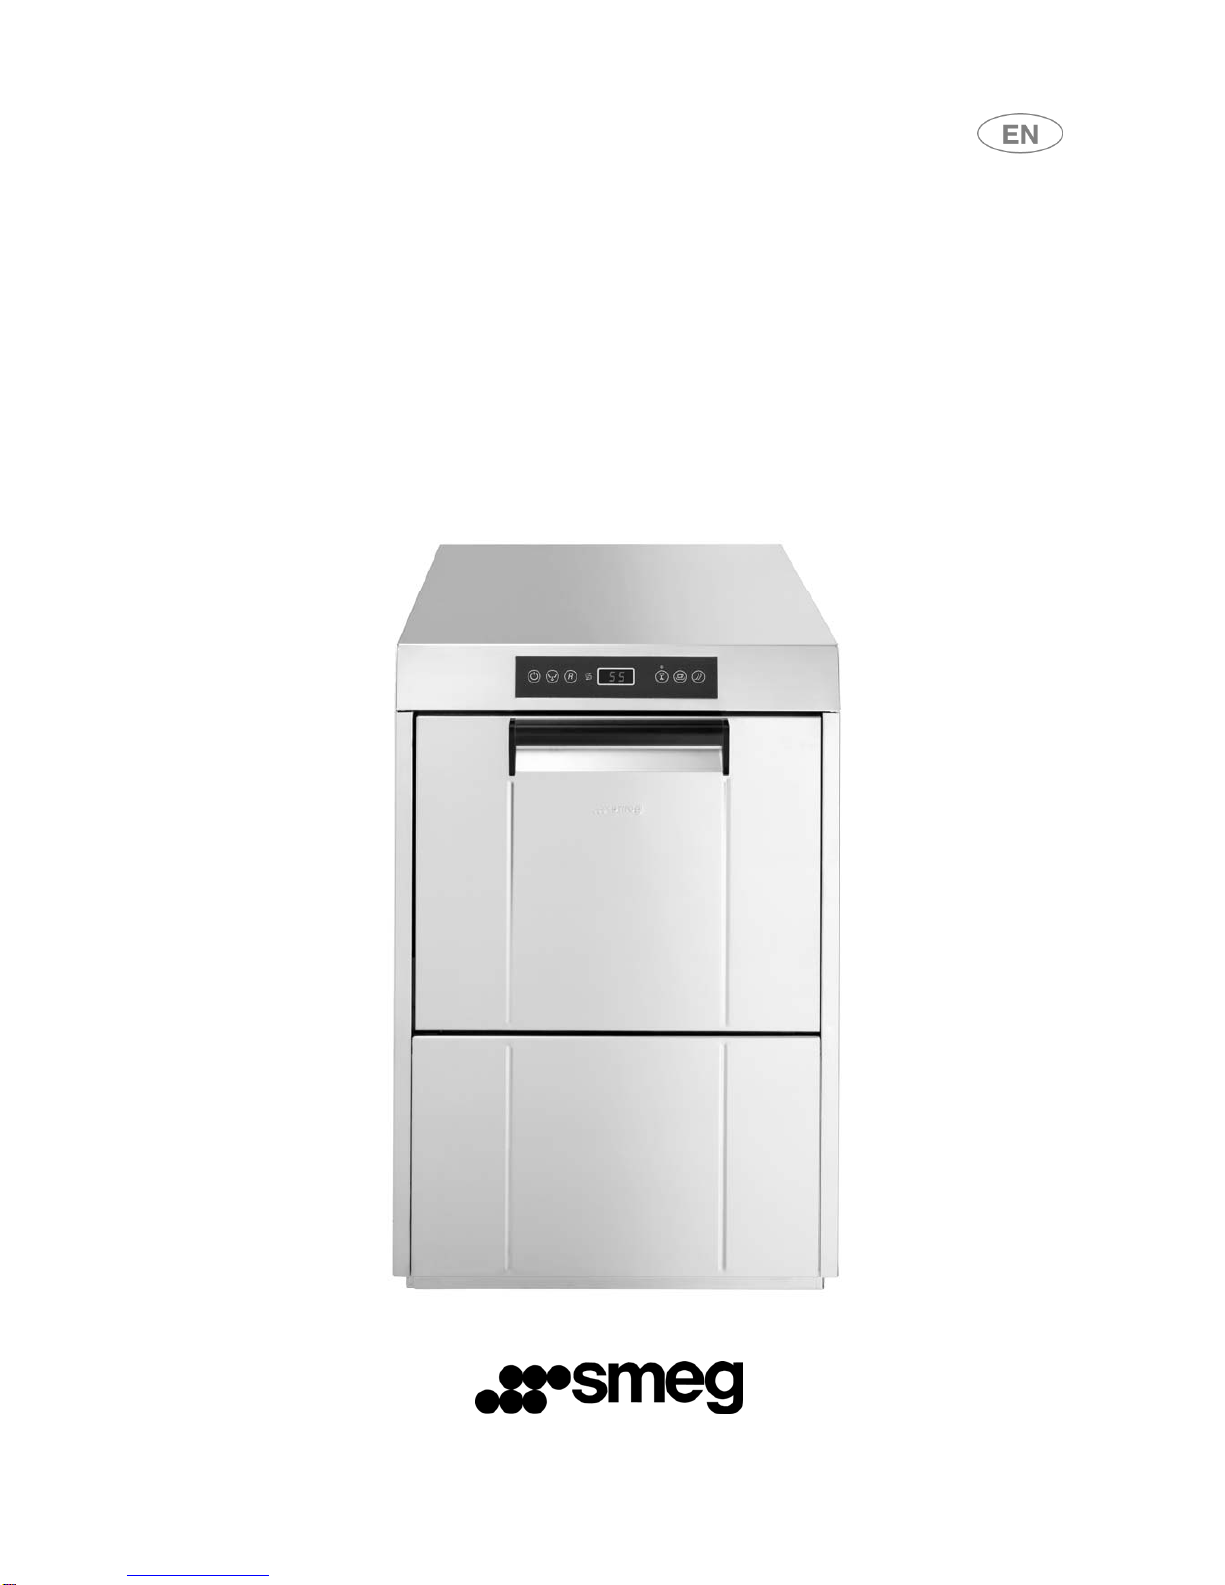
Smeg CWG400B User manual

PROFESSIONAL DISHWASHER


1
1Precautions for safety and use
2Technical data
3Installation and positioning
4INSTALLATION INSTRUCTIONS FOR THE
AFTER-SALES SERVICE
5Start-up
6Settings
7Malfunctions shown on the display (for the technician)
8INSTRUCTIONS FOR THE USER
9Choosing the program
10 Maintenance and cleaning
11 Troubleshooting
12 Malfunctions shown on the display (for the user)
You are advised to read all the instructions in this manual carefully to become familiar with the right conditions
for the proper use of your dishwasher.
TECHNICAL INSTRUCTIONS:
These are intended for the qualified staff who are to install, commission and test the
appliance and carry out any servicing and repairs.
INSTRUCTIONS FOR THE USER:
These provide recommendations for use, a description of the controls and the correct
procedures for cleaning and maintaining the dishwasher.

2
1 Precautions for safety and use
THE DISHWASHER IS INTENDED ONLY FOR PROFESSIONAL USE BY TRAINED STAFF. IT IS
DESIGNED TO WASH TABLEWARE (PLATES, CUPS, BOWLS, OVEN DISHES AND CUTLERY) AND
SIMILAR ITEMS IN THE RESTAURANT AND INSTITUTIONAL CATERING SECTOR, AND COMPLIES WITH
THE INTERNATIONAL STANDARDS ON ELECTRICAL AND MECHANICAL SAFETY (CEI-EN-IEC 60335-2-
58/61770) AND ELECTROMAGNETIC COMPATIBILITY
(CEI-IEC-EN 55014-1/-2, 61000-3;4, 50366).
THE MANUFACTURER DECLINES ALL RESPONSIBILITY FOR INJURY OR DAMAGE CAUSED BY
FAILURE TO COMPLY WITH THE ABOVE REGULATIONS OR DERIVING FROM INCORRECT USE,
TAMPERING WITH EVEN JUST ONE PART OF THE APPLIANCE AND THE USE OF NON-ORIGINAL
SPARE PARTS.
THIS APPLIANCE IS TAGGED UNDER EUROPEAN DIRECTIVE 2002/96/EC ON WASTE ELECTRICAL AND
ELECTRONIC EQUIPMENT (WEE).
BY MAKING SURE THAT THIS PRODUCT IS DISPOSED OF CORRECTLY THE USER HELPS TO
PREVENT POTENTIAL DETRIMENTAL EFFECTS ON HEALTH AND THE ENVIRONMENT.
THE SYMBOL ON THE PRODUCT OR IN THE TECHNICAL DOCUMENTATION INDICATES THAT THIS
PRODUCT MUST NOT BE TREATED AS ORDINARY DOMESTIC WASTE BUT MUST BE CONSIGNED TO
THE SPECIAL COLLECTION POINT FOR THE RECYCLING OF ELECTRICAL AND ELECTRONIC
EQUIPMENT.
WHEN DECOMMISSIONING THE APPLIANCE COMPLY WITH THE LOCAL WASTE DISPOSAL
REGULATIONS.
FOR FURTHER INFORMATION ON THE TREATMENT, RECOVERY AND RECYCLING OF THIS
PRODUCT, CONTACT THE COMPETENT LOCAL OFFICE, THE DOMESTIC WASTE COLLECTION
SERVICE, OR THE SHOP WHERE THE PRODUCT WAS PURCHASED.
THIS MANUAL IS AN INTEGRAL PART OF THE DISHWASHER AND MUST ALWAYS BE
KEPT WITH THE APPLIANCE.
POSITIONING, CONNECTIONS, COMMISSIONING, TROUBLESHOOTING AND
REPLACEMENT OF THE POWER SUPPLY CABLE MUST BE CARRIED OUT BY SKILLED
STAFF.
THE APPLIANCE MUST BE IN COMPLIANCE WITH ELECTRICAL SYSTEM SAFETY
REGULATIONS.
NEVER PLACE SOLVENTS SUCH AS ALCOHOL OR TURPENTINE, WHICH MIGHT CAUSE
AN EXPLOSION, INSIDE THE APPLIANCE. NEVER LOAD DISHES DIRTY WITH ASH, WAX
OR PAINTS.
NEVER USE THE DISHWASHER OR ANY PART OF IT AS A LADDER, SUPPORT OR STAND
FOR PEOPLE, ANIMALS OR ANY OBJECT.
LEANING OR SITTING ON THE OPEN DOOR OF THE DISHWASHER MIGHT CAUSE IT TO
TIP OVER, PUTTING PEOPLE IN DANGER.
NEVER LEAVE THE DISHWASHER DOOR OPEN SINCE PEOPLE MIGHT TRIP OVER IT.
DO NOT DRINK ANY WATER LEFT IN THE DISHES OR DISHWASHER AT THE END OF THE
WASHING PROGRAM.
THE APPLIANCE IS NOT SUITABLE FOR USE BY JUVENILES OR PERSONS WITH
REDUCED PHYSICAL, SENSORIAL OR MENTAL CAPACITIES, OR THOSE WITHOUT THE
NECESSARY KNOWLEDGE AND EXPERIENCE. SUCH PERSONS MAY ONLY USE THE
APPLIANCE UNDER THE SUPERVISION OF A PERSON RESPONSIBLE FOR THEIR SAFETY.

3
2 Tecnical data
Supply voltage V230V 1N ~
Frequency Hz 50
Max. power absorption at 230V 1N ~ kW 3.2
Boiler heating element power at 230V 1N ~ kW 2.8
Tank heating element power kW 0.8
Water intake pressure kPa (bar) 200-600 (2 ÷ 6)
Water intake temperature °C 15°C – 60°C
Water hardness (models with softener) °dF 15°dF-60°dF
Rinse cycle water consumption I2.3
Boiler capacity I3.8
Tank capacity I7
Standard cycle duration with intake water at 50°C s2/2,5/3
Noise level dB(A) 50
Degree of protection IPX 4
Net weight kg 40/43
Power supply cable type ◄HAR►H07RN-F
Fuse A 4
R LOWER BACK PANEL
C FILLER HOSE
Q EARTH TERMINAL
E ELECTRICITY SUPPLY CABLE
P PERISTALTIC HOSES
S DRAIN HOSE
*600 max if siphon with valve

4
RD Detergent dispensing regulator screw (on some models only)
RB Rinse aid regulator screw

5
3 Installation and positioning
INSTALLATION and POSITIONING
Bring the dishwasher to the installation site, remove the packaging and check the appliance and components
for damage; any damage found must be reported to the transporter in writing.
The packaging components (plastic bags, expanded polystyrene, nails, etc.) must not be left within reach of
children and pets since they are potentially dangerous.
All packaging materials used are environment-friendly. They can be kept without constituting any hazard, or
may be disposed of at a specialist waste disposal centre.
The plastic components suitable for recycling are marked as follows:
PE polyethylene: external packaging film, bag containing the instructions, protective bags.
PP polypropylene: straps.
PS expanded polystyrene: corner guards, top of packaging.
Wooden and cardboard components can be disposed of in accordance with the relevant regulations.
When the product is decommissioned it must not be dumped in the environment; it must be disposed of in
accordance with the relevant regulations. All metal parts are in stainless steel and can be removed.
The plastic parts are marked with the symbol identifying the material used.
POSITIONING:
Caution: the indoor system and premises in which equipment for institutions is installed must
comply with the relevant regulations.
The manufacturer declines all liability for direct or indirect injury or damage deriving from failure to comply
with these regulations.
Before installation, check that there are no objects or materials in the vicinity which may be damaged by
steam or splashes of washing solution, or that any such items are suitably protected.
Place the dishwasher in the chosen point and remove the protective film.
Level the dishwasher (with the aid of a spirit level) on its adjustable feet to ensure that it is stable; all other
mounting solutions must be approved by the manufacturer.

6
4 INSTALLATION INSTRUCTIONS FOR THE AFTER-SALES SERVICE
4.1 Water connection
Water supply and drain connection:
The water pipelines and electricity supply cable lead out of the bottom right-hand
corner of the appliance. Connect the water intake hose to a connector with ¾” gas
threaded fitting, fitting the filter Aprovided (in models with aquastop, the filter and ring-
nut form a single unit).
The connection to the water mains must only be made with new hoses; the use of old
or worn hoses is not permitted.
The dynamic water supply pressure must be between 2 and 7 bar; if it is higher a pressure reducer must be
installed. If the pressure is less than 2 bar it might be necessary to fit a special pump on the appliance.
Contact the After-Sales Service.
It is essential to fit a main stop tap on the water intake pipeline; the tap must be accessible after installation of
the appliance, so do not install it behind the dishwasher.The stated cycle duration applies to appliances
supplied with hot water >50°C<60°C
If the dishwasher is supplied with cold water, the cycle duration might increase depending on the intake water
temperature.
Drainage:
The dishwasher is fitted with a drain pump and can operate with drain connections on the floor or wall.
Refer to the connection diagram for the maximum permitted height of wall drains – (see TECHNICAL DATA)
Caution: make sure that the intake and drain hoses are not bent, constricted or crushed after
installation.
If the drain connection is to an outlet with valve, the maximum height of the drain is reduced to 600 mm.
In all cases, after installation check that the drain is fully functional by pumping out the tank completely (P0
cycle).

7
4.2 Electrical connection
The dishwasher and any additional equipment must be connected to the electrical system by
authorised, skilled staff, in accordance with the relevant regulations; also comply with the technical
instructions for the connection.
The total rated power is stated on the appliance’s technical data plate.
The electrical protection devices fitted for the dishwasher must serve this appliance only.
The user must have a master switch and a differential safety breaker, with rating suitable for the
machine’s characteristics, installed on the electricity supply line in accordance with the relevant
regulations.
These switches must be installed close to the dishwasher, be easily accessible after installation, and
provide complete disconnection from the electrical mains in overvoltage class III conditions.
Warning !!!
The dishwasher is always powered up unless the master switch is turned off.
‐Connect the appliance to the user’s earth system. The terminal for the connection is in the bottom
right-hand corner of the appliance.
‐The earth wire (PE) is yellow-green in colour, the neutral wire (N) is blue and the live wires (L1, L2,
L3) are black, grey and brown.
In the event of single-phase connection (230V-1N~) the connection to the electrical mains must be made
using a cable with plug compliant with the relevant regulations..
IN THE EVENT OF DAMAGE TO THE SUPPLY CORD, HAVE IT REPLACED BY THE MANUFACTURER
OR AN AUTHORIZED TECHNICAL SERVICE CENTRE IN ORDER TO AVOID ANY RISK.

8

9
5 START-UP
FIRST START-UP
The electrical protection system must undergo a functional test before the appliance is put into operation.
The appliance must be installed and/or inspected by the qualified staff, who will start it up for the first time and
provide the relevant operating instructions.
PREPARING FOR USE
Important:
The rinse aid dispenser is fitted on all models, the detergent dispenser only on some.
If both dispensers are present put the external detergent and rinse aid containers in
place and insert the respective intake hoses on the rear of the machine into them.
Red hose: detergent
blue hose: rinse aid
Before inserting the hoses into the containers, fit the weights (needed to ensure that
they always draw in liquid from the bottoms of the containers) and the filters onto their
ends as shown.
If the detergent dispenser is not factory-fitted, it can be by ordering the relative kit.
As an alternative an external dispenser can be fitted, making the electrical connection by means of an H05 RN-
F 2x0.5 mm electrical cable, which can be laid along the route shown in the TECHNICAL DATA diagram and
connected as shown in the wiring diagram supplied with the dishwasher.
The dispenser must operate on 230V/50 Hz with maximum power absorption of 15 W.
Connect to the detergent dispenser outside the dishwasher using the red hose mentioned above.
IMPORTANT:
Whenever the type of detergent or rinse aid is changed, it is ABSOLUTELY ESSENTIAL to flush out the
peristaltic pumps by placing the external intake pipes in water for a few cycles.
Always use only products specifically recommended for use in a dishwasher.
The internal pipes of the detergent and rinse paid pumps should be replaced by the After-Sales Service
every 12 months or 15,000 wash cycles.
Failure to comply with this recommendation leads to forfeiture of the warranty entitlement on the
appliance’s water system.

10
6 SETTINGS
A series of operations can be carried out when the dishwasher is first installed to customise it to the user's
requirements. To perform these operations, access “programming mode” as explained below.
6.1 Dishwasher parameter modification procedure:
The two red digits provide the following information:
Appliance off but powered up: all decimal points on both digits
Appliance on: Boiler temperature
Washing phase: Tank temperature
Pause phase: Boiler temperature
Rinse phase: Boiler temperature
Programming phase: See parameter programming section
Error message: See error messages section
6.2 PARAMETER PROGRAMMING PROCEDURE
To access the programming menu, proceed as follows:
1) switch the appliance off with the (OnOff) key
2) Press the key 7 times within 6 seconds.. Wait for the 6 seconds to pass; at the end P0
appears on the display
3) Use the key to select the parameter for modification
4) Press to display the parameter for modification
5) Modify the parameter by pressing
6) Confirm the change by pressing
7) Select the other parameters for modification in the same way and proceed as described above
8) After setting all the appliance parameters, press the OnOff key to quit.
The modification sequence only considers the parameters declared in the software to be modifiable (letter M
in first column in table). The parameters not featured on the selected model are also ignored.
6.2.1 MODIFIABLE PARAMETERS
This table lists the model choice or cycle and temperature option parameters.
F/M ID Description Default Min Max Notes
M P0 Appliance Type 1 1 3 Construction version
F P1 Machine Model
M P2 Boiler temperature 80C 60C 90C Step 1 degree
M P3 Tank temperature 56C 48C 65C Step 1 degree
M P4 Thermostop option 1 0 1 0=off 1=on
M P5 Soft Start option 1 0 1 0=off 1=on
M P6 Boiler temperature offset 0 -20 +20 Real=measured+Offset
M P7 Tank temperature offset +6 -20 +20
M P8 Real temperature display 1 0 1 0= filtered, 1= real
F P9 Tank probe type 1 0 1 Do not modify
Note P6 and P7: negative numbers are indicated by illumination of both decimal points (e.g.: -12 Æ
“1.2.”)
SETTINGS
During start-up, the functions/parameters listed below must be set or adjusted:

11
6.2.2 ALARM TRIGGER TIME THRESHOLDS
This table lists all the safety device trigger time thresholds.
F/M ID Description Default Min Max Notes
F A0
F A1 Boiler max. heating time 10 min 3 15 Step = 1 min
F A2 Tank max. heating time 30 min 5 60 Not active with PL ON
F A3 Maximum water intake time 3 min 1 20 Step = 1 min
F A4 Maximum emptying wait time 1 min 1 2 Step = 1 min
6.3 Setting up rinse aid dispensing
Caution: ensure that the appliance is not powered up - FATAL ACCIDENT HAZARD
Adjustments are made using the adjuster
screw AS SHOWN. The quantity
dispensed is reduced by turning
clockwise and increased by turning
anticlockwise.
6.6 Setting up detergent dispensing
Caution: ensure that the appliance is not powered up - FATAL ACCIDENT HAZARD
Adjustments are made using the adjuster screw
AS SHOWN. The quantity dispensed is reduced
by turning anticlockwise and increased by
turning clockwise.

12
6.7 Regeneration frequency setup (models with softener)
6.7.1 Table of parameters
ID Washing cycles between regenerations
H0 Function off (value set when dishwasher is supplied)
H1 94 washing cycles
H2 83 washing cycles
H3 53 washing cycles
H4 33 washing cycles
H5 27 washing cycles
H6 20 washing cycles
Hardness (°dH German degrees) Hardness (°dF French degrees) Setting level
Regeneration off Regeneration off H00
8,5 15 H01
11 20 H02
17 30 H03
22,5 40 H04
28 50 H05
33,5 60 H06
Regeneration cycle duration: 12 minutes
6.7.2 Memorisation procedure
To access the programming menu, proceed as follows:
1) switch the appliance off by pressing the OnOff key
2) Hold down the and keys simultaneously for 6 seconds; H0 appears on the display
3) Use the key to modify the parameter; H0,H1,H2,H3,H4,H5 and H0 will appear on the display in cyclic
sequence
4) Press the OnOff key to confirm the change and quit programming mode.
With values over 60°dF an external water treatment device must be used and the regeneration frequency
must be set on H00.

13
7 MALFUNCTIONS SHOWN ON THE DISPLAY
The dishwasher is able to identify a number of malfunctions and show them on the display.
If the problem persists after the dishwasher has been switched off and back on, proceed as described below:
E.1 Boiler temperature probe malfunction
Boiler temperature probe disconnected or not working
E.2 Tank temperature probe malfunction
Tank temperature probe disconnected or not working
E.3 Water intake malfunction
Water intake not completed in the maximum time allowed
Check dynamic pressure in intake system, and inspect the
water intake filter and rinsing nozzles for dirt.
If the problem persists:
- tank pressure switch has failed (continuous empty
reading)
- leak from pipe connected to air trap
- drain siphon blocked - the tank is empty due to siphoning
when the drain pump is not running
E.4 Boiler overheating. Circuit board relay failure, check circuit board and inspect
boiler heating element for damage
E.5 Tank overheating Circuit board relay failure, check circuit board and inspect
tank heating element for damage
E.6 Water not pumped out of tank
Inspect the filters for dirt and check that the drain hose is
not blocked, bent or crushed.
Check that the drain pump is not blocked by dirt by
removing the insert on the sump (from inside the tank)
If the problem persists:
‐with tank empty: tank pressure switch has failed
(continuous full reading)
‐with tank full: drain pump failure
E.7 Boiler heating malfunction (does not heat
up)
-circuit board relay failure
- tank heating element faulty or "furred" with limescale
- tank temperature probe faulty or incorrectly positioned
- water continues to enter the tank due to intake solenoid
valve failure
E.8 Tank heating malfunction (does not heat up)
-circuit board relay failure
- tank heating element faulty or "furred" with limescale
- tank temperature probe faulty or incorrectly positioned
- water continues to enter the tank due to intake solenoid
valve failure
-
E.9 Microprocessor failure Replace circuit board

14
8 INSTRUCTIONS FOR THE USER
8.1 Control panel
R
8.8.
On-off button
Total emptying button (tank and boiler)
Regeneration key (only if softener is fitted)
L1 power on LED
L2 pump-out in progress LED
L3 generation in progress LED
L4 no salt LED (only if softener is installed)
Short cycle key
Medium cycle key
Long cycle key
L5 power on LED
L6 power on LED
L7 power on LED
8.2 Before washing
Use only detergents and rinse aids for industrial dishwashers.
Do not use detergents intended for hand washing.
We recommend the use of Smeg products, specially developed for this dishwasher.
Check:Turn on the
mains water
tap (user) The level of
detergent and
rinse aid in the
containers.
That there is
regenerating salt in
the relative
container (if fitted).
That the filters are in place,
the spray arms rotate, and
there are no foreign bodies
in the dishwasher.
Switch on the master
switch (user): the
word “OFF” appears
on the display.
When topping up the tanks, take care not to swap the products; this might damage the dishwasher and
cause malfunctions.
Do not mix different detergents; this would damage the dispenser device.
Industrial dishwasher detergents may cause serious irritations. Comply carefully with the instructions provided by
the detergent producer on the pack.

15
8.3 FIRST USE EACH DAY (tank and boiler empty)
Display shows Actions and what happens
R
Door closed and master switch on ON:
Press and hold down for 2-3 seconds; the L1 ON/OFF
light and the two digits on the display light up.
P
The dishwasher fills the tank automatically. At the end of
this phase, when the tank is full, Pappears on the
display and program lights L5, L6, L7 are lit.
WARNING! If the appliance is connected to cold water, wait at least 15' before moving on to the next
phase to give the tank time to reach the correct washing temperature.
Load the dishes and close the door.
R52
Select the programme required by pressing one of the
three buttons; the LED of the selected program flashes
and the other two go out. Hold down for about 2” to
confirm. The LED starts to flash and the washing cycle
starts. While washing is in progress the display shows
the water temperature in the tank. During rinsing, it
shows the boiler temperature.
R
At the end of the program the program LED comes on
and “End” flashes on the display.
Unload the dishes
When the door is closed again, the system offers the last program run.

16
8.4 Changing the program (not possible once the program has started)
R52
If the master switch is not turned off, the appliance offers
the last cycle run. To change, press the button of the
program required; the light comes on.
R52
To confirm hold down for about 2”. The LED starts to
flash and the washing cycle starts.
9 CHOOSING THE PROGRAM
PROGRAM TYPE OF DIRT DURATION (*)
P1 Glasses and cups Short 2’
P2 Glasses, cups and plates with light dirt Average 2’ 30”
P3 Very dirty dishes and cutlery Long 3’
(*) The cycle duration stated above is guaranteed if the appliance is connected to hot water > 50°C <60°C
If the dishwasher is supplied with cold water, the cycle duration might increase depending on the intake
water temperature and the "thermostop" setting.
LOADING THE DISHES
Plates
The equipment basket is able to
take 8 plates.
Remove solid residues (bones,
fruit peel, stones, etc.) and soak
plates with dried residues of
cheese, egg, etc. in water before
loading in the dishwasher.
Glasses
Load glasses upside down.
Cutlery
Use the special basket(s). Load cutlery loose, preferably with the handle at the bottom, taking care not to injure
yourself with fork prongs or knife blades.

17
TOTAL PUMP-OUT AT THE END OF THE DAY
The dishwasher is able to perform an automatic cleaning cycle at the end of the day.
R
Press the pump-out button for about 2”, the LED
flashes and the pump-out and automatic tank cleaning
phase starts.
R
When pump-out is complete the appliance switches to
“OFF” status. (only 2 digits lit on the display)
After a total pump-out the filters should be cleaned as described above.
Never switch the dishwasher off with water in the tank; pump out first.
Resin regeneration (form models with water softener)
Once the number of washing cycles set during installation has been completed, as indicating that the resins will be
spent and regeneration is required, the LED above the key flashes even during the cycle. If the appliance is to
be used for several more cycles, the resins should be regenerated as described below.
R
Press the key; the LED flashes and the
regeneration phase starts. It lasts about 13 minutes,
during which time the LED keeps flashing.
R
When the regeneration phase is complete, the
appliance performs a pump-out and automatic cleaning
cycle then switches to “OFF” status (only 2 digits lit on
the display).
If the user chooses not to perform regeneration, the appliance will carry it out AUTOMATICALLY during the total
pump-out phase, which will last about 12’, after which the appliance will switch off automatically.
Topping up with regenerating salt (for models with water softener)
Salt must be added when the “no salt” light ( ) appears on the display.
Top up with salt when there is no water in the tank to prevent washing water from getting into the water softener
device.
Caution: use only salt of the specific type, do not use cooking salt.
The salt tank has a capacity of about 1 kg of coarse-grained salt.
The salt reservoir is in the bottom of the tank. After removing the basket, undo the cap and pour the salt in using
the funnel supplied. Remove any salt residues around the opening before screwing the cap back on.

18
10MAINTENANCE AND CLEANING
Although no particular scheduled maintenance is required, users are advised to have the dishwasher checked by a
specialist technician twice a year.
N.B.: the manufacturer accepts no liability for wilful damage or damage deriving from carelessness, neglect, failure
to comply with instructions, regulations and standards or incorrect connections.
9.2 Daily cleaning
The dishwasher has IPX4 protection, but the use of direct water jets for cleaning is forbidden.
Cleaning the filter during th day
Remove the filters (simply lift them out as shown here), taking care that
no large residues fall into the sump underneath.
Clean them to remove residues and rinse with plenty of water, then put
them correctly back in place; do not use sharp or pointed tools.
Clean away any limescale deposits to prevent excessive build-ups;
‐If possible, leave the door ajar when not in use;
‐Clean surfaces thoroughly and often with a damp cloth; use
neutral, non-abrasive detergents which do not use chlorine
compounds, which corrode and damage stainless steel.
Do not use the products mentioned above even when cleaning the floor underneath or in the vicinity of the
dishwasher, to ensure that fumes or drops cannot damage the steel surfaces.
IMPORTANT: The dishwasher automatically performs program “P0” at the start of the day if water has been
left in the tank and has dropped below the temperature of 40°C
9.3 Periodic checks
Remove the top and bottom spray arms by unscrewing the central screw and unscrew the caps from the ends of
the rinsing arms as shown. Do not unscrew the nozzles.
Clean the holes and nozzles under a jet of clean running water; do not use tools which might cause damage.
Reassemble the spray arms with care.
1
2
3
1
2
3
3
1
2
Clean the outside of the appliance with a damp cloth and neutral soap, rinsing and drying thoroughly.
9.4 Lengthy periods out of use
If the dishwasher is to be out of use for a fairly long period of time, the detergent and rinse aid dispenser
devices must be emptied to prevent crystallisation and damage to the pumps: Remove the intake hoses
from the detergent and rinse aid containers and place them in a container of clean water, then perform a few wash
cycles followed by a complete pump-out.
Finally, turn off the master switch, close the water intake valve and leave the door ajar until the interior is
completely dry. The detergent and rinse aid intake hoses must be put back into the containers when the
dishwasher is returned to service, taking care not to swap them over (red hose = detergent, blue hose = rinse
aid).
This manual suits for next models
1
Table of contents
Other Smeg Dishwasher manuals

Smeg
Smeg ST5324L User manual

Smeg
Smeg STL324BQLLW User manual

Smeg
Smeg GS326-449 User manual

Smeg
Smeg CWH520D User manual

Smeg
Smeg CWC601D User manual

Smeg
Smeg Dishwasher User manual

Smeg
Smeg LVS222BIT User manual

Smeg
Smeg DI6013NH User manual

Smeg
Smeg KOA725 Operation instructions

Smeg
Smeg LVS262DSX User manual