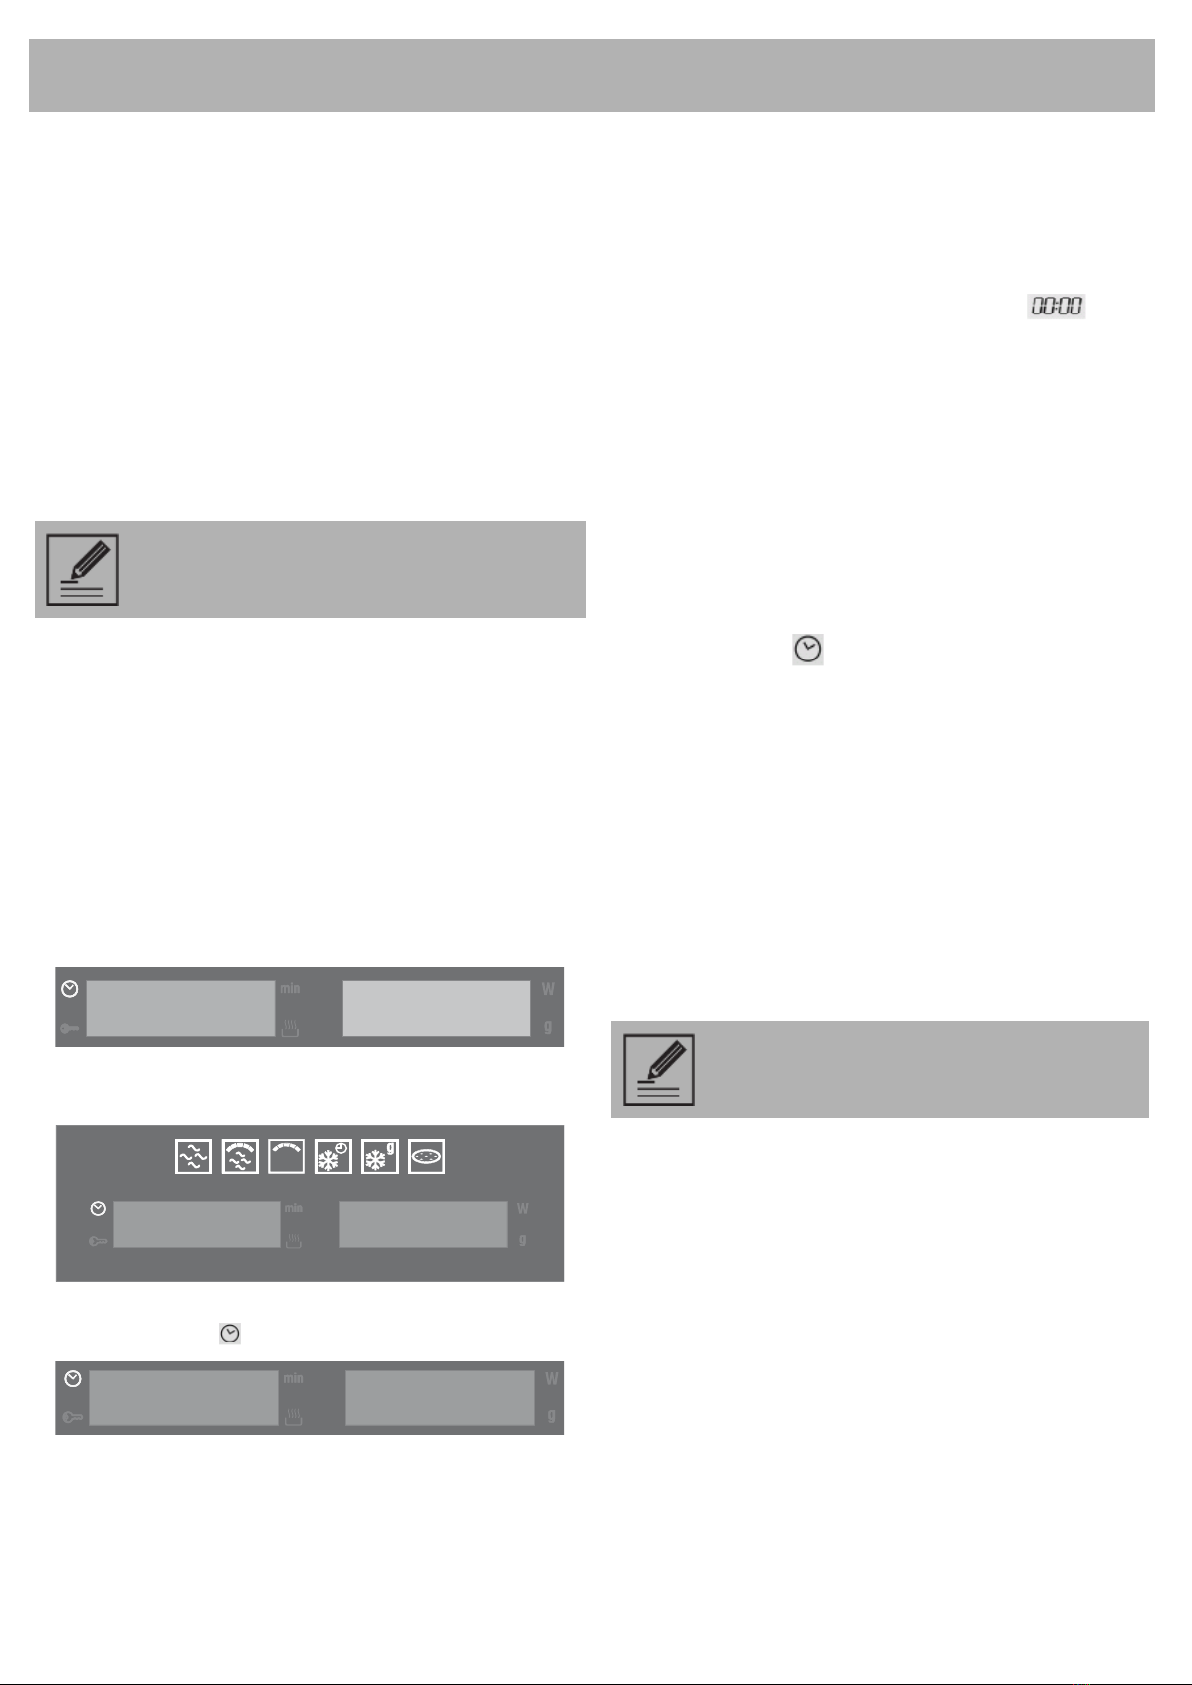
Smeg MP422X User manual

1 / EN
Microwave
User manual

1 / EN
Description
General Description
1.
Catches
2.
Door window glass
3.
Drop-down grill
4.
Ceramic base
5.
Control panel

2 / EN
Description
Control Panel
Function’s parameters knob
(From now on, for convenience it will be referred to
as PT1.)
This knob allows you to:
Open the door
Set the time
Select the cooking temperature
Select the cooking duration
Program the cooking start and end times.
For instructions on how to use it correctly, see the
next chapters.
Note: Parameter knob allows you to open the door
by pressing it briefly.
Current time / Duration display
(From now on, for convenience it will be referred to
as DSP1.)
This display shows the current time or the cooking
duration.
Also visible are the function safety lock-out light
(see “Child safety lock-out function”)
Microwaves power / Weight display
(From now on, for convenience it will be referred to
as DSP2.)
This display shows the Parameters set for the
function required, or the Parameters set by the
user.
Function display
(From now on, for convenience it will be referred to
as DSP3.)
This display shows (illuminated) all the cooking
functions available for selection.
For instructions on how to select a cooking
function, see point“Operating modes”.
Function-switch on knob
(From now on, for convenience it will be referred to
as PT2.)
This knob allows:
The switching on and off of the microwave
To select a cooking function (see
“Operating modes”).

3 / EN
First use
1. Remove any protective film from the outside
or inside of the appliance, including
accessories.
2. Remove any labels (apart from the rating
plate) from the accessories and from the
oven cavity.
3. Remove and wash all the appliance
accessories (see 4 Cleaning and
Maintenance).
4. Heat the empty oven at maximum
temperature (using traditional functions) so
as to remove any manufacturing residues.
For the first heating use a traditional
function and not a microwave function.
Using the oven
Opening the door
To open the door press PT1 briefly.
Operating modes
This product is programmed to provide 3 operating
settings, which can be\modified by pressing PT2.
Stand-by: activated as soon as the current time
has been confirmed, with DSP1 on and showing
the current time
ON: from the standby setting, press PT2 once. All
the displays and knobs light up.
OFF: from the ON setting, press PT2 once.
Only the symbol on DSP1 remains on.
The heating system is not activated
immediately in any of these functions, in order
to improve operator safety.
Setting the time
On the first use,or after a power failure will
be flashing on the appliance’s display. To be able
to start any cooking function, the current time must
be set.
1. Press PT1 for 3 seconds to set the current time.
2. Turn PT1 to the right and left to increase or
decrease the hours.
3. Press it once to move on to setting the minutes.
4. Turn it the right and left to increase or decrease
the hours and press it to set the current time.
5. The symbol will appear on the display,
which will stop flashing.
6. Press PT1 again and the minutes will Flash,
turn right left to set the minutes.
7. Press PT and the time is set.
Setting the current time
It might become necessary to change the current
time, for example at the switch from summer to
winter time. To do this, start from the standby
setting (see “Operating modes”). Now repeat the
operations described in point “Setting the time”.
It is not possible to change the time if
the oven is ON.
Selecting the function
1. In the ON state only, a cooking function can be
selected by simply turning PT2 to the right or
left.
2. The function selected will change colour to
orange on DSP3.
3. The preset cooking time will be displayed on
DSP1 and the preset parameters (temperature,
microwaves power, weight) are displayed in
alternation on DSP2.
02:30
02:30
Use

4 / EN
Use
Cooking Functions
Microwave
Given that they penetrate directly into
the food, microwaves allow cooking to
take place in a very short period of
time and with a considerable saving of
energy. They are suitable for cooking
without fat and also for defrosting and
re-heating food while maintaining its
original appearance and fragrance.
1.After selecting this function, turn PT1 to the right
or left to change the preset cooking duration.
2.Press PT1 for 3 seconds to validate and the
microwaves power light starts to blink.
3. Turn PT1 to the right or left to change the preset
microwaves power.
4. Press PT2 to immediately start the cooking
process or otherwise press PT1 for 3 seconds
to set a different time for the cooking process
start (please refer to “Delayed Start Time
(Automatic cooking)”).
If the door is opened then cooking will
stop. Once the door is closed press the
START key to resume cooking.
Combination
Combination cooking is a mix of
traditional cooking and microwave
operation.
Microwave + Grill
The use of the grill results in perfect
browning of the food’s surface. Using
the microwave on the other hand
leads to a rapid internal cooking of the
food.
1. After selecting this function, turn PT1 to the right
or left to change the preset cooking duration.
2. Press PT1 for 3 seconds to validate and the
microwaves power light starts to blink.
3. Turn PT1 to the right or left to change the preset
microwaves power.
4. Press PT2 to immediately start the cooking
process or otherwise press PT1 for 3 seconds
to set a different time for the cooking process
start (please refer to “Delayed Start Time
(Automatic cooking)”).
Improper user
Risk of damages to the appliance
Do not use the combined functions to heat or
boil liquids.
Traditional cooking functions
Grill
The heat coming from the grill
element gives perfect grilling results
above all for thin and medium
thickness meat and allows you to
give the food an even browning at the
end of the cooking. Perfect for
sausages, spare ribs and bacon.
This function enables large quantities
of food, particularly meat, to be grilled
evenly.
1.After selecting this function, turn PT1 to the
right or left to change the preset cooking
duration.
2.Press PT2 to immediately start the cooking
process or otherwise press PT1 to set a
different time for the cooking process start
(please refer to “Delayed Start Time (Automatic
cooking)”).

5 / EN
Use
Defrosting by weight (automatic)
This function allows food to be
microwave defrosted according to the
weight and type of food to be
defrosted.
1. After selecting this function, turn PT1 to the right
or left to change the preset food type displayed
on DSP1.
2. Press PT1 for 3 seconds to validate and the
weight light starts to blink.
3. Turn PT1 to the right or left to change the preset
food weight.
4. Press PT2 to start the defrosting process.
5. The defrosting time will be calculated based on
the food’s type and weight and the microwaves
power will be automatically varied to achieve
the best thawing results.
For best results during defrosting the
dish inside the oven will need to be
turned.
The following table shows the programs for the
defrosting by weight function, indicating the weight
ranges, defrosting and resting times (to ensure
that the food reaches a uniform temperature).
Program Food Weight
(kg) Time (min) Resting
time (min)
PR-01 Meat 100 -
2000 2 –43 20 –30
PR-02 Poultry 100 -
2500 2 –58 20 –30
PR-03 Fish 100 -
2000 2 –40 20 –30
PR-04 Fruit 100 -
500 2 –13 5 –10
PR-05 Bread 100 -
800 2 –19 5 –10
Pizza function
1. Turn PT2 to the right or left to select the Pizza
Function.
2. The Pizza Function indicator will be
highlighted and DSP2 shows the pre-set time
of 7 minutes.
3. This pre-set time is indicated to cook handmade
pizzas and frozen pizzas up to 26 cm diameter,
with an approximate weight of 350g and whose
temperature is above 5ºC.
In order to ensure satisfactory cooking
result for frozen pizzas you should
allow them to thaw and reach at least
5ºC.
Special functions and automatic
programs
Defrosting by time (manual)
This function allows food to be
defrosted by the microwave according
to a selected period of time.
1. After selecting this function, turn PT1 to the
right or left to change the preset defrosting
duration.
2.Press PT2 to start the defrosting process.
3.The microwaves power will be automatically
varied to achieve the best thawing results.
If the selected defrost duration is more
than 5 minutes then, for best results,
the dish inside the oven compartment
will need to be turned.

6 / EN
Delayed Start Time (Automatic cooking)
1. When PT1 is pressed to define a delayed start
time the corresponding light starts to blink,
DSP1 shows the current time and DSP 2
shows “Auto”.
2. Turn PT1 to the right or left to change the
delayed start time.
3. Press PT2 to validate the delayed start time.
4. The oven enters in an idle state waiting for the
defined start time. DSP3 shows the selected
function and DSP1 and DSP2 show all the
defined parameters for the function
continuously alternating.
5. If you wish to start the function before the
selected time, just press PT2.
6. If you wish to cancel the programming, press
PT2 for 3 seconds.
When the oven is working…
Interrupting a cooking cycle
You can stop the cooking process at any time by
pressing the Start/Stop key once or by opening the
oven door. In both cases:
Microwave emission is stopped
immediately.
The grill is de-activated but is still very hot.
Danger of burning!
The timer stops and the display shows the
remaining amount of operating time.
If you wish, at this time you can:
Turn or stir the food to ensure it will be
evenly cooked.
Modify the process parameters.
Cancel the process by pressing PT2 for 3
seconds.
To restart the process, close the door and press
PT2.
Modifying parameters
The operating parameters (time, weight, power,
etc.) can only be modified when the cooking
process has been interrupted. Proceed as follows:
Press PT1 approximately 5-6 seconds to
activate the parameter modification mode.
The symbol starts to blink. Turn PT1 to
the right or left to change the remaining
cooking duration.
Press PT1 for 3 seconds to validate and the
next parameter light starts to blink. Proceed
as described in the active function chapter to
modify the remaining parameters.
Press PT2 to continue the cooking process.
Cancelling a cooking cycle
1. If you wish to cancel the cooking process,
press PT2 for 3 seconds.
2. You will then hear a beep and the oven returns
to the OFF setting.
End of a cooking cycle
At the end of the process you will hear three beeps
and the display will show the word “End”.
The beeps are repeated every 30 seconds until
the door is opened or PT2 is pressed. The oven
returns to the OFF setting
Use

7 / EN 8 / EN
Use
Secondary menu
This appliance also has a concealed "secondary
menu" allowing the user to:
1. Activate or deactivate the Show Room function
(which disables all the heating elements so that
only the control panel works);
2. Activate or deactivate the function which limits
the maximum power absorption to 2000 W;
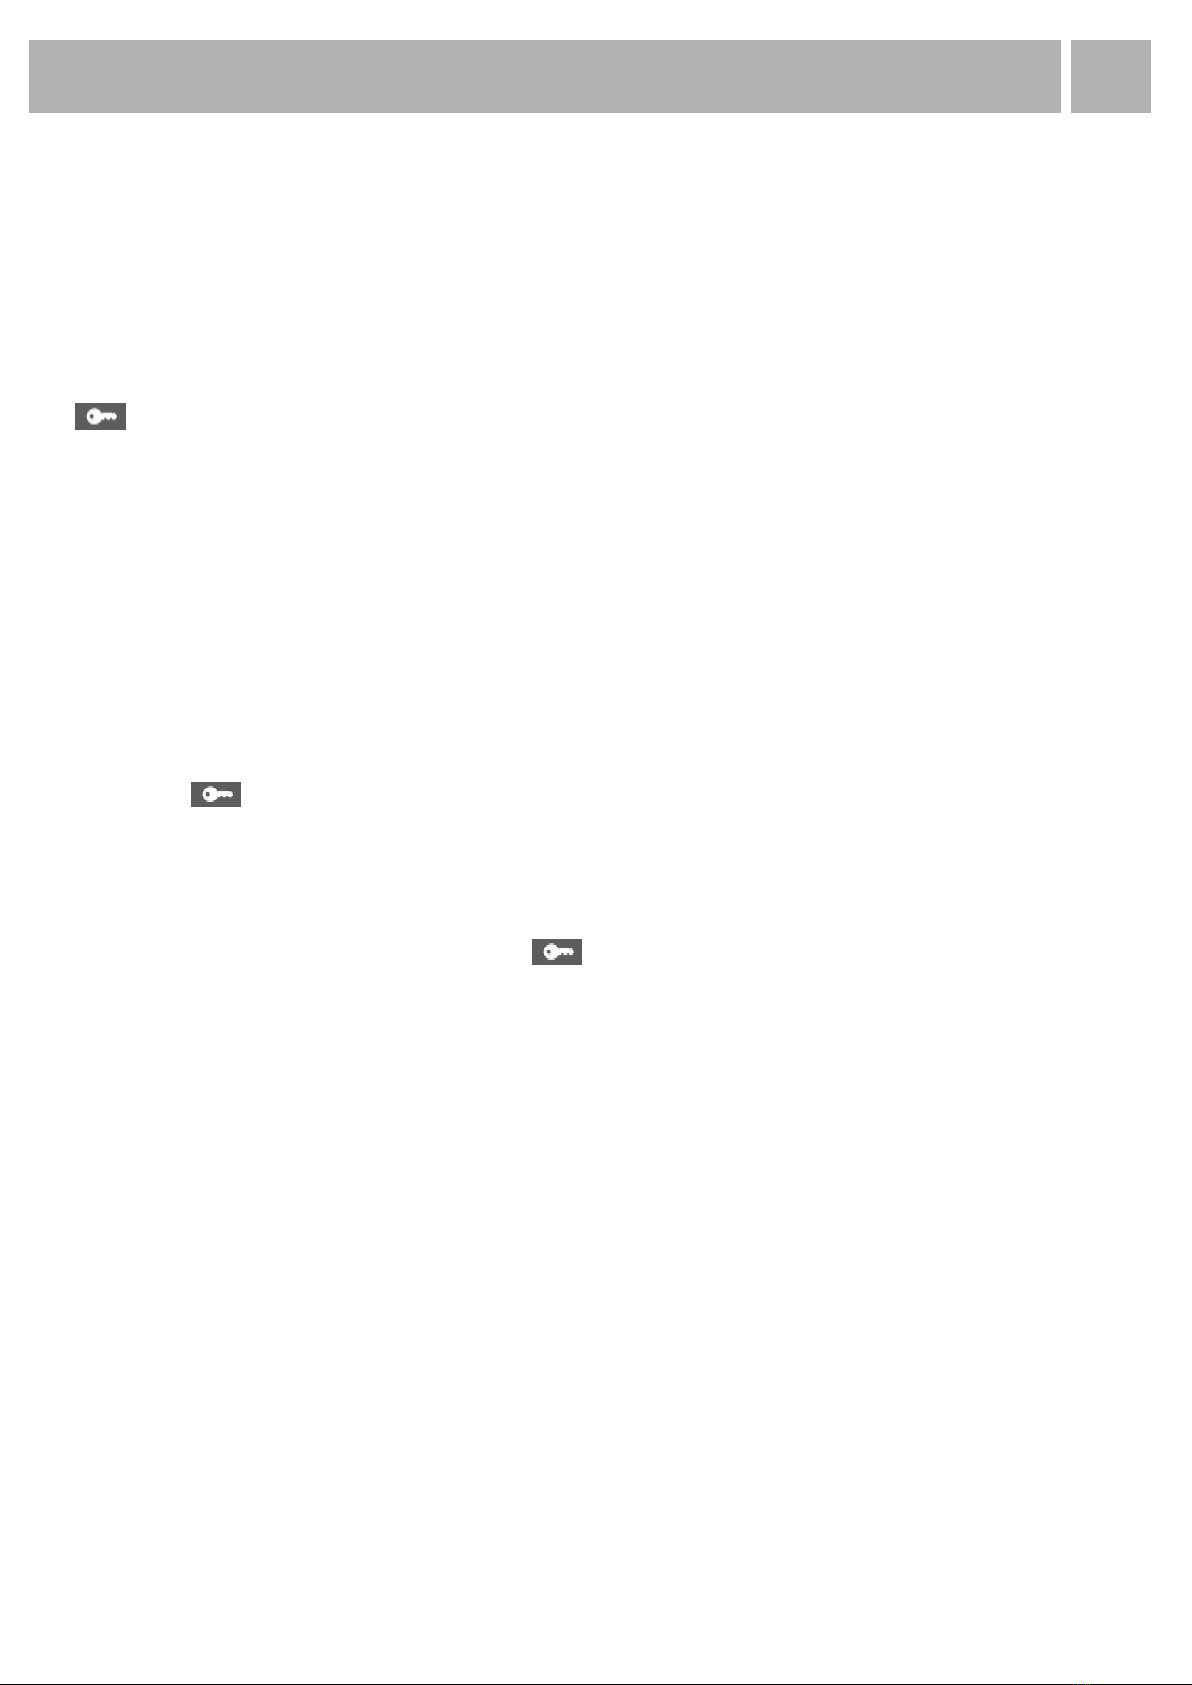
3. Activate or deactivate the child safety device (
);
Child safety lock-out function
1. With the oven in OFF status (see “Operating
modes”) keep PT1 pressed until the message
OFF SHO appears on DSP1.
2. Now press PT1 until the message “OFF BLOC”
appears on DPS1.
3. Turn PT1 to the right or left to activate (ON
BLOC) or deactivate (OFF BLOC) this function,
which locks out all the functions and knobs
after 3 minutes of operation without any
command from the user (when this system is
active, the symbol appears on DPS2).
4. After setting the parameter required, press PT2
to return the oven to the initial standby status.
5. To exit the lockout status temporarily to modify
a cooking program or select a different
function, keep PT1 pressed until the
symbol disappears from DSP2. The required
changes can now be made, and 2 minutes after
the last setting is made the lockout will come
into operation again.
6. To deactivate the lockout permanently, access
the secondary menu and switch the function off
as described in this section.
Show Room Function (for exhibitors only)
1. With the oven in OFF status (see point “7.2
Operating settings”) keep PT1 pressed
between 5-6 seconds, until the message OFF
SHO appears on DSP1. This means that the
SHOW ROOM function (which disables all the
heating elements so that only the control panel
works) is not active.
2. Turn PT1 to the right or left to activate (ON
SHO) or deactivate (OFF SHO) this function.
To use the oven normally, set OFF SHO.
3. After setting the parameter required, press PT2
to return the oven to the initial standby status.
Cooling fan system
The appliance is equipped with a cooling system
which comes into operation as soon as a cooking
function starts.
Operation of the fans generates a normal air flow
which comes out above the door and may
continue for a short time even after the oven is
switched off.
Inside light
The oven light comes on:
when the oven door is opened in standby
status or;
when the function knob is turned to any
function.
If the oven door is left open, the oven light will
automatically shut-off after 10 minutes.
Other Smeg Microwave Oven manuals