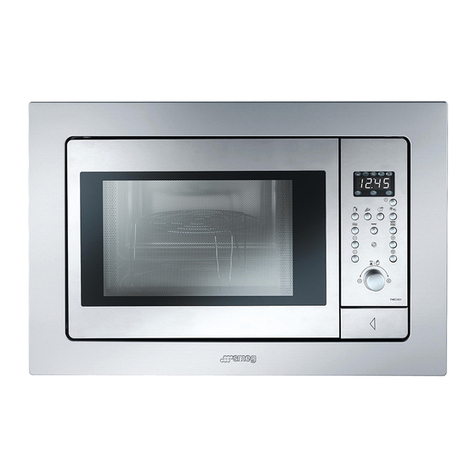
Smeg OTR111SU User manual

Over the Range Convection Microwave Oven
Instruction Manual
Model: OTR111SU
Read the Instructions carefully and Keep for Future Reference
TINSEB400WRRZ

E 2
PRECAUTIONS TO AVOID POSSIBLE
EXPOSURE TO EXCESSIVE
MICROWAVE ENERGY
(a) Do not attempt to operate this oven with the door open since open-door operation can result in harmful
exposure to microwave energy. It is important not to defeat or tamper with the safety interlocks.
(b) Do not place any object between the oven front face and the door or allow soil or cleaner residue to
accumulate on sealing surfaces.
(c) Do not operate the oven if it is damaged. It is particularly important that the oven door close properly
and that there is no damage to the:
(1) door (bent)
(2) hinges and latches (broken or loosened)
(3) door seals and sealing surfaces.
(d) Theovenshouldnotbeadjustedorrepairedbyanyoneexceptproperlyqualiedservicepersonnel.

E 3
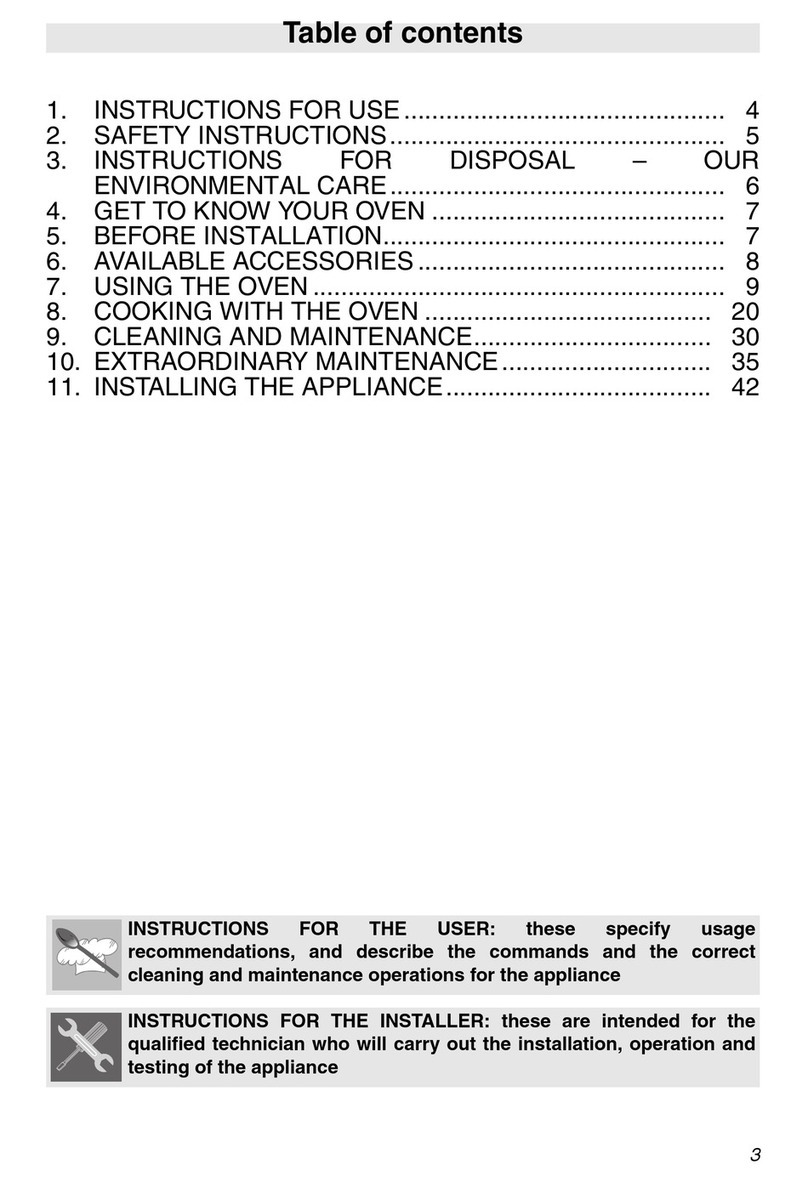
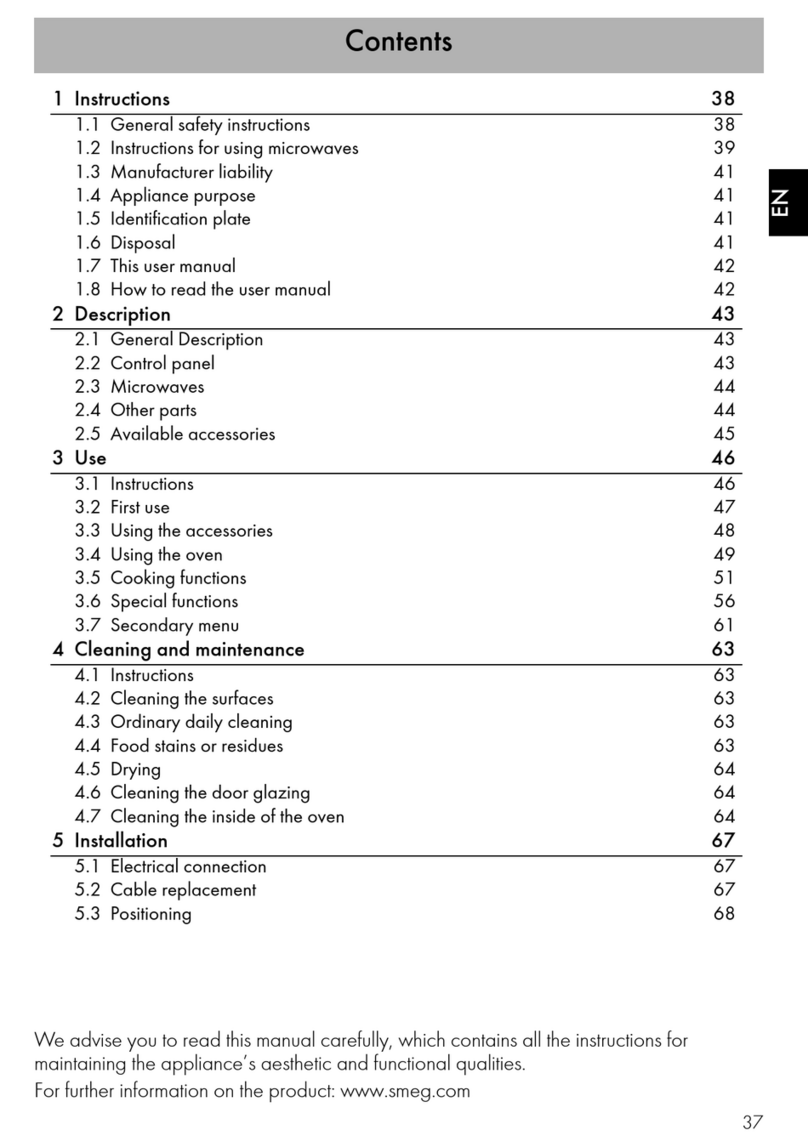
CONTENTS
Precautions to Avoid Possible Exposure to
Excessive Microwave Energy ....................... 2
Contents.......................................................... 3
Important Safety Instructions........................ 4
Unpacking Instructions.................................. 5
Grounding Instructions ................................. 5
Information You Need to Know ..................... 6-9
About Your Oven ........................................... 6
About Food.................................................... 6
About Safety ................................................. 7
About Microwave Cooking............................. 7
About Children and the Microwave ............... 7
About Utensils and Coverings....................... 8
Part Names...................................................... 10
Touch Control Panel....................................... 11
Before Operating ........................................... 12
To Set the Clock ............................................ 12
STOP/CLEAR ............................................... 12
Manual Microwave Operation........................ 12-13
Turntable On/Off............................................ 12
Time Cooking Microwave .............................. 13
To Set Power Lever....................................... 13
Hood Light/Hood Fan .................................... 13
Keep Warm .................................................. 13
Microwave Features ...................................... 14-19
Compu Defrost ............................................. 14
Compu Defrost Chart ................................... 14
Manual Defrost.............................................. 15
Sensor Cooking ............................................ 15
Instant Sensors ............................................. 16
Sensor Reheat ............................................. 16
Sensor Reheat Chart .................................... 16
Sensor Popcorn............................................. 16
Sensor Cook ................................................. 17
Sensor Cook Chart ....................................... 17
Sensor Cook Recipes.................................... 18
Manual Convection and
Automatic Mix Operation............................... 20-21
Convection Cooking ...................................... 20
Cook with Convection.................................... 20
Preheat and Cook with Convection............... 20
Broil ............................................................... 20
Slow Cook ..................................................... 20
Automatic Mix Cooking.................................. 20
Cook with Automatic Mix ............................... 21
Preheat and Cook with Automatic Mix........... 21
Convection Automatic Mix Features ............ 22-24
Compu Broil................................................... 22
Compu Broil Chart......................................... 22
Compu Roast ................................................ 23
Compu Roast Chart....................................... 23
Compu Bake.................................................. 24
Compu Bake Chart........................................ 24
Other Convenient Features .......................... 25-26
CUSTOM HELP ............................................ 25
1. Child Lock.............................................. 25
2. Audible Signal Elimination ..................... 25
3. Auto Start............................................... 25
4. Language Selection............................... 25
5. Weight and Temperature Selections...... 25
Multiple Sequence Cooking .......................... 25
More or Less Time Adjustment...................... 26
Kitchen Timer ................................................ 26
Minute Plus.................................................... 26
Demonstration Mode..................................... 26
Touch On....................................................... 26
Help (display indicator).................................. 26
Standby Mode ............................................... 26
Cleaning and Care.......................................... 27-29
Service Call Check ......................................... 29
Specications ................................................. 30
INTERACTIVE COOKING SYSTEM
The Interactive Cooking System offers step-by-step instructions in the display for using the oven, from setting
the clock to programming each feature. It also includes CUSTOM HELP for instructions on using Child Lock,
Audible Signal Elimination, Auto Start and Help. There is a choice of English, Spanish or French and a choice
of U.S. Customary Unit-pound or Metric-kilograms. Touch CUSTOM HELP and follow the directions displayed
or check pages 25.

E 4
SAVE THESE INSTRUCTIONS
When using electrical appliances basic safety precautions should be followed, including the following:
WARNING-Toreducetheriskofburns,electricshock,re,injurytopersonsorexposuretoexcessivemicrowaveenergy:
1. READ ALL INSTRUCTIONS BEFORE USING THE
APPLIANCE.
2. Readandfollowthespecic“PRECAUTIONS TO
AVOID POSSIBLE EXPOSURE TO EXCESSIVE
MICROWAVE ENERGY” on page 2.
3. This appliance must be grounded. Connect only
to properly grounded outlet. See “GROUNDING
INSTRUCTIONS” on page 5 and INSTALLATION
INSTRUCTIONS.
4. Install or locate this appliance only in accordance
with the provided installation instructions.
5. Some products such as whole eggs and sealed con-
tainers—for example, closed glass jars—are able to
explode and should not be heated in this oven.
6. Use this appliance only for its intended use as de-
scribed in this manual. Do not use corrosive chemi-
cals or vapors in this appliance. This type of oven is
specicallydesignedtoheat,cookordryfood.Itis
not designed for industrial or laboratory use.
7. As with any appliance, close supervision is necessary
when used by children.
8. Do not operate this appliance if it has a damaged
cord or plug, if it is not working properly or if it has
been damaged or dropped.
9. Thisapplianceshouldbeservicedonlybyqualied
service personnel. Contact nearest Authorized Ser-
vicer for examination, repair or adjustment.
10. Do not cover or block any openings on the appliance.
11. Do not store or use this appliance outdoors. Do not
use this product near water—for example, near a
kitchen sink, in a wet basement or near a swimming
pool, or similar locations.
12. Do not immerse cord or plug in water.
13. Keep cord away from heated surfaces.
14. Do not let cord hang over edge of table or counter.
15. See door surface cleaning instructions on page 27.
16.Toreducetheriskofreintheovencavity:
a. Do not overcook food. Carefully attend appliance
when paper, plastic or other combustible materials
are placed inside the oven to facilitate cooking.
b. Remove wire twist-ties from paper or plastic bags
before placing bag in oven.
c. If materials inside the oven should ignite, keep
oven door closed, turn oven off and disconnect
the power cord or shut off power at the fuse or
circuit breaker panel.
d. Do not use the cavity for storage purposes. Do not
leave paper products, cooking utensils or food in
the cavity when not in use.
17. Liquids, such as water, coffee or tea are able to be
overheated beyond the boiling point without appear-
ing to be boiling. Visible bubbling or boiling when the
container is removed from the microwave oven is not
always present. THIS COULD RESULT IN VERY
HOT LIQUIDS SUDDENLY BOILING OVER WHEN
ASPOON OR OTHER UTENSIL IS INSERTED INTO
THE LIQUID.
To reduce the risk of injury to persons:
a. Do not overheat the liquid.
b. Stir the liquid both before and halfway through
heating it.
c. Do not use straight-sided containers with narrow
necks. Use a wide-mouthed container.
d. After heating, allow the container to stand in the
microwave oven at least for 20 seconds before
removing the container.
e. Use extreme care when inserting a spoon or other
utensil into the container.
18. Clean ventilation openings and grease filters
frequently—Grease should not be allowed to
accumulate on ventilation openings, louver or grease
lters.
19. Use care when cleaning the louver and the grease
lters.Corrosivecleaningagents,suchaslye-based
oven cleaners, may damage the louver and the grease
lters.
20.Whenamingfoodunderthehood,turnthefanon.
21. This appliance is suitable for use above both gas and
electric cooking equipment 36” wide or less.
IMPORTANT SAFETY INSTRUCTIONS
E 5
This appliance must be grounded. This oven is equipped
with a cord having a grounding wire with a grounding plug.
It must be plugged into a wall receptacle that is properly
installed and grounded in accordance with the National
Electrical Code and local codes and ordinances. In the
event of an electrical short circuit, grounding reduces
risk of electric shock by providing an escape wire for the
electric current.
WARNING – Improper use of the grounding plug can
result in a risk of electric shock.
ELECTRICAL REQUIREMENTS
Check Installation Instructions for proper location for the
power supply.
The electrical requirements are a 120 volt 60 Hz, AC
only, 15 amp. or more protected electrical supply. It is
recommended that a separate circuit serving only the
oven be provided.
The oven is equipped with a 3-prong grounding plug. It
must be plugged into a wall receptacle that is properly
installed and grounded. DO NOT UNDER ANY CIRCUM-
STANCES CUT OR REMOVE THE GROUNDING PIN
FROM THE PLUG.
Notes:
1. If you have any questions about the grounding or
electricalinstructions, consult a qualied electrician
or service person.
2. Neither SMEG nor the dealer can accept any liability
for damage to the oven or personal injury resulting
from failure to observe the correct electrical connection
procedures.
RADIO OR TV INTERFERENCE
Should there be any interference caused by the micro-
wave oven to your radio or TV, check that the microwave
oven is on a different electrical circuit, relocate the radio
or TV as far away from the oven as feasible or check
position and signal of receiving antenna.
Carefully remove oven from carton. SAVE THE CARTON
AS IT MAY MAKE INSTALLATION EASIER.
Remove all packing materials from inside the oven cavity;
however, DO NOT REMOVE THE WAVEGUIDE COVER,
which is located on the ceiling in the oven cavity. Check
to see that there are Installation Instructions, Wall Tem-
plate and Top Template. Read enclosures and SAVE this
Instruction Manual.
Check the oven for any damage, such as misaligned or
bent door, damaged door seals and sealing surfaces,
broken or loose door hinges and latches and dents inside
the cavity or on the door. If there is any damage, do not
operate the oven and contact your dealer or AUTHO-
RIZED SERVICER.
Oven
cavity
Waveguide
cover
Hinges
Latches
Door seals and
sealing surfaces
See Installation Instructions for more details.
UNPACKING INSTRUCTIONS
GROUNDING INSTRUCTIONS
Other manuals for OTR111SU
1
Table of contents
Other Smeg Microwave Oven manuals
Popular Microwave Oven manuals by other brands

Conrad Electronic
Conrad Electronic 2372935 operating instructions

GE
GE Spacemaker JVM1440BH datasheet

DAEWOO ELECTRONICS
DAEWOO ELECTRONICS KOR-6L8K5S83 Operating instructions & cook book

DAEWOO ELECTRONICS
DAEWOO ELECTRONICS KOR-1N5A9S Operating instructions & cook book

Daewoo
Daewoo KQG-6617G Operating instructions & cook book

Samsung
Samsung M1779 Owner's instructions