Smeg S20XMFR User manual

Contents
1. INSTRUCTIONS FOR SAFE AND PROPER USE_______________ 26
2. INSTALLATION _________________________________________ 28
3. DESCRIPTION OF CONTROLS ____________________________ 30
4. USE OF THE OVEN______________________________________ 35
5. AVAILABLE ACCESSORIES _______________________________ 36
6. COOKING HINTS________________________________________ 37
7. CLEANING AND MAINTENANCE ___________________________ 43
8. EXTRAORDINARY MAINTENANCE _________________________ 45
INSTRUCTIONS FOR THE INSTALLER: these are intended for the
qualified technician who must install the appliance, set it functioning
and carry out an inspection test.
INSTRUCTIONS FOR THE USER: these contain user advice,
description of the commands and the correct procedures for cleaning
and maintenance of the appliance.
25

Introduction
1. INSTRUCTIONS FOR SAFE AND PROPER USE
THIS MANUAL IS AN INTEGRAL PART OF THE APPLIANCE AND
THEREFORE MUST BE KEPT IN ITS ENTIRETY AND IN AN ACCESSIBLE
PLACE FOR THE WHOLE WORKING LIFE OF THE OVEN. WE ADVISE
CAREFUL READING OF THIS MANUAL AND ALL THE INSTRUCTIONS
THEREIN BEFORE USING THE OVEN. INSTALLATION MUST BE CARRIED
OUT BY QUALIFIED PERSONNEL IN ACCORDANCE WITH THE
REGULATIONS IN FORCE. THIS APPLIANCE IS INTENDED FOR DOMESTIC
USES AND CONFORMS TO CURRENT REGULATIONS IN FORCE. THE
APPLIANCE HAS BEEN BUILT TO CARRY OUT THE FOLLOWING
FUNCTIONS: COOKING AND HEATING-UP OF FOOD. ALL OTHER USES
ARE CONSIDERED IMPROPER.
THE MANUFACTURER DECLINES ALL RESPONSIBILITY FOR IMPROPER
USE.
DO NOT LEAVE THE PACKING IN THE HOME ENVIRONMENT. SEPARATE
THE VARIOUS WASTE MATERIALS AND TAKE THEM TO THE NEAREST
SPECIAL GARBAGE COLLECTION CENTRE.
IT IS OBLIGATORY FOR THE ELECTRICAL SYSTEM TO BE GROUNDED
ACCORDING TO THE METHODS REQUIRED BY SAFETY RULES.
WHEN LINKING UP TO MAINS BY PLUG AND SOCKET, MAKE SURE THAT
BOTH ARE COMPATIBLE AND CONNECT BY MEANS OF A POWER CABLE
COMPLYING WITH APPLICABLE REGULATIONS.
THE SOCKET MUST BE ACCESSIBLE AFTER THE APPLIANCE HAS BEEN
BUILT IN.
NEVER UNPLUG BY PULLING ON THE CABLE.
DO NOT OBSTRUCT VENTILATION OPENINGS AND HEAT DISPERSAL
SLITS.
IMMEDIATELY AFTER INSTALLATION CARRY OUT A BRIEF INSPECTION
TEST OF THE OVEN, FOLLOWING THE INSTRUCTIONS BELOW. SHOULD
THE APPLIANCE NOT FUNCTION, DISCONNECT IT FROM THE SUPPLY AND
CALL THE NEAREST TECHNICAL ASSISTANCE CENTRE.
NEVER ATTEMPT TO REPAIR THE APPLIANCE.
26

Introduction
ALWAYS CHECK THAT THE CONTROL KNOBS ARE IN THE “ZERO” (OFF)
POSITION WHEN YOU FINISH USING THE OVEN.
NEVER PUT INFLAMMABLE OBJECTS IN THE OVEN: THEY COULD BE
ACCIDENTALLY LIGHTED AND CAUSE FIRES.
DURING USE THE APPLIANCE BECOMES VERY HOT. TAKE CARE NOT TO
TOUCH THE HEATING ELEMENTS INSIDE THE OVEN.
THE I.D. PLATE WITH TECHNICAL DATA, REGISTRATION NUMBER AND
BRAND NAME IS POSITIONED VISIBLY ON THE OVEN DOOR FRAME.
THE PLATE MUST NOT BE REMOVED.
THE USE OF THIS APPLIANCE IS NOT PERMITTED TO PEOPLE (INCLUDING
CHILDREN) OF REDUCED PHYSICAL AND MENTAL ABILITY, OR LACKING IN
EXPERIENCE IN THE USE OF ELECTRICAL APPLIANCES, UNLESS THEY
ARE SUPERVISED OR INSTRUCTED BY ADULTS OR PEOPLE
RESPONSIBLE FOR THEIR SAFETY.
THIS APPLIANCE IS MARKED ACCORDING TO THE EUROPEAN DIRECTIVE
2002/96/EC ON WASTE ELECTRICAL AND ELECTRONIC EQUIPMENT
(WEEE).
THIS GUIDELINE IS THE FRAME OF A EUROPEAN-WIDE VALIDITY OF
RETURN AND RECYCLING ON WASTE ELECTRICAL AND ELECTRONIC
EQUIPMENT.
BEFORE THE APPLIANCE IS PUT INTO OPERATION, ALL THE LABELS AND
PROTECTIVE FILMS APPLIED INSIDE OR OUTSIDE MUST BE REMOVED.
The manufacturer declines all responsibility for damage to persons
or things caused by non-observance of the above prescriptions or by
interference with any part of the appliance or by the use of non-original
spares.
27

Instructions for the installer
28
2. INSTALLATION
2.1 Electrical connection
Check that mains voltage and power cable ratings are as per the
indications provided on the label attached to the oven door frame.
This label must never be removed.
It is obligatory for the electrical system to be grounded according to the
methods required by safety rules.
If a plug and socket connection is being used make sure that the plug
and socket are compatible. Avoid use of adapters and shunts as these
could cause overheating and risk of burns.
If a fixed connection is being used fit power line with an omnipolar circuit
breaker with a contact opening gap equal to or greater than 3 mm in an
easily accessible position in proximity to the oven.
For operation on 230-240V
∼
:use an
H05RR-F / H05V2V2-F type three-core
cable (3 x 1.5 mm2).
The cable end to be connected to the
appliance must be provided with an ground
wire (yellow-green) at least 20 mm longer.
The manufacturer declines all responsibility for damage to persons
or things caused by non-observance of the above prescriptions or by
interference with any part of the appliance.

Instructions for the installer
Mounting the oven
The oven is designed for mounting into any piece of furniture as long as
heat-resistant. Proceed according to the dimensions shown in Figures 1,
2.
Fixing is carried out using 4 screws at
the corners "C" of the oven door
frame, after removing the side panels
secured by the screws "A" and the
supports "B" as shown in figure 3. To
replace the side panels, take care to
engage the pins inside them correctly
with the supports "B", then retighten
the screws "A".
3.
Never use the oven door to lever the oven into
place when fitting.
Avoid exerting too much pressure on the oven door
when open.
29

Instructions for the user
30
3. DESCRIPTION OF CONTROLS
3.1 Front control panel
All the oven controls are grouped together on the front panel.
FUNCTION SWITCH KNOB
Rotate the knob in either direction to select desired function from the
following:
NO FUNCTION SET LOWER HEATING ELEMENT
+ VENTILATED HEATING
ELEMENT
UPPER AND LOWER
HEATING ELEMENT
VENTILATED HEATING
ELEMENT + VENTILATION
WIDE GRILL ELEMENT UPPER AND LOWER
HEATING ELEMENT +
VENTILATION
GRILL ELEMENT
LOWER HEATING ELEMENT
+ VENTILATION
WIDE GRILL ELEMENT +
VENTILATION
OVEN LIGHT WIDE GRILL ELEMENT +
VENTILATION
UPPER AND LOWER
HEATING ELEMENT
UPPER AND LOWER
HEATING ELEMENT +
VENTILATION
GRILL ELEMENT
DEFROSTING

Instructions for the user
THERMOSTAT KNOB
Cooking temperature is selected by
turning the knob clockwise to the
desired setting, between 50° and
250°C.
THERMOSTAT INDICATOR LIGHT
When this light comes on, the oven is heating up.
When this light goes out, the preset heating
temperature has been reached.
When the light flashes, the temperature inside the
oven is steady at the set temperature.
31

Instructions for the user
32
3.2 Electronic Programmer
The programmer user instructions are valid only for the main oven.
LIST OF FUNCTIONS
MINUTE-COUNTER KEY
COOKING TIME KEY
END-OF-COOKING KEY
DECREASE TIME KEY
INCREASE TIME KEY
3.2.1 Clock adjustment
When using the oven for the first time, or after a power failure, the display
flashes regularly and indicates . Press the keys and at the
same time the keys or : each single press changes the time by 1
minute either up or down.
Before setting the programmer activate the desired function and
temperature.

Instructions for the user
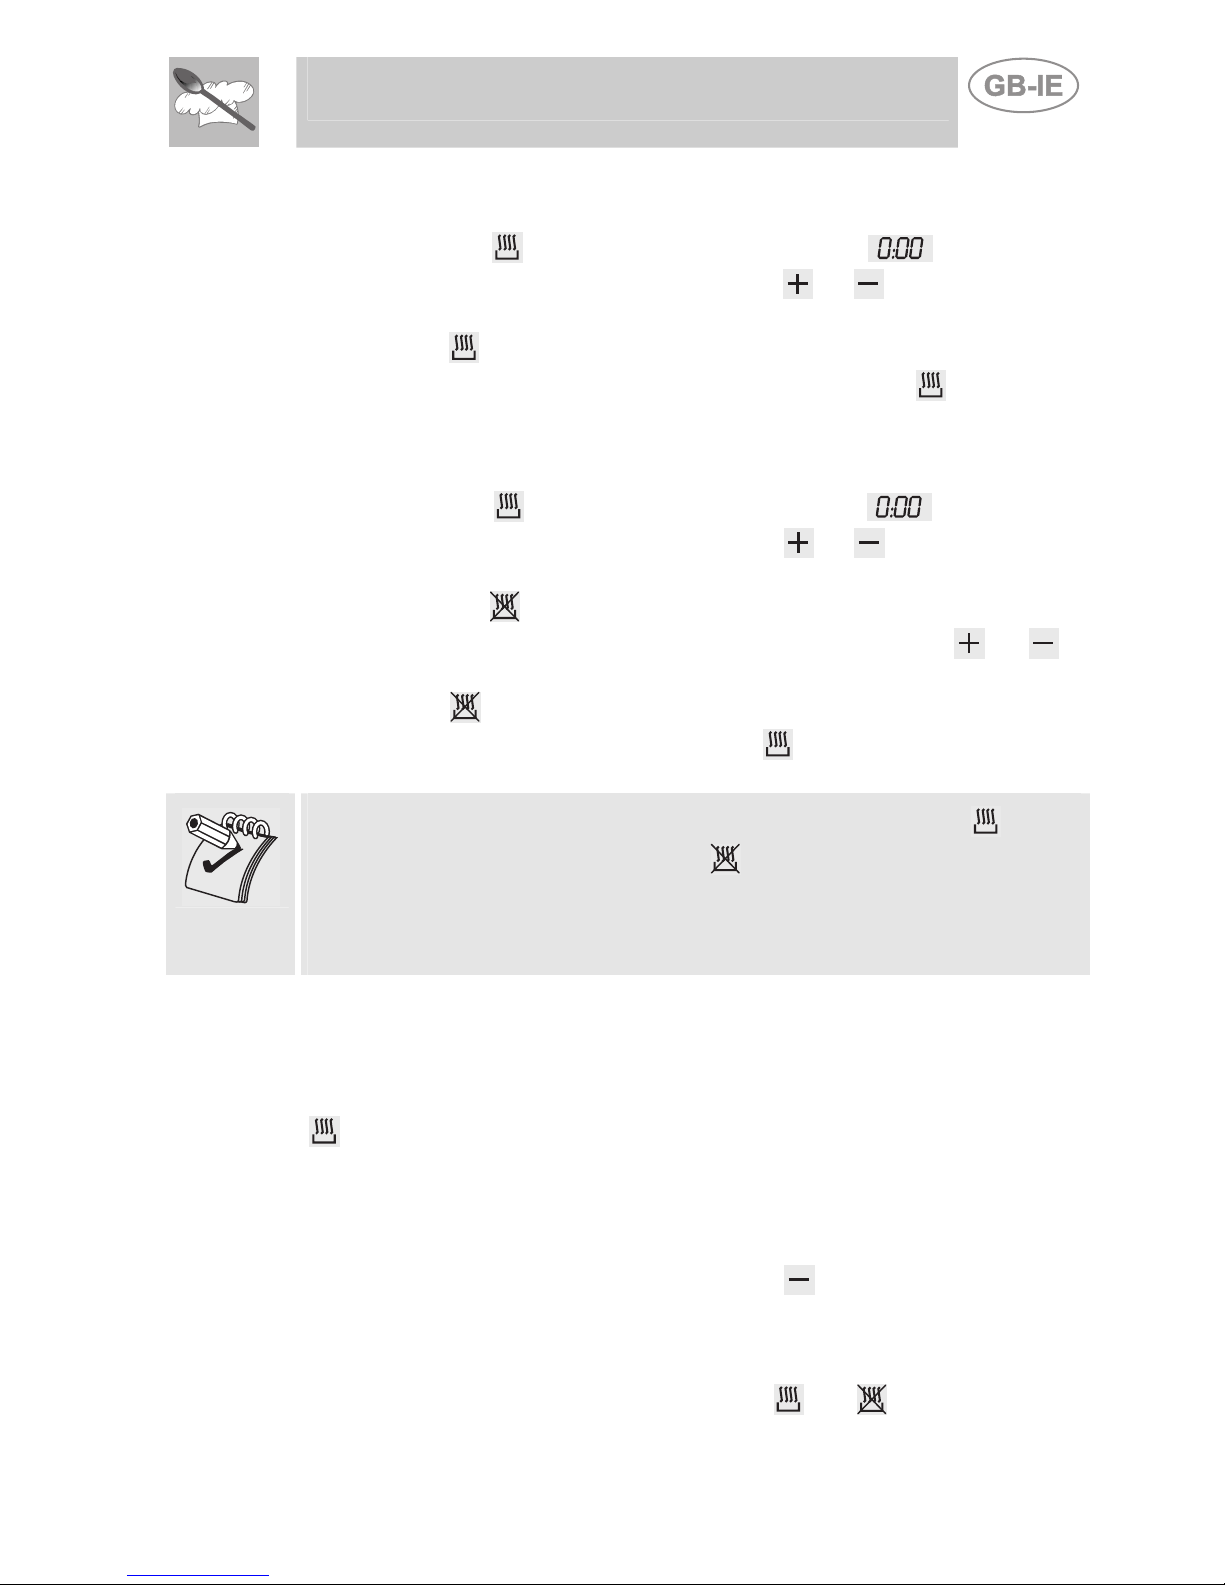
3.2.2 Semiautomatic cooking
Use this setting for automatic oven switch-off at the end of cooking time.
By pressing key , the display lights up, showing ; keep the key
pressed and at the same time, press keys or to set the cooking
time.
Release key to start the programmed cooking time count. The display
will now show the right time together with symbols Aand .
3.2.3 Automatic cooking
Use this setting to automatically start and stop the oven.
By pressing key , the display lights up showing ; keep the key
pressed and at the same time, press keys or to set the cooking
time.
By pressing key the sum of the right time + cooking time will appear;
keep the key pressed and at the same time, press keys or to
regulate the end of cooking time.
Release key to start the programmed count and the display will show
the right time together with symbols A and .
After set-up, to see the cooking time remaining, press the key ; to see
the end of cooking time press the key .
Set-up with incoherent values is logically prevented (e.g. the contrast
between a cooking time and a longer period will not be accepted by the
programmer).
3.2.4 End of cooking
When cooking is over, the oven will automatically switch off and, at the
same time, an intermittent alarm will sound. After switching off the alarm,
the display will once again show the right time together with the symbol
, indicating that the oven has returned to manual operation mode.
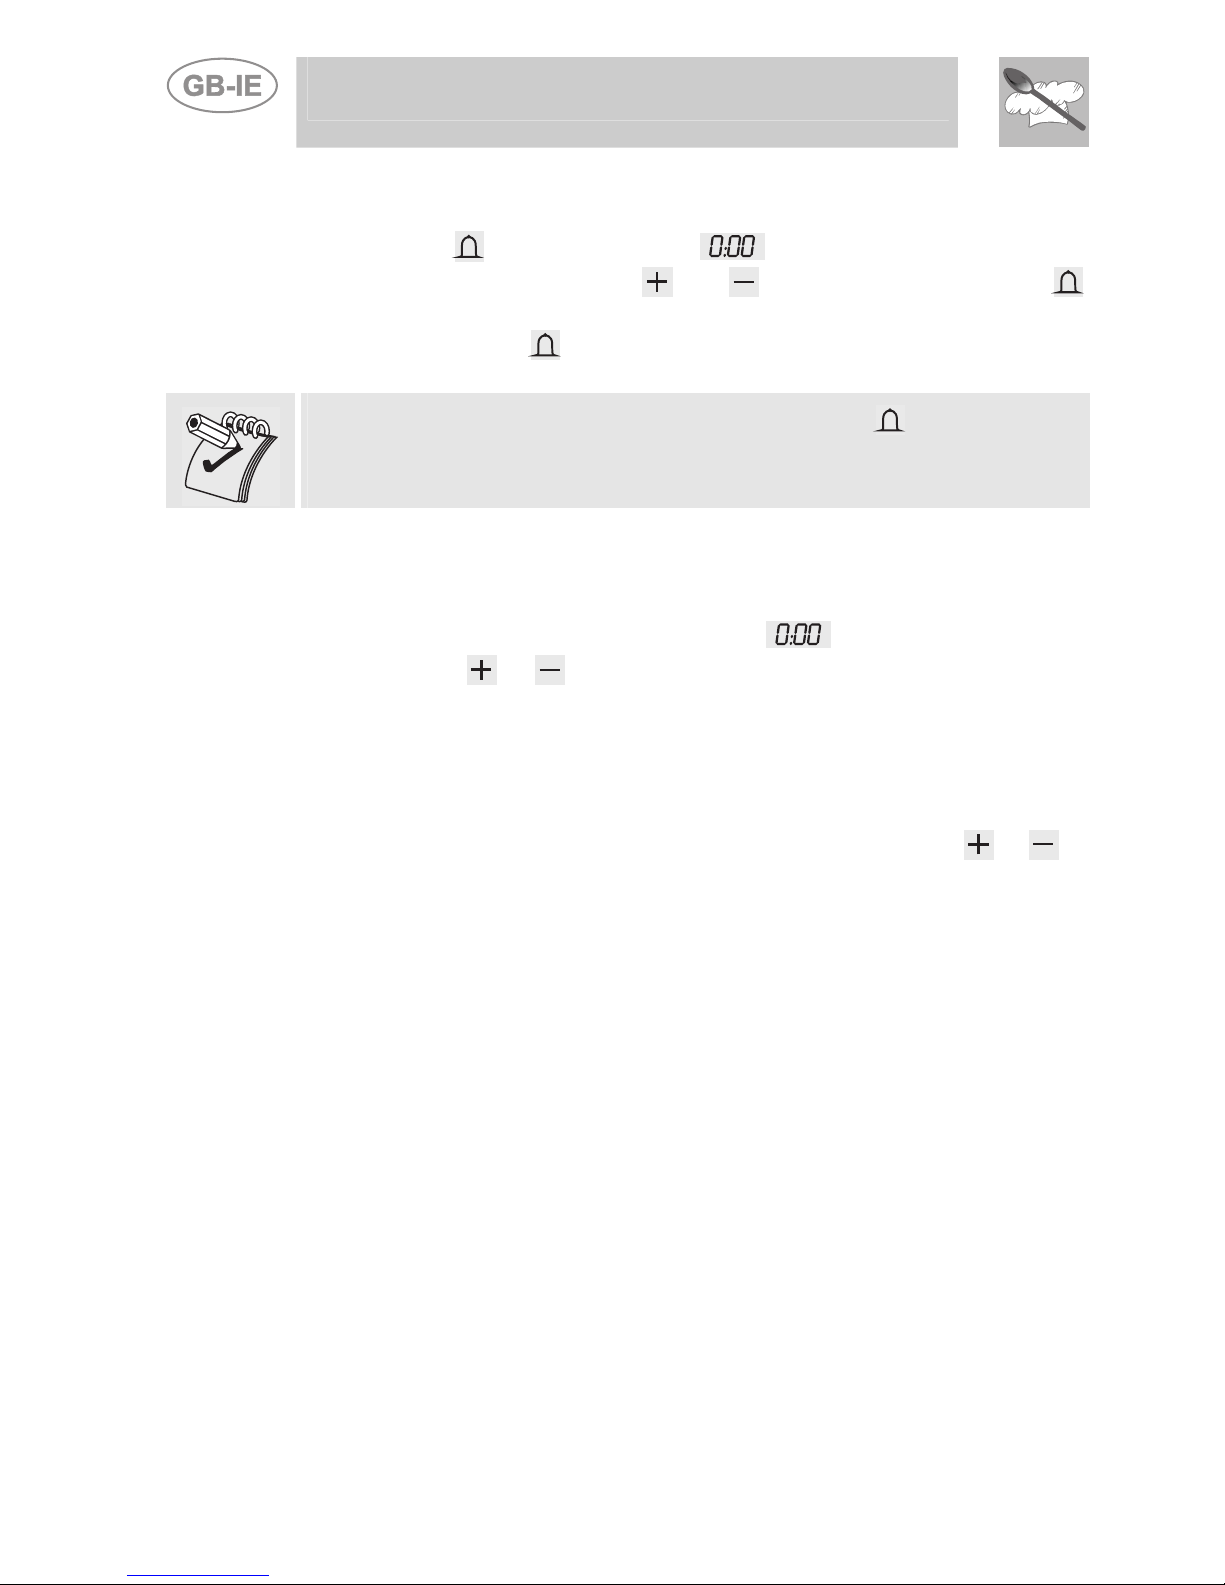
3.2.5 Adjusting alarm volume
The acoustic alarm has three different settings. These can be operated,
while the alarm is sounding, by pressing key .
3.2.6 Switching off the alarm
The alarm switches off automatically after seven minutes. They can be
manually de-activated by pressing the keys and together.
33

Instructions for the user
34
3.2.7 Minute Counter
The programmer can also be used as a simple minute counter. By
pressing key , the display shows ; keep the key pressed and at
the same time press keys or . On releasing the key ,
programmed counting will begin and the display will show the current
time and the symbol .
After set-up, to see the remaining time, press the key .
Use as a minute counter does not interrupt functioning of the oven at the
end of the programmed time.
3.2.8 Cancellation of set data
Once the programme has been set, keep the key of the function to be
cancelled pressed, while at the same time is reached by means of
variation keys or . Time cancellation will be considered as end-of-
cooking time by the programmer.
3.2.9 Changing the set data
The cooking data entered can be changed at any time by keeping the
function key pressed and at the same time adjusting the keys or .

Instructions for the user
4. USE OF THE OVEN
Make sure that you have either turned the minute minder knob to the
symbol or set a cooking time. If the timer knob is on 0, no heating
elements will come on.
4.1 Warnings and general advice
Before using the oven for the first time, pre-heat it to maximum
temperature (250°C) long enough to burn any manufacturing oily
residues which could give the food a bad taste.
During cooking, do not cover the bottom of the oven with aluminium or
tin foil and do not place pans or oven trays on it as this may damage the
enamel coating. If you wish to use greaseproof paper, place it so that it
will not interfere with the hot air circulation inside the oven.
To prevent any steam in the oven creating
problems, open the door in two stages: half open
(5 cm approx.) for 4-5 seconds and then fully
open. To access food, always leave the door
open as short a time as possible to prevent the
temperature in the oven from falling and ruining
the food.
4.2 Cooling system
The oven is equipped with a cooling system
which automatically comes on upon the oven
being turned on.
Fans cause a steady outflow of air from above
the door which may continue for a brief period of
time even after the oven has been turned off.
4.3 Oven light
To turn on the oven light in models with static oven, rotate the
temperature knob clockwise to the first setting aligned with the lamp
symbol ( ). The light will remain on throughout entire oven operation.
35

Instructions for the user
36
5. AVAILABLE ACCESSORIES
The oven features 4 support positions for
plates and racks of different height.
Some models do not feature all accessories.
Grill: useful for holding cooking vessels.
Plate grill: for placing above plate for
cooking foods that might drip.
Oven plate: useful for catching fat from
foods on the grill above.
Pastry plate: for baking cakes, pizza and
oven desserts.
Roasting spit: useful for cooking chicken,
sausages and anything else requiring
uniform cooking over the whole surface.
Only for auxiliary oven.
Main oven rotisserie frame: to be fitted
into the holes provided in the oven dish.
Accessories available on request
Original accessories may be ordered from any Authorised Service
Centre.

Instructions for the user
6. COOKING HINTS
In fan-assisted mode preheating should be carried out at 30/40°C above
the cooking temperature. This considerably shortens cooking times and
reduces power consumption, as well as giving better cooking results.
Keep the oven door closed during cooking
6.1 Traditional cooking (multifunction models)
FUNCTION SWITCH
50 ÷250°C
THERMOSTAT SWITCH
This traditional cooking method, in which heat comes from above and
below, is suitable for cooking food on a single level. You have to pre-
heat the oven until the set temperature is reached. Place the food in the
oven only after the thermostat indicator light has turned off. very fatty
meats may be put in when the oven is still cold. Put frozen meat in
immediately, without waiting for it to thaw. The only precaution you need
to take is to set the temperature about 20°C lower and cooking time
about 1/4 longer than you would for fresh meat.
6.2 Hot-air cooking (multifunction models)
FUNCTION SWITCH
50 ÷250°C
THERMOSTAT SWITCH
This system is suitable for cooking on several levels, including different
types of food (fish, meat etc.), without the tastes and smells mingling. Air
circulation in the oven ensures a uniform distribution of heat.
37

Instructions for the user
38
Multiple cooking is possible as long as the cooking temperature of the
different foods is the same.
6.3 Grill cooking
FUNCTION SWITCH
225
THERMOSTAT SWITCH
.
Permits rapid browning of foods. You are advised to place the pan in the
highest guide. For short-term cooking of small quantities, place the grid
in the fourth guide from the bottom. For long-term cooking and grills, put
the grid in the lowest guide in accordance with the size of the pieces.
6.4 Hot-air grilling (multifunction models)
FUNCTION SWITCH
200
THERMOSTAT SWITCH
Ensures uniform heat distribution with greater heat penetration into the
food. Food will be lightly browned on the outside and remain soft inside.
Keep the oven door closed during cooking. Heating up time must
not exceed 60 minutes.

Instructions for the user
6.5 Defrosting (multifunction models)
FUNCTION SWITCH
0
THERMOSTAT SWITCH IN POSITION
The flow of air produced by the fan ensures quicker defrosting.
The air circulating inside the oven is at room temperature.
The advantage of defrosting at room temperature is that it does not alter
the taste and appearance of the food.
39

Instructions for the user
40
6.6 Spit roasting (models with static oven)
FUNCTION SWITCH
200
THERMOSTAT SWITCH IN POSITION
Prepare the spit with the food, blocking fork screws A. Insert frame B
into the third guide from the bottom. Remove handle Dand position the
spit shaft so that pulley Eis guided on the link of frame B in the right
side. Insert the drip tray into the oven as far as it will go until the tip of
the rod is in line with the hole C. Now rock the frames B to insert the tip
of the rod into the drive connection Cof the rotisserie motor on the side
of the oven. Pour a bit of water into the pan to avoid smoke from the
dripping.
It is normal for the thermostat light to flash during cooking. This indicates
the temperature inside the oven is regular.
CAUTION: the frames B must be fitted
as shown in the diagram

Instructions for the user
6.7 Recommended cooking table
Cooking times, especially meat, vary according to the thickness and
quality of the food and to consumer taste.
TRADITIONAL COOKING
LEVEL TEMPERATURE TIME
FROM BELOW (°C) IN MINUTES (*)
FIRST COURSES
2 200 30-35
OVEN-BAKED PASTA
MEAT
2 200 60-65
ROAST VEAL
2 225 70-75
ROAST PORK
2 200 60-65
CHICKEN
2 200 120-125
DUCK
2 200 90-95
RABBIT
FISH 2 200 ACCORDING
TO DIMENSIONS
PIZZA 2 250 15-20
DESSERTS
55-60
125
2
MERINGUES
20-25
200
2
BISCUITS
25-30
200
1
PASTRY
35-45
175
2
SPONGE CAKE
30-35
200
1
FRUIT PIE
(*) = WITH PREHEATED OVEN
GRILLING
LEVEL TIME IN MINUTES
FROM BELOW
FIRST SURFACE SECOND SURFACE
5
5
3
TOAST
30
30
3
CHICKEN
18
18
3
FISH
8
8
3
TOMATOES OR COURGETTES
41

Instructions for the user
42
HOT-AIR COOKING
LEVEL TEMPERATURE TIME
FROM BELOW (°C) IN MINUTES
FIRST COURSES
2 175 30-35
OVEN-BAKED PASTA
MEAT
2 175 60-65
ROAST VEAL
2 200 70-75
ROAST PORK
2 200 60-65
CHICKEN
2 175 120-125
DUCK
2 175 90-95
RABBIT
FISH 2 175 ACCORDING
TO DIMENSIONS
PIZZA 2 225 15-20
DESSERTS
55-60
125
2
MERINGUES
20-25
175
2
BISCUITS
25-30
175
1
PASTRY
35-45
175
2
SPONGE CAKE
30-35
175
1
FRUIT PIE

Instructions for the user
7. CLEANING AND MAINTENANCE
Never use a steam jet to clean the appliance.
Before performing any operations requiring access to powered
parts, switch off the power supply to the machine.
7.1 Cleaning stainless steel
To keep stainless steel in good condition it should be cleaned regularly
after use. Let it cool first.
7.1.1 Ordinary Daily Cleaning
To clean and preserve the stainless steel surfaces, always use only
specific products that do not contain abrasives or chlorine-based acids.
How to use: pour the product on a damp cloth and wipe the surface,
rinse thoroughly and dry with a soft cloth or deerskin.
7.1.2 Food stains or residues
Do not use metallic sponges or sharp scrapers: they will
damage the surface.
Use normal non-abrasive products for steel, and a wooden or
plastic tool if necessary.
Rinse thoroughly and dry with a soft cloth or deerskin.
Do not allow residues of sugary foods (such as jam) to set
inside the oven. If left to set for too long, they might damage
the enamel lining of the oven.
43

Instructions for the user
44
7.2 Cleaning of the oven
For best oven upkeep clean regularly after having allowed to cool. Take
out all removable parts.
•Clean the oven grill and side guides with hot water and non-abrasive
detergent. Rinse and dry.
•The oven should be operated at the maximum temperature for about
15/20 minutes after using specific products, to eliminate the residues
deposited inside the oven.
•For easier cleaning, the door can be removed (see P. 8.2)
7.3 Door glass
The door glass should always be kept clean. Use absorbent kitchen
paper to clean. In case of tough spots, clean with a damp sponge using
regular detergent.
Do not use metallic sponges or sharp scrapers: they will damage the
surface.
Other manuals for S20XMFR
1
This manual suits for next models
13
Table of contents
Other Smeg Microwave Oven manuals