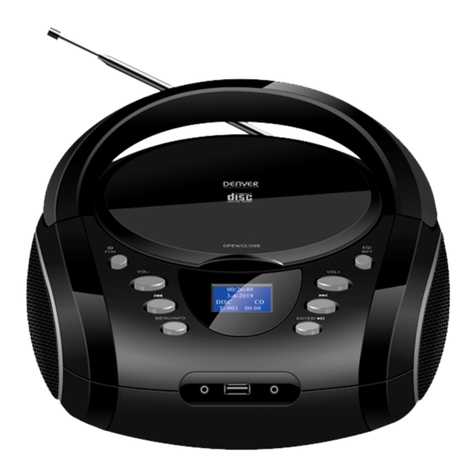
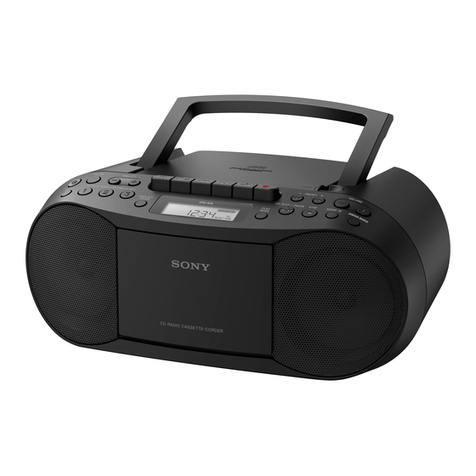
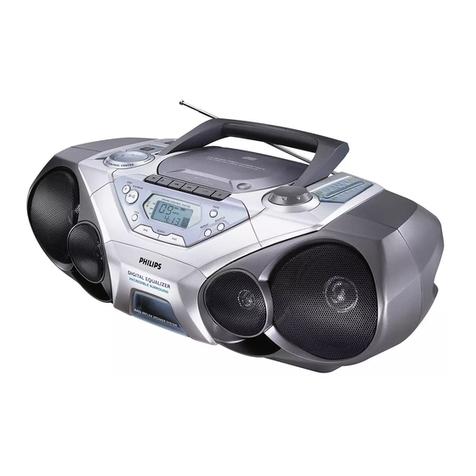
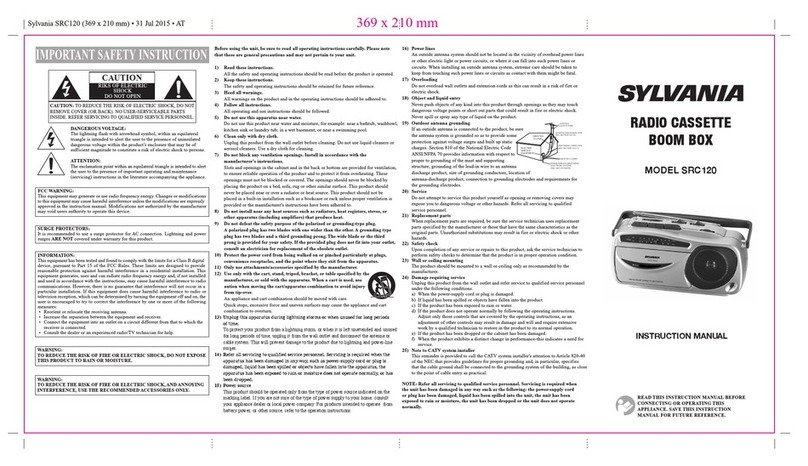
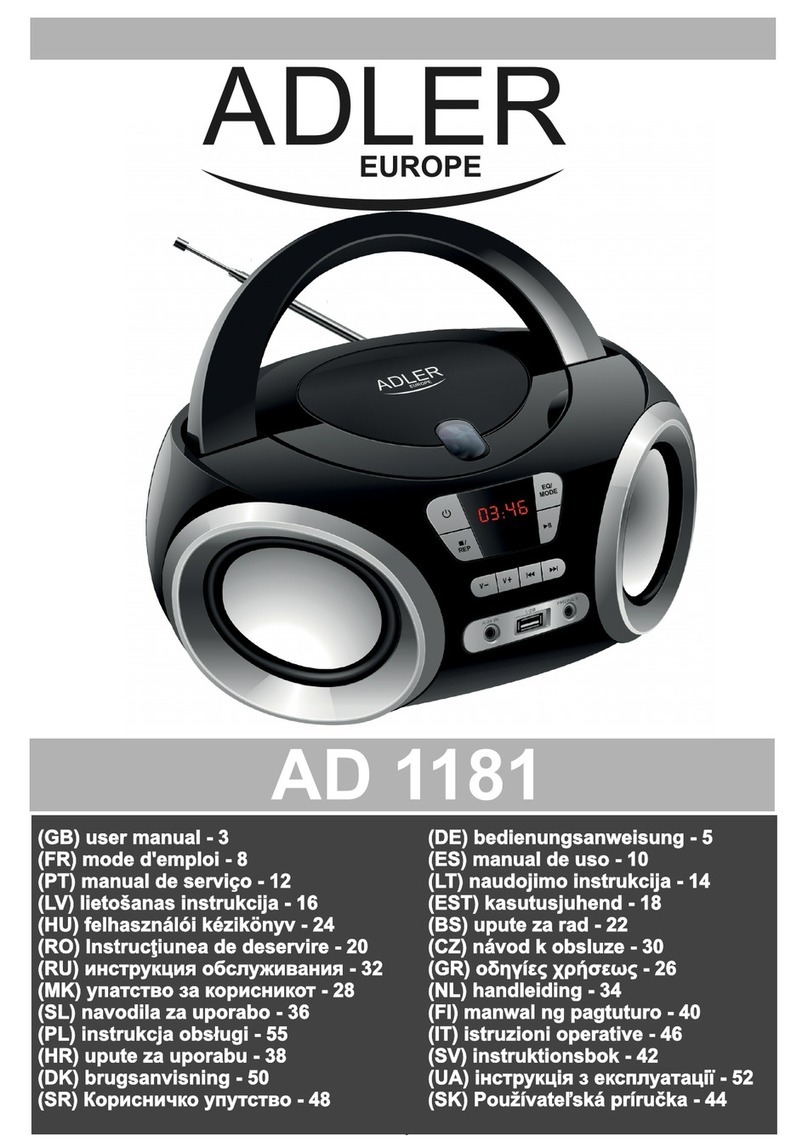
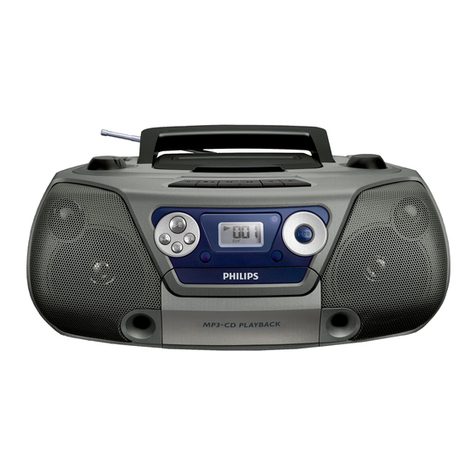
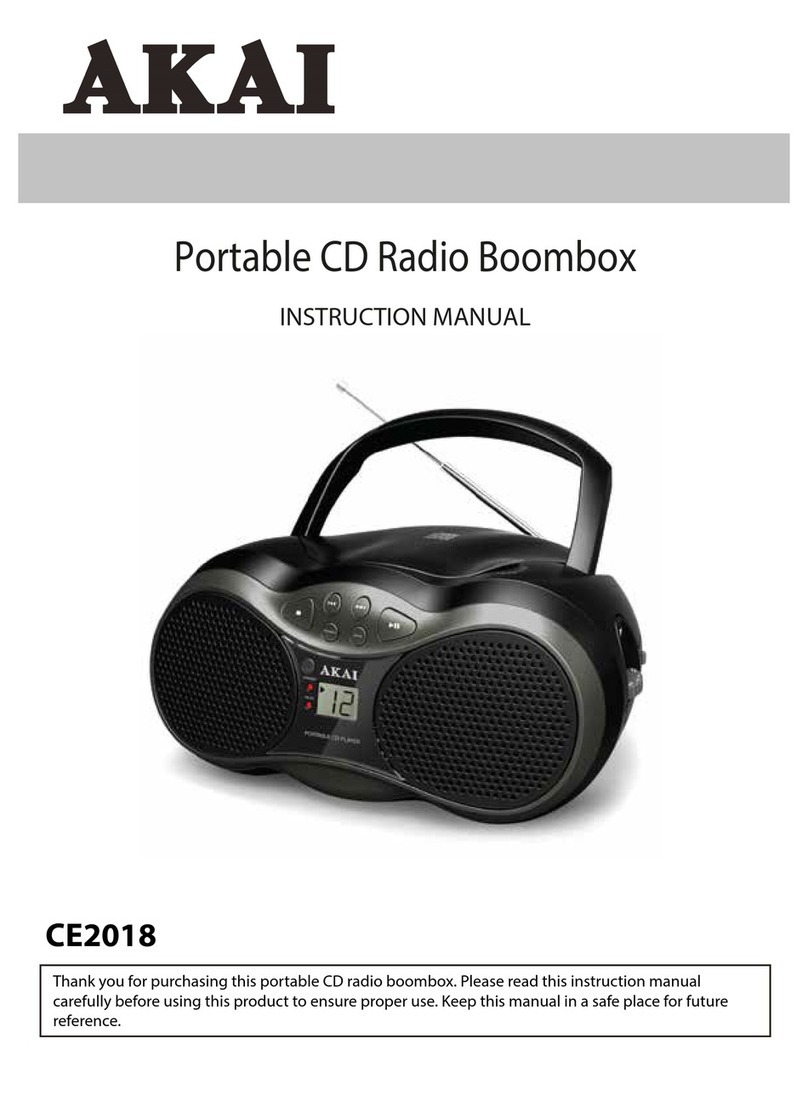
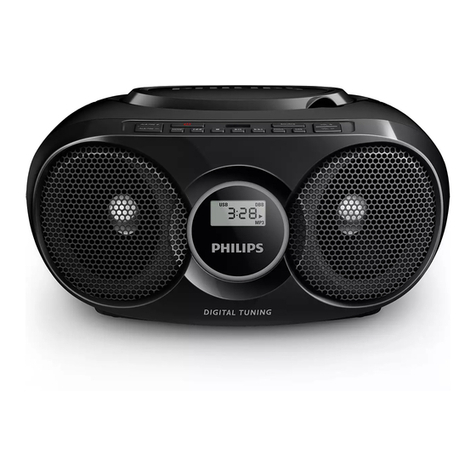
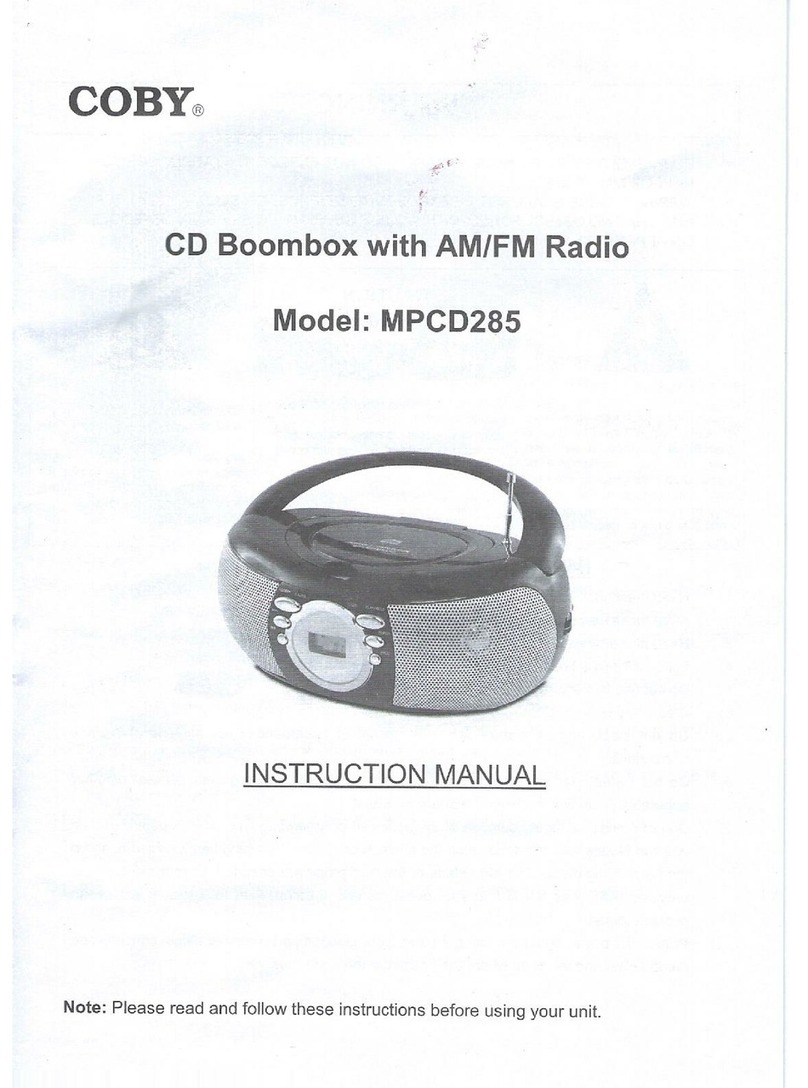
Smith-Style PLL User manual

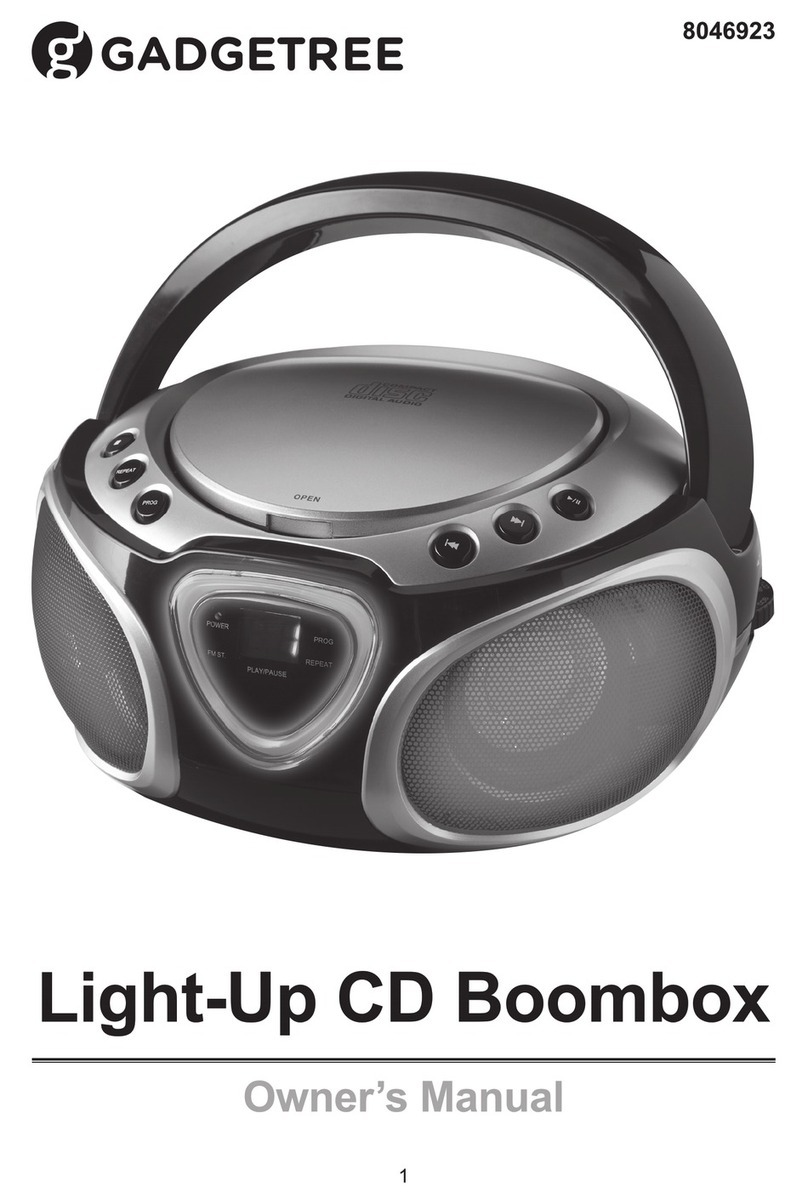
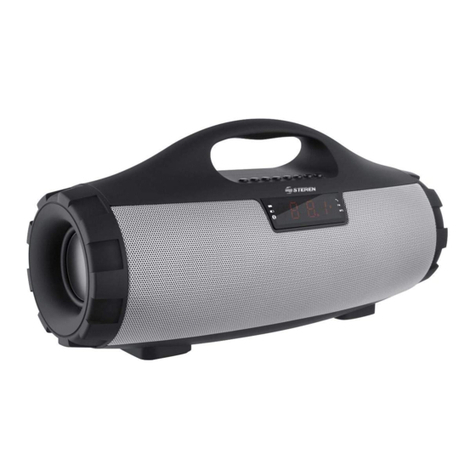
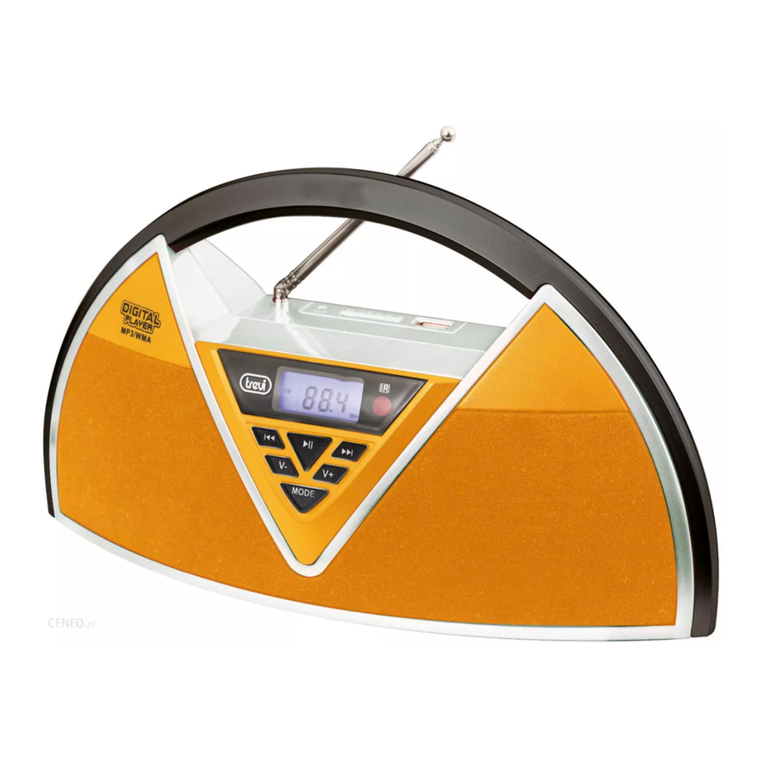
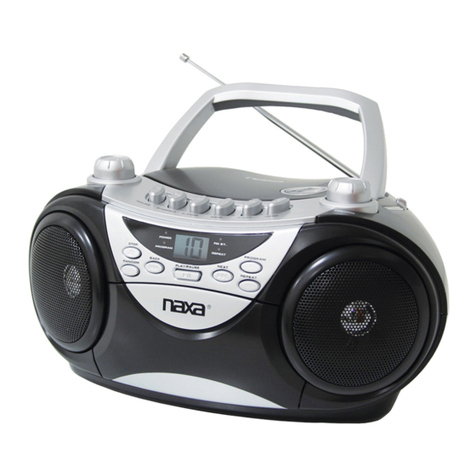
Smith-Style PLL FM/BT/CD/MP3 Boom Box
Instruction Manual
RFW025FCBT

2
Important Safety Instructions
WARNING: TO REDUCE THE RISK OF FIRE OR ELECTRIC SHOCK, DO NOTEXPOSE
THIS SPEAKER TO RAIN OR MOISTURE.
To reduce the risk of electrical shock, fire, etc.:
1. Do not place unit near any heat source such as radiators, heat registers, stoves, or
other apparatus (including amplifiers) that produce heat.
2. Do not block any ventilation openings ofunit.
3. The unit shall not be exposed to dripping or splashing and no objects filled with
liquids, such as vases, shall be placed on the unit.
4. Do not place any heavy loads onto the unit, and do not step on it, the load may fall
and cause serious injury to the unit.
5. Please read Rating Labels at the back of unit for power input and other safety
information.
6. This unit is intended to be used only with the power supply provided.
7. Protect the power cord from being walked on or pinched particularly at the
plugs, convenience receptacles, and at any point where they exit from theunit.
8. Never unplug your unit by pulling on the power cord. Always grasp the plug firmly and
pull straight out from the outlet.
9. Repair or replace all electric service cords that have become frayed or otherwise
damaged immediately. Do not use a cord that shows cracks or abrasion damage along
its length, the plug or the connector end.
10. To prevent fire or shock hazard, do not use this plug with an extension cord or other
outlet unless the blades can be fully inserted to prevent blade exposure.
11. During lightning or raining days, unplug the unit for additional protection during
thunderstorms or when the unit is not used for prolonged periods. This will
prevent damage to the unit from lightning and power surges.
12. Do not attempt to carry out any service work yourself. By opening or removing the
cabinet, you may be exposed to dangerous voltage or other hazards. Any service work
should be carried out by qualified technicians.
13. The normal function of the product may be disturbed by strong Electro-Magnetic
Interference. If so, simply reset the product to resume normal operation by following
the instruction manual. In case the function could not resume, please use the product in
other location.
14. The means of disconnecting this apparatus from the mains supply is plug of adapter.
The disconnect device shall remain readily operable.
15. The battery of remote control shall not be exposed to excessive heat such as sunshine,
fire or the like.
16. Danger of explosion if battery is incorrectly replaced. Replace only with the same
or equivalent type.
17. In the interests of safety and to avoid unnecessary energy consumption, never leave
the unit switched on while unattended for long periods of time, e.g. overnight, while
on holiday or while out of the house. Switch it off and disconnect the mains plug
from the mains socket.

Contents
Safety information …………………………………………………………………………..……….. 2
Getting Started …………………………………………………………………………….……………. 4
Unit views …………………………………………………………………………….…………………. 4
Switching your CD Boombox on for the first time …………………………………… 5
AC Operation ……………………………………………………………………………………………. 5
DC (Battery) Operation ……………………………………………………………………………. 5
Backlight …………………………………………………………………………………………………. 5
Listening to your radio …………………………………………………………………….……… 5
Automatic Memory Scan (AMS) ……………………………………………………….……… 5
Manual Tuning ……………………………………………………………………………………..…. 6
Automatic Tuning …………………………………………………………………………………….. 6
Programming Preset Stations ……………………………………………………………………. 6
Recalling the Stored Preset Stations ………………………………………………………… 6
Listening to your compact discs ……………………………………………………………….. 6
Playing the CD …………………………………………………………………………………………… 7
Repeat and Random Play ………………………………………………………………………….. 7
Program Play ……………………………………………………………………………………………. 7
Repeat Program Play ……………………………………………………………………………….. 8
Listening to your USB ………………………………………………………………………..…….. 8
Bluetooth mode ……………………………………………………………………….……………... 9
Stereo music connection to your mobile phones ……………………………………… 9
AUX Input …………………………………………………………..……………………………………. 10
Using headphones ………………………………………………………………………………….. 10
General Information …………………………………………………………..…………………… 11
Care and Maintenance ………………………………………………………..…………………… 11
Guarantee………………………………………………………………………………………………… 12

4
Getting Started
What can you find inside of your package?
Main unit
Instruction manual
AC Power cord
Remote
Unit Views
1. Power button 8. Preset + button
2. Mode button 9. Volume - button
3. Tune –button 10. Volume + button
4. Tune + button 11. ▶II button
5. Repeat button 12. ◀◀ button
6. Program button 13. ▶▶ button
7. Preset –button 14. ■button

5
Switching your CD Boombox on for the first time
AC Operation
1. Insert one end of the AC power cord to the AC input socket located at the
back of the unit.
2. Plug the AC power cord to the AC mains outlet.
3. Press the button once to turn the unit on.
DC (Battery) Operation
1. Ensure the power cord is disconnected from the AC mains and the unit.
2. Installed the batteries (6 X 1.5V C Size) into the battery compartment.
3. Press the button once to turn the unit on.
Note: To obtain the best performance in DC operation, the use of alkaline
batteries is highly recommended.
Display Backlight
When the unit is switched to on (in both AC & DC battery operation), the display
backlight will be turned on to full brightness for around 10 seconds and then go
to dim, press on any key will turn it to full brightness again for around 10
seconds.
Listening to your radio
When the unit is powered up and switched to on for the first time, it will
automatically enter into the FM Radio mode. The display will show FM and the
frequency.
The FM telescopic antenna is located at the left side of the unit, you should fully
extend and adjust its position and direction until you find the best reception.
To select the FM mode during other operation modes, repeatedly press the
Mode button until the display shows FM and the frequency.
Automatic Memory Scan (AMS)
During FM operation, press and hold the Program button until it starts to scan
the entire frequency band, the found stations will be automatically stored into
the preset memories.
Note: Once the AMS is conducted, all previous preset stations in the memory will
be overridden.

6
Manual Tuning
You can use the manual tuning to tune to weak stations or your desired
frequency.
1. During FM operation, repeatedly press the Tune + or Tune - button until you
read your desired frequency or the reception is at its best.
2. The stereo icon will be displayed if a FM stereo station is received. To toggle
select between stereo and mono, press the ■button.
Automatic Tuning
1. Press and hold the Tune + or Tune - button for longer than 2 seconds to scan
up or down the frequency band for stations, and it will automatically stop on
the first found station of sufficient signal strength.
2. Repeat the above procedure if you want to search for another station.
Programming Preset Stations
You can program stations of your choice and store up to 20 stations into its
memories.
1. First tune to your desired station, then press the Program button once and
the display will show “P-01” and flash, press the Preset + or Preset - button
to select the preset number.
2. When your desired preset number appears on the display, press the Program
button again to confirm, the current station will be stored into your desired
preset number.
3. Repeat the above steps to program more preset stations, storing a new
station into a preset location will erase the previous stored station in that
location.
Recalling the Stored Preset Stations
To recall the stored preset stations, repeatedly press the Preset + or Preset -
button until you see your desired preset number, the associated frequency
will be finally displayed.
Listening to your compact discs
NOTE: Although this CD/MP3 player can read CD-R and CD-RW discs in addition
to normal CDs, the playability of CD-R and CD-RW discs may be affected by the
type of software that was used to create the discs, as well as the quality and
condition of the blank media you are using, 100% playability cannot be

7
guaranteed. This is not an indication of a problem with the player.
Playing the CD
1. To select CD mode, repeatedly press the Mode button until “CD” is displayed.
2. Open the CD door and load the disc with the printed label side facing up, then
close the CD door. The display will finally show the total number of tracks. If a
CD/MP3 disc is being played, the display will show “MP3”.
3. Press the ▶II button to start playback from the beginning, and you can now
press the ▶II button to toggle select between the playback “PAUSE” and
“PLAY” function.
4. To skip forward or back to other tracks during playback, press the ▶▶ or ◀◀
button.
5. To select other folders in the CD/MP3 disc, press the Preset + or Preset -
button.
6. To stop playback, press the ■button.
Repeat and Random Play
During playback, you can press the Repeat button to select the repeat and
random playback function:
1. To repeat the same track, press Repeat button once, the display will show
“Repeat One icon”.
2. To repeat the entire disc, press the Repeat button again, the display will show
“Repeat All icon”.
3. If you are playing a MP3 disc, an additional “FOLDER” option will appear. This
will repeat the current folder.
4. To start random playback, repeatedly press the Repeat button until “RAND”
appears in the display.
5. To resume normal playback, repeatedly press the Repeat button until the
“Repeat” or “RAND” icon disappears in the display.
Program Play
You can use the program play feature to play up to 20 tracks on a disc in any
desired order. You may also program a particular track to play several times
within a programmed sequence.
1. Load your disc as usual and wait until the display shows the total number of
tracks on the disc.
2. Ensue it is in CD stop mode, press the Program button once, the display will

8
show “P 01”.
3. Press the ◀◀ or ▶▶ button to select the first track number to be
programmed. When your desired track number appears in the display, press
the Program button to confirm and the first track to play is programmed. The
program memory number will advance to “P 02” and ready for the next entry.
4. If a MP3 disc is being loaded, press the Preset + or Preset - button to select
folder.
5. Repeat the above steps to program other tracks, a maximum number of 20
tracks (99 for MP3) can be programmed. When you have completed
programming, press the ▶II button to begin program play, playback will be
started on the first track that you have programmed and will continue until
the last programmed track has played.
6. When the program play is completed, the player stops and it will remain in
the program play mode as long as the “Program Play icon”is displayed. Press
the ▶II button will play the programmed sequence again.
7. To erase the program, press the ■button once in CD stop mode; and press the
■button twice during CD play, the “Program Play icon” will disappear in the
display.
Repeat Program Play
You may use the program play and the repeat play features together to
continuously repeat a programmed playback. First program the desired playback
sequence, then press the Repeat button to select repeating the current track
(Repeat One) or the entire programmed sequence (Repeat All).
Listening to your USB
1. To select USB mode, repeatedly press the Mode button until “USB” is
displayed.
2. Insert your USB memory device into the USB port (located at the back of the
unit), the display will show the total track number and you can now start your
USB/MP3 playback operation.
3. To interrupt or start playback, press the ▶II button.
4. To skip forward or back to other tracks during playback, press the ▶▶ or ◀◀
button.
5. To select other folders, press the Preset + or Preset - button.
6. To stop playback, press the ■button.

9
Bluetooth mode
NOTE: Bluetooth connectivity performance may vary with brand and model of
the connected device. For best performance, please connect newer Bluetooth
devices incorporating Bluetooth 2.1 and using the latest firmware update
available from the device vendor. Compatibility with all devices and media types
is not guaranteed. The Bluetooth capabilities of this unit enable it to receive
audio from many Bluetooth capable devices including mobile phones,
personal computers and PDAs. It supports the following Bluetooth profiles
and functionality. Only one device per profile can be connected
concurrently.
Advanced Audio Distribution Profile (A2DP)
- High-quality stereo audio connection
- Streaming of stereo music from PC, mobile phones…etc
Audio Video Remote Control Profile (AVRCP)
- Device remote control
- Control connected device
Stereo music connection to your mobile phones
This connection requires a mobile phone supporting the Bluetooth A2DP profile
for stereo music connection. In order to create new Bluetooth connection you
will need some familiarity with the Bluetooth functions of your mobile phone. As
each phone operates slightly differently, please familiarize yourself with the
Bluetooth capabilities of your device before connecting.
1. Ensure that the Bluetooth on your mobile phone is powered on. You might
need to refer to the phone user manual for details.
2. Place the phone and the unit where they are no more than 3 feet apart.
3. Repeatedly press the Mode button to select Bluetooth mode, the display will
show the flashing “bt”. Set the A2DP-capable phone to search for Bluetooth
devices and follow the instructions on the phone's screen. You will recognize
the unit by its Bluetooth name “RFW025". In case that you are prompted for
a passkey, enter either “0000” or “8888”.
4. Select and confirm the pairing on your phone, the connection will be
completed in a few seconds and the unit will produce a beep tone, “bt” will
become stable and you can now start your Bluetooth music streaming
operation.
5. Press the ▶II button on the unit or select starting playback on your phone to
start the music playback.

10
6. To interrupt playback, press the ▶II button again or select “PAUSE” on
your phone.
7. To skip forward or back to other songs during playback, press the ▶▶ or
◀◀ button on the unit or select the “skip controls” on your phone.
8. To disconnect the current paired device and open for pairing to
another device, press and hold the ■button until you see “bt” is flashing
again in the display.
AUX Input
A 3.5mm stereo AUX IN socket is located at the back of the unit; analogue audio
sound signals from other sources can be input to the unit through this socket.
1. Use a cable with 3.5mm jack to connect the input to other analogue audio
source.
2. To select AUX IN, repeatedly press the Mode button until “AU” is displayed.
3. Press the Volume +/-button to adjust for your desired sound output level.
Headphone Jack
A 3.5mm type stereo headphone jack is located at the back of the unit. Connect a
set of stereo headphones (not included) to this jack for private listening without
disturbing others. The speakers are automatically disconnected when the
headphones are in use.
IMPORTANT: When using headphones always set the volume to a low level
before you put the headphones on. Then insert the headphones and gradually
increase the volume to a comfortable listening level.

11
General Information
Care and Maintenance
Your radio is of superior design and manufacture and should be treated with care. The
suggestions below will help you to enjoy this product and the benefits it brings for many
years.
- Keep the product and all its parts out of reach of small children.
- Keep it dry. Avoid exposure to precipitation, humidity and liquids which could all affect
the product circuitry.
- Do not leave it in high temperatures as electronic devices and plastic parts may warp in
heat.
- Do not leave it in low temperatures as moisture can form inside the product, which may
damage the circuit board.
- Do not store in dusty or dirty areas.
- Do not use harsh chemicals, cleaning solvents or detergents to clean the product. Wipe
with a damp (not wet) soft cloth to clean.
- Do not attempt to open the product. Unauthorised handling of the device may damage
it and will void your warranty.
- Only use the power supply that came with the product. Using an unauthorised power
supply will invalidate your guarantee and may irrecoverably damage the radio.
Guarantee
This product is guaranteed for 1 year from the date of original purchase against
mechanical and electrical defects. You will get extra 2 years warranty period by registered
your product within 30 days after purchase.
Please fill in required information on the warranty card and email back to
cs@smith-style.com within 30 days of purchase.
Any defect that arises due to faulty materials or workmanship will either be replaced,
refunded or repaired free of charge where possible during this period by the dealer from
whom you purchased the unit.
The guarantee is subject to the following provisions:
- The guarantee does not cover accidental damage, misuse, cabinet parts, knobs or
consumable items.
- The product must be correctly installed and operated in accordance with the
instructions contained in this manual.
- It must be solely for domestic purpose.

12
- The guarantee will be rendered invalid if the product is re-sold or has been damaged by
inexpert repair.
- Specifications are subject to change without notice.
The manufacturer disclaims any liability for the incidental or consequential damages.
- The guarantee is in addition to and does not diminish your statutory or legal rights.
Guarantor:
Smith-Style Consumer Products Company Ltd.
Unit 5, KBF House,
55 Vitoria Road, RH15 9LH
Burgess Hill, UK
This symbol indicates that this product should not be treated as normal
household waste and it should be recycled. Please take it to your nearest
collection facility or for further details contact your local council or visit
www.recycle-more.co.uk
Batteries contain substances that may be harmful to the environment and
human health. Keep out of the reach of children and seek immediate
medical help if swallowed.
This symbol indicates that batteries should not be disposed of in the normal household
waste but taken to appropriate local recycling facilities, where and when these are
available.
Never throw batteries in a fire or attempt to open the outer casing.
Table of contents


