SOKA SRL SOMMERKAMP TS 624S User manual

®
MODEL TS 624S
24- CHANNEL 10 - WATT
MOBILE TRANSCEIVER
INSTRUCTION MANUAL
ВОКА SRL
CH-6911 CAMPIONE/^ LUGANO
VIA MATTEO 17 SWITZERLAND

INSTALLATION
Mounting bracket and screws are supplied for mounting the transceiver
underneath the dashboard. Microphone hanger and screws are also
supplied.
For electrical connection, first make sure that the transceiver is turned
off. Connect the red wire to the ACC terminal of the ignition switch or
terminal of battery and ground the black wire to the chassis of the
vehicle. The black wire should be grounded as short as possible to
minimize the noise interférence.
This transceiver is designed for use with the negative ground system.
(For installation in the positive ground system, see the following instruc
tions.)
Installation in positive ground system:
a) Since the cabinet is commonly connected to all В minus potentials
in the transceiver, the transceiver must be electrically isolated from
the chassis of the vehicle at all times. (See Fig. 1 for connection with
power source.)
О) JfusF)- -TO CAR CHASSIS ( + )
TO IGNITION OR BATTERY (-)
TRCV CHASSIS TO BE
INSULATED FROM CAR
b) Obtain a pair of 0.01 mfd. @500V ceramic capacitors. Cut the
antenna coaxial cable approximately 3 inches from the male connector.
Connect one of the 0.01 capacitors in linę with the center copper
wire of the coaxial cable and solder. Tape the connections. Add the
other capacitor in line with the shielding braids and solder. Tape the
entire exposed braids and capacitor for insulation. These capacitors,
in line with the conductors of the coaxial cable,now isolate the antenna
ground from the ground of the transceiver. (See Fig. 2)

. L
FIG. 2
c) The mounting bracket must be isolated from the chassis of the
vehicle in such a manner as shown in Fig. 3.
C D
I DASHBOARD
INSULATED WASHER
MTG. BRAC ET
INSULATED WASHER
WASHER
SCREW
FIG.
ANTENNA
Antenna is one of the most important factors to the operation with
maximum efficiency. A quarter wave antenna can be successfully mounted
for möbile station. The antenna impédance should be 50 ohms. For the
details, consult with your distributor.
Important:
Do not operate the transceiver without a proper antenna or dummy
load connected to the antenna connector, as the transmitter transistors
may be damaged.

OPERATTNG INSTRUCTIONS
The transceiver is ready, to operate when it is installed with an antenna
properly connected. Note that the communication range differs depend-
ing upon the environment where the transceiver is operated. You may
reach 30 or 40 kilometers where no obstacle exists, but the range may
be limited to 5 or 6 kilometers in cities where many high buildings
disturbes the communication.
1) Turn the set on by pushing the volume control knob and the channel
dial will be lighted. Turn the volume control clockwise to increase the
audio sound. Note that the volume control knob is only for adjusting the
audio volume, not to increase the transmitting power.
2) Turn the squelch control clockwise until incoming noise is eliminated.
Do not turn it excessively, as the sensitivity may be reduced.
3) Turn the channel selector knob for the desired channel.
4) For transmitting, press the button on the microphone and speak into it
normally. Release the but ton for receivin g.
METER
The meter reading indicates the signal strength at receiving, and fonctions,
as an output indicator at transmitting, and the meter pointer should be
within the blue zone under the normal conditions.
TONE-LIGHT CALLING DEVICE
The Model TS 624S is equipped with a sélective tone-light calling
device which works on 1,080 Hz signal. To call the other station,
push the push-to-talk button and the call button simultaneously,
when the calling signal is transmitted. When the signal is received,
a beep tone is produced 'and the call-light lamp will be lighted at the
other station, and the lamp stays on until the other station answers.
Please note that the device works only when the other station is switched
on and that the buttons on the calling side must be depressed at least
for 10 seconds.

List of accessories:
Mounting bracket
...........
Self-tapping screw for above
Washer for above
Hexagonal screw .
Microphone hanger........................................................................................ 1
Screw for above.............................................................................................. 2
Plug for external speaker
.............................................................................
1
List of channel frequencies:
CHANNEL NO. FREQUENCY CHANNEL NO. FREQUENCY
1 26.965 Mhz 13 27.115 Mhz
2 26.975 Mhz 14 27.125 Mhz
326.985 Mhz 15 27.135 Mhz
4 27.005 Mhz 16 27.155 Mhz
5 27.015 Mhz 17 27.165 Mhz
627.025 Mhz 18 27.175 Mhz
727.035 Mhz 19 27.185 Mhz
827.055 Mhz 20 27.205 Mhz
927.065 Mhz 21 27.215 Mhz
10 27.075 Mhz 22 27.225 Mhz
11 27.085 Mhz 23 27.255 Mhz
1,2 27.105 Mhz 24 27.275 Mhz
4^ 4^ t—»


RF POWER
S METER
CHANNEL SELECTOR
CALL LAMP
ANT CONNECTOR DC POWER EXT. SP. PŁUG

TS624S SCHEMATIC DIAGRAM
01 REC RF 02 Ist MIXER Q3 2ndMIXER 04 Ist IF Q5 2nd IF 06 CALL 07 AF PRE. 08 AF DRIV. 09,010 AF POWER
Y6 37,850 YÎ5 37,890
Table of contents
Popular Transceiver manuals by other brands
ADTRAN
ADTRAN HDSL DDM+ HTU-C Installation and maintenance practice
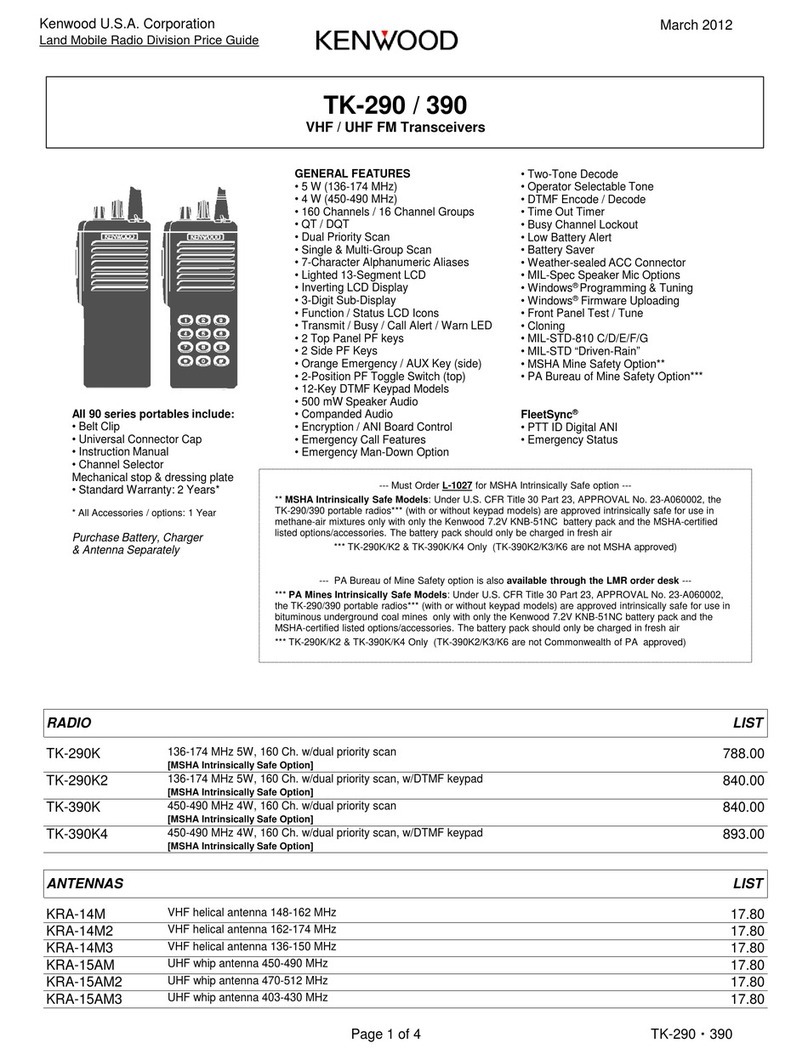
Kenwood
Kenwood TK-290 quick guide
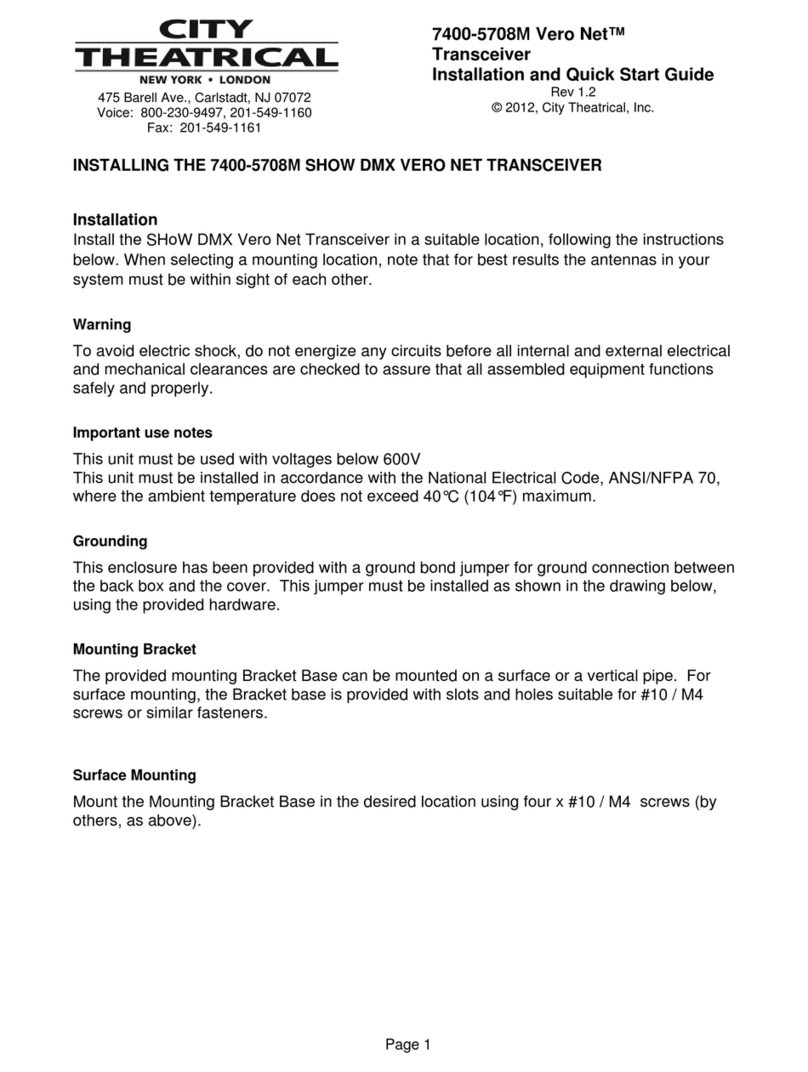
City Theatrical
City Theatrical Vero Net 7400-5708M Installation and quick start guide
TTI
TTI Freequency PMR-500TX instruction manual
Uniden
Uniden UH8080NB owner's manual
Standard Horizon
Standard Horizon MATRIX Series owner's manual
