manuals.online logo
Brands
  1. Home
  2. •
  3. Brands
  4. •
  5. Sony
  6. •
  7. Camcorder
  8. •
  9. Sony Handycam Video 8 CCD-TR86 User manual

Sony Handycam Video 8 CCD-TR86 User manual

This manual suits for next models

2

Other Sony Camcorder manuals

Sony BVP-E30 series User manual

Sony

Sony BVP-E30 series User manual

Sony HXR-NX5U User manual

Sony

Sony HXR-NX5U User manual

Sony Power HADFX HDC-P1 User manual

Sony

Sony Power HADFX HDC-P1 User manual

Sony Handycam DCR-DVD408 User manual

Sony

Sony Handycam DCR-DVD408 User manual

Sony Handycam DCR-DVD7 User manual

Sony

Sony Handycam DCR-DVD7 User manual

Sony Handycam DCR-SR67 User manual

Sony

Sony Handycam DCR-SR67 User manual

Sony Handycam DCR-PC105 User manual

Sony

Sony Handycam DCR-PC105 User manual

Sony Handycam CCD-TR57 User manual

Sony

Sony Handycam CCD-TR57 User manual

Sony CCD-TRV318 User manual

Sony

Sony CCD-TRV318 User manual

Sony HDR-CX220 User manual

Sony

Sony HDR-CX220 User manual

Sony Handycam DCR-VX2000 User manual

Sony

Sony Handycam DCR-VX2000 User manual

Sony Digital Handycam DCR-PC100E User manual

Sony

Sony Digital Handycam DCR-PC100E User manual

Sony HDC2400L User manual

Sony

Sony HDC2400L User manual

Sony DCR-TRV7   (English and Spanish) User manual

Sony

Sony DCR-TRV7 (English and Spanish) User manual

Sony DCR-IP45 - Micromv Digital Camcorder User manual

Sony

Sony DCR-IP45 - Micromv Digital Camcorder User manual

Sony CCD-TR618E User manual

Sony

Sony CCD-TR618E User manual

Sony HDR-GW77V/B User manual

Sony

Sony HDR-GW77V/B User manual

Sony DCR-TRV7   (English and Spanish) User manual

Sony

Sony DCR-TRV7 (English and Spanish) User manual

Sony PXW-Z150 XDCAM User manual

Sony

Sony PXW-Z150 XDCAM User manual

Sony HDR UX1 - AVCHD 4MP High-Definition DVD... User manual

Sony

Sony HDR UX1 - AVCHD 4MP High-Definition DVD... User manual

Sony Handycam DCR-VX1000 User manual

Sony

Sony Handycam DCR-VX1000 User manual

Sony CCD-TRV138 - Handycam Camcorder - 320 KP User manual

Sony

Sony CCD-TRV138 - Handycam Camcorder - 320 KP User manual

Sony Handycam CCD-TR45E User manual

Sony

Sony Handycam CCD-TR45E User manual

Sony Handycam DCR-TRV380 User manual

Sony

Sony Handycam DCR-TRV380 User manual

Popular Camcorder manuals by other brands

Vivitar DVR 830XHD owner's manual

Vivitar

Vivitar DVR 830XHD owner's manual

Panasonic HX-WA20PP Service manual

Panasonic

Panasonic HX-WA20PP Service manual

Canon FS1 instruction manual

Canon

Canon FS1 instruction manual

Sharp VL-H400S Operation manual

Sharp

Sharp VL-H400S Operation manual

Panasonic AJ-D900WAP operating instructions

Panasonic

Panasonic AJ-D900WAP operating instructions

Samsung VP-D6550 Owner's instruction book

Samsung

Samsung VP-D6550 Owner's instruction book

Naxa NDC-402 instruction manual

Naxa

Naxa NDC-402 instruction manual

LG L320-BN owner's manual

LG

LG L320-BN owner's manual

Vivitar DVR 865HD user manual

Vivitar

Vivitar DVR 865HD user manual

Toshiba CAMILEO Z100 user guide

Toshiba

Toshiba CAMILEO Z100 user guide

Panasonic NV-VS40B operating instructions

Panasonic

Panasonic NV-VS40B operating instructions

Canon RC 260 instructions

Canon

Canon RC 260 instructions

Brinno TimeLapse TLC200 user manual

Brinno

Brinno TimeLapse TLC200 user manual

JVC GR-SXM68AC Schematic diagram

JVC

JVC GR-SXM68AC Schematic diagram

MYDLINK DCS-6100LH Quick installation guide

MYDLINK

MYDLINK DCS-6100LH Quick installation guide

SECURECOM V-5014B installation guide

SECURECOM

SECURECOM V-5014B installation guide

JVC AA-V15EG instruction manual

JVC

JVC AA-V15EG instruction manual

Canon LEGRIA HV40 instruction manual

Canon

Canon LEGRIA HV40 instruction manual

manuals.online logo
manuals.online logoBrands
  • About & Mission
  • Contact us
  • Privacy Policy
  • Terms and Conditions

Copyright 2025 Manuals.Online. All Rights Reserved.

S O N"I: _-o_-13,,
Video Camera
Recorder
Operating Instructions
Before operating the unit, please read this manual thoroughly,
and retain il for fu{tlre reference.
Owner's Record
The model and serial numbers are located on the bottom_ Record tile
serial number in the space provided below. Refer to these numbers
whenever you call upon your _)ny dealer regarding this product.
Model No. CCD- Model N_. AC-
Serial No. Serial No.
Video8
Handgcam
CCD-TR96
CCD- TR86/TR96/TR916 []
© 1997 by Sony Corporation
Welcome !
Congratulations on your purchase tff this Sony Handycam® camcorder. With your
Handycam,you can capture life's precious moments with superior picture and sound quality.
Your Handy*'am is loaded with advanced features, but at the same time it is very easy to use.
You wilt soon be producing home video that you can enjoy for years to come.
To prevent fire or shock hazard, do
not expose the unit to rain or
moisture.
For the S_mv .c'k!rvi¢e Center re,an'st YOUcall
1-800-222-SC)NY (United States only').
For the Factory Sere, ice Center nearest you cal1416-
499-FqONY (Canada only).
Caution: l)o not handle damag_d or leaking
nickel-cadmium batteries.
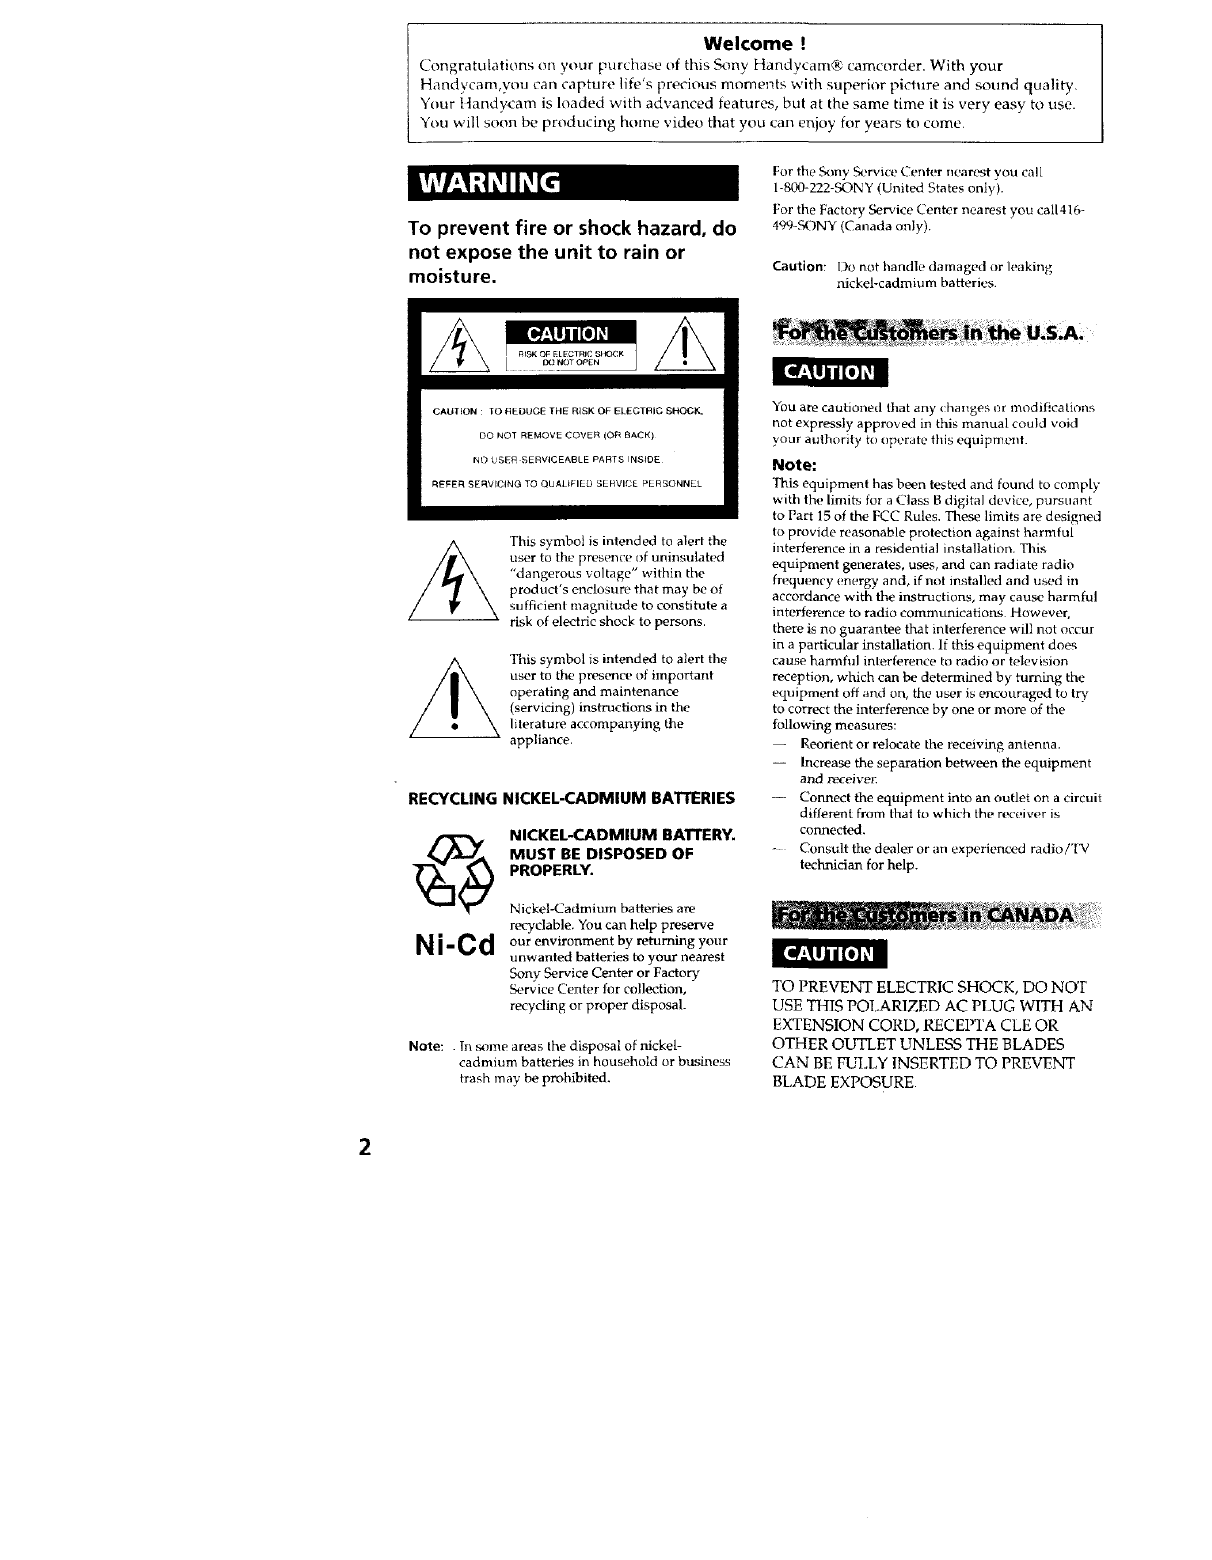
CAUTION : lO HEDUGE THE RISK OF ELEGTI_IC SHOGK,
DO NOT REMOVE COVER (Ot_ BACK)
NO _SE_ SERVICEABLE PARTS INSIOE
REFE_ SERVICING TO QUAL_FIEO SE_VIC_ _ERSONNEL
This symbol is intended to alert the
user to th_' prestq/cP I)f tmil/sulatl!d
"dangerous voltage" within the
product's enclostm, that may be of
sufficient magnitude to constitute a
risk of electric shock to persons.
This symbol is intended to alert the
user to the presence of important
operating and maintenance
(servicing) instructions in the
literature accompanying the
appliance.
RECYCLING NICKEL-CADMIUM BATTERIES
Ni-Cd
NICKEL-CADMIUM BATTERY,
MUST BE DISPOSED OF
PROPERLY.
Nickel-Cadmium batteries are
re_,clable. You can help preserve
our environment by returning your
unwanted batteries to your nsarest
Sony Service Center or Factor),
S_.rvice Centt,r for collection,
recyding or proper disposal.
Note: In _me areas the disposal of nickel-
cadmium batteries in household or business
trash may be prohibited.
You are cautioned that any changes or modifications
not expressly approved in this manual could void
your authority to _lperate this equipmtml
Note:
This equipment has been tested and found to comply
with the limits for a Class B digital device, pursuant
to Part 15 of the FCC Rules. These limits are designed
to provide reasonable protection against harmful
interference in a residential installation. This
equipment generates, uses, and can radiate radio
frequt, ncy energy and, if n_t installed and used in
accordance with the instructions, may cause harmful
interference to radio communications However,
there is no guarantee that interference will not occur
in a particular installation. If this equipment does
cause halTifful interfert, ilce Ill radio or television
reception, which can be determined by turning the
equipment off and on, the u_'r is _,ncouraged to try
to correct the interference by one or more of the
following measures:
-- Reorient or relocate the receiving antenna.
-- Increase the separation between the equipment
and receive_
-- Connect the equipment into an outlet on a circuit
different from that to which the receiver is
connected.
- Consult the d_'aler or an exp_rienced radio/'IV
technician for help.
TO PREVENT ELECTRIC SHOCK, DO NOT
USE THIS POI,ARIZED AC PLUG WITH AN
EXTENSION CORD, RECEPTA CLE OR
OTHER OUTLET UNLESS THE BLADES
CAN BE FULIN INSERTED TO PREVENT
BLADE EXPOSURE.
fore you begin
Jsing this manual ................................... 4
.2becking supplied accessories .............. 5
tting started
_harging and installing the batteD-
pack ................................................... 6
inserting a cassette .................................. 9
sic operations
_amera recording ................................. 10
Using the zoom feature ................. 13
Hints for better shooting ...................... 14
Checking the recorded picture ............ 15
.'?onnections for playback .................... 16
Playing back a tape .............................. 17
vanced operations
Using alternative power sources ....... 19
._hanging the mode settings ................ 22
i_ecording with the date or time ......... 25
-;electing the START/STOP mode ...... 26
::ade-in and fade-out ............................ 27
Enjoying picture effect ......................... 28
Using the wide mode function ............ 30
;ocusing manually ................................ 32
_hooting with bacldighting ................. 33
dsing the PROGRAM AE function .... 34
_Jsing the built-in light ......................... 36
-;uperimposing a title ........................... 38
vlaking your own titles ........................ 40
_eleasing the STEADY SHOT _function
(CCD-TR96/TR916 only) .............. 42
Miting onto another tape .................... 43
Additional information
Uhanging the lithium battery
in the camcorder ............................. 44
Resetting the date and time ................. 46
Playback modes ..................................... 47
Tips for using the battery pack ........... 48
Maintenance information and
precautions ...................................... 51
Using your camcorder abroad ............ 55
Trouble check ........................................ 56
Specifications ......................................... 60
Identifying the parts ............................. 61
Warning indicators ............................... 70
Index ...................................................... 71
The instructions in this manual are for the three models listed below. Before you start
reading this manual and operating the unit, check your model number by looking at the
bottom of your camcorder. The CCD-TR96 is the model u_'d for illustration purposes.
Otherwise, the model name is indicated in the illustrations. Any differences in operation
are clearly indicated in the text, for example, " CCD-TR96 only".
As you read through this manual, buttons and settings on the camcorder are shown in
capital letters.
e.g. Set the POWER switch to CAMERA.
As indicated with _ in the illustrations, you can hear the beep sound to confirm your
operation.
Types of differences
CCD- Steady Shot Battery case
TR86 -- •
TR96 • •
TR916 • --
TV color systems differ from country to country. To view your recordings on a TV, you
need an NrTSC system based TV.
When you want to use a PAL M system-bas_ TV, you will need an NTSC/PAI, M
transcorder (as this is an N'ISC system-based camcorder).
Television program, films, video tapes, and other materials may be copyrighted.
Unauthorized recording of such materials may be contrary to the provision of the
copyright laws.
• The LCD screen and/or the color viewfinder are manufactured using high-
precision technology. However, there may be some tiny black points and/or
bright points (red, blue or green in color) that constantly appear on the LCD
screen and/or in the viewfinder. These points are normal in the manufacturing
process and do not affect the recorded picture in any way. Over 99.99% are
operational for effective use.
• Do not let the camcorder get wet. Keep the camcorder away from rain and sea water.
It may cause a malfunction and sometimes the malfunction carmot be repaired. [a]
• Never leave the camcorder under temperatures above 1400 F (60 °C), such as in a car
parked in the sun or under direct sunlight. [b]
[a] [b]
4
Check that the following accessories are supplied with your camcorder.
[] []
[]
m
I,
0
c
ll_l
Wireless Remote Commander (1)
(p. 18, 65)
NP-33 Battery Pack (1) (p. 6)
CR2025 Lithium Battery (1) (p. 44)
Already installed in the eamcorder.
A/V connecting cable (1) (p. 16)
[] Size AA (R6) battery for Remote
Commander (2) (p. 66)
[] Shoulder strap (1) (p. 64)
[] AC-V16/V16A AC power adaptor (1)
(p. 6, 19)
_-_ Battery case (1) (p. 20)
CCD-TR86/TR96 only
Contents of the recording cannot be compensated if recording or playback is
not made due to a malfm, ction of the camcorder, video tape, etc,
Beforeusingyourcamcorder,youfirstneedtochargeandinstallthebatterypackTo
chargethebatterypack,usethesuppliedACpoweradaptor.
Chargethebatterypackonaflatplacewithoutvibration.
(1) Connect the AC power adaptor to a wall outlet.
(2) Align the right side of the battery pack with the line on the AC power adaptor,
then slide the battery pack in the direction of the arrow.
(3) Set the selector to CHARGE. The CHARGE lamp (orange) lights up. Charging
begins.
When charging is completed, the CHARGE lamp goes out. Unplug the unit from the
wall outlet, and then remove the battery, pack and install it on the camcorder.
23
Charging Time
Battery pack NP-33 NP-60D NP-C65 NP-68 NP-78 NP-80/80D NP-g8/98D
(supplied)
Charging time* 60 90 105 125 170 190 215
* Approximate minutes to charge an empty battery pack using the supplied ACpower
adaptor (Lower temperatures require a longer charging time.)
Battery life
Recording time with the built-in light on is indicated in parentheses.
CCD-TR86
;attery pack NP-33 NP-60D NP-C65 NP-68 NP-78 NP-80/80D NP-98/98D
(supplied)
ypical recording 50 75 90 105 135 155 175
me** (25) (40) (45) (55) (75) (80) (94))
ontinuous 95 140 165 190 250 280 320
ecording time*** (45) (70) (85) (100) (140) (145) (165)
CCD-TR96/TR916
;artery pack NP-33 NP-60D NP-C65 NP-68 NP-78 NP-80/80D NP-98/98D
(supplied)
ypical recording 50 75 90 100 130 150 175
=me** (25) (40) (45) (55) (75) (75) (90)
"ontinuous 95 135 160 185 240 270 315
ccording time*** (45) (70) (85) (100) (135) (140) (160)
** Approximate minutes when recording while you repeat recording start/stop,
zooming and turning the power on/off.
The actual battery life may be shorter.
_** Approximate continuous recording time ind_×_rs.
To remove the battery pack
Slide the battery pack in the direction of the arrow.
mmm
;1
D.
Notes on charging the battery pack
•The POWER lamp will remain lit for a while even if the battery pack is removed and
the AC power cord is unplugged after charging the battery pack. This is normal.
• If the POWER lamp does not light, set the selector to VTR (DC OUT) and disconnect
the power cord. After about one minute, reconnect the AC power cord and set the
selector to CHARGE again.
•You cannot operate the camcorder using the AC power adaptor while charging the
battery pack.
7
i n_,talliria l_6_tt_d_ v_ _ _ _ _:_ _,__ _,_.
(1) Insert the top of the battery pack into the top of the battery mounting surface.
(2) Push the battery pack so that it attaches firmly. Make sure that you hear clicks
twice.
Attach the battery pack to the camcorder securely.
Note on installing the NP-98/98D battery pack
Use the camcorder while lifting up the view finder slightly.
Note on the battery pack
Do not carry" the camcorder by grasph_g the battery pack.
To remove the battery pack
Slide BATF, and then pull the lower part of the battery pack.
You can look at the demonstration of the functioos available with this camcorder. (p. 24)
8
Make sure that a power source is installed.
(1) While pressing the small blue button, slide EJECT in the direction of the arrow.
The cassette compartment automatically opens.
(2) Insert a cassette (not supplied) with the window facing out.
(3) Press the PUSH mark on the cassette compartment to close it. The cassette
compartment automatically closes.
r
I EJECT 2
To eject the cassette
While pressing the small blue button, slide EJECT in the direction ofthe arrow.
To prevent accidental erasure
Slide the tab on the cassette to expose the red mark.
If you insert the cassette with the red mark exposed and close the cassette compartment,
the beeps sound for a while. If you try to record with the red mark exposed, the L4_3and
A indicators flash, and you cannot record.
To re-record on this tape, slide the tab back out covering the red mark.
IIIIIII
63
to
_=.
_a
.=
Make sure that a power source and a cassette is inserted and that the STAKF/STOP
MODE switch is set to ._.
When you use the camcorder for the first time, power on it and reset the date and time
to your time (p. 46) before you start recording. The date is automatically rtx:orded fur 10
seconds after you start recording (AUTO DATE feature). This feature works only once a
day.
Before you record one-time events, you may want to make a trial recording to make
sure that you are using the camcorder correctly.
(1) While pressing the small green button on the POWER switch, set it to
CAMERA.
(2) Turn STANDBY up. The "STBY" indicator appears in the viewfinder.
(3) Press START/STOP. The camcorder starts recording and the "STBY" indicator
changes to the "REC" indicator.
You can also select Recording mode, SP (standard play) mode or LP (long play) mode.
Set REC MODE in the menu system aecx_rding to the length of your planned recording
before you start.
÷
10