Streetwize Dixie BH1 User manual

Musical Air Horn
INTENTION FOR USE
Thank you for purchasing this Musical Compressor Air Horn from Streetwize. This car accessory
kit is designed to be mounted inside your vehicle’s bonnet and wired to your vehicle’s 12V battery
and horn switch so that it replaces the sound & tone of your vehicle’s factory fitted horn.
This product can be fitted to cars, vans, caravans and motorhomes.
This product should NOT be used for anything other than its intended purposes.
To get best use out of this product, please read all information in this document.
Important: Installation of this product requires sufficient knowledge and experience
of electrical wiring in automotives. If you do not possess this knowledge, we highly
recommend that you seek assistance from a competent professional.
BH1/BH2
BH1
BH2
Dixie
La Cucaracha

Product Elements
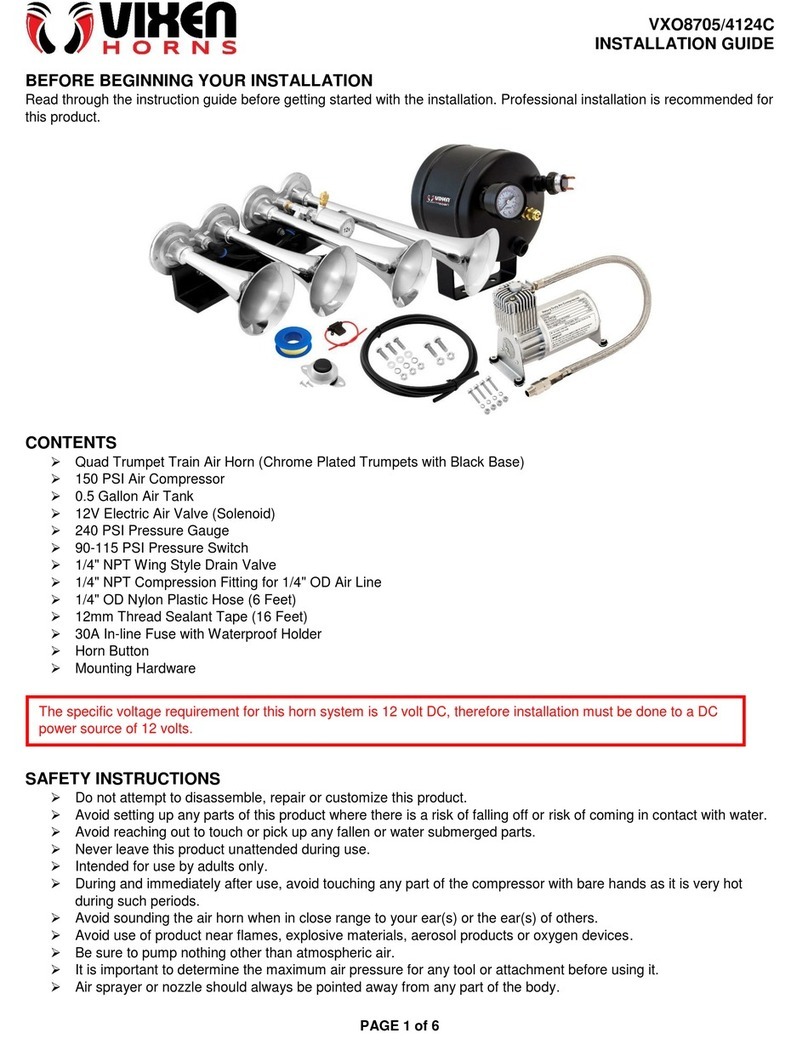
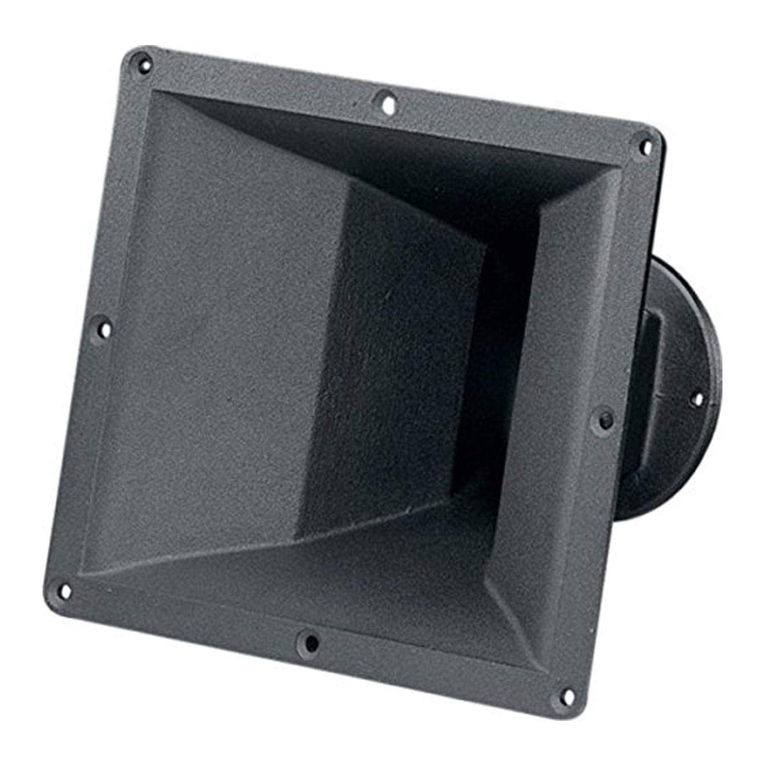
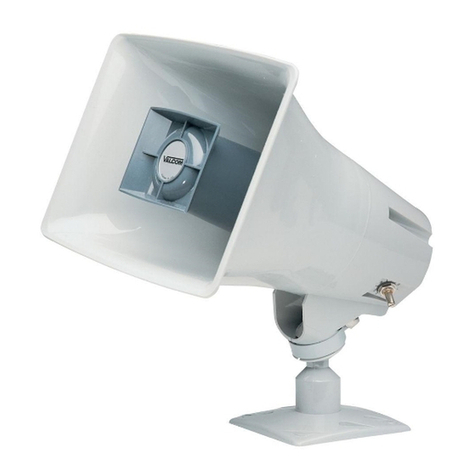
• 5 x horn trumpets
• Compressor
• Plastic air tubing
• Relay
• Fixings and bolts
• Coil Clips
Mounting Instructions
1. Carefully remove all the components from its
packaging.
2. Find a suitable location for installing the
compressor in your vehicle’s bonnet. Ensure that
the compressor is not too far from your vehicle’s
battery, but it is also a safe distance away from
the heat emitted from the engine. To secure the
compressor, drill a 3/16-inch hole through the
metal work and mount the compressor vertically as
shown in Figure 1.
3. Next position each trumpet inside your bonnet. For
mounting each trumpet, you will need to drill a 1/4-
inch hole. When mounting each trumpet, ensure
you position each trumpet with the open end facing
downwards as this will prevent water getting inside.
Use mounting hardware reference shown in Figure
2 for when mounting the trumpet.
4. Once both the trumpets and the compressor are
mounted into position, get the plastic air tubing and
cut it into appropriately length pieces, and install
the air tube as shown below in Figure 3. Secure the
air tubes in place on both ends using the provided
coiled clips.
Important: When installing the air tubing, avoid
making any kinks or sharp bends that would
restrict airflow or affect the horn’s sound.
Fig 1
Fig 2
Fig 3

Connecting The Air Horn To 12V Battery & Horn Switch
Before outlining the electrical wiring instruction, first please be aware of the two types of
horn switches.
Connecting to the Vehicle’s Factory Horn Switch
1. There are two types of horn switches: one with a single terminal and the other twin terminal.
2. Single Terminal Horn Switch: If a vehicle's factory horn has one terminal, simply transfer wire
from the compressor’s positive to the relay and connect the compressor's negative terminal
to the ground. The grounded connection must be free of rust or paint.
3. Twin Terminal Horn Switch: If a vehicle's factory horn has two terminals, simply transfer the
wires from the horn switch terminals to the bottom of the compressor. Please note: when
testing the horns, if the compressor motor turns on but the horn does not sound, reverse the
wires connected at the bottom of the compressor.
IMPORTANT: Please refer to your vehicle handbook to locate where the horn switch is in
your vehicle and identify the type of horn switch you have in your vehicle.
Electrical Wiring Guidelines
When attempting to connect all the electrical wiring and installing the relay, please do so in a dry
location. See instructions below for connecting the electrical wiring and refer to Figure 4. Please
note: the instructions below refers vehicle’s with a single terminal horn switch (see previous
section).
IMPORTANT: In order to do the electrical wiring, you would need 1.5mm 16-gauge
electrical wiring of at least 5 metres in length, a soldering iron and solder wire. All these
items are not included with this product. The soldering iron and solder wire will be used
to connect & secure the wires to the terminals.
1. Before mounting the relay, you will need to connect all the wiring to the relay. First, connect
relay terminal 87 to the positive terminal of the compressor. Solder the wires to the terminal.
Connect the negative terminal of the compressor to the ground (body of the vehicle).
2. Then connect relay terminal 85 to the terminal of the horn switch.
3. Using the 16-gauge wire, connect both the relay terminal 30 and relay terminal 86 together.

Technical Specification
Product Name
Supplier Code
Input Voltage
Musical Air Horn
Dixie Melody: BH1
La Cucaracha: BH2
12V
4. Connect the relay terminals 30/86 to the positive terminal of your vehicle’s 12V battery.
When doing so, we recommend you also connect a 20Amp fuse as shown in Figure 4.
5. Once installed, test the horn to ensure proper operation.
6. Then mount the relay inside your vehicle’s bonnet by drilling a 1/8-inch hole and securing in
place using the provided screws.
Recap of Relay Connections
• Terminals 30/86: the two terminals are connected to the positive terminal 12V battery.
• Terminal 85: connect to the negative terminal of the horn switch.
• Terminal 87: connect to the positive terminal of the compressor.
Maintenance
To maintain the air horn’s performance, the compressor unit should be lubricated every 4 to 6
months using either 10W, WD-40 or air tool oil. To lubricate the compressor, please follow the
instructions below:
1. Unbolt and unmount the compressor unit.
2. Pour 4 to 6 drops of oil into the opening of the bolt’s housing.
Please note: If you are unable to dismount/unbolt the compressor, you can remove one of the air
tubes and pour 4 to 6 drops into the outlet.
Health & Safety Guidelines
1. Please ensure you have sufficient knowledge and expertise to install this product. If you do
not, please seek assistance from a competent professional.
2. Never install this product when the vehicle is either switched on or the engine is running.
Electrical hazard.
3. This product is not a toy, please keep away from children. The plastic air tubes are a
suffocation risk and the fixings and coiled should not be swallowed.
Technical Support
If you require any technical support, please contact us on:
and provide product name and supplier code (see Technical Specifications) along with the
technical query and proof of purchase.

www.streetwizeaccessories.com
Streetwize: Ashburton Road West, Trafford Park, Manchester, M17 1RY
For Product Support:
T: +44 (0)161 447 8597
For Trade Enquiries:
T: +44 (0)161 447 8580
EU Registered Address: Ace Supply Co
(Europe) Ltd, 25 Herbert Place, Dublin 2,
D02 A098 Republic of Ireland.
This manual suits for next models
1
Table of contents
