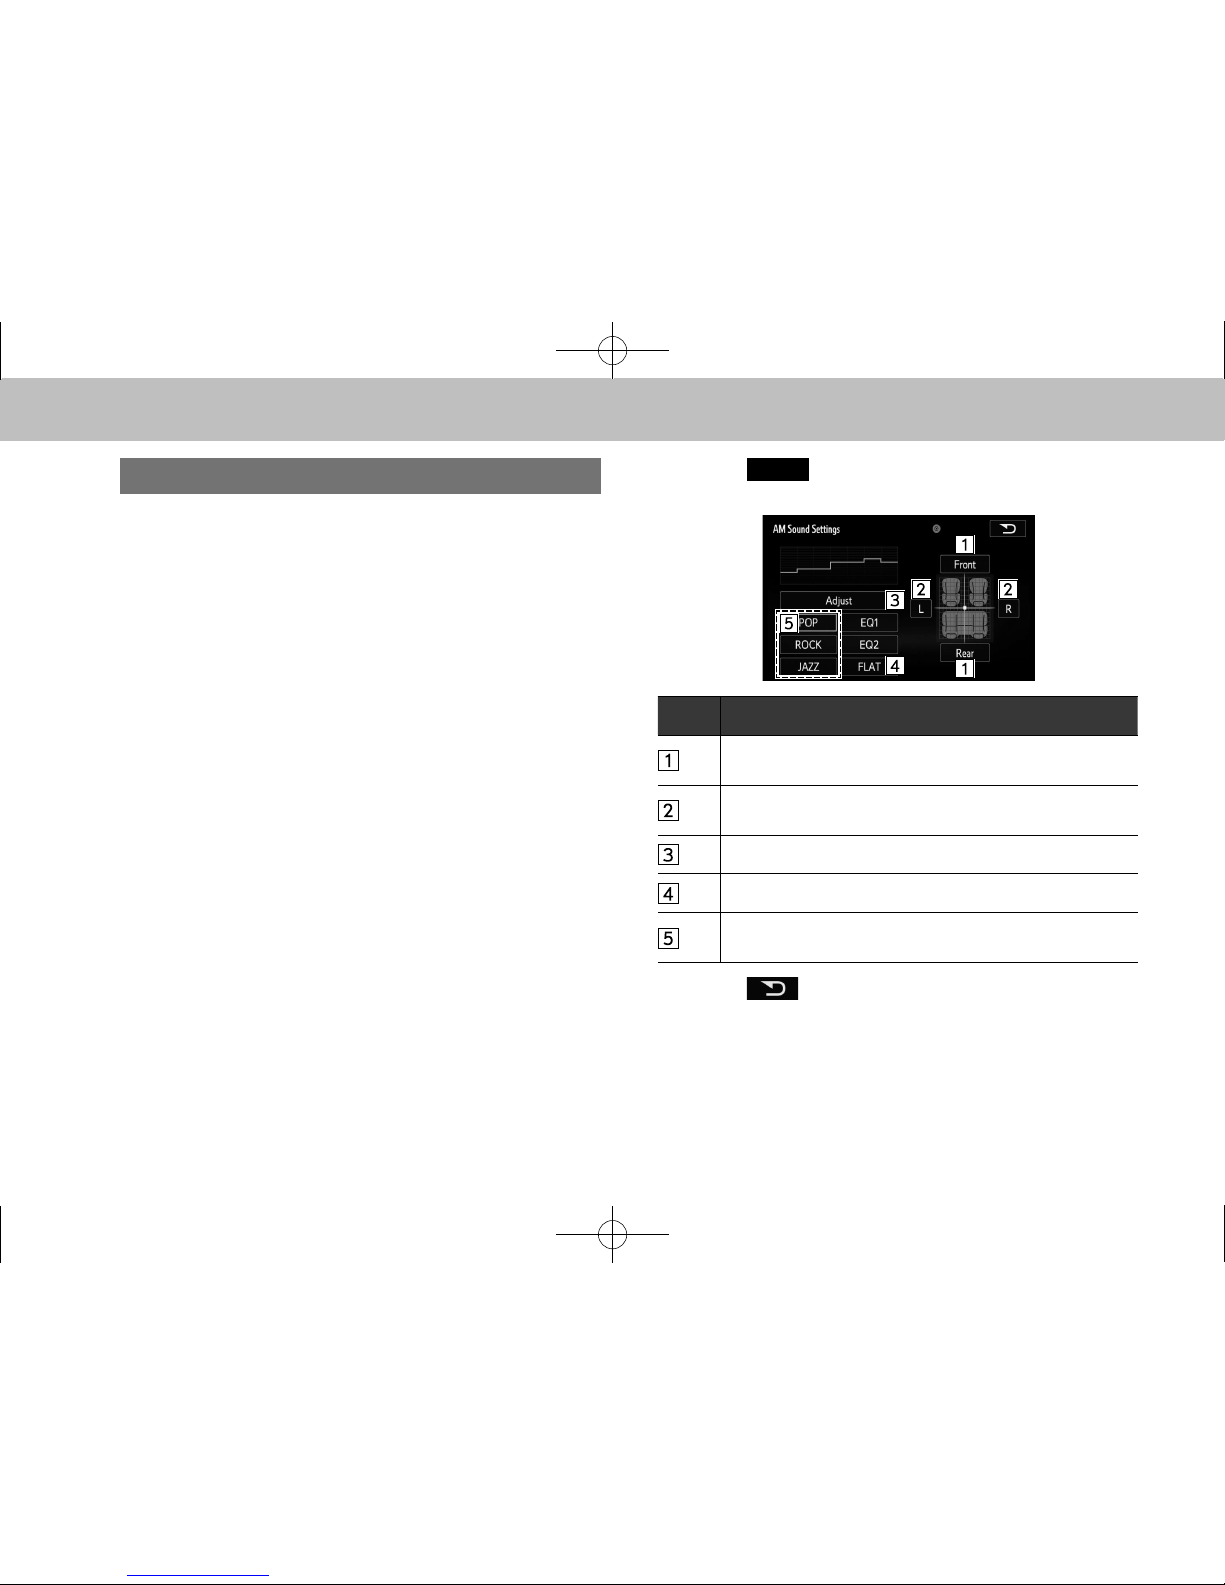
No. Function
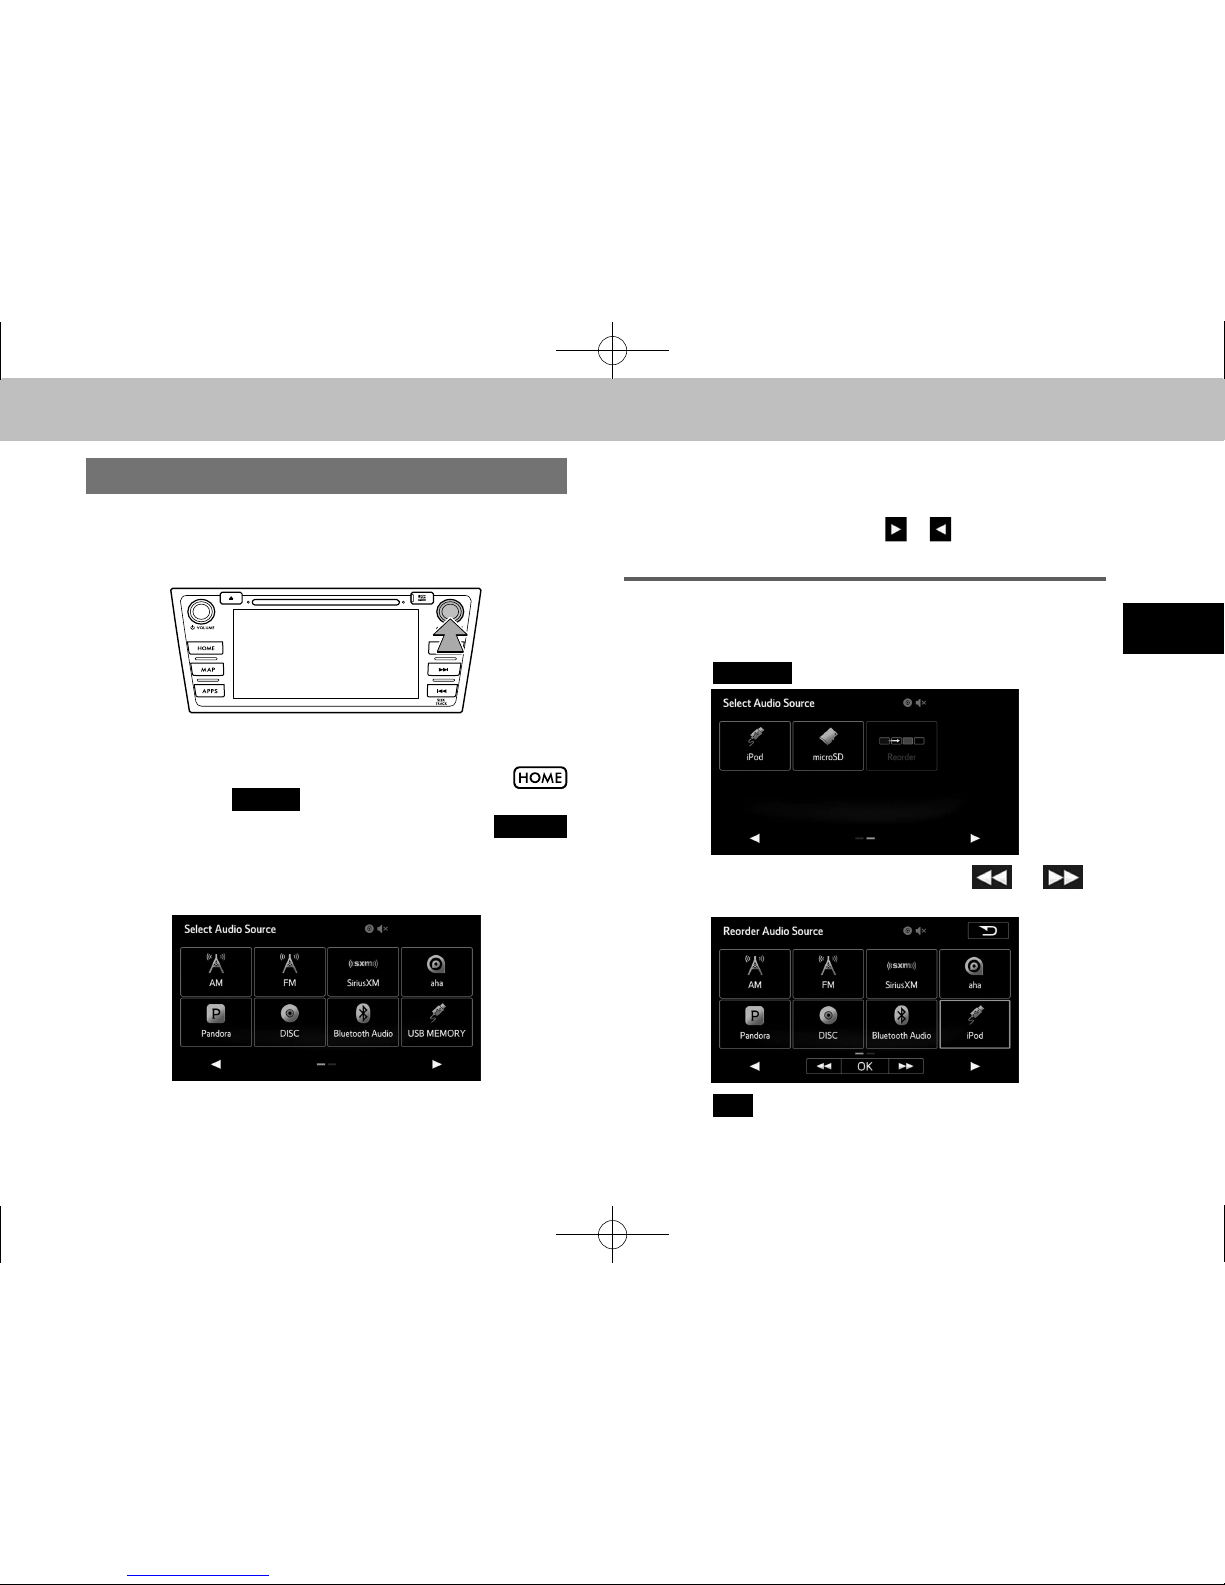
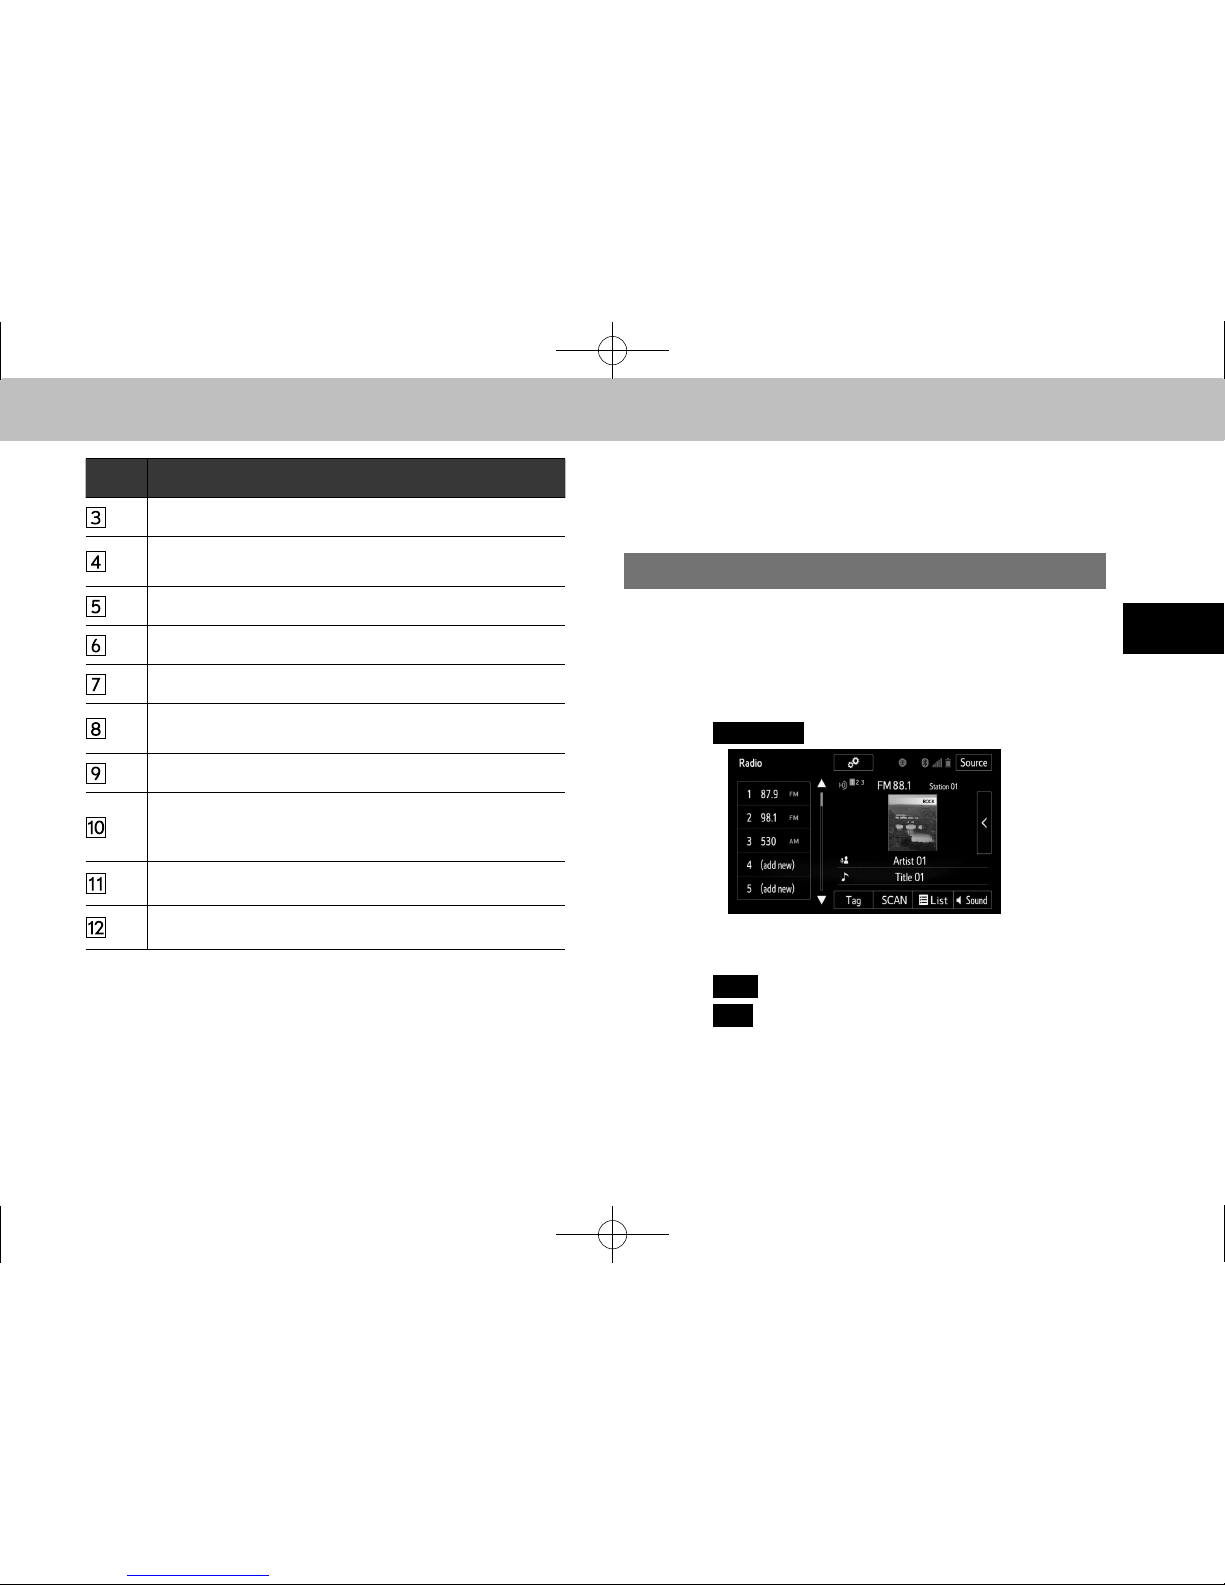
Select to display the audio source selection screen.
Select to display the cache radio operation buttons.
(→P.63)
Select to display the sound setting screen. (→P.52)
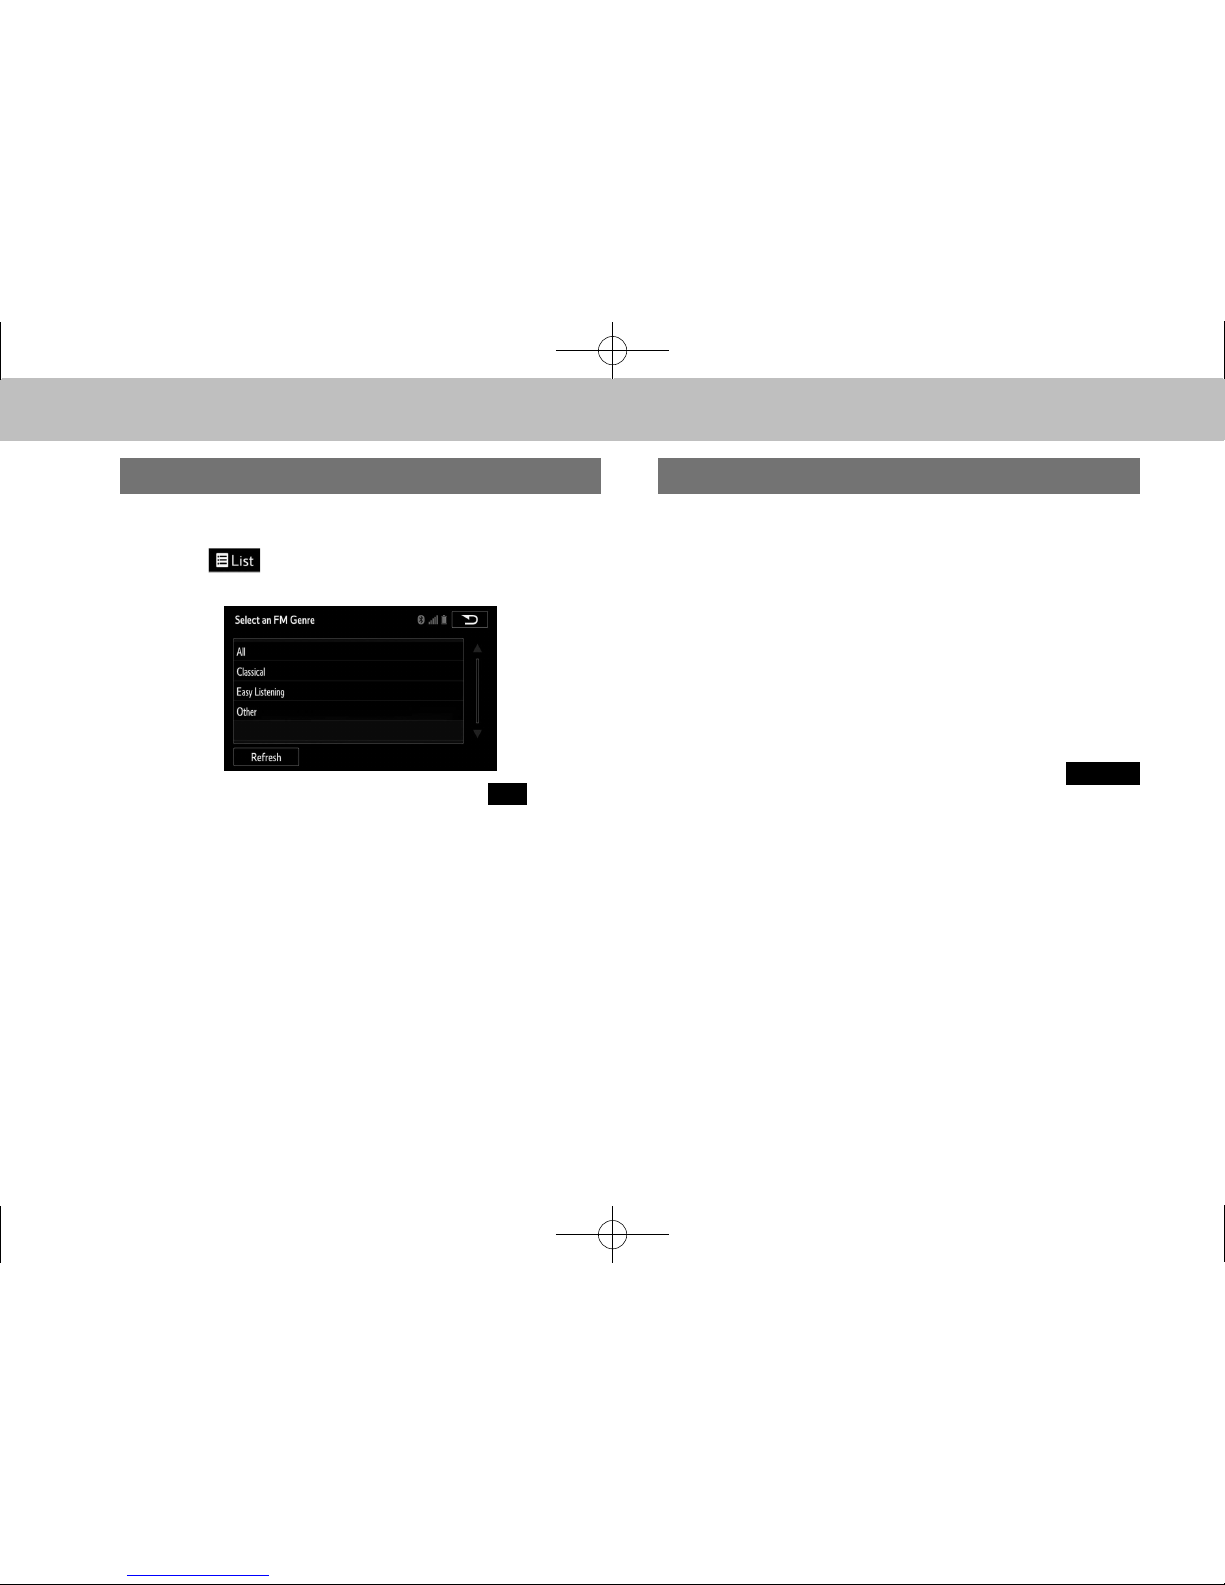
Select to display a list of receivable stations/channels.
Select to scan for receivable stations/channels.
HD Radio only: Select to store information of the audio
currently being broadcast on the radio.
Select to tune to a preset station/channel.
Select to turn HD Radio mode on/off. When the HD
Radio indicator is off, the station list shows only analog
broadcasts.
Select to display the additional text information.
Analog FM only: Select to display RBDS text messages.
lThe radio automatically changes to stereo reception when a
stereo broadcast is received.
lThe radio automatically blends to an HD Radio signal in AM or
FM where available.
PRESETTING A STATION
Radio mode has a mix preset function, which can store up
to 36 stations from any of the AM, FM or SiriusXM Satellite
Radio bands.
1. Tune in the desired station.
2. Select
((add new)).
●To change the preset station to a different one, select
and hold the preset station.
3. Select
(Yes) on the conrmation screen.
4. Select
(OK) after setting the new preset station.
lThe number of preset radio stations displayed on the screen can
be changed. (→P.90)
docstructure.indb 57 2014/08/20 17:34:25