IMPORTANT INFORMATION
• ALWAYS inate LED Tube before SUPERNOVA xture to prevent overheating.
• Do not let inatable products come in contact with sharp, pointed objects.
• Fill with cold air only. NEVER USE HAIR DRIER TO INFLATE this could cause melting.
• Do Not Over Inate. Bursting items can cause serious injury. Inate the SUPERNOVA LIGHT until
most of the wrinkles in the material are gone and it feels rm to the touch.
• NEVER leave a light xture on and unattended for long uninterrupted period of time.
WARNING:
• Not for use by children 3 and younger. Adult supervision required for ination and deation.
• Keep away from open ames, heaters, and other hot objects. Do not smoke near the inatable light.
• This inatable light is not for use in water. It is not a life saving device, not a personal otation device,
or water toy.
• This inatable light is not a toy. Do not stand, walk, jump or use sharp objects on the inatable light.
This can result in serious injury or damage to the SUPERNOVA Light.
AIR MAINTENANCE:
Air temperature and weather do affect the air pressure in inatable products. In cold weather your
SUPERNOVA LIGHT will lose some pressure due to the fact that the air will contract. If this occurs, you
may want to add a little air to improve your INFLATABLE LIGHT’s performance. However, in hot weather,
the air will expand. You must let some air out to prevent the INFLATABLE LIGHT from failing due to
overpressure. You should avoid exposing your INFLATABLE LIGHT to extreme temperatures (hot or cold).
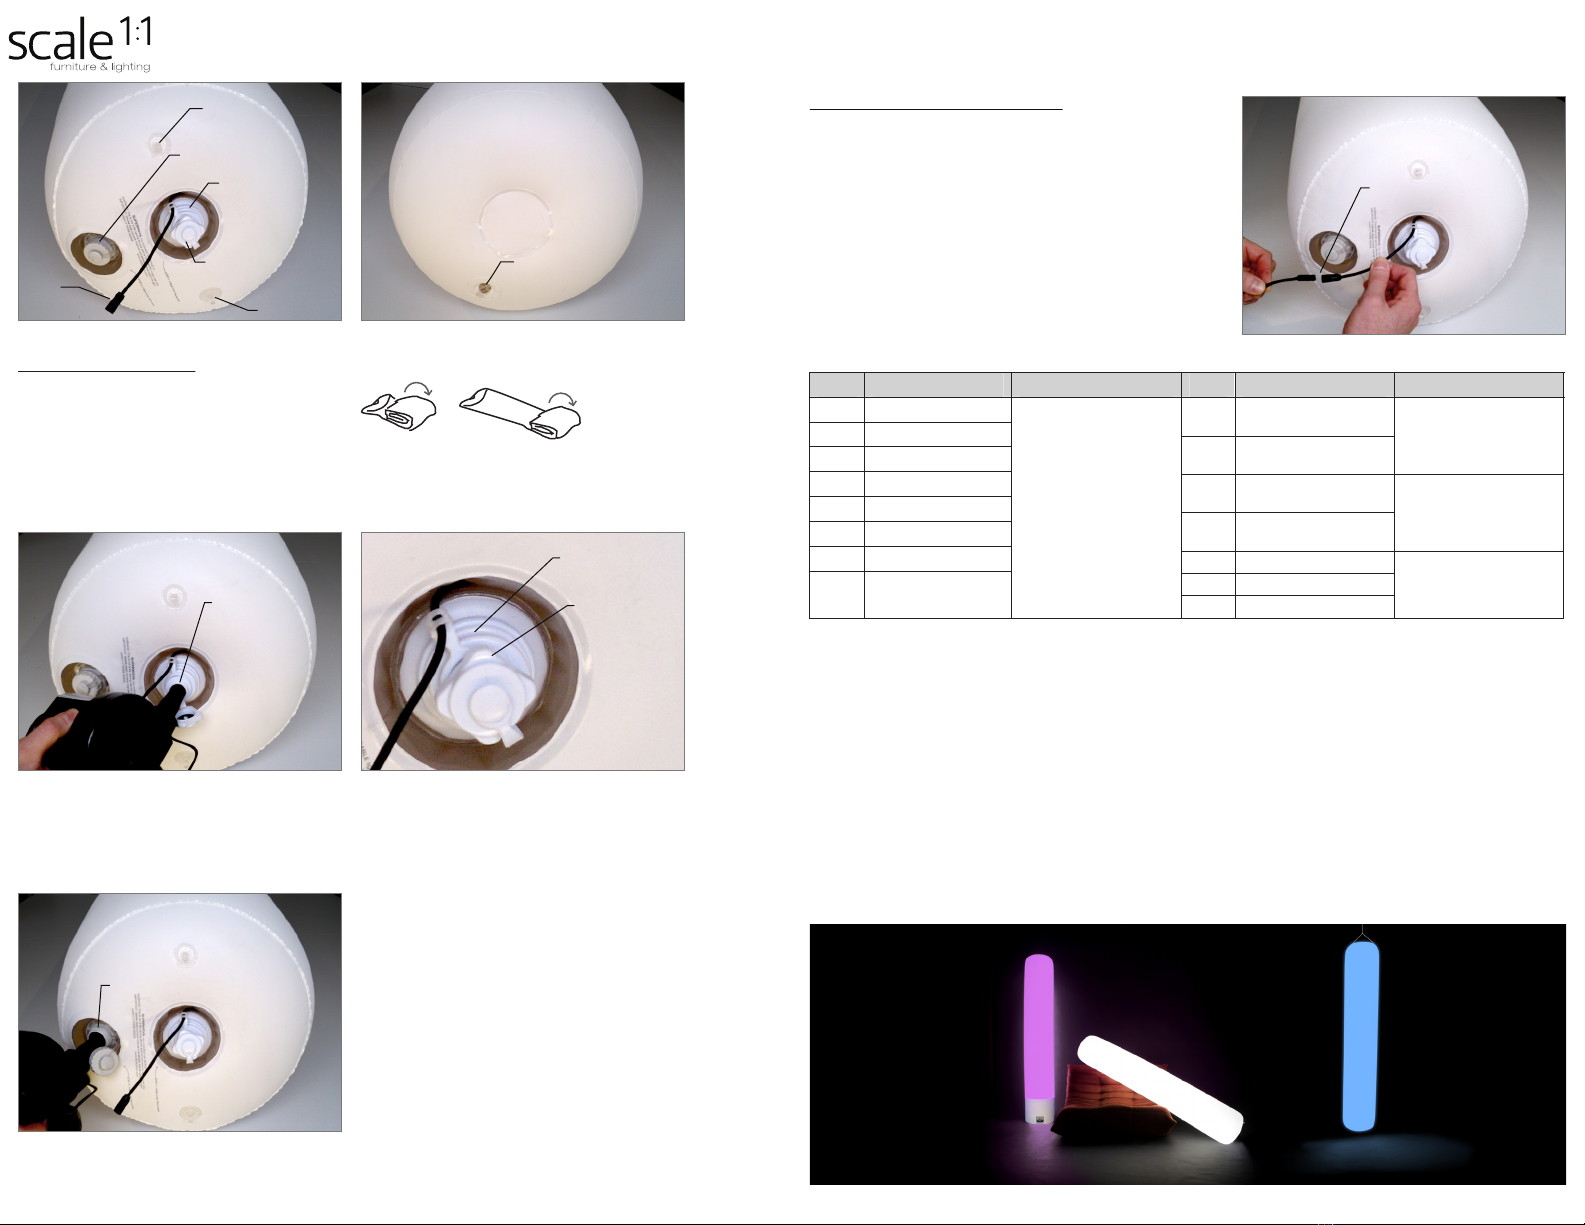
DEFLATING
Open Inner Fixture Deation Valve(g. 4) and Outer Ination Valve(g. 5) and allow air to fully escape. For
rapid deation attach valve to pump using the deate extension, this will draw the air out quickly.
When fully deated close valve.
WHEN TRANSPORTING:
1. Disconnect the power connector from the power supply.
2. Deate the SUPERNOVA light following the DEFLATING directions above.
3. Fold the inatable reversing the unfolding process. Use a clean at surface.
4. Always place the inatable in its package when deated.
5. Do not roll the SUPERNOVA around the power supply
6. Do not place the SUPERNOVA near sharp objects
7. Handle with care
PATCH INSTRUCTIONS:
1. Clean the area around the hole or tear. You can use rubbing alcohol or soap and water to clean the
area; just ensure that no dirt or debris is present near the hole.
2. Cover the hole with a rag or your hand and inate. You can not put a patch on a deated object because
once you ll it with air, the material expands; the patch will not properly seal the hole if deated.
3. Peel the back off of the patch, then place it over the hole and rub it a few times to atten it out
smoothly over the surface of the inatable. Ensure that you place the patch onto the hole, keeping the
hole centered within the patch. This way you'll create a tight seal, and no air will escape.
SUPERNOVA Prov. Patent #70352-00003
© 2010 Scale 1:1. All Rights Reserved. www.scale1to1.com
supernova light power supply remote/control box pump
WHAT’S IN THE BOX:
SUPERNOVA
the HUGGABLE light SUPERNOVA
the HUGGABLE light
ACCESSORIES: sold separately
SUPERNOVA BASE
Allows your SUPERNOVA to be free standing, or
transforms into a mounting bracket when you hang it!
TAKEIT!
UNFOLDIT!
INFLATEIT!
HUGIT!