Taiden HCS-3316HDN User manual

HCS-3316HDN Videoconference Camera
Installation and Operating Manual
V 1.1

Safeguard
1. Before installing the camera, please read this manual carefully,
please follow this manual during installation and operation, and
keep this manual for future reference.
2. Power adapter of camera can transfer external AC 110 – 240 V to
DC 12 V with 2.5 A in maximum, please follow local electric safety
regulation strictly during installation and operation.
3. Heavy stress, strong vibration and soaking shall be avoided during
transportation, storage and installation, which will make damage to
camera.
4. Please operate the camera within temperature and humidity range
as described in this manual, foreign bodies shall be prevented from
camera, and do not spill corrosive liquid to camera surface.
5. Don’t disassemble the camera by yourself, please turn to
professional and qualified personnel for help when necessary.
6. When installing and moving camera, please hold camera main body,
not head, please pay attention to handle with care, and do not
squeeze the camera avoiding damage internal structure. Please
keep camera un-plugged before all installation procedure
completed.
7. When cleaning the camera, please use soft cloth. If the camera is
very dirty, wipe it off gently with a soft cloth moistened with a weak
solution of water and a neutral kitchen detergent. Wring all excess
liquid from the cloth before wiping the camera. Next, wipe off all
remaining solution with a soft, dry cloth. Use lens cleaning paper to
clean the lens.
1

8. Video and control cables should be well-shielded to keep stable
signal transporting.
9. Please set the cables (power/video/control) to safe place to avoid
trampling, do not pile up sundries over cables. Cables shall be
protected well especially the connection part.
2

Contents
1. Overview -------------------------------------------------------------------------- 1
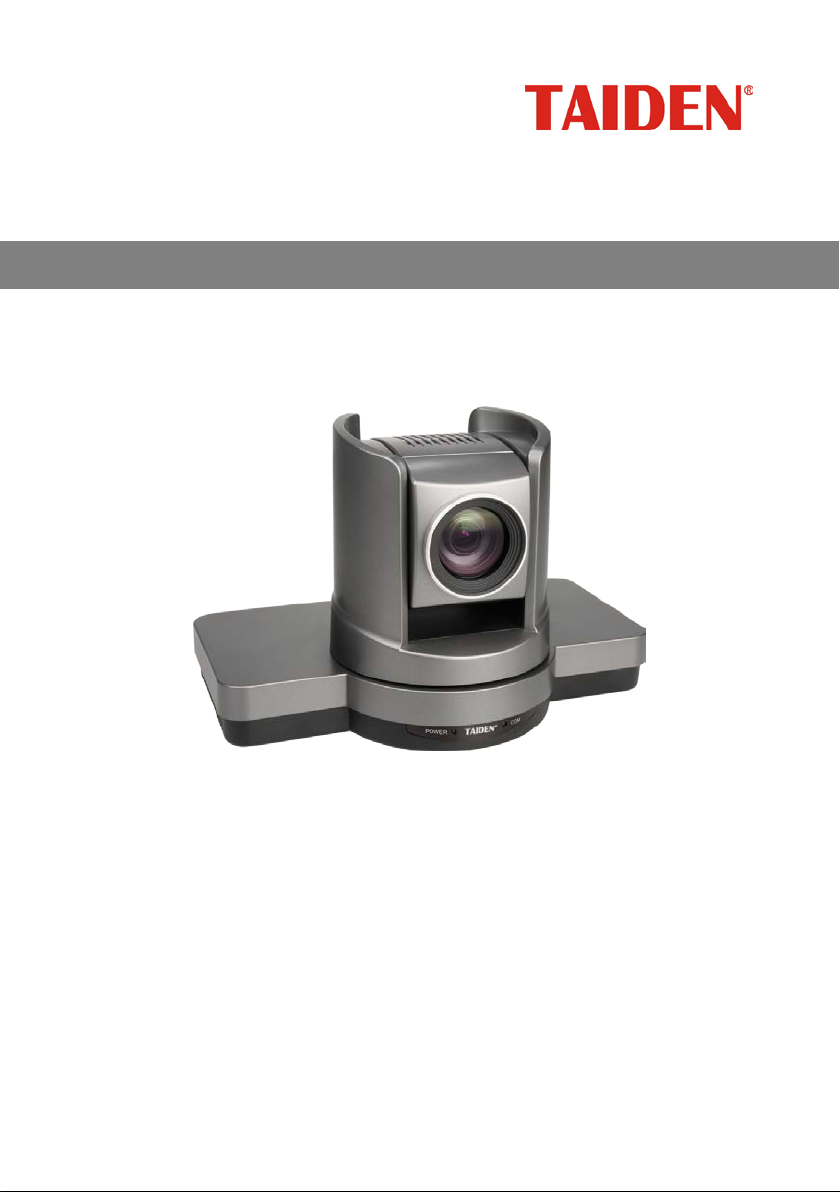
1.1 Introduction.........................................................................................1
1.2 Features..............................................................................................2
1.3 Specifications......................................................................................3
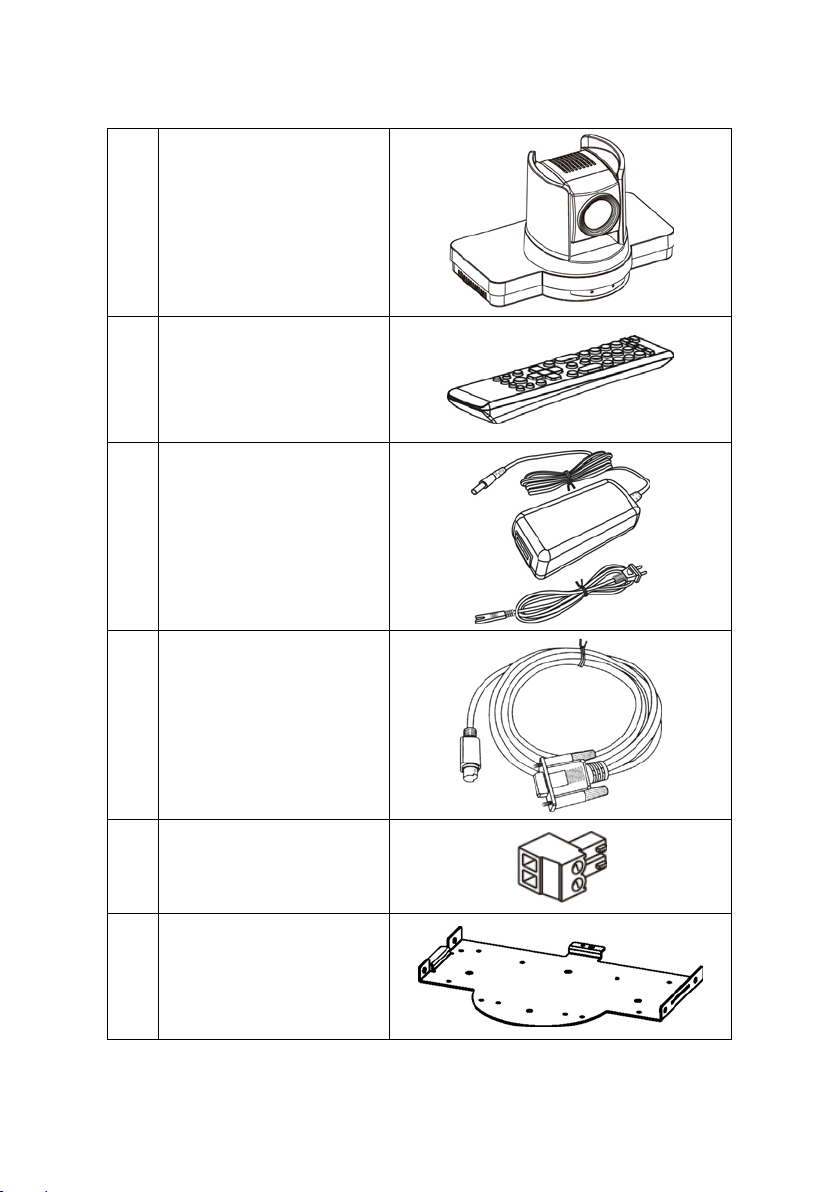
1.4 Product and Accessories....................................................................5
2. Connection------------------------------------------------------------------------ 7
3. Panels and Interfaces---------------------------------------------------------- 8
3.1 Front panel..........................................................................................8
3.2 Back panel..........................................................................................8
3.3 Interfaces............................................................................................9
3.4 RS-232 interface pin definition..........................................................10
3.5 RS-485 interface pin definition..........................................................10
3.6 RS-232 cable connection..................................................................11
3.7 COM connection methods................................................................12
4. IR Remote Controller and DIP Switch-------------------------------------13
4.1 IR Remote Controller – Key Layout..................................................13
4.2 IR Remote Controller – Operation....................................................15
4.3 IR Remote Controller – Menu Operation..........................................18
4.4 DIP Switch.........................................................................................23
5. Network Operation-------------------------------------------------------------24
5.1 Installation and Environment ............................................................24
5.2 Access camera..................................................................................25
5.3 VLC Streaming Media Player Monitor...............................................31
5.4 Instructions for controlling cameras through TCP.............................31
6. Installation and dimensions--------------------------------------------------36
6.1 Attention............................................................................................36
6.2 Installation method............................................................................36
6.3 Product dimension............................................................................40
7. Troubleshooting-----------------------------------------------------------------41
3

1. Overview
1.1 Introduction
The product is an industry's leading high-definition conference room
camera; it uses a powerful 1/2.8 inch HD image processor with 5 million
pixels, built-in high-performance optical zoom lens, powerful
high-definition image engine, image imaging algorithm with wide
dynamic range and high S/N ratio, combined with the unique noise
reduction algorithm, provides 1080P60 full HD broadcast level image
experience for users.
This product can realize quiet and high speed pan/tilt operation and can
save up to 128 presets at the same time. Combined with excellent dome
design, the camera provides excellent external/remote control features.
This product can not only output digital high-definition image through
HD-SDI and HDMI interface, but also build in video and audio coding
engine, support the industry leading video coding H.265, and output
multi-channel video and audio code stream through network interface.
And compatible with all kinds of mainstream network communication
protocols, it perfectly combines the high-definition conference camera
and the network camera. It is the ideal choice for professional video
conference room integration, video conference, remote teaching and the
application of industry recording and broadcasting.
1

1.2 Features
1. Equipped with 1/2.8-inch HD CMOS sensor, with powerful image
engine and imaging algorithm, provides full HD broadcast image
experience up to 1080P60.
2. Equipped with high-performance electric zoom lens with a zoom
effect of up to 240 times (20 times optical 12 times digital).
3. Reliable, quiet and quick Pan/Tilt camera positioning.
4. Wide dynamic range, high SNR image effect, with a unique noise
reduction algorithm, significantly reduce the image noise, still keep
the picture clean and clear in low-light environment.
5. New generation H.265 coding: built-in video and audio coding
capabilities, support H.265/H.264 video coding and G.711/G.726
audio coding to achieve 1080p full HD ultra-low bandwidth
transmission.
6. High speed and accurate dome positioning: using a new stepping
motor, the dome runs quietly and smoothly, positioning accurately
and quickly, and the highest horizontal speed can reach 200 degrees
/ s.
7. Multiple video outputs: 2-ways HD video and 1-way IP video can be
outputted simultaneously in high quality.
8. Multiple control interfaces and multiple protocol support, achieves full
camera control, can work perfectly with other video system (codec,
video endpoints, and video tracing system).
9. Multiple installation methods (ceiling and walling), video can be
vertically flipped easily by operating OSD menu.
10. Built-in OSD menu, multi-functional IR remote, ease-to-use
operating.
2

1.3 Specifications
Items Specifications
Image sensor 1/2.8-type HD CMOS sensor, 5 mega pixels
Video format (HD) 1080p60, 1080p50, 1080p30, 1080p25,
1080i60, 1080i50, 720p60, 720p50
Lens 20x optical zoom lens,
f=4.7-94mm, Fw/1.6-Ft/3.5
Zoom ratio 20x optical zoom, 12x digital zoom
Minimum object distance 0.5 m (wide) - 1.5 m (tele)
Horizontal viewing angel 61° (wide) - 3.3° (tele)
Focus Auto / Manual
Minimum Illumination 0.5Lx (50IRE, F1.6)
Exposure Auto / Shutter priority / Iris priority / Exposure control
Shutter speed Slow shutter, 1/30 to 1/10,000s (60 Hz)
Slow, 1/25 to 1/10,000s (50 Hz)
Gain 0~16 dB
White balance Auto / Indoor / Outdoor / One-push / Manual
Video effect Backlight compensation, vertical flip
Digital noise reduction 0~15 dB
S/N ratio >55dB
Synchronization Internal
Backlight Compensation On / Off
Pan/Tilt Speed Pan: 0.1°~200°/sec, Tilt: 0.1°~150°/sec
Pan/Tilt range Pan: ±170°, Tilt: -30°~90°
Preset 128 (TAIDEN conference management software can
preset, clear and recall 64 preset positions)
Preset precision 0.1°
Multiple video output 1-way 3G HD-SDI, 1-way HDMI and 1-way IP video
Ethernet interface 10M/100M adaptive Ethernet port
Control Interface RS-485, RS-232
Control Protocol PELCO-D、VISCA
3

Items Specifications
Baud Rate 2400/4800/9600/19200/38400 bps
Video coding standard H.265,H.264
Main stream resolution 1920x1080,1280x720
Sub stream resolution 720x576,720x480,960x540
Bitrate Variable (128k-8192kbps) / fixed
Frame rate 50Hz: 1-50fps, 60Hz: 1-60fps
OSD Menu Chinese / English
Address 1~254
Temperature Operating temperature: 0℃~+50℃
Storage temperature: -20℃~+70℃
Relative Humidity 0~95% (not condensing)
Power Requirements DC 12 V
Power Consumption <10W
Dimensions (mm) 170(H)x260(W)x163(D) mm
4

1.4 Product and Accessories
1 Camera
2 Remote controller
3 Power adaptor
4 RS-232 cable
5 RS-485 converter plug
6 Ceiling installation
template (2pcs)
5

2. Connection
7

3. Panels and Interfaces
3.1 Front panel
❶
Lens
❷Sensor for remote controller
❸Power indicator
❹COM indicator
3.2 Back panel
❶
RS-485 interface
❷RS-232 OUT interface
❸RS-232 IN interface
❹RJ-45 interface
❺USB2.0 interface
❻CVBS composite video
interface
❼LINE-IN 3.5 mm interface
❽HD-SDI interface
❾HDMI interface
❿
DV-12V power interface
8

3.3 Interfaces
1. HD-SDI interface: BNC connector, carrying HD video,
maximum
transmission distance is usually 100 meters using standard 75 ohm
coaxial cable.
2. HDMI interface: standard HDMI con
nector, carrying HD video,
maximum transmission distance is usually 15 meters.
3. CVBS interface: reserve.
4. RJ-45
interface: standard RJ45 socket, 10M/100M adaptive
Ethernet port, carrying IP HD video encoding stream.
5. LINE-IN 3.5 mm interface: reserve.
6. Control interfaces: one RS-485 connector, two RS-
232 connectors,
and all support protocols including VISCA and PELCO-D
7. USB interface: reserve.
9

3.4 RS-232 interface pin definition
NO. Pin RS-232C
able DB9
pin definition
1
DTR
2
DSR
3 TXD 2
4 GND 5
5 RXD 3
6
GND
7
IR
9
8 NC
3.5 RS-485 interface pin definition
NO.
Pin definition
+ DATA+
- DATA-
10

3.6 RS-232 cable connection
11

3.7 COM connection methods
Open OSD menu, enter <system> sub menu, configure COM setting
such as protocol, baud rate and control port in related menu items.
Note: reboot of power off takes effect after configuration.
Note:
In RS-232 daisy chain connection, cameras shall be connected one by
one with increased address started from 1, maximum is 7, please
configure correct camera address before installation.
12

4. IR Remote Controller and DIP Switch
4.1 IR Remote Controller – Key Layout
13

1. [POWER]: power on/off
2. [CAMERA SELECT]: select the camera address for controlling
3. [0-9]: number key
4. [SET]: set preset
5. [CLEAR]: clear preset
6. [CALL]: call preset
7. [FOCUS +]: focus to far direction
8. [FOCUS -]: focus to near direction
9. [ZOOM +]: zoom to tele direction
10. [ZOOM -]: zoom to wide direction
11. [SPEED]: switch zoom/focus speed between fast and slow mode
12. [DOME SPEED] switch pan/tilt speed between fast and slow mode
13. [HOME]: back to home position
14. DIRECTION KEY: pan/tilt direction/menu operation
15. [BACK LIGHT]: backlight compensation on/off
16. [BACK]: back to previous menu
17. [MENU]: OSD menu on/off
18. [*]: switch to auto focus mode
19. [#]: switch to manual focus mode
20. [F1] [F2] [F3] [F4]: reserved
Note:
If the remote controller doesn't work properly, try replacing the
battery;
There should be no visible object between the remote controller and
the camera;
The distance between the remote controller and the camera is
recommended to be within 10 meters.
14

4.2 IR Remote Controller – Operation
1. Power-on initialization
When camera is powered on, power indicator is on, camera head will
rotate in horizontal and vertical direction automatically, and camera lens
will be zoomed to tele and wide direction simultaneously. After
pan/tilt/zoom self-checking completed, COM indicator will flash and keep
lighting finally, camera will be positioned to HOME position, COM
indicator keep lighting before the first command arrives from IR remote
controller or COM ports, after then, each flashing means one command
received.
If preset 1 is set, camera will be positioned to this preset automatically
after initialization.
2. Pan/Tilt control
Press arrow buttons to change camera position, pressing arrow buttons
will make a small change in camera position, to make a quick or big
change in camera position, press and hold down those buttons.
3. Focus control
Auto-focus is factory default, but user can change to manual-focus
easily by pressing [FOCUS+] or [FOCUS-] key, which will make focusing
operation. If user wants to back to auto-focus, press [*] key; if user wants
to back to manual-focus, press [#] key.
4. Zoom control
Pressing [ZOOM-] or [ZOOM+] key will make zoom operation in wide or
tele direction, zoom in (tele) will get a close-up scene, and zoom out
(wide) will get a wider view.
15

5. Change camera speed
The camera’s pan/tilt speed can be switched between fast and slow
mode, when fast mode is on, press [DOME SPEED] button to switch to
slow mode, and vice versa.
The camera’s zoom/focus speed can be switched between fast and slow
mode, when fast mode is on, press [SPEED] button to switch to slow
mode, and vice versa.
6. Camera reset
Pressing [HOME] key will make camera back to HOME position.
7. Backlight compensation ON/OFF control
When one portion of an image is brilliantly bright while other portions are
dark, video will become dark; user can improve video quality by turning
on the backlight compensation function. Press [BACKLIGHT] will make
camera switch to Backlight compensation ON/OFF mode.
8. Preset control
Through the remote controller, you can set / clear / call preset positions.
Set preset: [Number keys] (input the preset number) + [SET button];
Call preset: [Number keys] (input the preset number) + [CALL button];
Clear preset: [Number keys] (input the preset number) + [CLEAR
button].
Note:
Definition of preset number is compatible with SONY camera, preset ID
set by IR remote (such as 9) will be decreased by 1 (such as 8) and
stored in camera memory, if user want to operate that preset through
VISCA/PELCO command through COM port, internal preset ID (such as
8) shall be used.
16
Table of contents